Portal, Reporting & Replay Server
Install Order
graph LR
  A(<b>Portal</b>) ==> B(<b>Reporting</b>) ==> C(<b>Replay</b>) ==> D(<i>Processing</i>) --> E(<i>HBR</i>) --> F(<i>DNCA</i>);
Prerequisites
Review the prerequisites in advance of installation / configuration.
Anti-virus software may impact performance, if this is identified exclude the folder <Discover_Home_Directory>\Log folder
Disable the Windows Defender Real-Time Protection feature temporarily during installing
TCP ports should be opened, refer to the Server to Server Communication guide
Install prerequisite .Net Desktop (x86 and x64), and ASP.Net Hosting Bundle as outlined in the install reference documentation
SSL certificate is required for the Portal server access over HTTPS
Installation
- Access the server with Administrator rights.
- Disable the 'User Access Control' feature.
- Confirm that the server's specs meet the sizing requirements/recommendations (OS, CPU Cores, Physical memory, Disks, Network, Internet access (for replay).
-
Upload the Discover installation files, including the following onto the server in a temporary location, e.g.,
C:\HCL_Discover_Source\Install files
- DataExport installers
- SessionArchiving installers
- FixPacks, HotFixes, iFixes
Install IIS and .Net
-
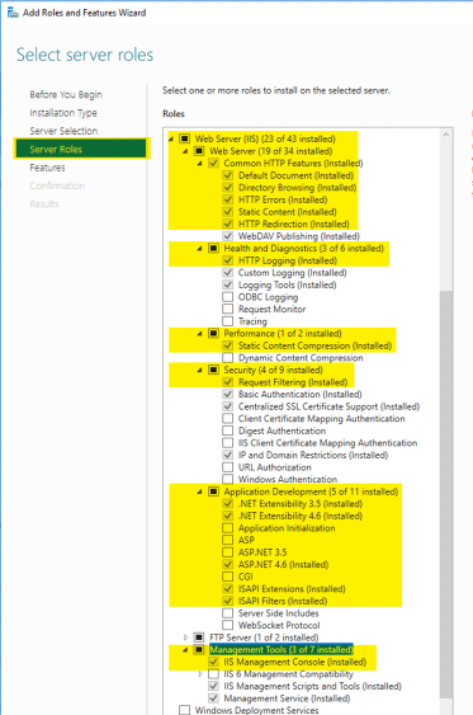
Install the IIS web server role along with roles shown below:
Info
Some items may be shown ticked below, however in your environment by default may not be. They are not required for Discover install and should not impact the install. ONLY install the items highlighted and ticked.
-
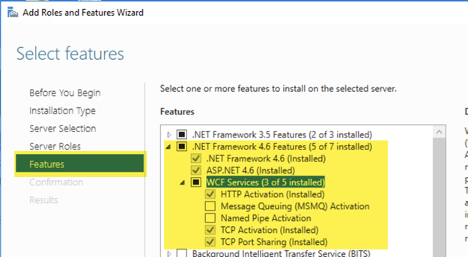
Install the .NET Framework 4.8 or greater with the below features.
Already installed?
You should not need to do this if you have installed the prerequisite .Net components as outlined above. .Net framework in pre-installed as part of the .Net Desktop x86/x64 packages.
-
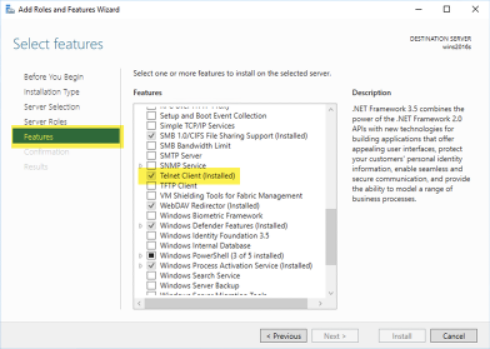
(optional) Install the 'Telnet Client' feature. This can be used to check port are open and listening as part of installation validation.
-
From the Start Menu select Internet Information Services(IIS) Manager to validate the Default Website is present, if not it must be created manually. This is required as during the Discover installation two new sites (Portal, PortalAPI) associated with the default website (shown in screenshot below).
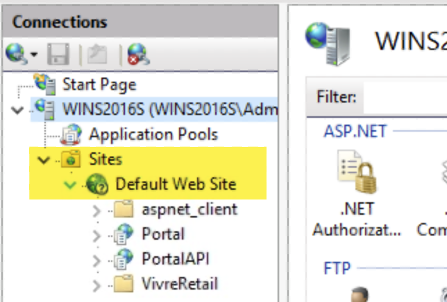
Info
In some environments the Default Web Site may not be created when the IIS feature is installed as part of the prerequisites, this may be due to an organisational policy constraint. When installed the Portal and PortalAPI applications must be associated with the Default Web Site.
-
The Reporting server is the only server that requires JAVA. Download the x64 related JRE installer, move it to a temporary location on the server and install the latest Java SE Runtime Environment. Older archived versions of Java, 21 onwards is OK to use.
-
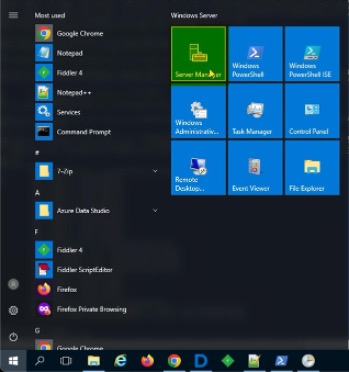
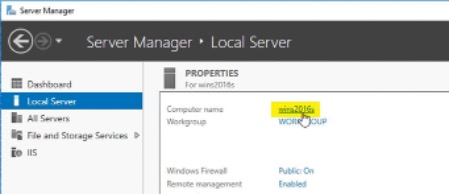
From the server Start Menu select
Server Manager > Local Serverthen click the Computer Name. -
Click Advanced and select
Environment Variables > System Variables.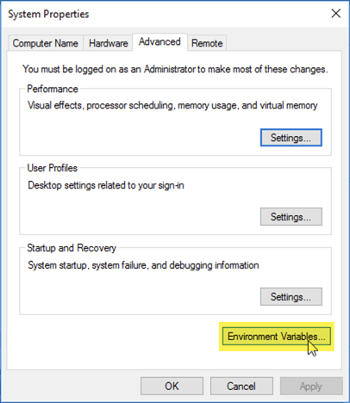
-
The JRE_HOME environment variable may already be defined, if so skip. this step. If not defined, create the JRE_HOME environment variable by clicking New ..., create the following e.g.,
JRE_HOME = C:\Program Files\Java\jre-xxxxor jdk-xxx as needed.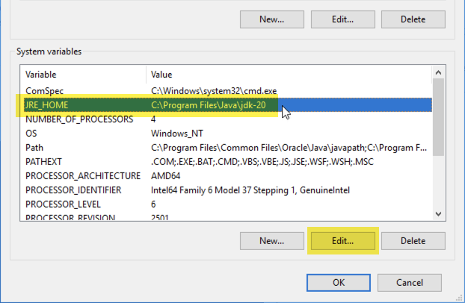
-
The following required folders on their respective servers (local or remote). Should the Discover Reporting component and Microsoft SQL Server coexist you must give full control to the '
\Users' account onto the SQLData folder. Server / Function Example Actual Discover installation D:\HCL Discover\ MS SQLData H:\Data01\UserData\ MS SQLLog G:\Tlog\ Info
Prior to any installation It is key that servers are pre-configured with a DNS-managed fully qualified domain name (FQDN) such as myserver.mydomain.com. Should no managed DNS be available at installation time, host files can be used but should not be a long term or production level solution. Additionally, if FQDNs can only be provided after installation using short names and or host files, were given at a later stage and installation was completed based on entries in the hosts file, amend with DNS managed FQDN's once available (see below Windows Registry entries)
Windows RegistryHKEY_LOCAL_MACHINE\SOFTWARE\WOW6432Node\Unica Discover\Components\ PROCESSINGSERVERS = CAN_SERVER_01.MYDOMAIN.COM|CAN_SERVER_02.MYDOMAIN.COM|CAN_SERVER_03.MYDOMAIN.COM HKEY_LOCAL_MACHINE\SOFTWARE\WOW6432Node\Unica Discover\Components\ REPORTDBSERVER = SQL_SERVER_01.MYDOMAIN.COM HKEY_LOCAL_MACHINE\SOFTWARE\WOW6432Node\Unica Discover\Components\ TMSSERVER = REP_SERVER_01.MYDOMAIN.COM HKEY_LOCAL_MACHINE\SOFTWARE\WOW6432Node\Unica Discover\DataStore\AlertService\ CanisterServers = CAN_SERVER_01.MYDOMAIN.COM|CAN_SERVER_02.MYDOMAIN.COM|CAN_SERVER_03.MYDOMAIN.COM HKEY_LOCAL_MACHINE\SOFTWARE\WOW6432Node\Unica Discover\DataStore\AlertService\ Monitors = REP_SERVER_01.MYDOMAIN.COM HKEY_LOCAL_MACHINE\SOFTWARE\WOW6432Node\Unica Discover\DataStore\AlertService\ PortalURL = http://REP_SERVER_01.MYDOMAIN.COM/Portal HKEY_LOCAL_MACHINE\SOFTWARE\WOW6432Node\Unica Discover\DataStore\ReportServer\ Host = SQL_SERVER_01.MYDOMAIN.COM HKEY_LOCAL_MACHINE\SOFTWARE\WOW6432Node\Unica Discover\DataStore\TrackingService\ TrackingSvcHost = https://REP_SERVER_01.MYDOMAIN.COM:9001/ HKEY_LOCAL_MACHINE\SOFTWARE\WOW6432Node\Unica Discover\DCMgmtSrv\ MasterServer = localhostInfo
DMS will fail to start when using FQDN - e.g. REP_SERVER_01.MYDOMAIN.COMIn the Discover Portal amend all hostnames (from short names to FQDNs) - both the 'Display Name' and the 'Host Name' fields - for all servers via the Discover Portal's 'Manage Servers' page
Install .Net Core Components
Follow the information provided in the Installing and configuring prerequisite software section of the documentation, these are required components. This will cover downloading and installing the following three (3) .Net items:
- Hosting bundle for ASP.NET Core Runtime X.X.x
- Both the x86 and x64 .NET Desktop Runtime X.X.x
Warning
Failure to install these key components will lead to issues often identified in Windows Event Viewer and HCL Discover log files. An example og this will be where the database install will fail as these key components are required.
Install 12.2.1
-
Open up File Explorer and navigate to where you have the HCL Discover install zip. Extract the ZIP
HCL_Discover_12.2.1_Installer_Win.zipto a root drive as filenames are long and MS Windows has restrictions on length.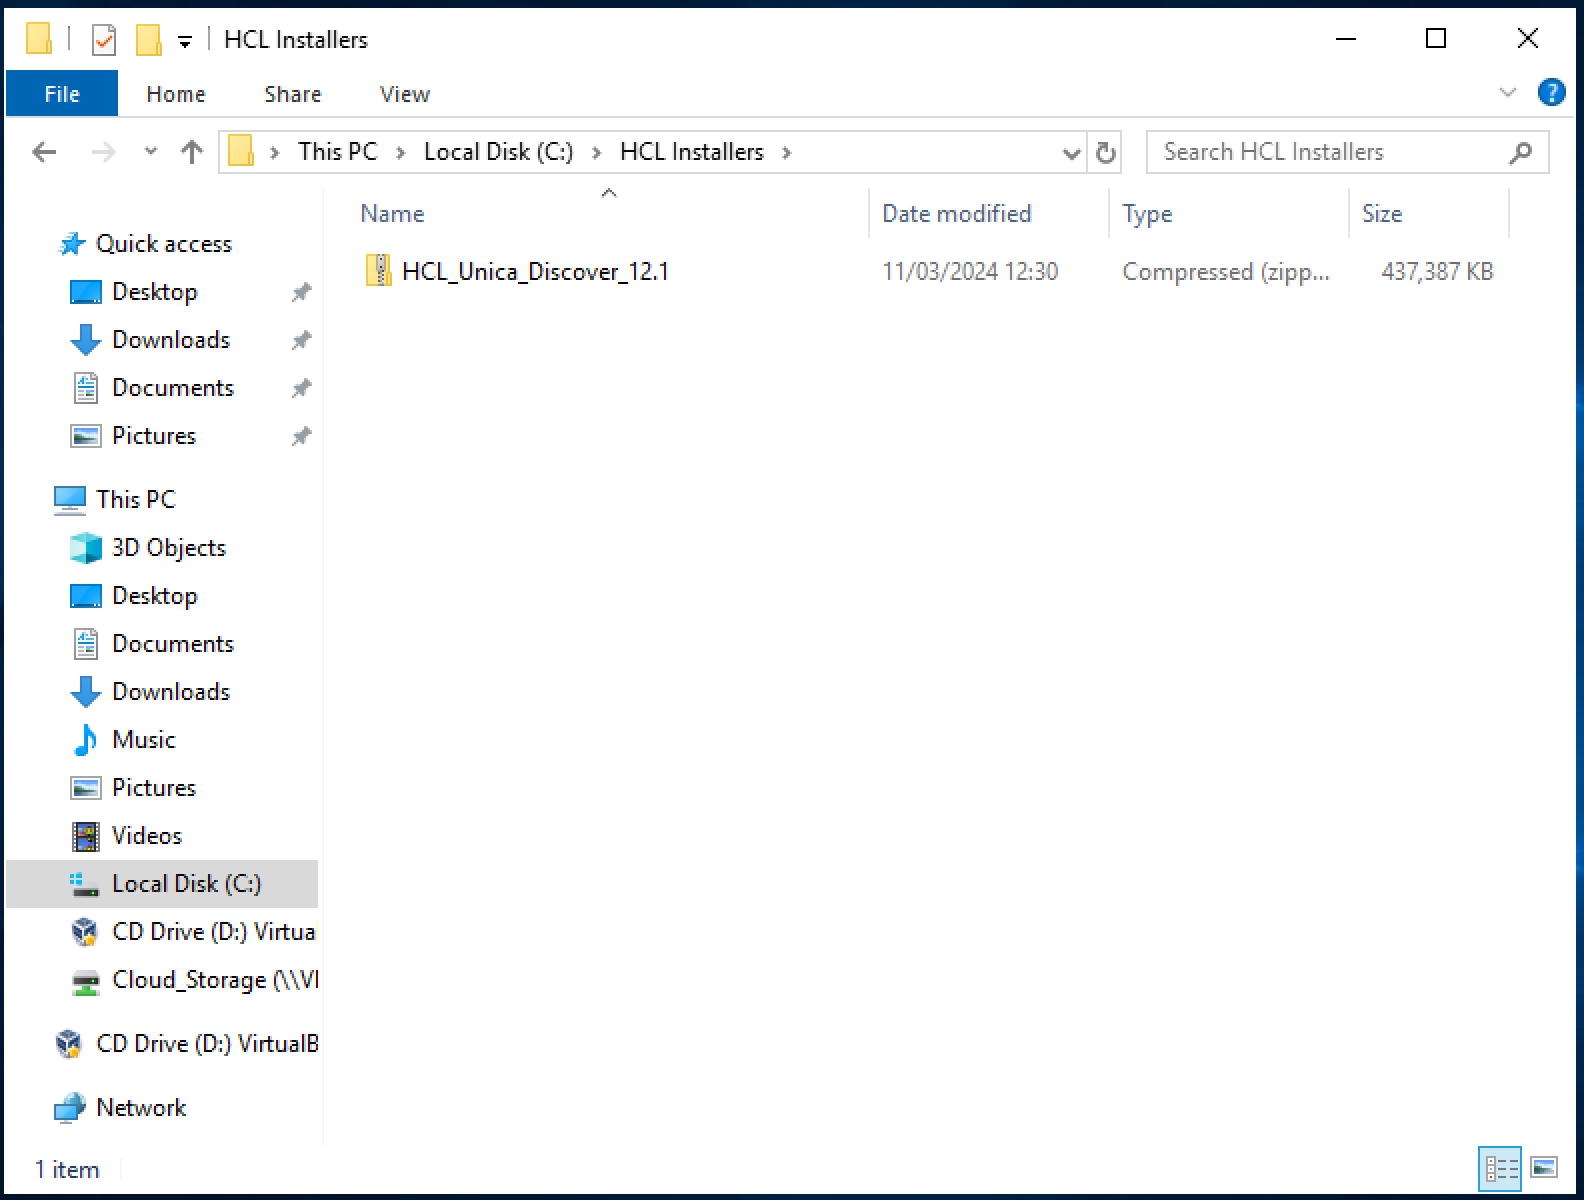
-
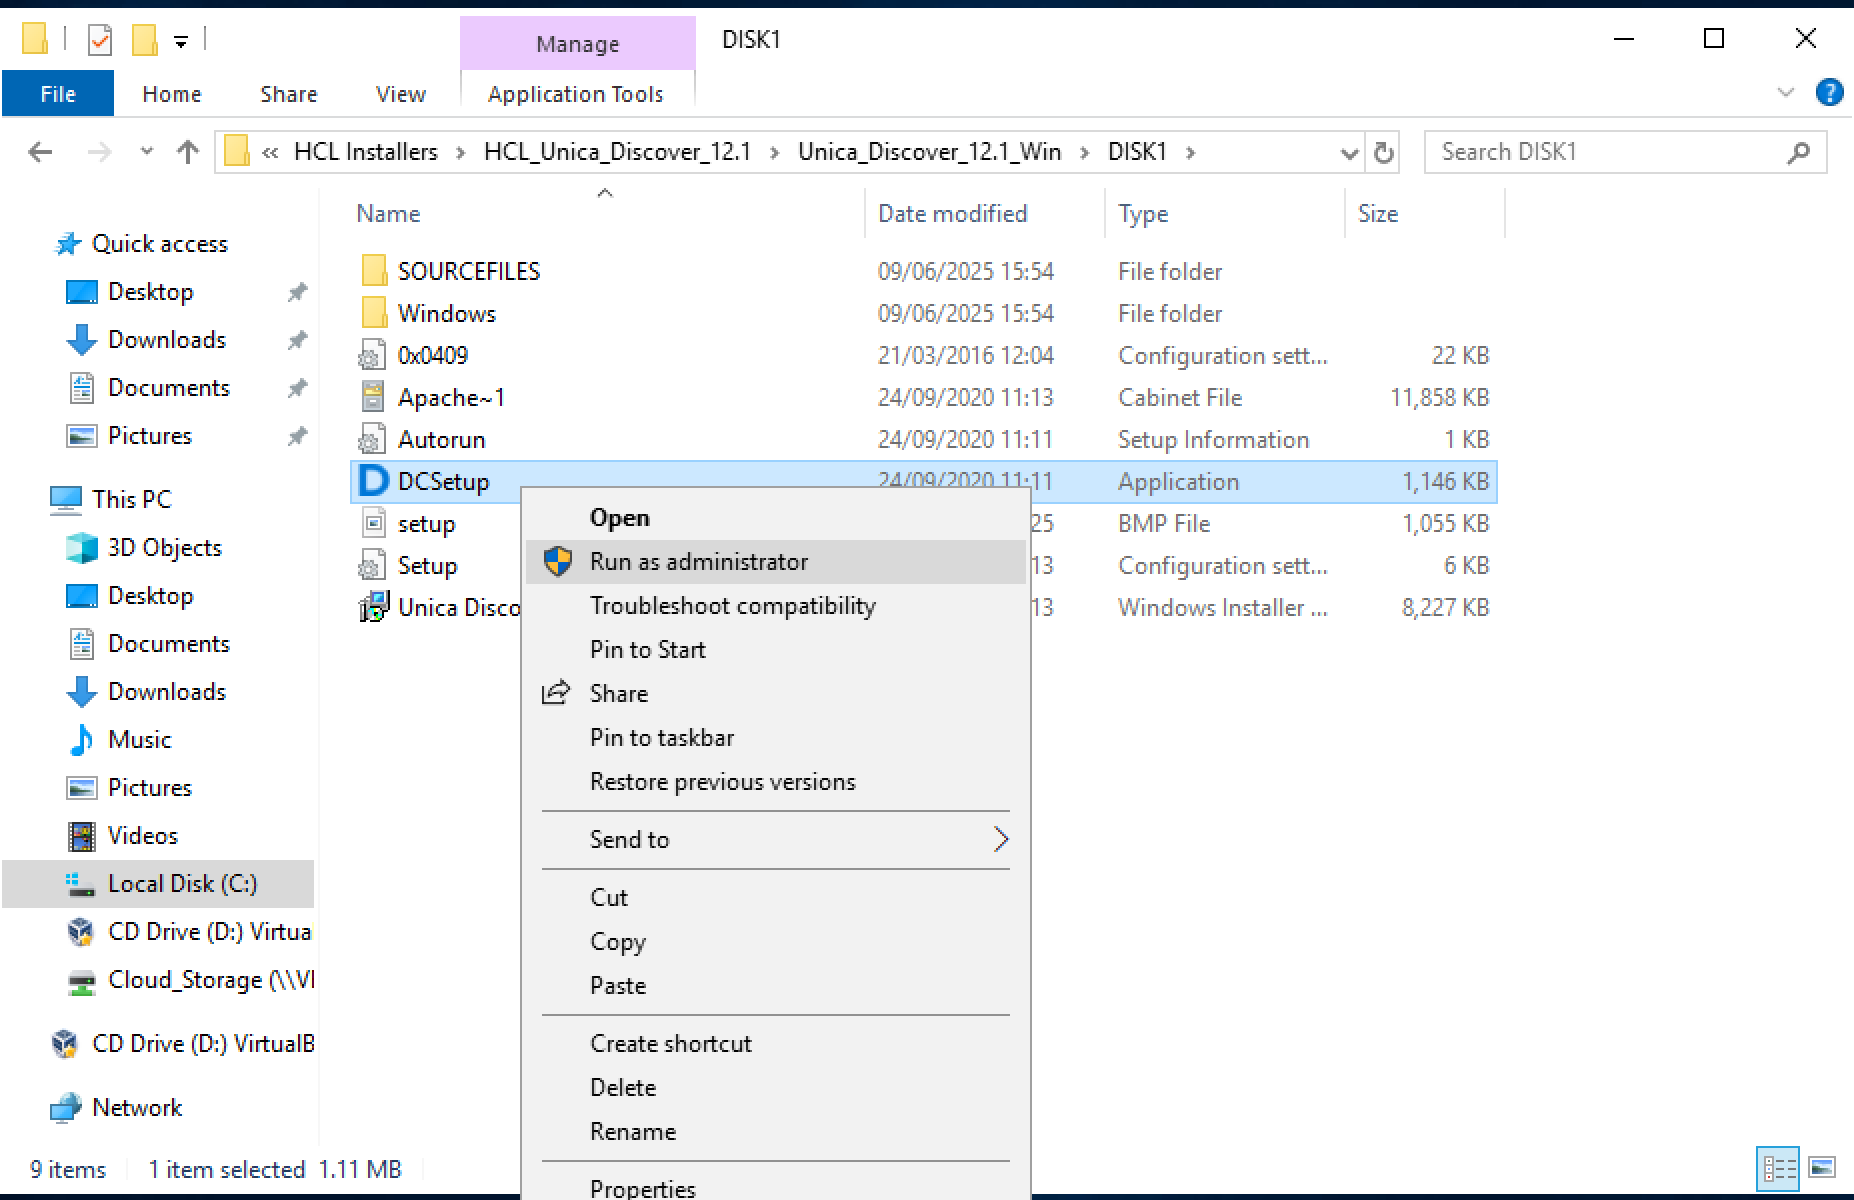
Then navigate into the extracted folder
HCL_Discover_12.2.1_Installer_Win\DISK1 -
Right-click on 'DCSetup.exe' and select Run as Administrator. In some circumstances it may be required to unblock that file (right-click on 'DCSetup.exe', select 'Properties', click on the 'Unblock' button).
-
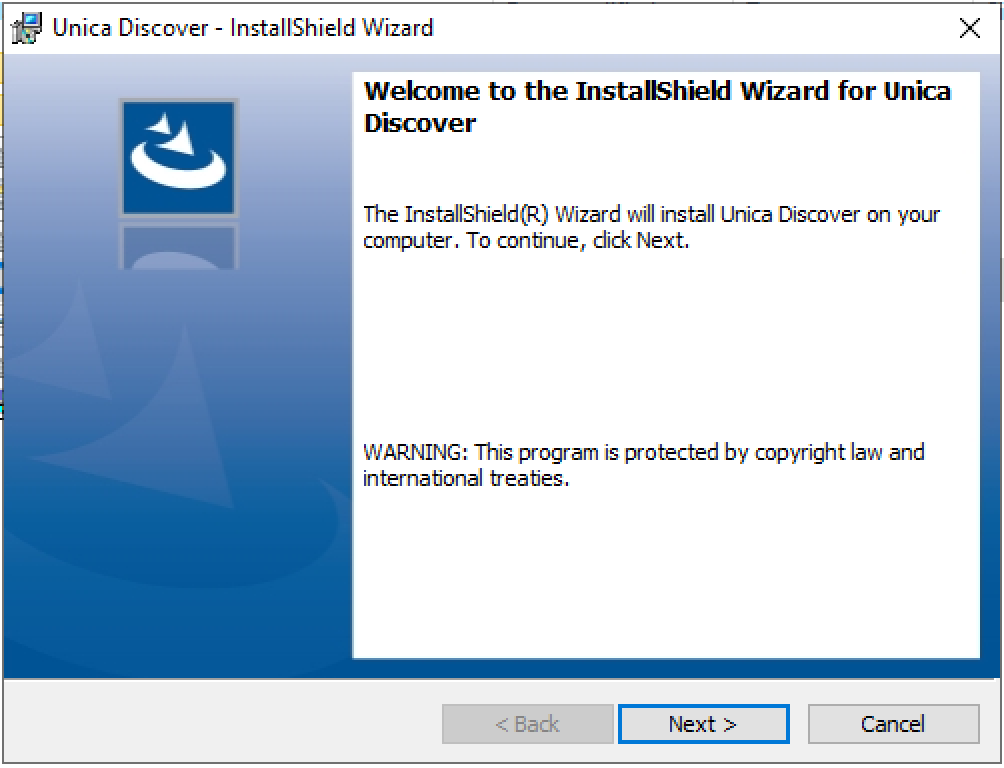
Start the install process
-
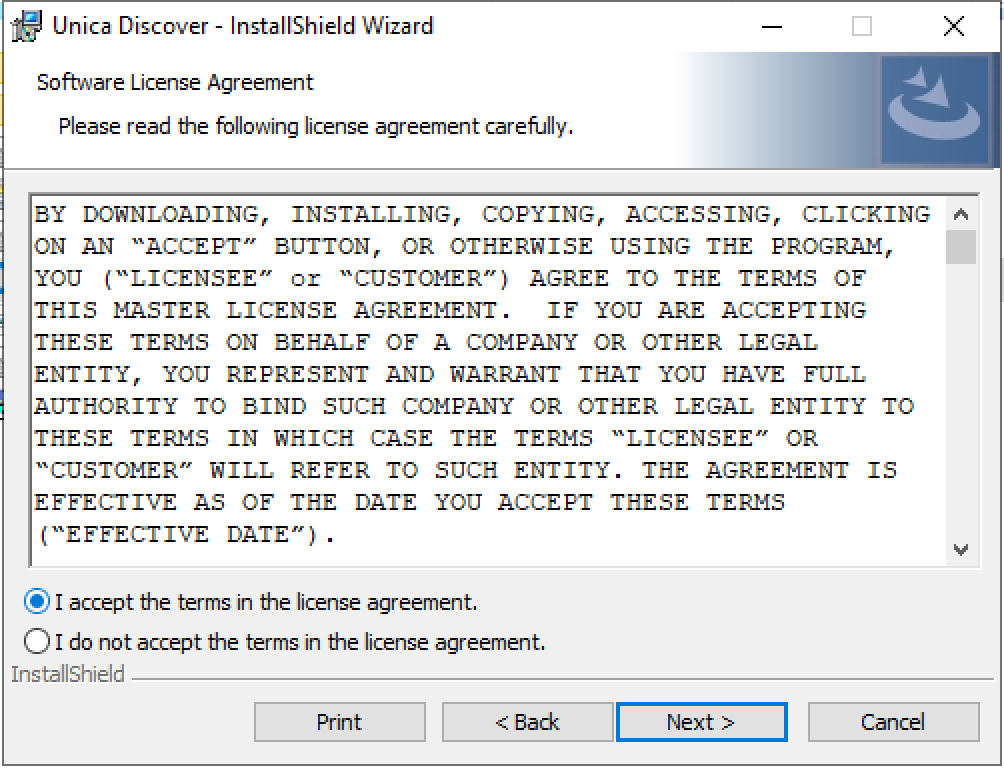
Accept the License Agreement
-
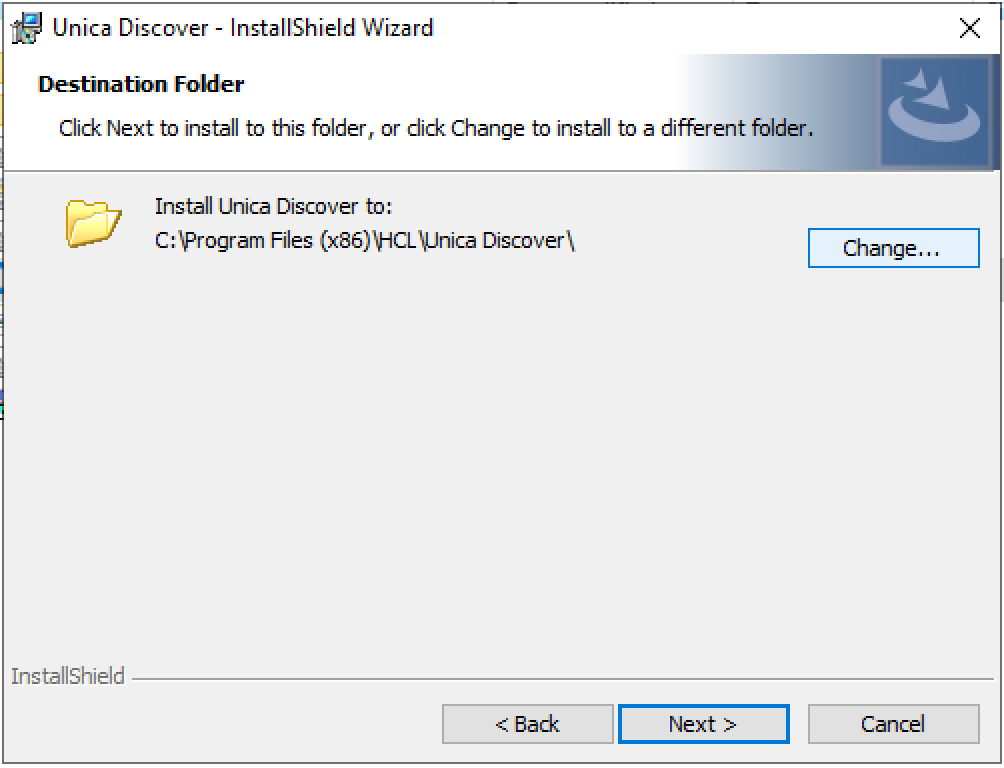
Set the location where you wish to install the HCL Discover software
-
Uncheck
Processor Service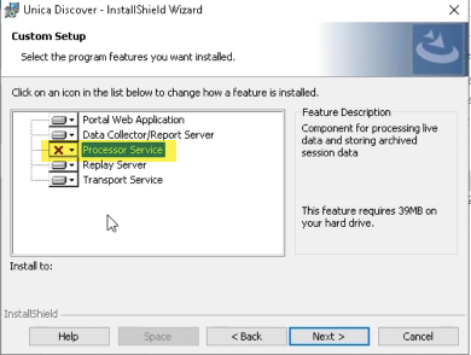
-
Select
Default Transport Pipeline (No HBR)in the Transport Pipeline option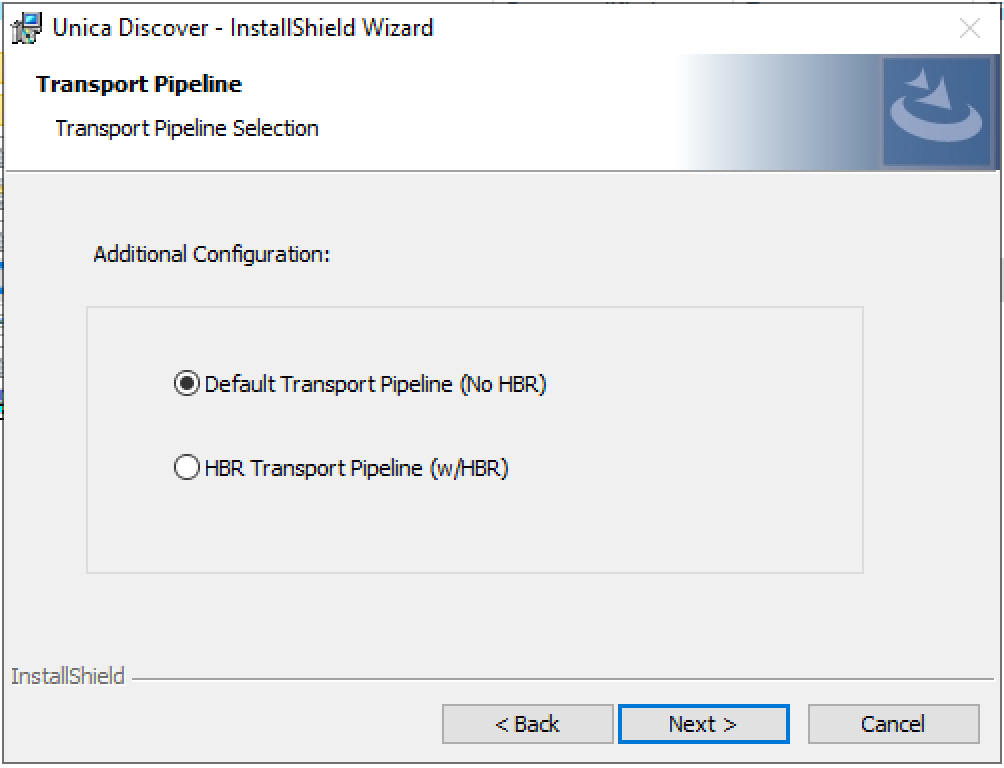
-
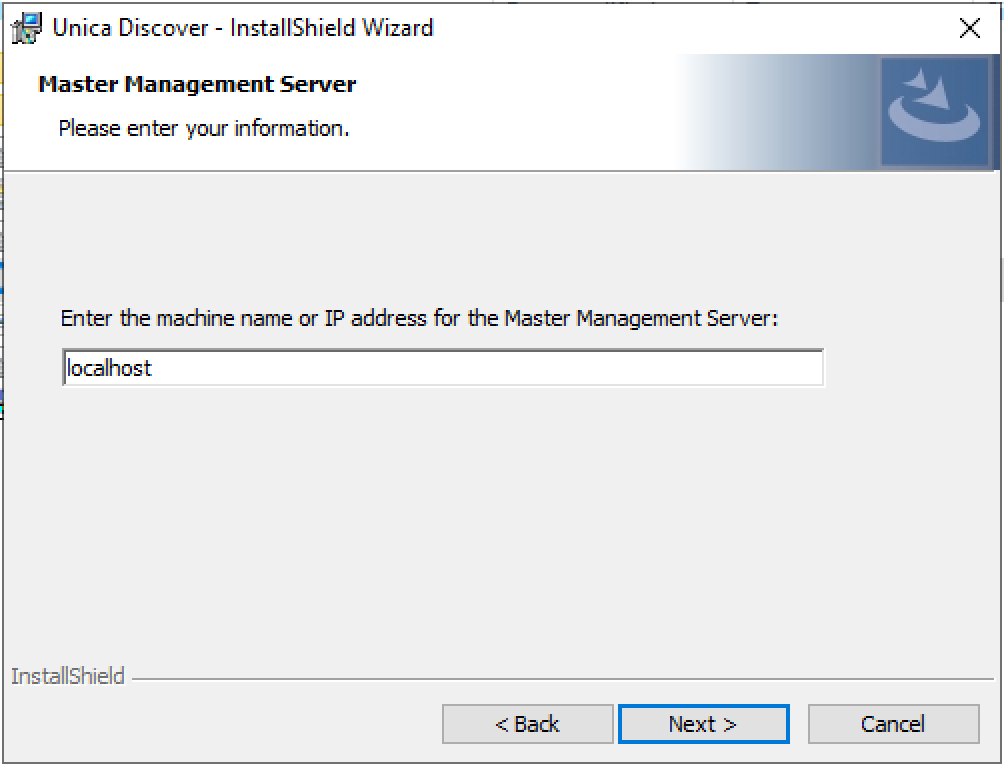
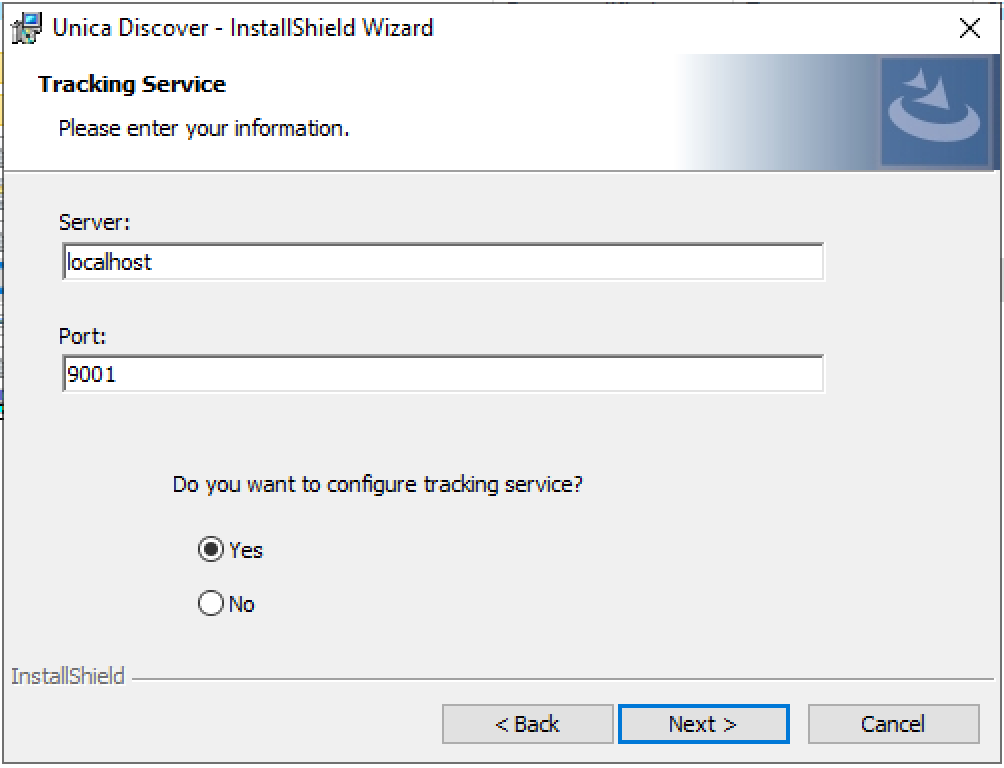
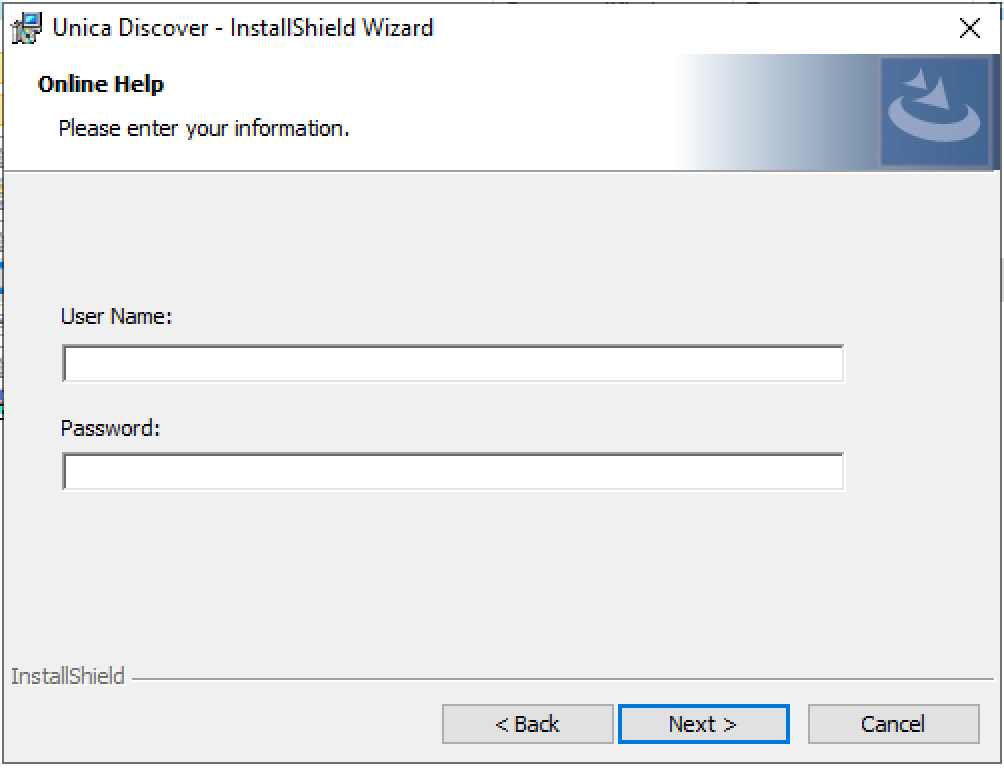
Set the Master Management Server. For the Portal server install this can be left as localhost, however it is best practice to enter the FQDN or IP of the Portal Server here.
-
You can leave the Tracking Service options as they are
-
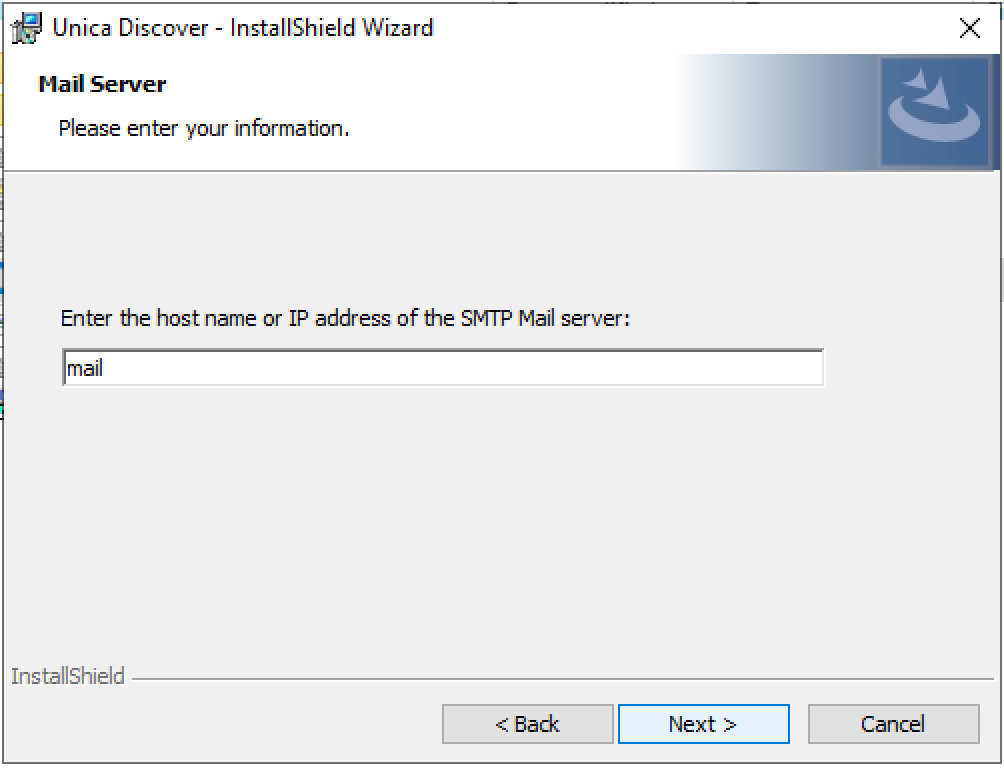
To enable the ability to send reports, etc via email enter the FQDN or IP of your companies SMTP server which will be used
-
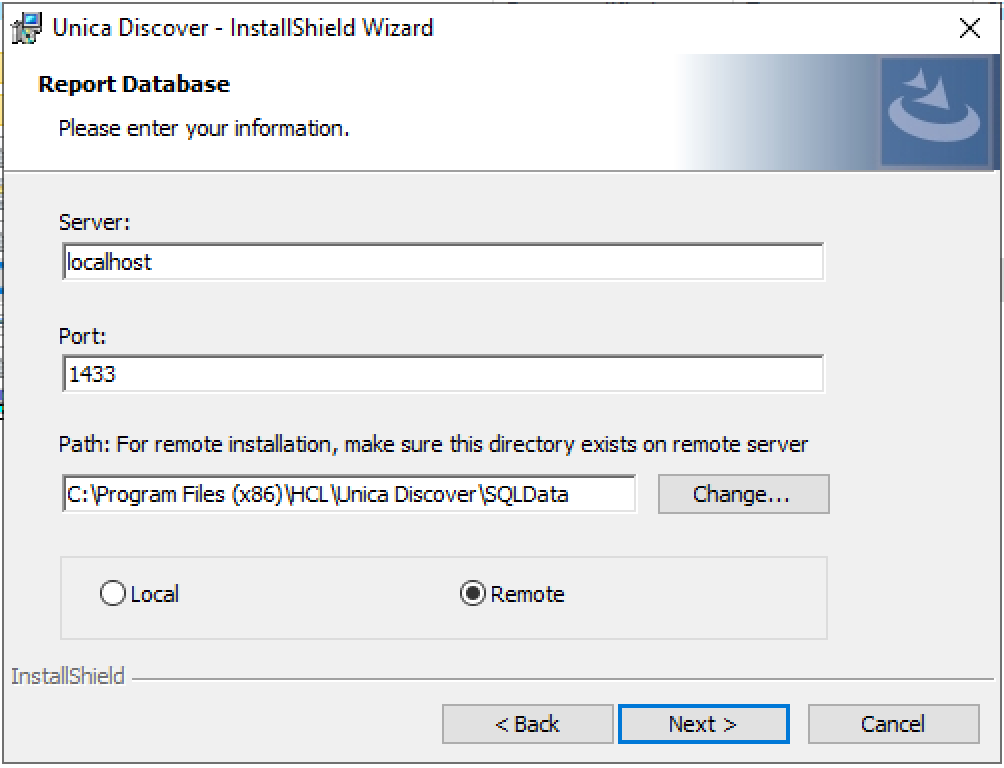
Set the Report Database options next. If you are installing locally on the Portal server you can leave the setting as they are. Alternatively, if you are connecting to a shared SQL server, please change the option to
Remote, ensure that the server FQDN or IP address is entered into theServertext box and the location on the server where the Database will be installed is configure correctly in thePathtext box.Local

Remote
-
Do NOT create the Reporting databases (SQL) at this point (this step will be performed post-installation). Select
No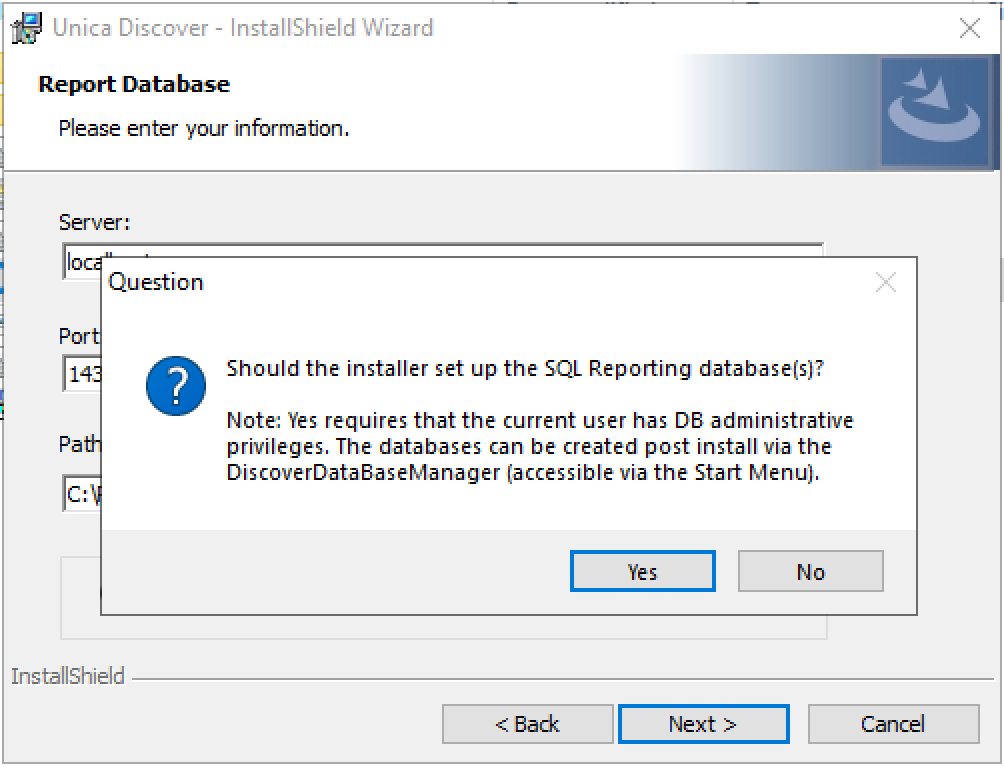
-
Leave the following screens as default
-
Enter the FQDN or IP address of all processing servers
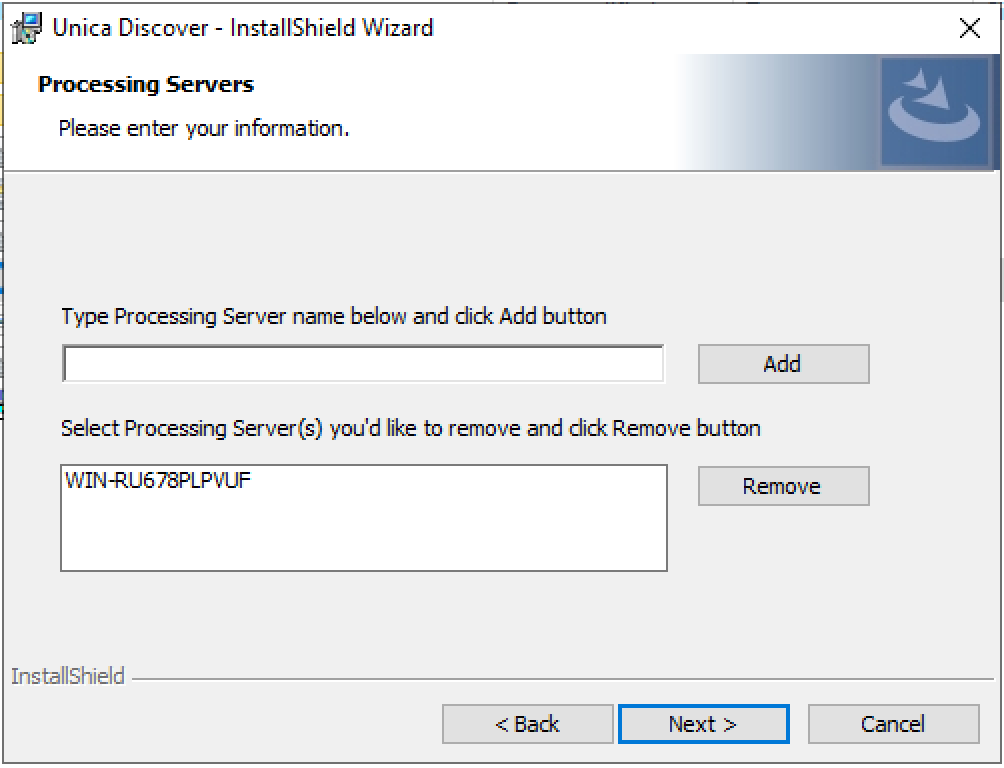
-
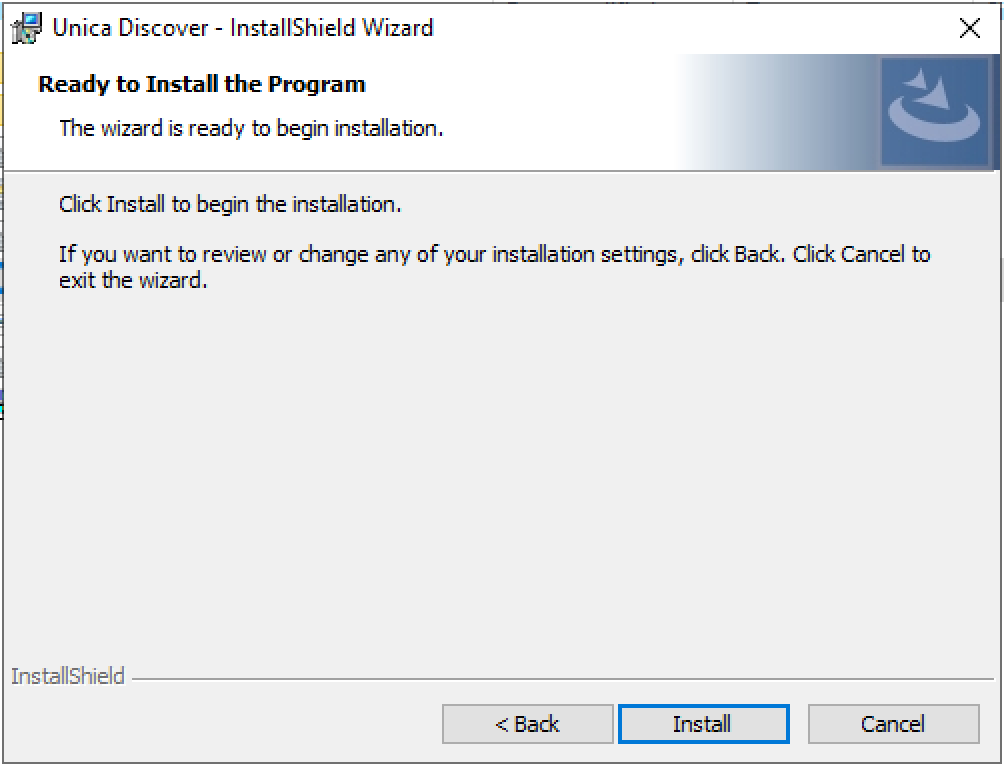
Now install
Certificate
An SSL certificate will be required to access the Portal over HTTPS, this will be installed into Microsoft IIS. Generating the certificate should be inline with your organisations IT policies. A self signed certificate cannot be used and is generally not supported by modern browsers. The PFX file required (note not a .CER file) is a combination of the certificate and the privatekey in the same file.
If the PFX is not created correctly or a .CER or other certificate type is created you will not be able to select the certificate in IIS.
Using the right certificate type
Using the cert and key files create the required pfx file using OpenSSL for installing into the Microsoft IIS server. OpenSSL should be a command available to most Linux environments, it will be available on the DNCA if unavailable elsewhere.
- With the .key and.crt files, use the example command below to create a .pfx file that can be installed into Microsoft IIS.
- Using this as an example openssl command, type openssl pkcs12 -export -out certificate.pfx -inkey privateKey.key -in certificate.crt at the commandline
- With the .pfx file created, on the Windows server double-click the .pfx certificate and follow the on-screen instructions to import the certificate into MS Windows.
- Select the Default Web Site within IIS
- Select Bindings...
- Click Add for a new HTTPS binding
-
Enter the IP and FQDN for the Discover Portal
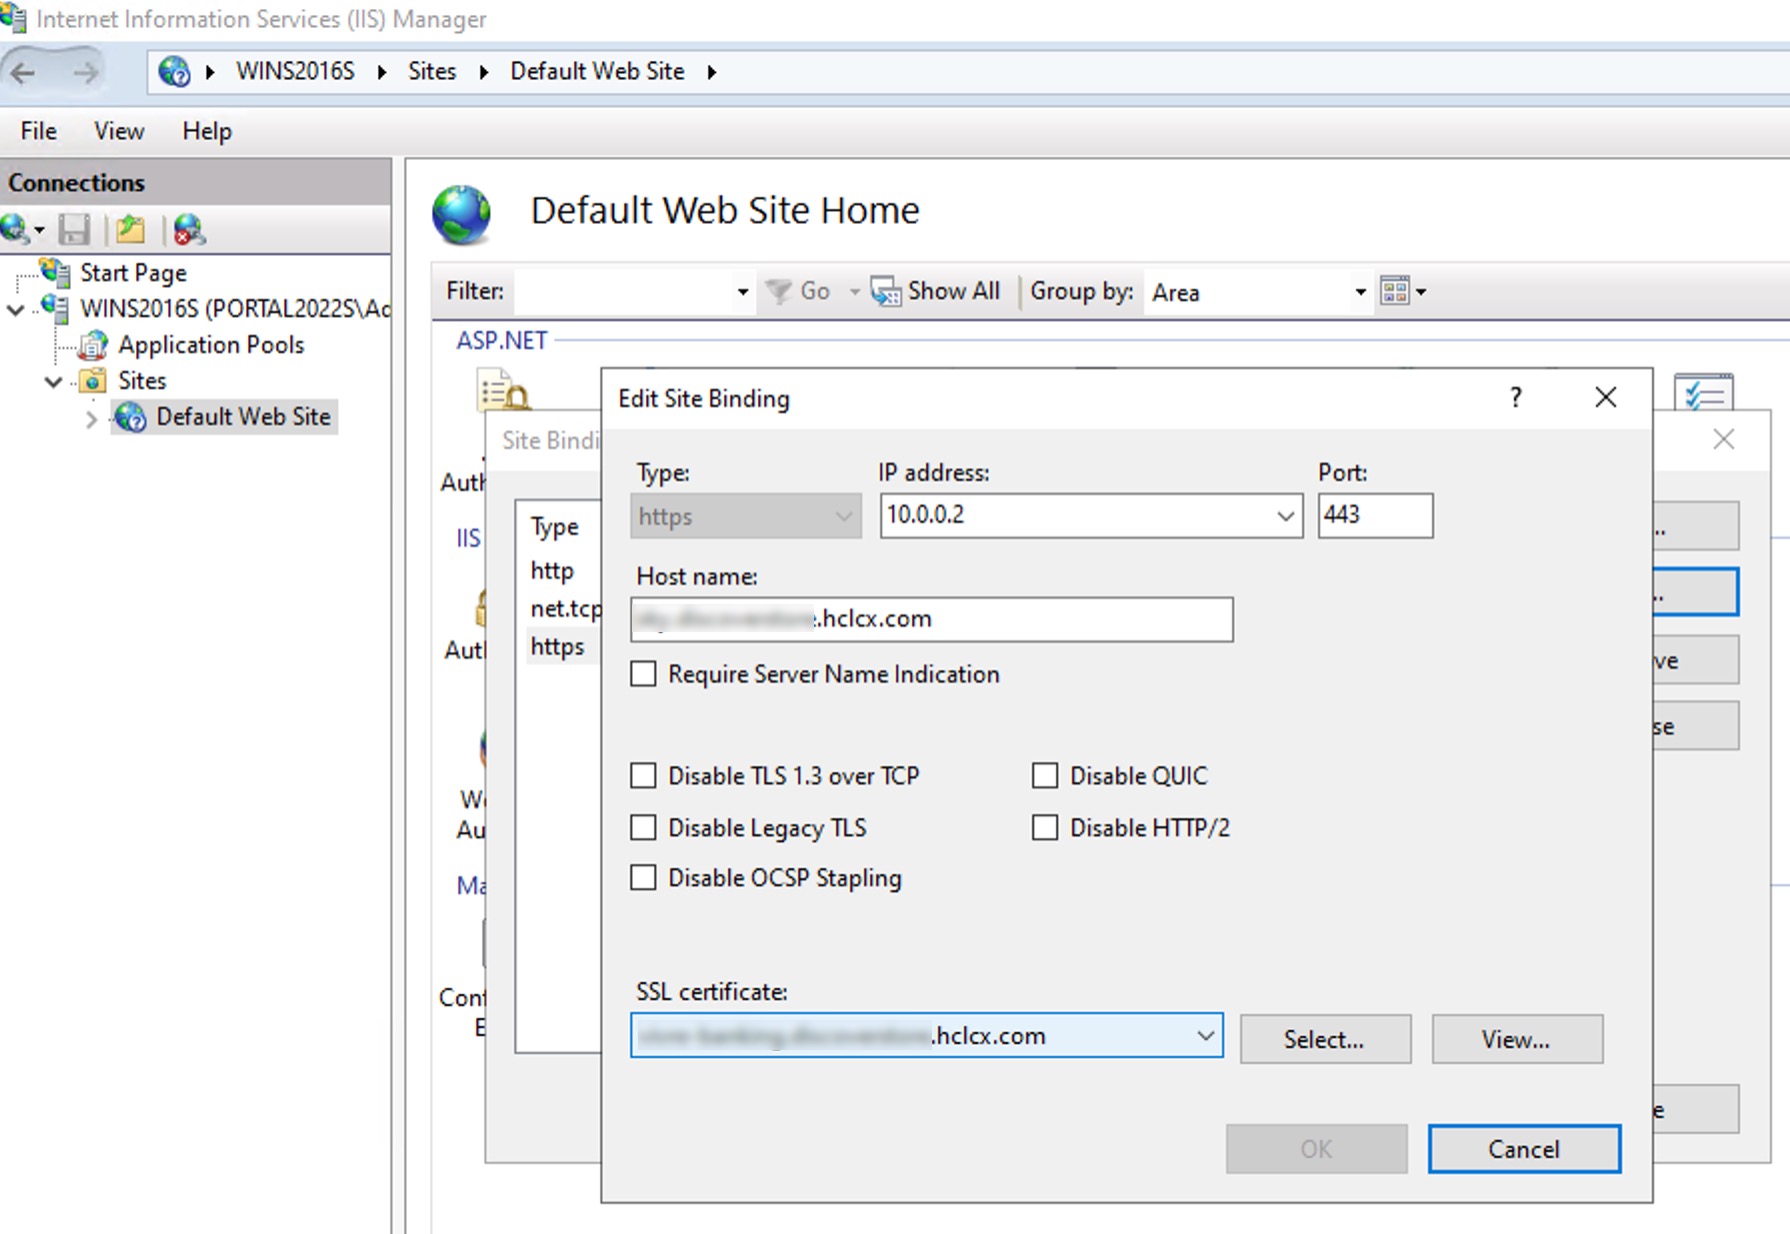
-
Select the SSL certificate: installed earlier
- Click OK and Close
- Using the commandline, execute the utility
iisreset - Start and stop the Discover as Administrator
Access the Portal
The Discover Portal will be available in the browser at https://mydomain-name.com/portal.
Install the Reporting Database
Follow the install database section, and return here.
Install Data Export Module
-
To install the Discover Data Export module, in
C:\HCL_Discover_Source\unzipUnica_Discover_12.1_DataExport_Win.zipthen run the fileDCSetup.exe. Ensure the application is started with Administrator User rights and all Discover Services are stopped. -
During the installation, select 'No' to the question 'Do you want to only enable DataExport Component in the Discover Portal?'
-
Once installation is complete, start all Discover services using the provided script.
Windows event Logs - validate any errors and address
- Log-in to the Discover Portal, http://localhost/portal, the first login takes a long time due to the DMS trying to reach all Processing servers and timing out.
- Check the health of the Search Server at http://localhost:19000/
- Check the health of the Search Server at http://localhost:38000/
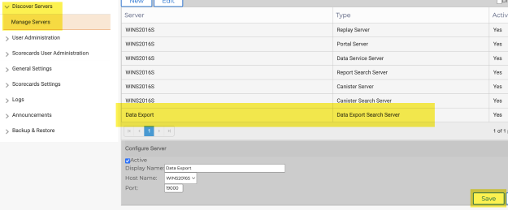
- Confirm that the defined servers (depending on how many Processing servers were added during installation) appear on the 'Manage Servers' page
- Confirm that the Master server appears on the DMS page
-
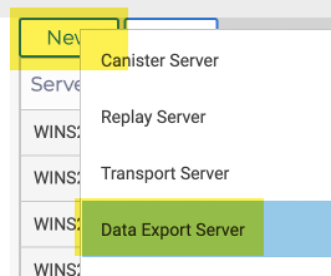
Define a new Data Export server via the Discover portal. To finish click Save.
-
Stop all Discover services using the script provided, you will note in the Services viewer that the Discover Management Server service and the Transport Service need to be stopped manually.
-
Using your organisations naming standards, take a backup of the Discover home directory, e.g.,
x:\HCL Backup\Discover 12.1.0andHKEY_LOCAL_MACHINE\SOFTWARE\WOW6432Node\Unica DiscoverRemember
Remember to start all Discover services using the provided script once your backups are complete.
DOMDiff validation
-
Validate the message Welcome to DOMDiffPatch Page is seen when accessing the URL
http://localhost:38005/DOMDiffServer/PatchDOMWithDiffsthis is to ensure that the JAVA_HOME variable is set correctly and working.
Tip
For further validation of the JRE_HOME setting, execute from a Windows command prompt
version.batlocated in the\HCL Discover\ApacheTomcat\binfolder. The output should be similar to the screenshot below.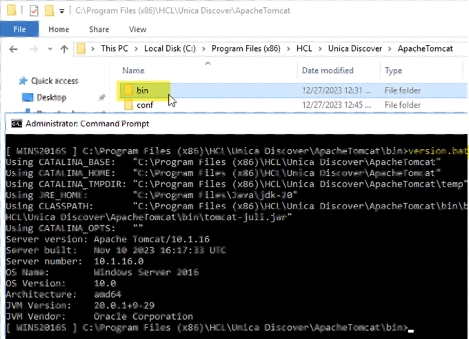
Release Note Steps
Follow the release notes located within the installation package. Release notes aka readme files contain must follow steps required to enable features, functions and changes. You will see errors if these are not followed.
Post installation
-
Update the following configuration files,
<Discover_Home_Folder>\DiscoverCaptureSocket.cfgfor statistics, and<Discover_Home_Folder>\System\ReplayServerProfile.xmlfor replay rules. -
Update the Replay Server Global Options at
http://localhost:38000/GlobalOptions?xsl=1, e.g.,InsertMissingOrCachedPages = 1. -
The IIS web server by default is still configured with weak TLS 1.0 and 1.1 protocols, it is recommended that these should be disabled. Disabling these protocols can be achieved using the Windows registry key settings in
HKEY_LOCAL_MACHINE\SYSTEM\CurrentControlSet\Control\SecurityProviders\SCHANNEL\Protocols, as show below. Or a Powershell script.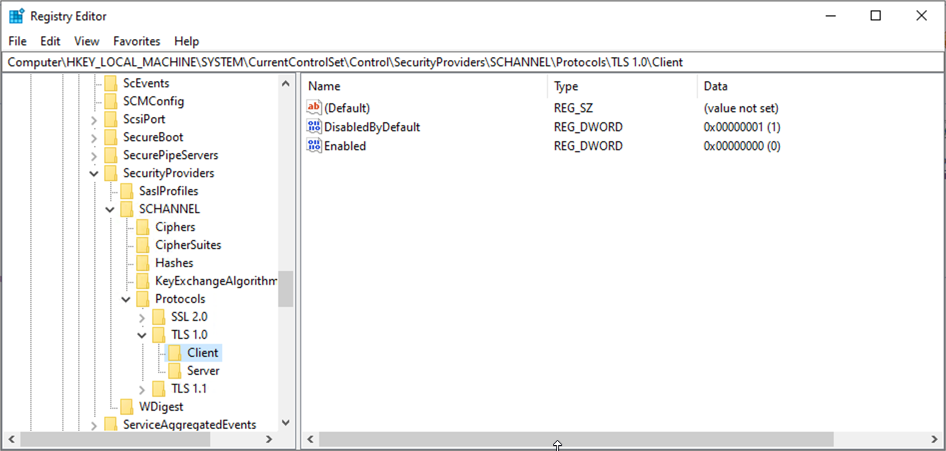 Example .ps1 powershell script
$protocols = "TLS 1.0","TLS 1.1" foreach ($p in $protocols) { foreach ($role in "Client","Server") { $path = "HKLM:\SYSTEM\CurrentControlSet\Control\SecurityProviders\SCHANNEL\Protocols\$p\$role" New-Item -Path $path -Force | Out-Null New-ItemProperty -Path $path -Name "Enabled" -Value 0 -PropertyType DWORD -Force | Out-Null New-ItemProperty -Path $path -Name "DisabledByDefault" -Value 1 -PropertyType DWORD -Force | Out-Null } } -
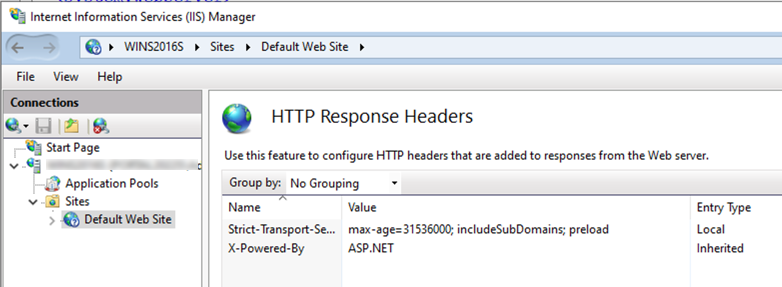
Enable strict HTTP Transport Security Policy on the default IIS web site. Using IIS Manager, select the default website and open HTTP Response Headers. Add the following configuration options shown below.
-
Add a Content Security Policy on the default IIS web site. Using IIS Manager, select the default website and open HTTP Response Headers. Add the following configuration options shown below.
Option Value NameContent-Security-Policy Valuedefault-src 'self'; script-src 'self' 'unsafe-inline'; style-src 'self' 'unsafe-inline' https://fonts.googleapis.com; img-src 'self' data:; font-src 'self' https://fonts.gstatic.com data:; connect-src 'self'; object-src 'none'; frame-ancestors 'none'; base-uri 'self'; form-action 'self'; upgrade-insecure-requests; 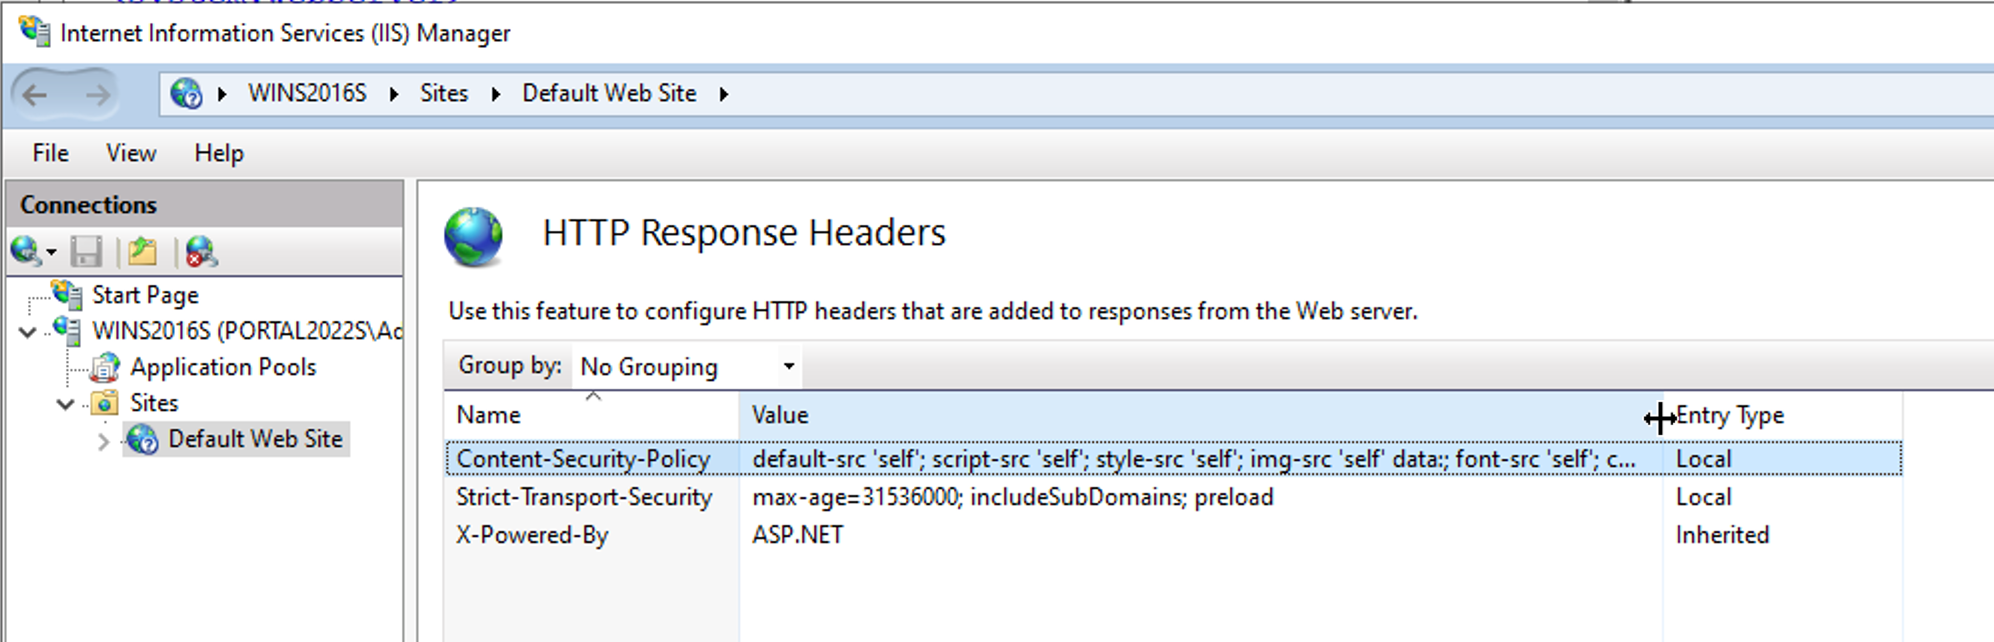
Optional Steps
SSL/TLS Forward Secrecy Cipher Suites
- On the Windows server, open Local Group Policy (gpedit.msc)
- Access Computer Configuration > Administrative Templates > Network >SSL Configuration Settings
- Edit SSL Cipher Suite Order
-
Enable and define a modern list such as:
``` js title="Example Cipher list" TLS_ECDHE_RSA_WITH_AES_256_GCM_SHA384, TLS_ECDHE_RSA_WITH_AES_128_GCM_SHA256, TLS_ECDHE_ECDSA_WITH_AES_256_GCM_SHA384, TLS_ECDHE_ECDSA_WITH_AES_128_GCM_SHA256 ``` -
Step 3: Reboot server
For ease of access when working with the Discover server, add the following directory locations to the Windows Explorer Quick Access toolbar:
-
<HCL_Discover_Home_Directory>\ -
<HCL_Discover_Home_Directory>\Logs\ -
<HCL_Discover_Home_Directory>\Portal\WebApp\temp_chart\Logs\
Additionally, adding the following application shortcuts to the Windows Taskbar may be useful as they will be frequently used:
- Windows Command Prompt (with Administrator access)
- Services
- Event Viewer
- Notepad (or other suitable text editor)
- Regedit (Windows Registry Editor)
- Start Discover Services
- Stop Discover Services
- Restart Discover Services