Hiding unnecessary elements in Component edit and read forms for CEC components
This section explains how to hide unnecessary fields from the Component Edit and Component Read forms in CEC (WebEngine) Practitioner Studio. Removing unused fields simplifies the authoring interface without affecting component behavior. Hiding these fields also helps to:
- Reduce confusion for content authors.
- Prevent accidental modification of unused properties.
- Improve the overall user experience.
Supported components
This process can be applied to any WebEngine component.
The examples in this guide use the Featured Stories component.
Recommended fields to hide
The following fields have been identified as unnecessary:
| Display Name | Element Name |
|---|---|
| Additional Secondary Community Blog | content-id2 |
| Additional Tertiary Community Blog | content-id3 |
| DXComponent Config After Initializer | dxcomponent-config-after-main |
| External Data Source | external-data-source |
| DXComponent Secondary Collection | dxcomponent-secondary-collection |
Note
Additional fields can be hidden by following the same procedure if required.
Hiding elements from a specific content instance
Use this method to hide fields for a single component instance.
Visual reference
Steps
- Open Practitioner Studio.
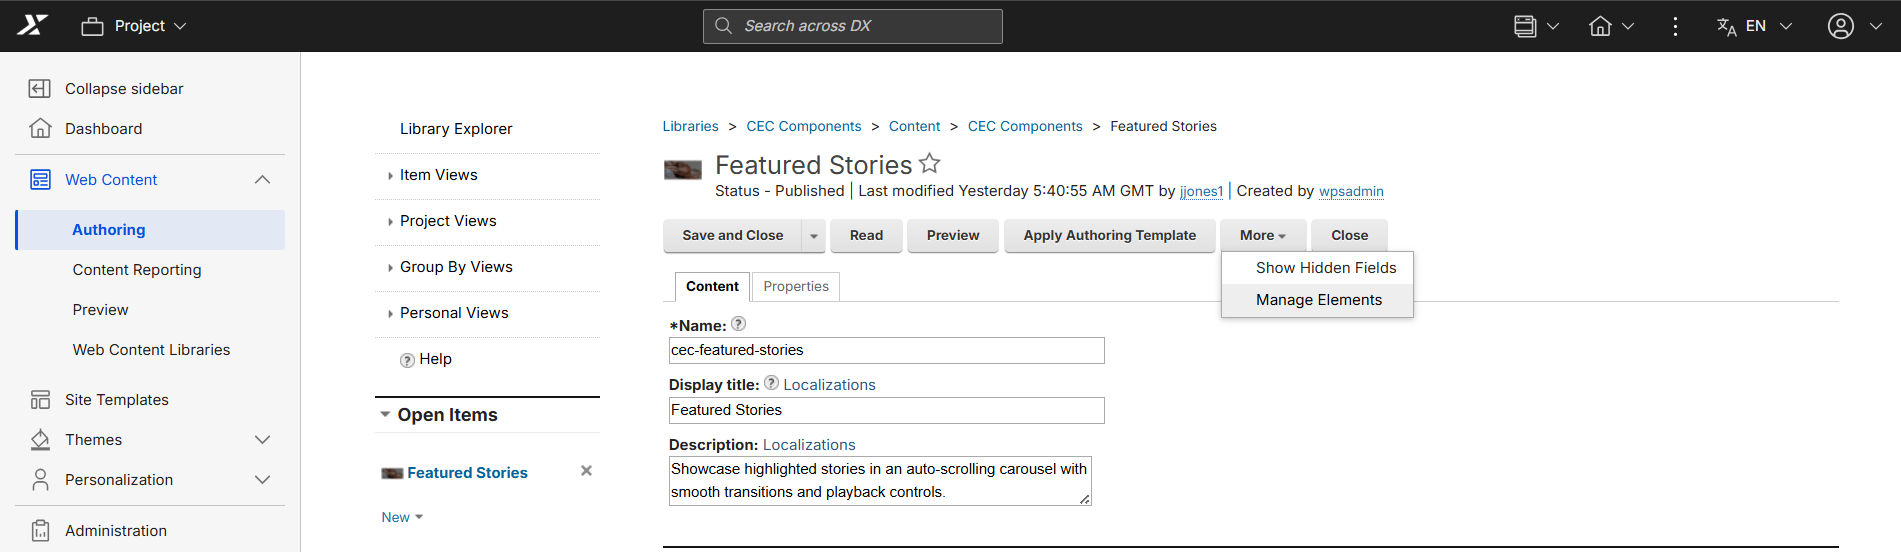
- Go to Authoring > Libraries > CEC Components > Content > Intranet Site Area > Homepage A > Featured Stories
- Click More.
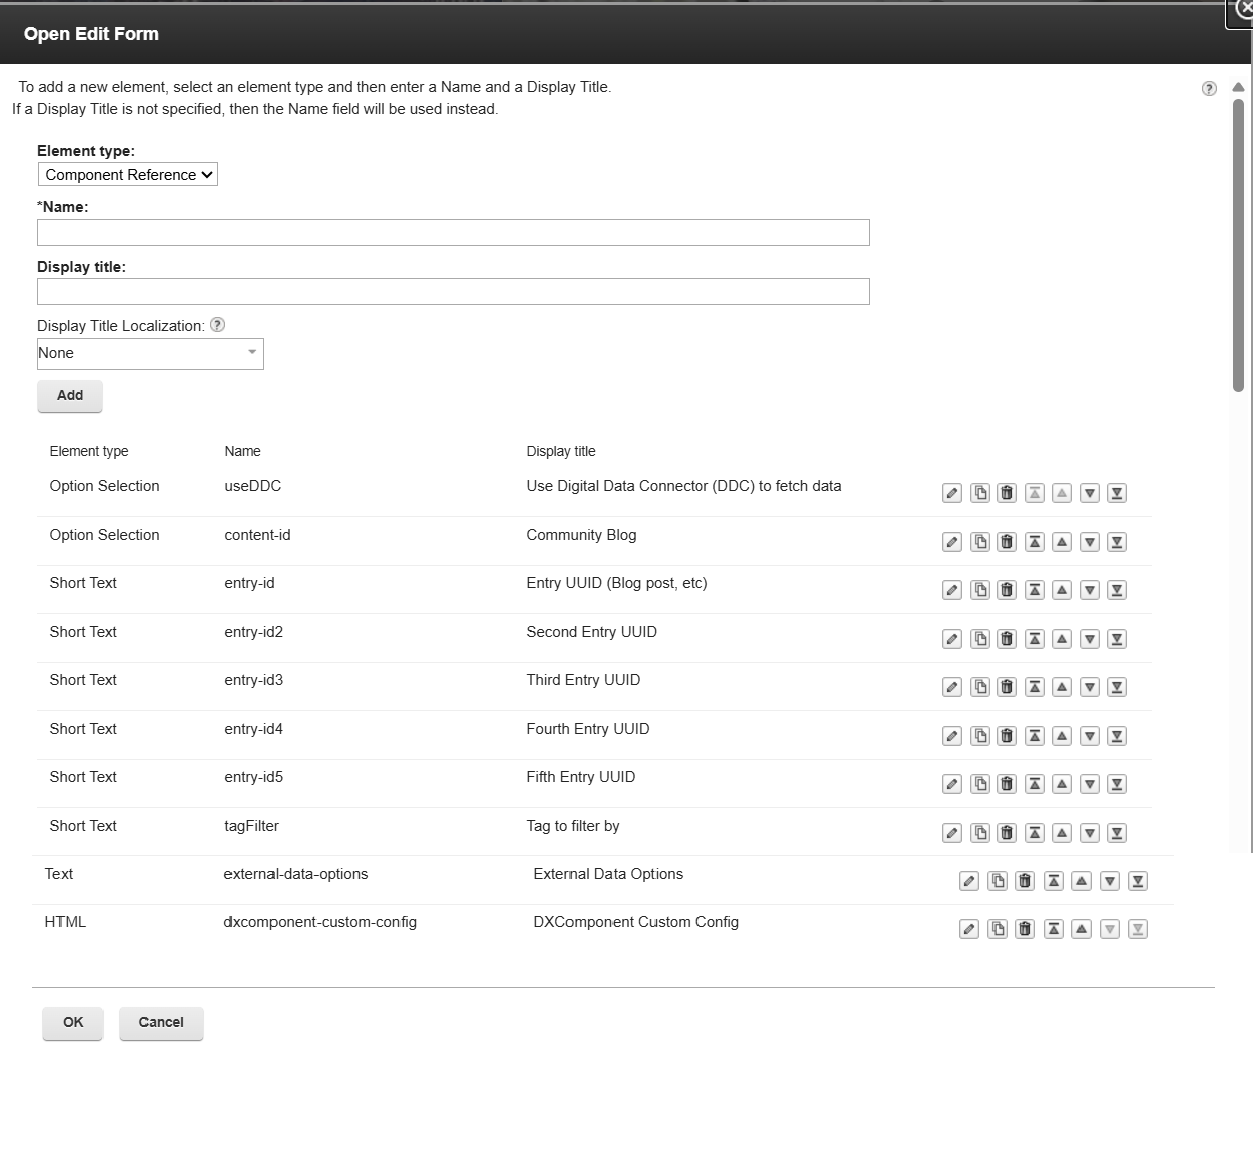
- Select Manage Elements.
- Locate the unnecessary fields.
- Remove or hide the required elements.
- Click Ok.
- Save the changes.
Hiding elements from the authoring template (Recommended)
Why recommended: Changes made at the authoring template level apply to all future instances, reducing repetitive configuration.
Steps
- Open Practitioner Studio.
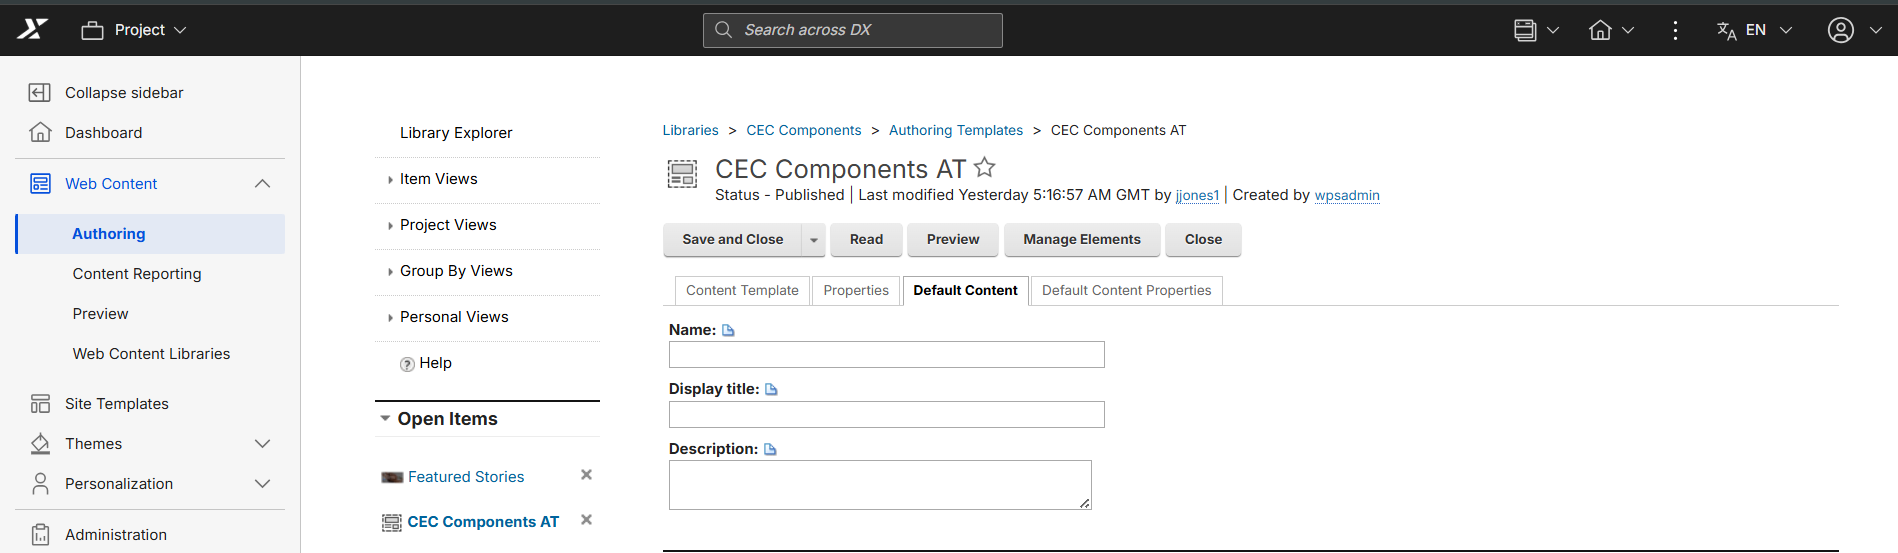
- Go to Authoring > Libraries > CEC Components > Content > CEC Components > Featured Stories
- Open the component for editing.
- Click More.
- Select Manage Elements.
- Remove or hide the unnecessary fields.
- Click Ok.
- Save the template.
Hiding elements directly from an open edit form
Use this alternate method to hide fields for a specific component instance.
Steps
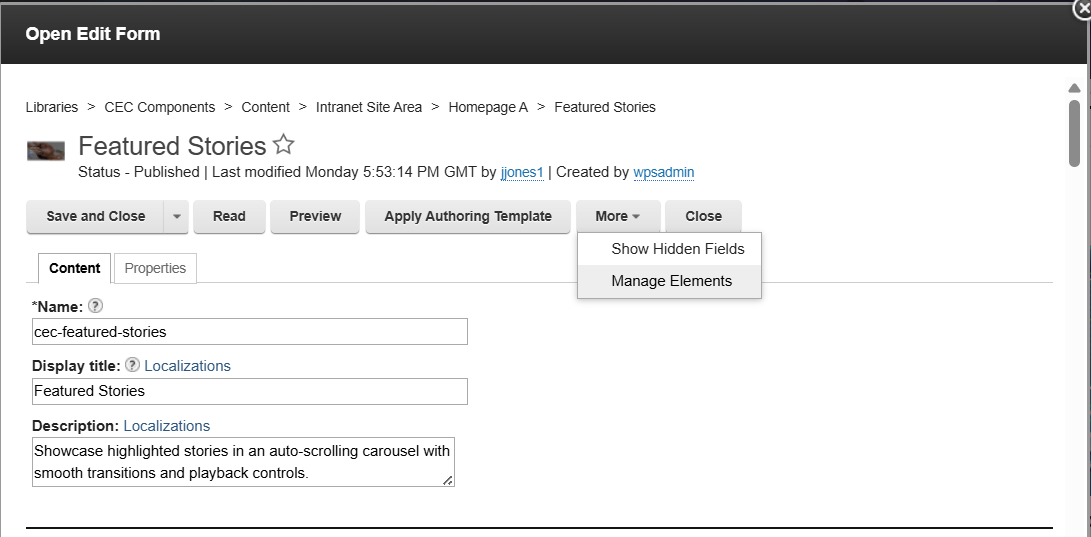
- Open the component edit form.
- Click More.
- Select Manage Elements.
- Remove or hide the unnecessary fields.
- Click Ok.
- Save the changes.
Important notes
- The changes are applied only to the content item or authoring template that is modified.
- For Method 1 only: If a new component instance is created or added to a different page, the element hiding must be repeated for that instance. Method 2 avoids this by applying changes at the template level.
- Hiding elements only affects the authoring interface and does not impact component functionality or existing content.
Restoring hidden fields
- Navigate to the same Manage Elements dialog (via content or authoring template).
- Re-add the previously hidden elements.
- Save the changes.
The fields will reappear in the Edit and Read forms.
Verification
After completing the configuration:
- Open the component Edit Form.
-
Verify that the following fields are no longer displayed:
- Additional Secondary Community Blog
- Additional Tertiary Community Blog
- Section Title (Component Title)
- External Data Source
-
Open the Read Form and verify that the same fields are hidden.
- Confirm that the component continues to function as expected.
Expected result
Before
The Edit and Read forms display all available fields, including fields that are not required by content authors.
After
The unnecessary fields are hidden, resulting in a cleaner and more user-friendly authoring experience while maintaining full component functionality.