Configuring KeyCloak as an SAML authentication provider for Connections
Configuring Keycloak as the SAML authentication provider for Connections involves these steps.
- Creating a realm
- Within that realm create a client for the Connections web application
- Create Mappers and Roles for th cient.
- Export Metadata file for SP SSO
The realm contains the Keycloak SAML clients which provide the authentication for Connections entities.
Procedure
-
Create New Realm
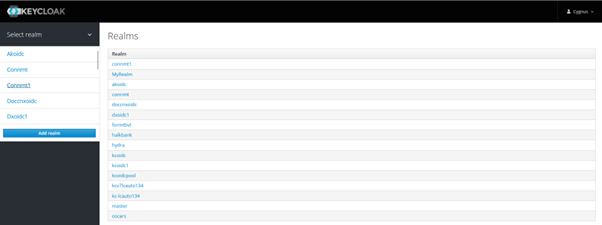
Login to Keycloak. Click on Select Realm.
In the dropdown menu, select Add realm.
Enter the name of your choice for your realm and click “Create”.
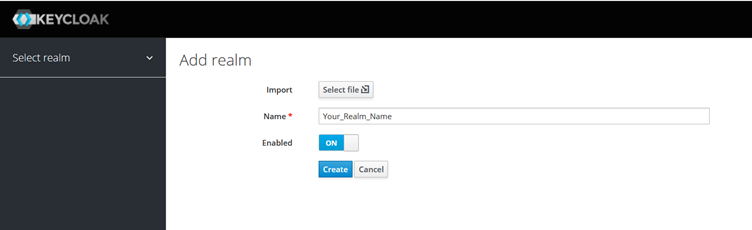
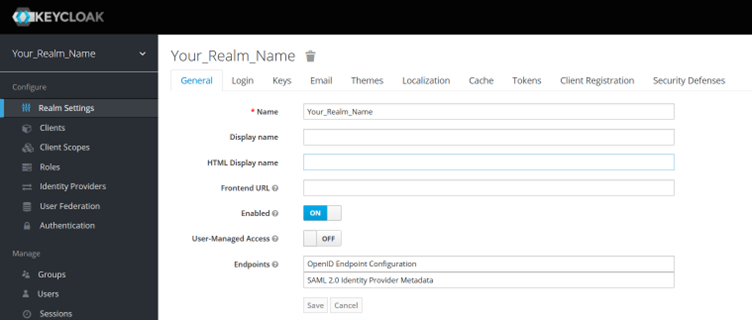
Your realm will be created as shown in below screenshot.
-
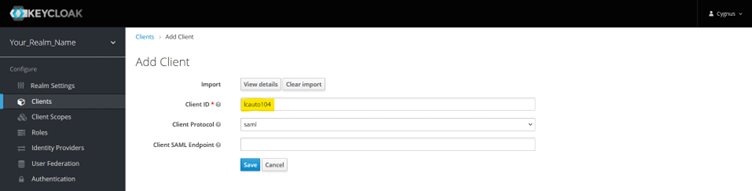
Create Client
Select Client from the left-hand side (LHS) menu and click Create as highlighted in below screenshot.
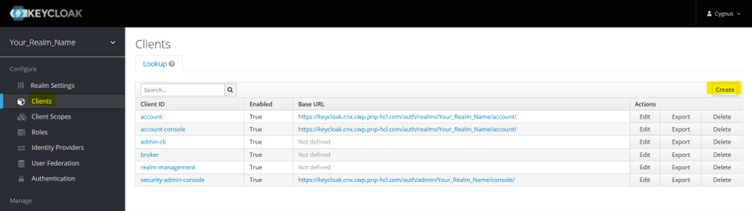
On the client creation page, click Select file to Import. Use the SP metadata file exported from WebSphere. You can change the Client ID as per your choice. Click Save.
-
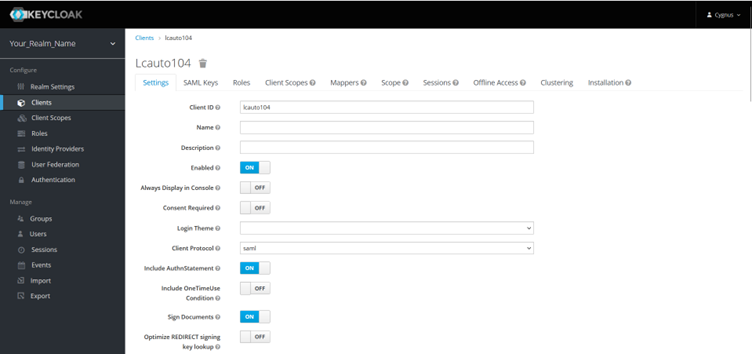
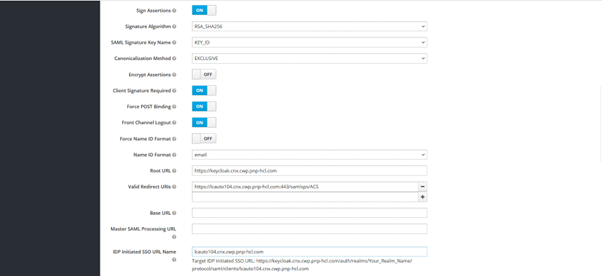
Edit Client Properties
Edit the following client properties:
- Name ID format: email
- Root URL: Keycloak host URL
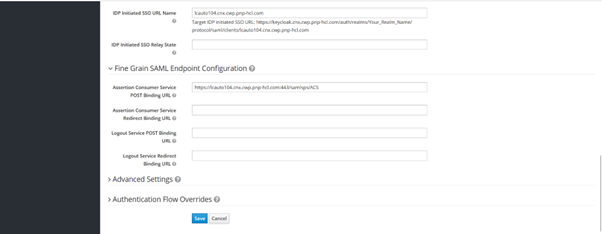
- Initiated SSO URL Name: Your app host URL
-
Add Client Scope
Select Client scope from LHS menu and then select Create button from RHS as shown in below screenshot.
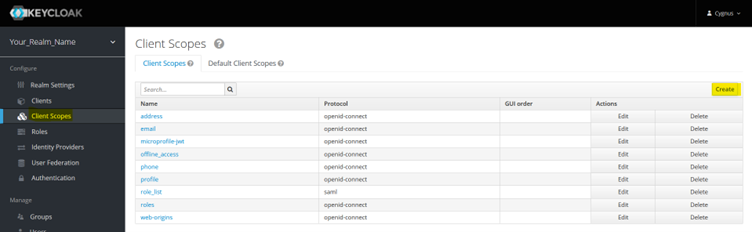
Enter a name for the client scope and click Save. New client scope would be created.
-
Create Mappers
On the same page, go to the Mappers tab and create in Mapper by selecting “Create” button on RHS. Refer below screenshot.

First change/select “Mapper Type” to “User Property from drop down and then provide other required for “firstName” property as shown in below screenshot.
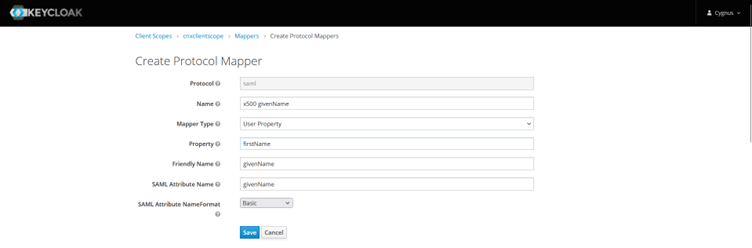
Similarly, create mappers for: -
lastName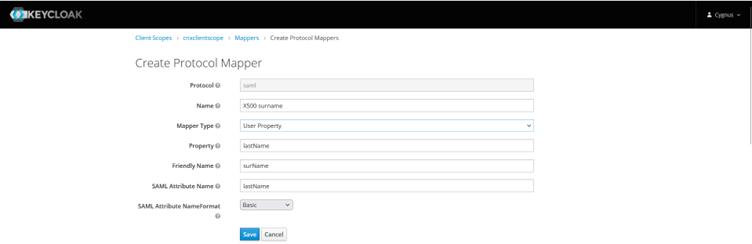 -
- email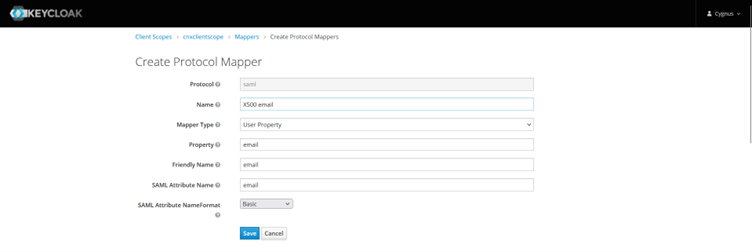
-
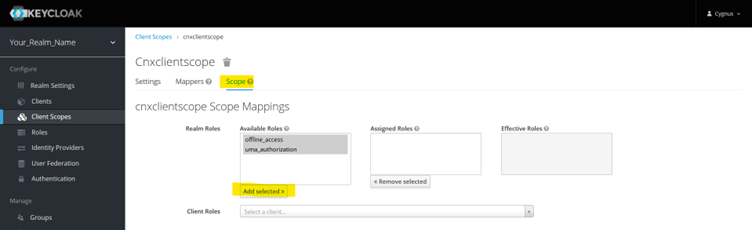
Create Scope For the same CnxClientScope, go to next tab Scope and select available roles and click Add Selected>.
PFB screenshot.
-
Add Roles From LHS menu, select Roles and click “Add Role” button present on RHS. Refer below screenshot.
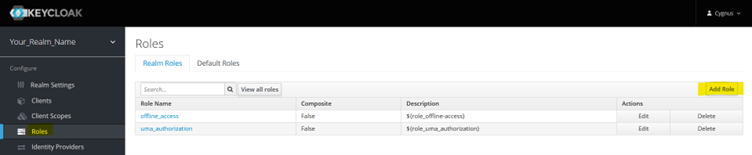
Provide a role name and click Save.

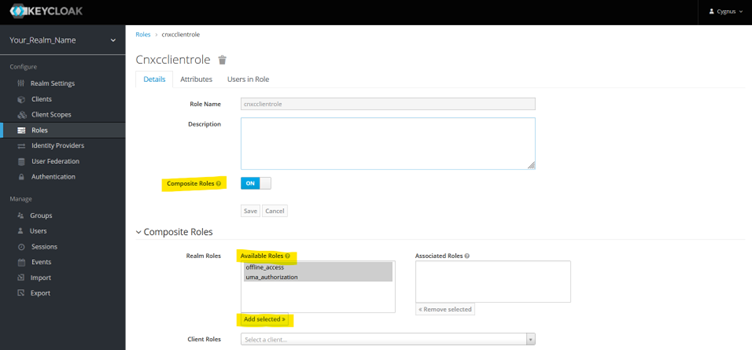
Enable Composite Role
Once roles is saved, new option will appear on same screen named “Composite role” with default value as “OFF”. Change value to “On”
-
Export IDP Metadata File
Navigate to Clients and select you client. On client’s dashboard select last tab Inastallation. From Format options drop down menu select SAML Metadata SPSSODescriptor Refer below screenshot.

This file can be used for WebSphere configuration to generate IDP-related TAI properties and security certificates.