Workbench
WorkBench analysis allows users to build different versions of the recommendation and unique models for an organization. WorkBench provides a UI to capture SME feedback for results received for these models. If the SME considers a particular version of the model to be about 80% to 90% accurate, then the user can deploy the same model in a production environment. Users can use the deployed model for future clustering of tickets and recommendations.
To run and build different versions of the same model (for ticket clustering and Runbook Recommendation), the SME defines the configurations, also called hyperparameters for each version. SMEs can use these models to test the current unique and recommendation models anytime and update them as required.
The Workbench option is visible only to Super Admin.
- To manage workbench analysis, on the main menu bar, click Advance
Configuration🡪 WorkBench. The drop-down lists the following options:
Figure 1. Workbench 
Unique Analysis
Unique analysis modifies the hyperparameters (or configuration) of the iUnique module to increase accuracy in the customer specific environment.
- To manage workbench unique analysis, on the main menu bar, click Advance
Configuration-> WorkBench and then click Unique Analysis. The Unique
Analysis page appears.
Figure 2. Workbench Unique Analysis 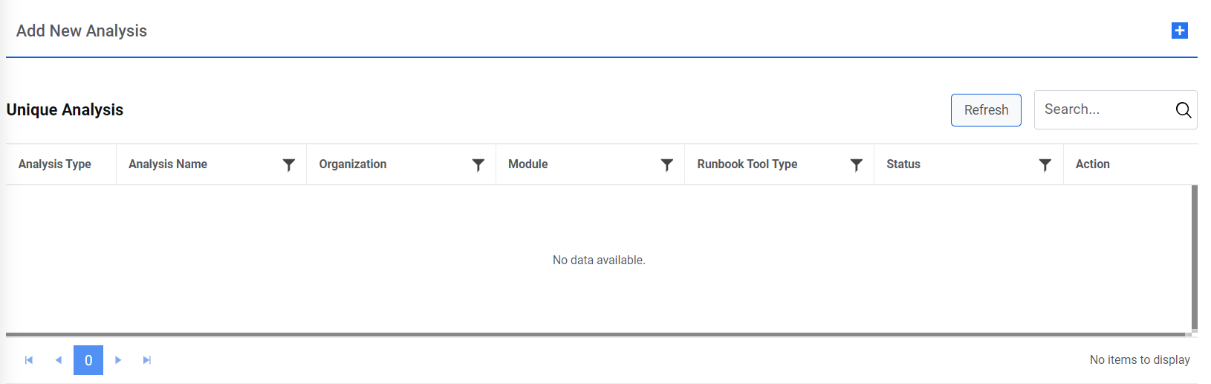
- This lists the available unique analysis types in a
tabular view which enables user to add new iterations to the existing analysis, add new
unique analysis, and view, edit, or publish the existing unique analysis.Note:User can only perform one unique analysis for a single organization at one time. However, you can run multiple analyses for different organizations simultaneously.
Add New Iteration
If the existing configuration (or hyperparameters template) of unique analysis does not provide the expected results, you can add multiple configurations (or hyperparameters template) to get better results.
To add a new iteration, perform the following steps.
- On the Unique Analysis page, click Run New Iteration.
Figure 3. Workbench Unique Analysis 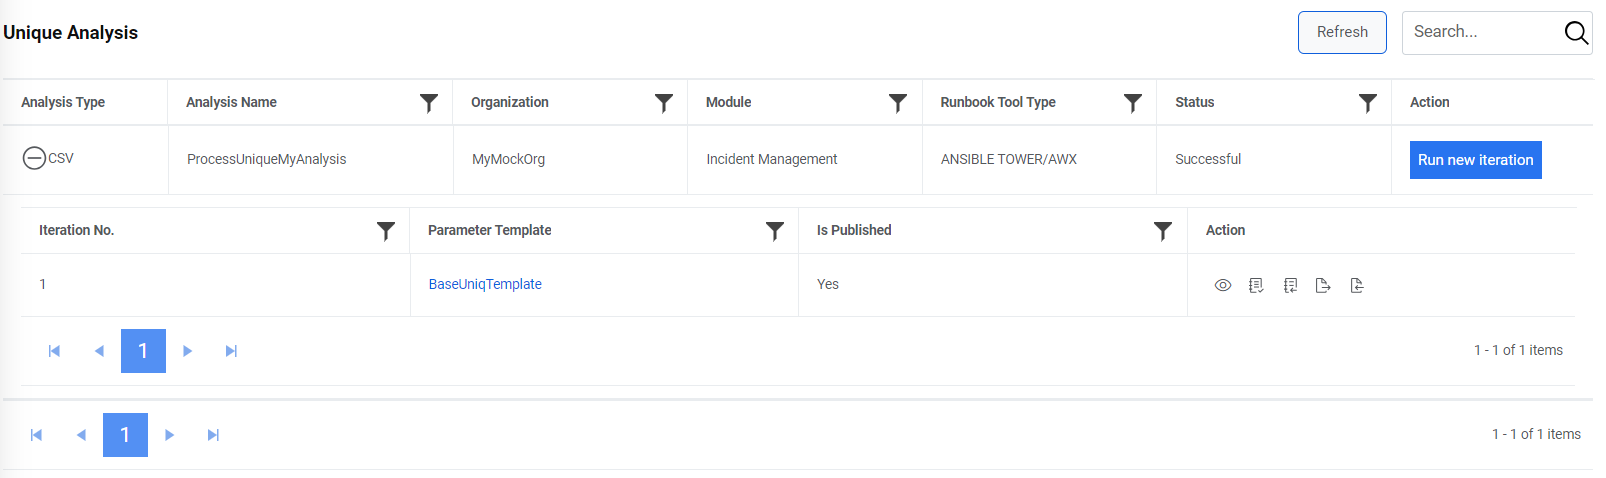
- On the Iteration page, select Hyperparameter Template from the drop-down
menu, and then click Run.
Figure 4. Workbench Unique Analysis 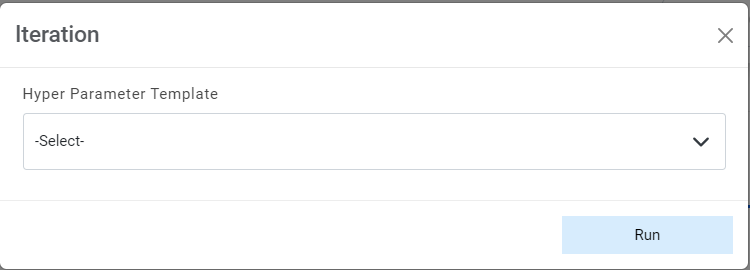 Note:To create a new hyperparameters template, see Hyperparameter Configuration .
 - The confirmation dialog box appears.
Figure 5. Workbench Unique Analysis 
- This adds the iteration and appears at the bottom of the list in a grid below.
Figure 6. Workbench Unique Analysis 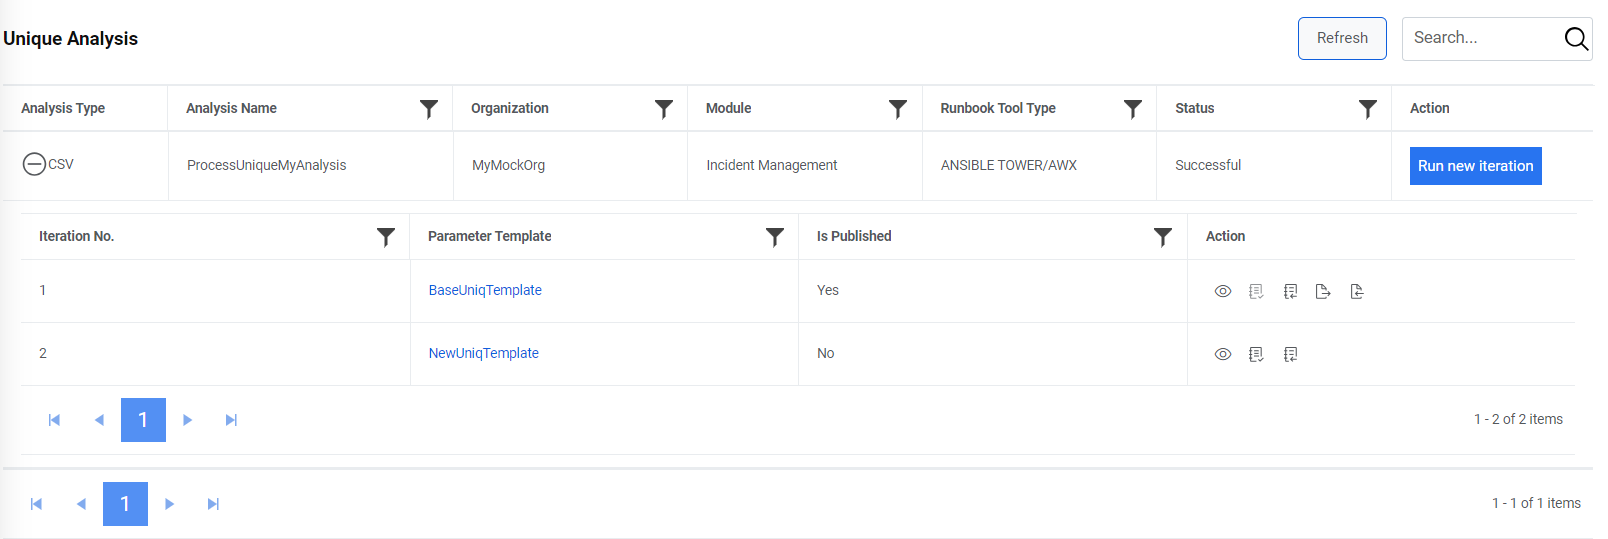
Add New Unique Analysis Type
User can add a new workbench unique analysis type for an organization by performing the following steps.
- On the Unique Analysis screen, click on icon
 .
.Figure 7. Add New Unique Analysis 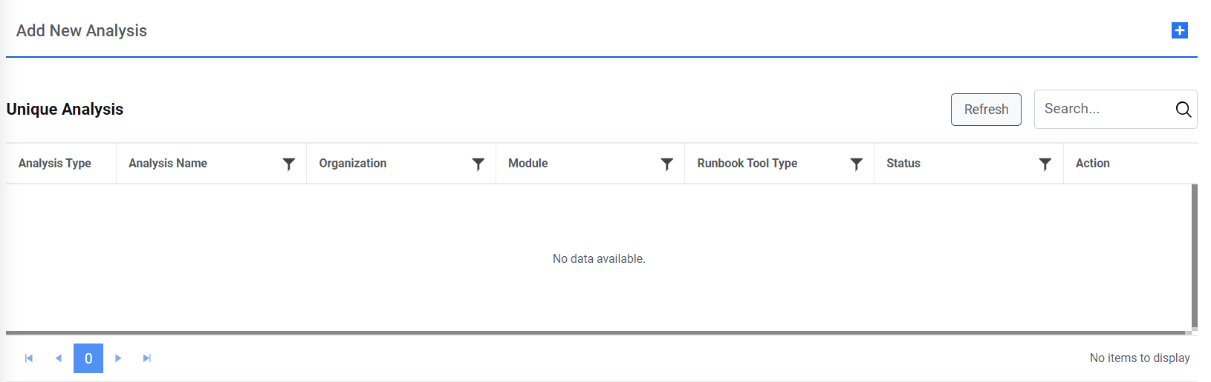
- The Upload WorkBench Data page appears. Users can define general attributes for
the new analysis on this page. Attributes must be set for fields marked with an asterisk
(*) to appropriate values for the environment before creating an analysis.
Figure 8. Add New Unique Analysis (Cont.)  Note:User can create a dummy organization using Add Mock Organization.
 - If the user doesn’t want to run the analysis for any organization, then user can also
create a mock organization using the following steps:
- Click on Mock Organization button, and it will prompt you to type the Mock
Organization name.
Figure 9. Add New Unique Analysis (Cont.) 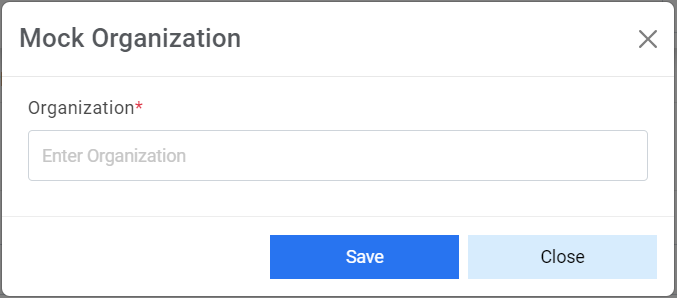
- Click Save. This adds the new mock organization and appears in the Organization drop-down list.
- Click on Mock Organization button, and it will prompt you to type the Mock
Organization name.
- Select a module from the list of modules available in the Modules field.
- Select Runbook Tool Type from the list of available tool types in dropdown.
- In the Analysis Name field, type the unique name for the analysis to be created.
- Click Download Template to download the CSV template to upload analysis details.
- Fill the details in the downloaded template and click Choose File to upload the updated CSV template.
- Select the hyperparameter template version from the templates available in the
Hyperparameter Template Version field.Note:It lists all the Hyperparameter Templates added in Add New Template .
- To start a unique analysis, click Start Analysis.
Figure 10. Add New Unique Analysis (Cont.)  Note:On clicking Start Analysis, one job is created for Unique Analysis and another for Recommendation Analysis. Newly added analyses are listed on the Manage Jobs page.
 - To enable a job to view analysis, go to Manage Jobs.
Figure 11. Add New Unique Analysis (Cont.) 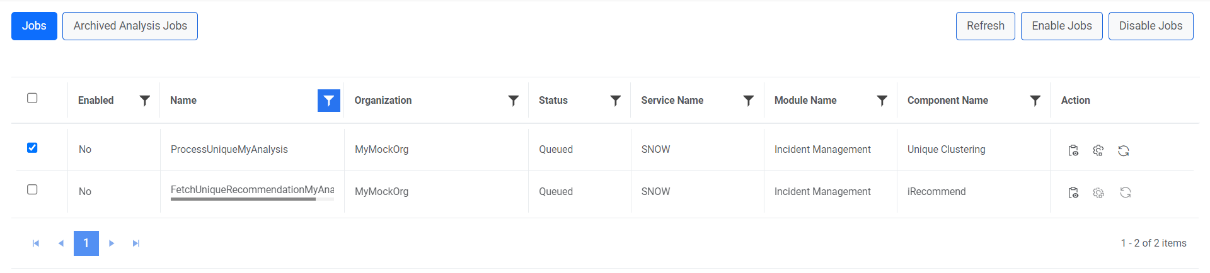
- Select the newly added job for unique analysis with the status as Queued and then
click Enable Jobs. A confirmation dialog box appears.
Figure 12. Add New Unique Analysis (Cont.) 
- This adds the analysis and lists it in on the Unique Analysis page with an
In-Progress status.
Figure 13. Add New Unique Analysis (Cont.) 
- After the unique analysis is completed, the status changes to Pending
Verification. The SMEs can now validate the results.
Figure 14. Add New Unique Analysis (Cont.) 
- To analyze the added unique analysis data, click
 next to the analysis to be verified.
 - This auto fills the data available in the template of the selected analysis and allows
user to view, edit, or publish the analysis.
Figure 15. Add New Unique Analysis (Cont.) 
View Unique Analysis
User can view the information about an analysis that has already been defined in the workbench.
To view a unique analysis, perform the following steps:
- On the Unique Analysis page, click
 next to the analysis user wants to view.
Figure 16. View Unique Analysis 
- The WorkbenchVerifyTicket page appears where users can edit the required
Similarity Score to view the canonical summary of the analysis.
Figure 17. View Unique Analysis (Cont.)  Note:Click Export Summary to export the canonical summary of the analysis to your folder or click Back to go back to the previous screen.
Edit Unique Analysis
User can open an existing analysis, review the available information, and change the analysis details by performing the following steps:
- On the Unique Analysis page, click
 next to the analysis you want to verify.
Figure 18. Verify Unique Analysis 
- The Canonical Summary page appears where users can edit the required
Similarity Score to see the canonical summary of the analysis.
Figure 19. Edit Unique Analysis (Cont.) 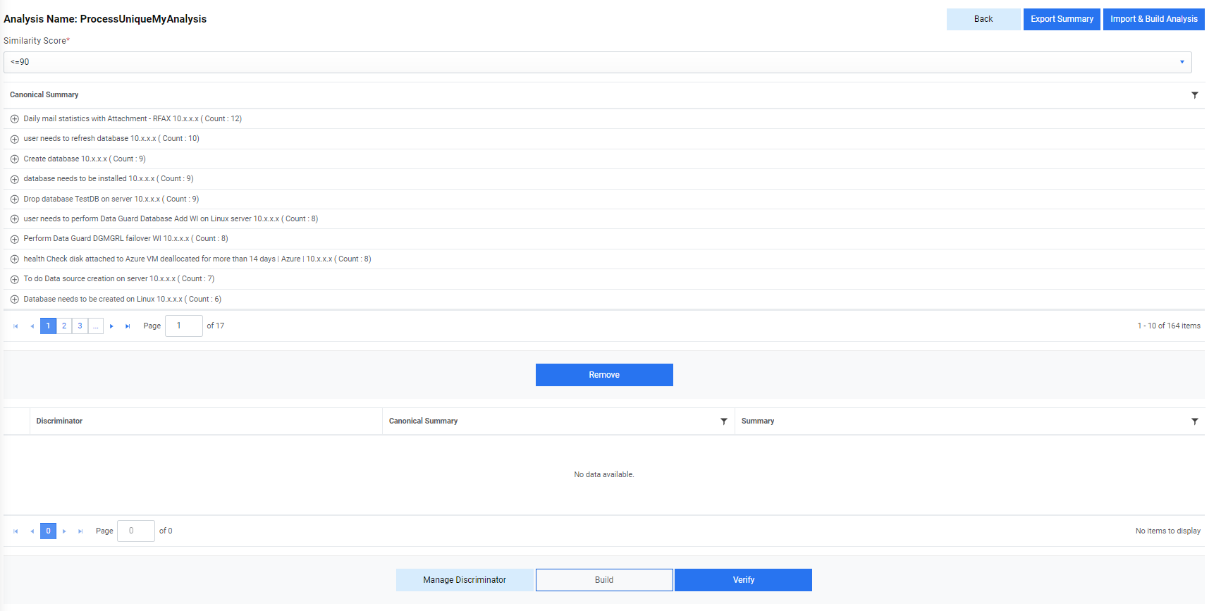
- Expand the selected Canonical Summary and all the available tickets under the
summary appear in a tabular view.
Figure 20. Edit Unique Analysis (Cont.) 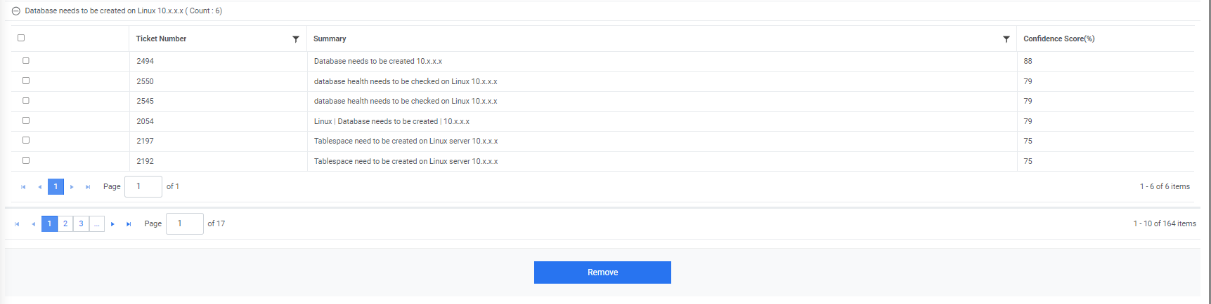
- To delete tickets from the selected analysis, select tickets under the canonical summary and click Remove.
- The Discriminator page appears that allows users to select the Existing Discriminator.
- Type a new (at least two comma-separated values) discriminator to verify the uniqueness
of the selected tickets and click Save.
Figure 21. Edit Unique Analysis (Cont.) 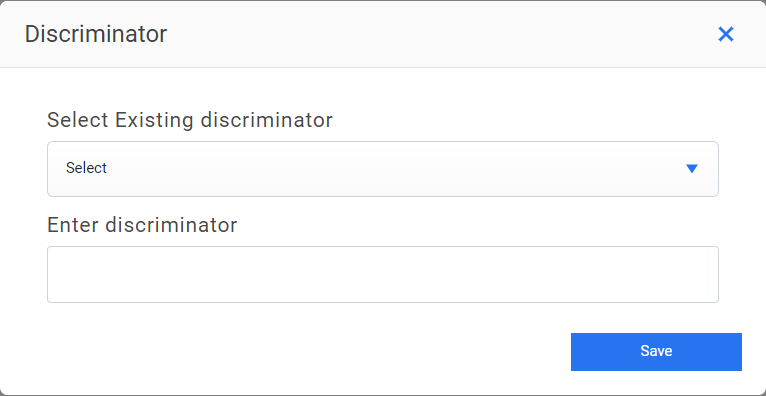
- The new discriminator is added and listed in the grid below.
Figure 22. Edit Unique Analysis (Cont.) 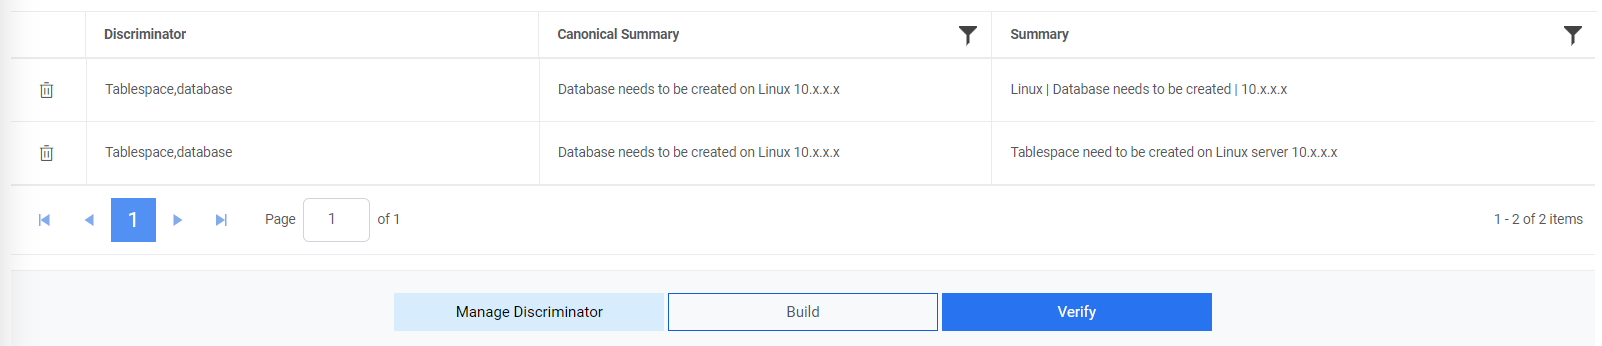
- To manage the added discriminator for analysis, select Manage Discriminator.
- The Manage Discriminator page appears and allows user to delete the discriminator
by clicking
 .
.Figure 23. Edit Unique Analysis (Cont.) 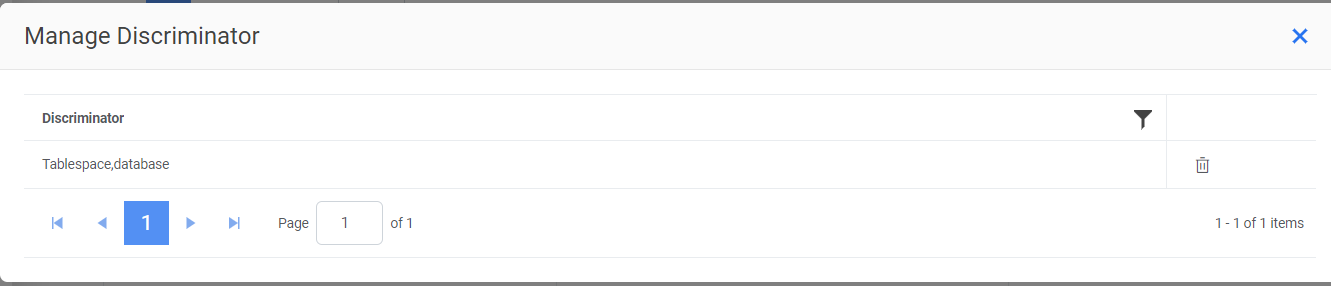
- Click Yes to confirm the updates for all discriminators.
Figure 24. Edit Unique Analysis (Cont.) 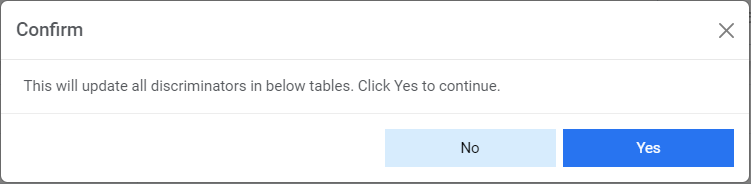
- After the discriminators are configured, click Build to reinitiate the unique analysis of selected tickets cluster, based on the newly added discriminator.
- This will redirect user to the Unique Analysis page where the analysis status
changes to Queued (Build Initiated). On successful completion of unique analysis,
the status automatically changes to Pending Verification.
Figure 25. Edit Unique Analysis (Cont.) 
- To verify the pending verification of the analysis, click on
 next to the analysis you want to
verify. This will redirect you to
Figure 477- Edit Unique Analysis (Cont.)
next to the analysis you want to
verify. This will redirect you to
Figure 477- Edit Unique Analysis (Cont.)
- Click Verify to approve analysis. A confirmation dialog box appears.
Figure 26. Edit Unique Analysis (Cont.) 
- The status of the unique analysis changes to Successful.
Figure 27. Edit Unique Analysis (Cont.)  Note:Users cannot add a discriminator to a ticket for analysis after verification of the unique analysis.
Publish Unique Analysis
After the user has verified the configuration of the existing hyperparameter template for an analysis, user can publish the most optimized hyperparameter template by performing the following steps.
- On the Unique Analysis screen, click
 next to the analysis user wants to publish.
Figure 28. Publish Unique Analysis 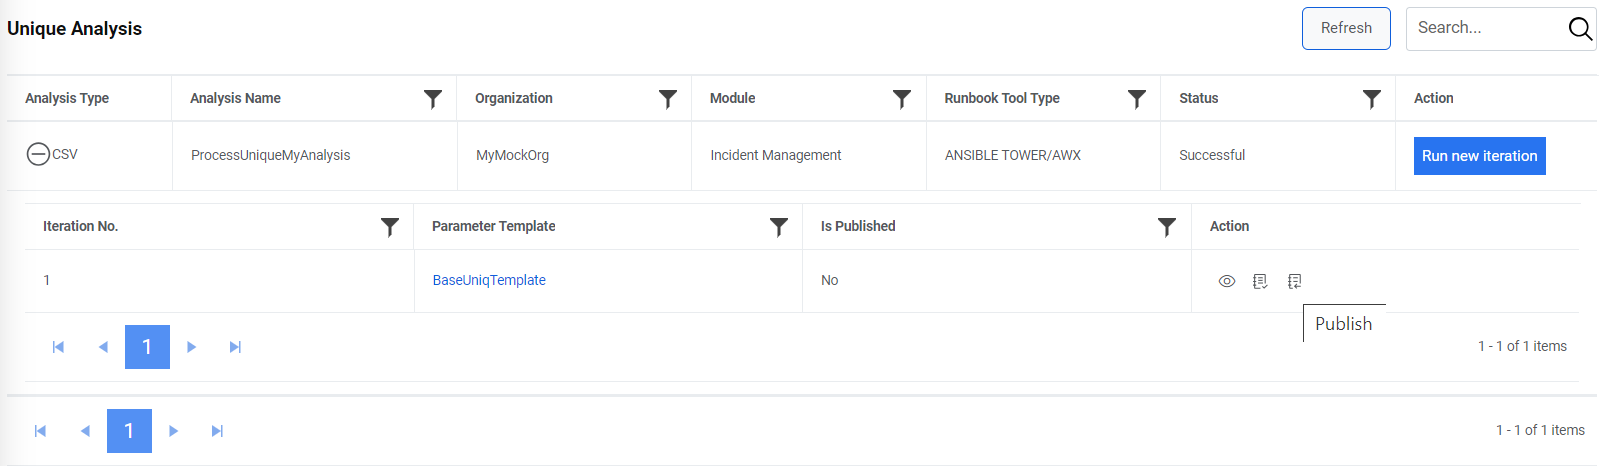 Note:Users can only publish the successful iterations.
 - A confirmation dialog box appears.
Figure 29. Publish Unique Analysis (Cont.) 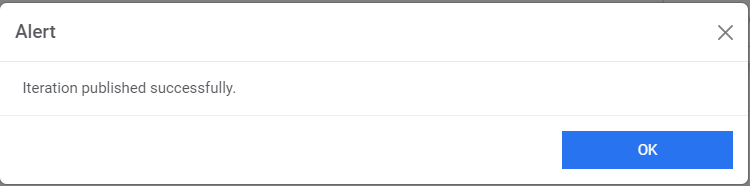
- Successful publishing of the hyperparameter template enables
 in the Action column.
 - Click
.png) to export the
parameter template. This can further be used to create a new template for iUnique using
the Hyperparameter Configuration screen.
to export the
parameter template. This can further be used to create a new template for iUnique using
the Hyperparameter Configuration screen.Figure 30. Export Parameter Template 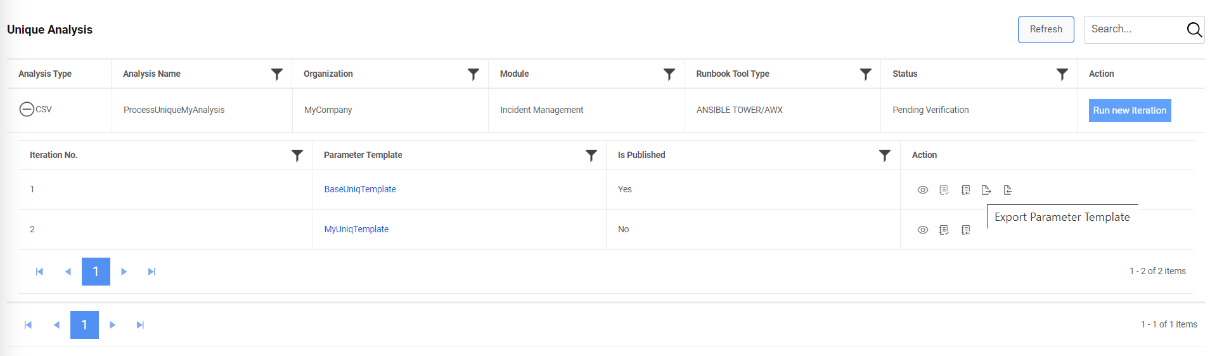
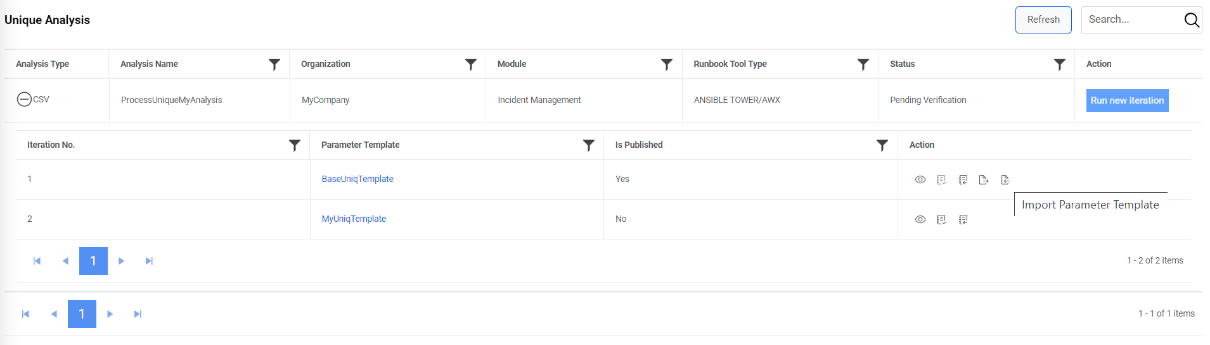
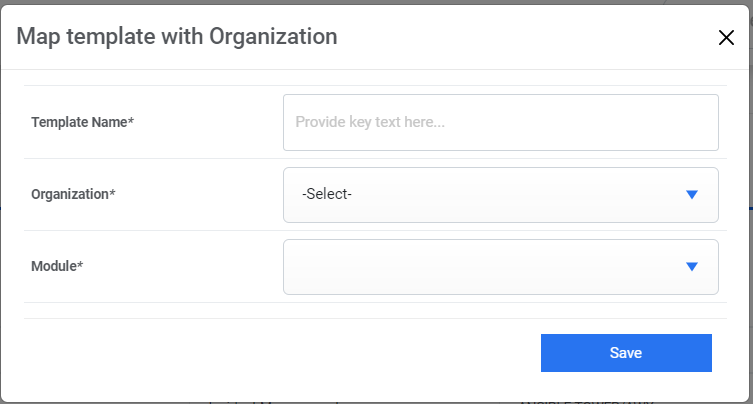
Users can also create a new parameter template. Click  in the Action column
which takes the user to the Map template with
Organization.
in the Action column
which takes the user to the Map template with
Organization.
WorkBench Recommend Analysis
The Workbench Recommendation Analysis optimizes the hyperparameters (or configuration) of the iRecommend module. It identifies hyperparameters values for iRecommend by running multiple iterations of iRecommend and selects the most optimal hyperparameter values. Later, these hyperparameter values can be used in production environment. These hyperparameter values can be defined in Hyperparameter Configuration .
To manage workbench recommendation analysis, perform the following steps:
- On the main menu bar, click Advance Configuration->WorkBench.
- Click Recommend Analysis. The Recommend Analysis screen appears.
Figure 33. Workbench Recommendation Analysis 
- It lists the available recommendation analysis types in a tabular view and enables user to add a new recommendation analysis or view, edit, or publish the existing recommendation analysis.
Add New Iteration
This section describes how to add a new workbench recommendation analysis for an organization.
- Before adding a new iteration, ensure that the unique analysis for the
organization for which you are adding the new iteration is published. Then enable the
recommendation job from the
Manage Jobs
page.
Figure 34. Add New Iteration 
- After the job is enabled, click Run new iteration to run a new iteration of
recommendation analysis for the same customer.
Figure 35. Add New Iteration (Cont.) .png)
If user does not get the expected results from the configured hyperparameter template of the recommendation analysis, then user can add multiple iterations of recommendation analysis corresponding to hyperparameter templates to modify the results.
To add a new iteration, perform the following steps:
- Go to main menu bar, click on Advance ConfigurationWorkbench. Click on
the Recommend Analysis page, click Run New Iteration for the organization
under analysis.
Figure 36. Add New Iteration (Cont.) .png)
- The Template Versions page appears.
Figure 37. Add New Iteration (Cont.) 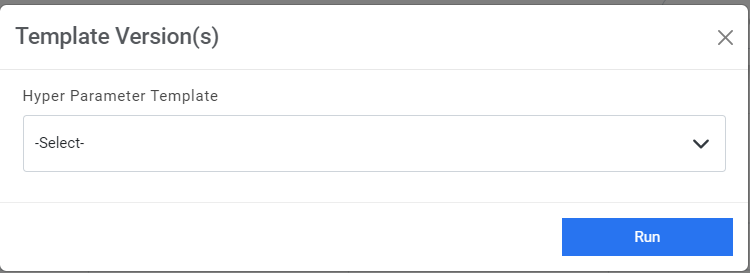
- Select a template from the Hyperparameter Template drop-down list.
Figure 38. Add New Iteration (Cont.) 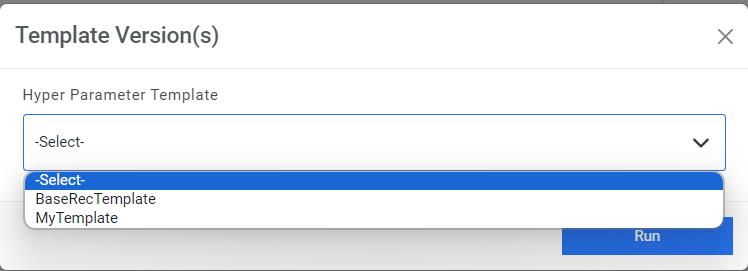
- Click Run.
Figure 39. Add New Iteration (Cont.) 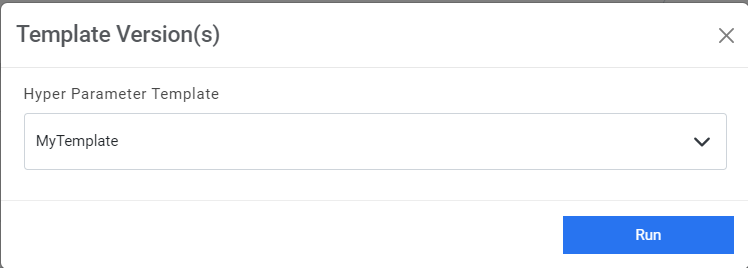
- A confirmation dialog box appears.
Figure 40. Add New Iteration (Cont.) 
- The new iteration is added and appears at the bottom of the list in the grid below.
Figure 41. Add New Iteration (Cont.) 
View Recommendation Analysis
Users can view information about an analysis that has already been configured.
To view recommendation analysis, perform the following steps:
- On the Recommend Analysis screen, click
 next to the analysis you want to view.
Figure 42. View Recommendation Analysis 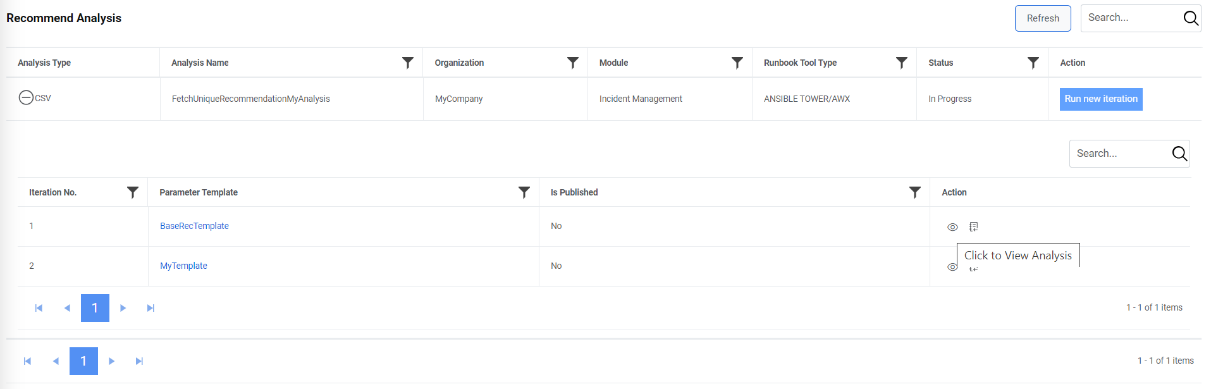
For detailed information, see View Analysis.

Publish Recommendation Analysis
After verifying the configuration of the existing hyperparameter template in an analysis, user can publish the most optimized hyperparameter template by performing the following steps.
- On the Recommend Analysis screen, click
 next to the analysis user wants to publish.
Figure 44. Publish Recommendation Analysis 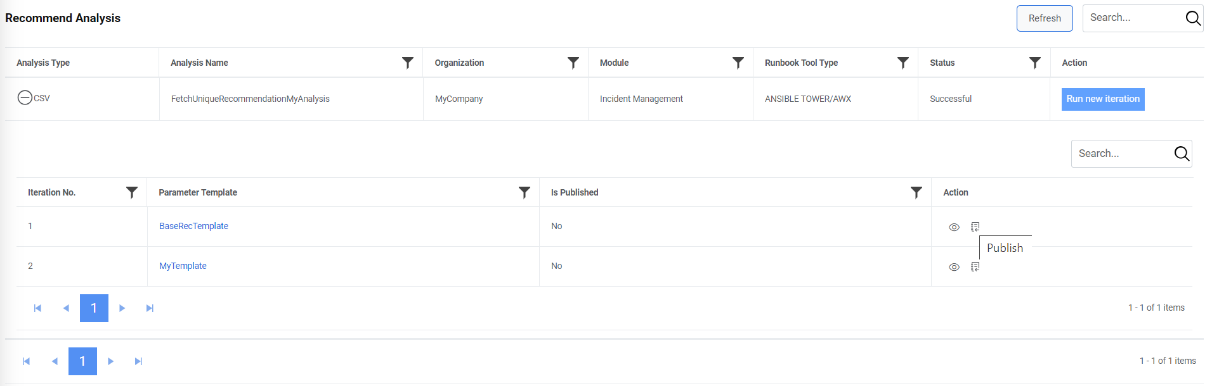 Note:Users can only publish successful iterations.
 - A confirmation dialog box appears.
Figure 45. Publish Recommendation Analysis 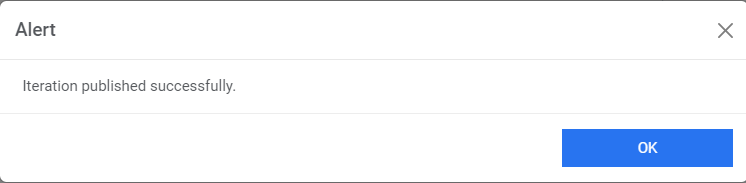
- Successful publishing of the hyperparameter template enables
 in the Action column.
 - Click
.png) to export the
parameter template. This can further be used to create a new template for iRecommend using
the Add Hyperparameters Details screen.
to export the
parameter template. This can further be used to create a new template for iRecommend using
the Add Hyperparameters Details screen.Figure 46. Export Parameter Template 
- Users can also create a new parameter template. Click
 in the Action column which takes the user to the Map
template with Organization.
in the Action column which takes the user to the Map
template with Organization.Figure 47. Import Parameter Template 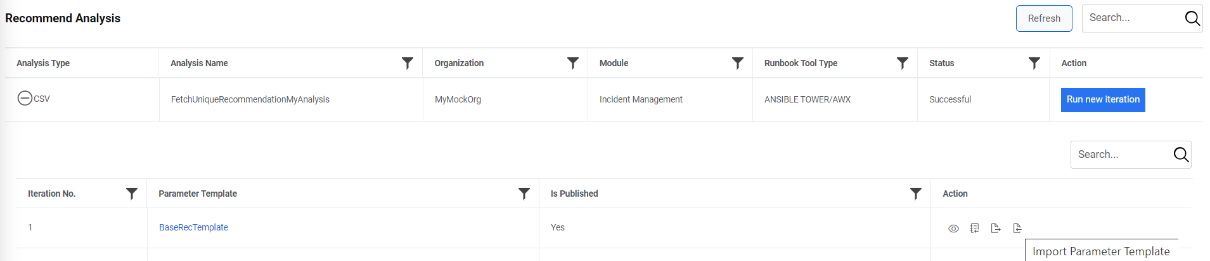
Figure 48. Map template with Organization 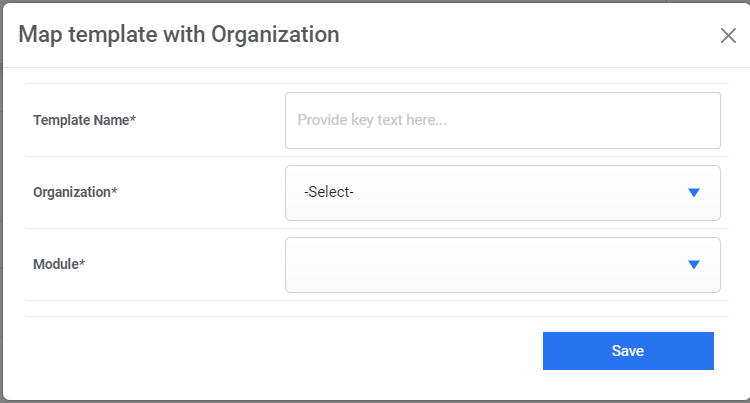 Note:Click Refresh to refresh the data being viewed.