Login to iAutomate
If you are logging into iAutomate for the first time, to perform iAutomate configuration, the user must have super administrator’s login credentials.
To login to the system, perform the following steps:
- Launch a web browser and provide HCL iAutomate Web Portal URL. The iAutomate Login Page appears.
- On the iAutomate Login Page, type the Login ID.
Figure 1. iAutomate Login Page 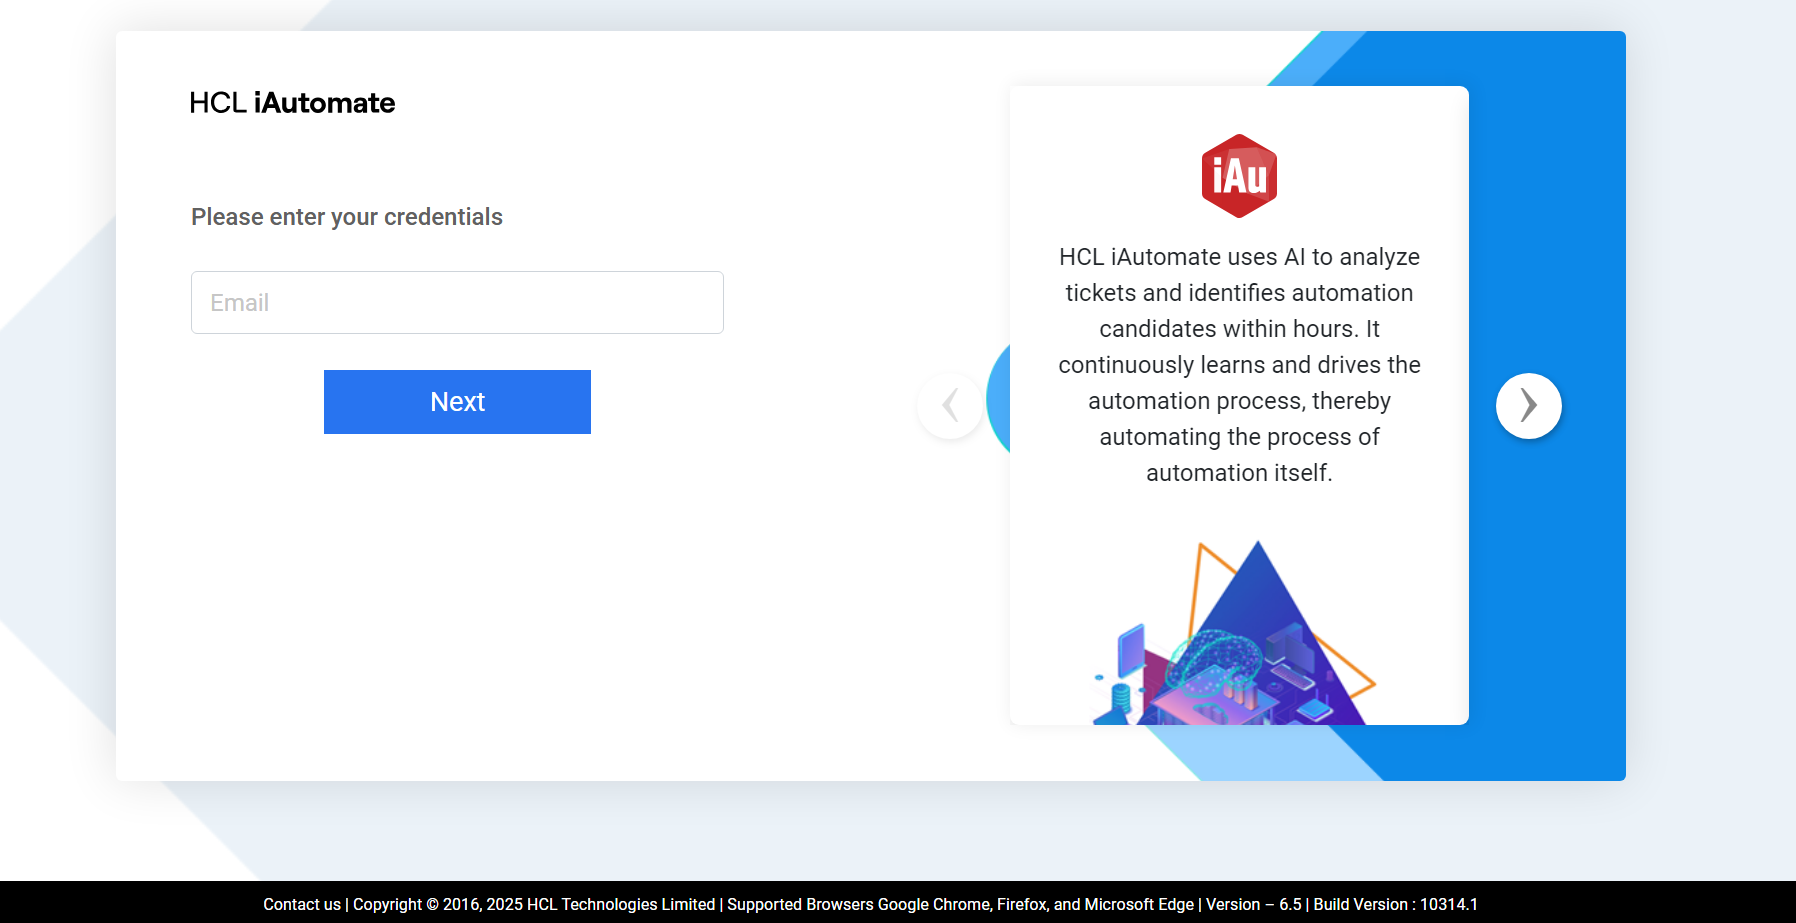
- Click Next.
- Next step is to enter the valid License Key.
- If you are logging into iAutomate console for the first time, you will have to provide a
valid License Key.
Figure 2. Enter a Valid License Key on First Login 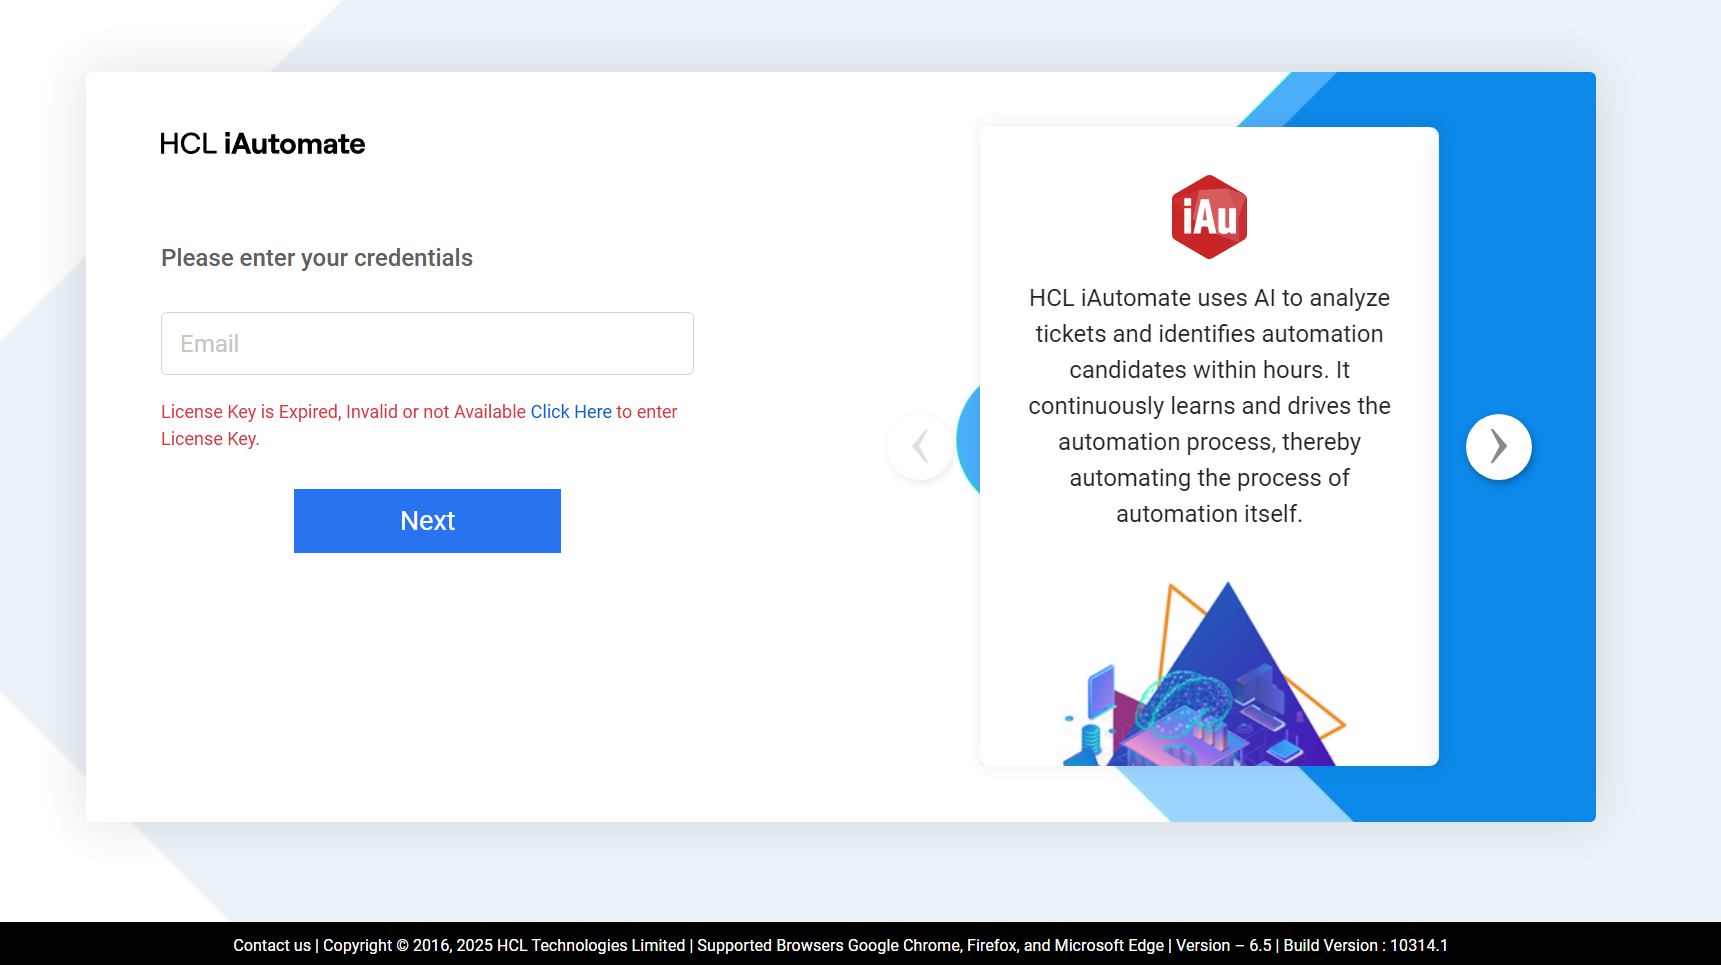
- If your License Key has expired, you will get a notification to enter a new License Key,
as mentioned in the image below.
Figure 3. Enter a Valid License Key on Expiry .png)
- Click on Click Here to enter the new License Key. You will be redirected to a new
screen.
Figure 4. Enter a Valid License Key 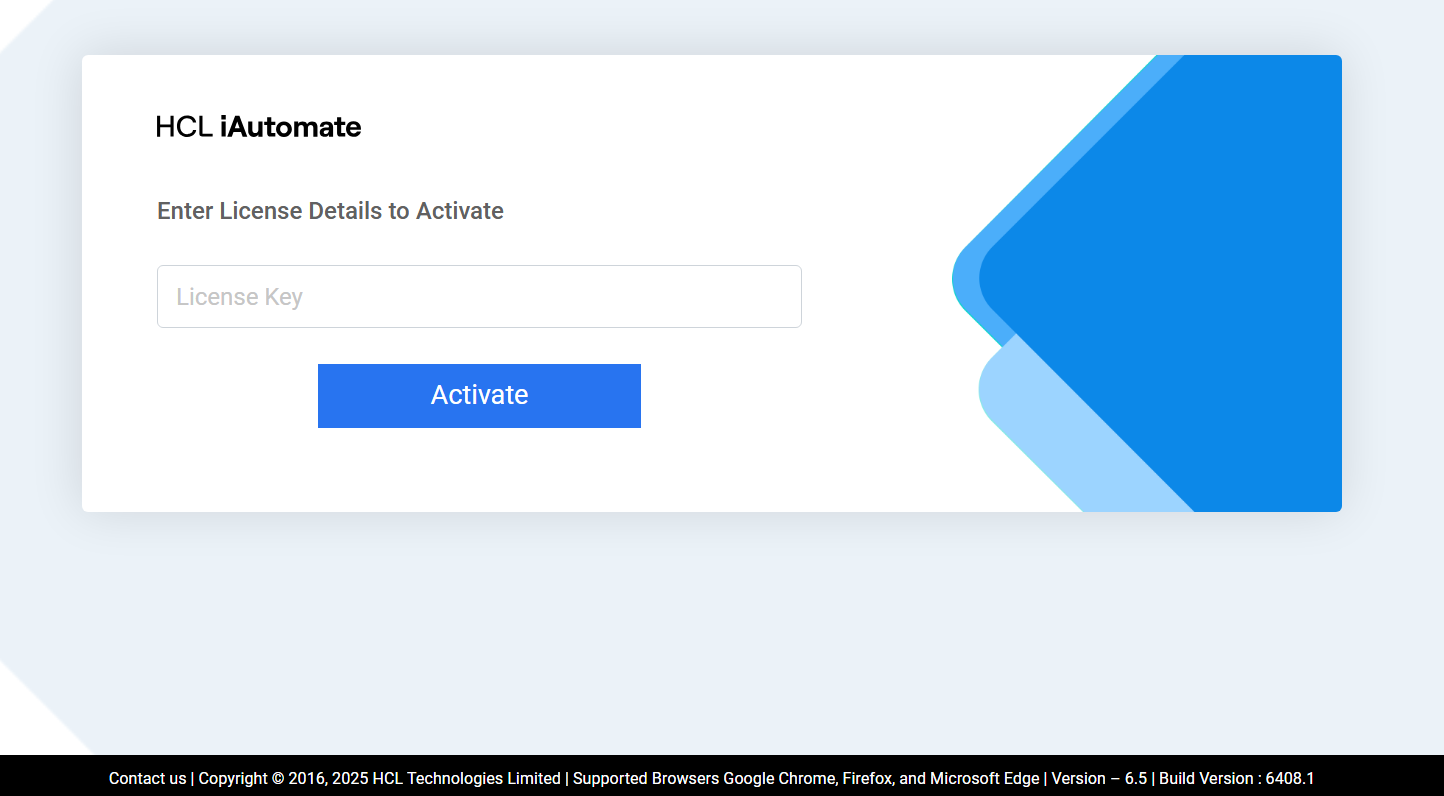
- Enter the License Key and click Activate.
Figure 5. Enter a Valid License Key 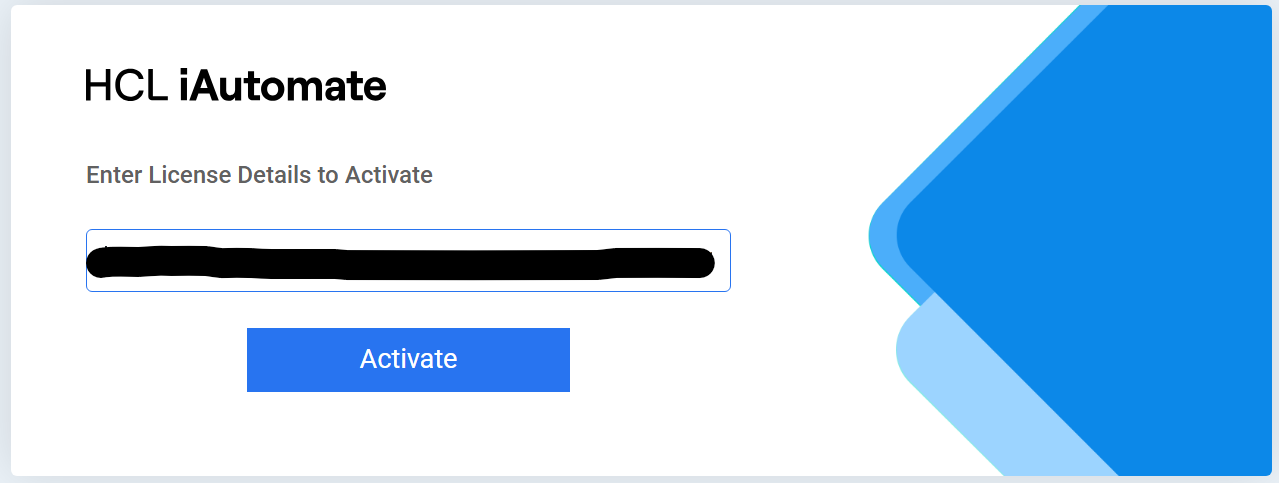
- Click on Click Here to redirect to the Login page.
Figure 6. Login Screen 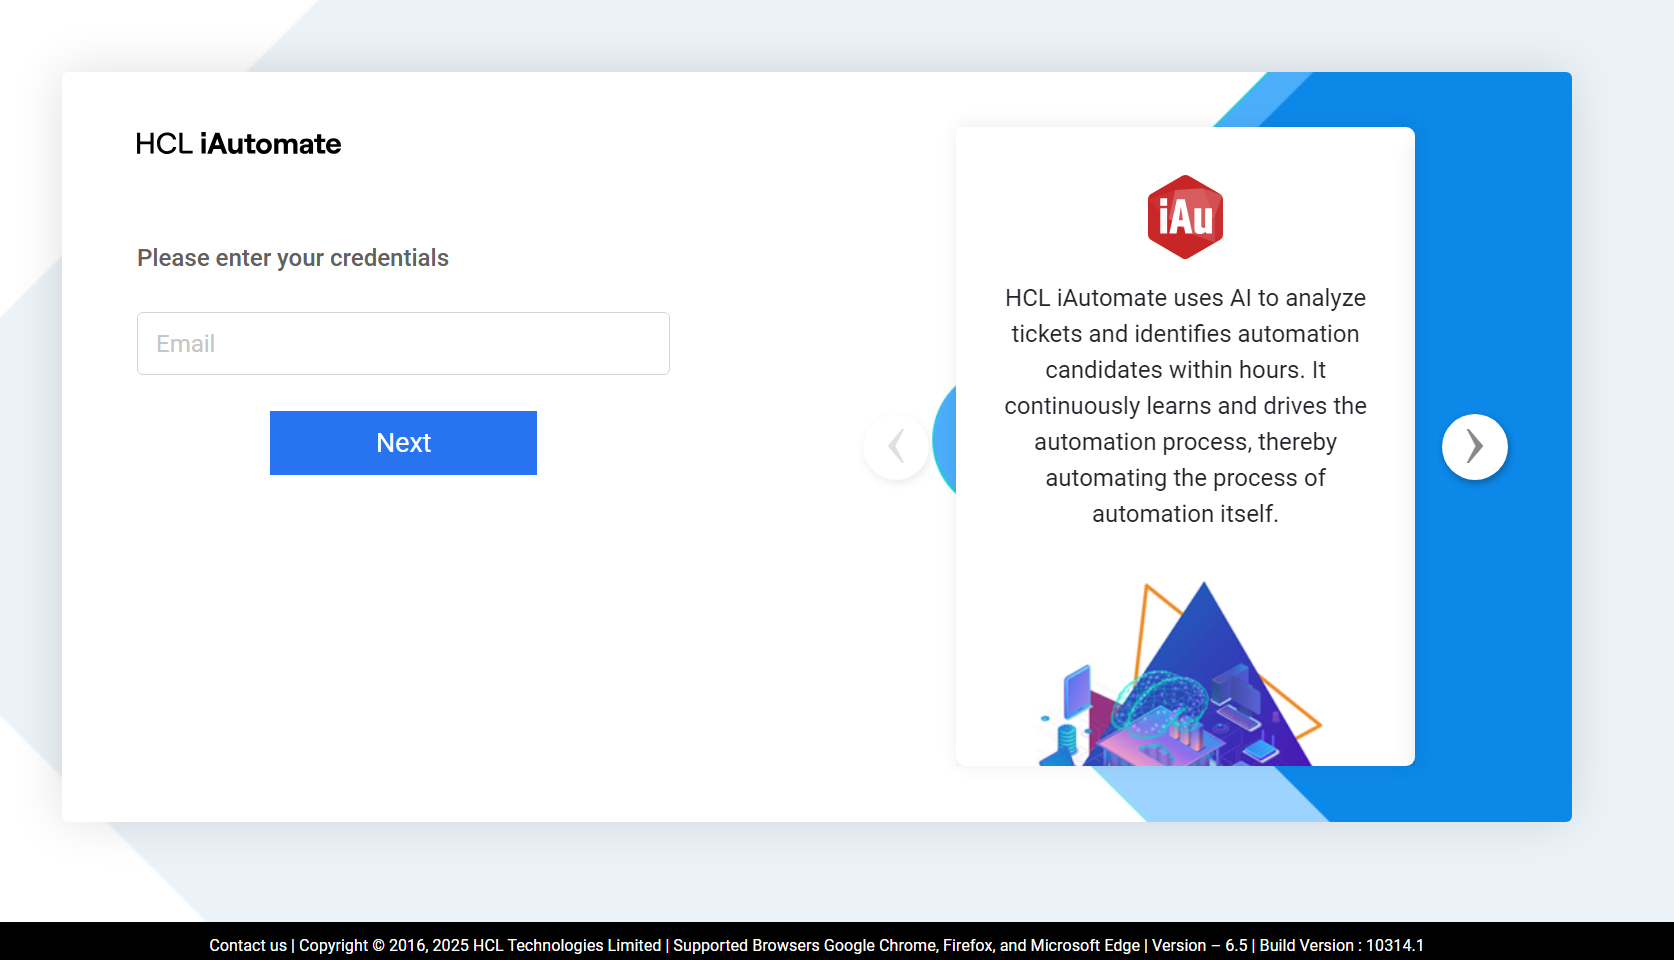
- Enter the Login ID and click Next.
- Type password in the Password field.Note:If you do not have login credentials, contact your product team administrator.
Change your password frequently, at least once a month, for security purposes.
- Click Login.
- The iAutomate Admin Console home page appears.
Figure 7. iAutomate Home Page 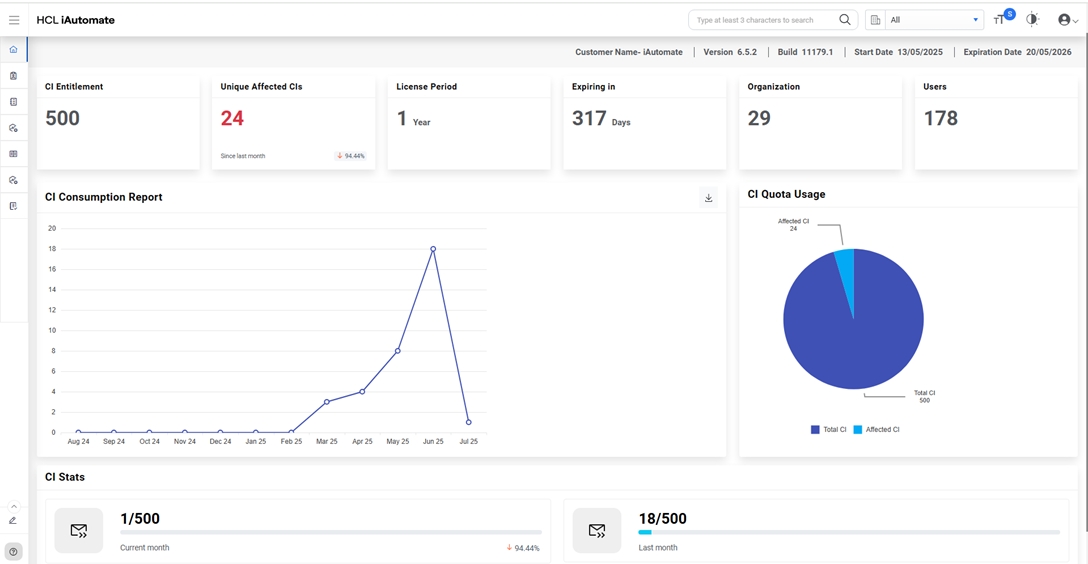
The iAutomate Admin Console allows the user to view and access iAutomate services, create and manage additional users, manage the organization and environment, and other configuration related activities.
- If the user attempting to log in is not a Super Admin and is associated with one or more secondary organizations, the user will be prompted to select an organization on the login screen. Authentication will proceed based on the selected organization.
- Once authenticated, the user will not be presented with any option to change the organization within the application session. All configurations or actions performed after login will be saved and associated with the organization selected at login.
- Enter the user email id and click next. If the user has mapped one or more secondary
organizations with it, then user is prompted to select any of the organization else the
flow will go on as previously without any prompt for organization selection.
Figure 8. iAutomate Home Page (Cont.) 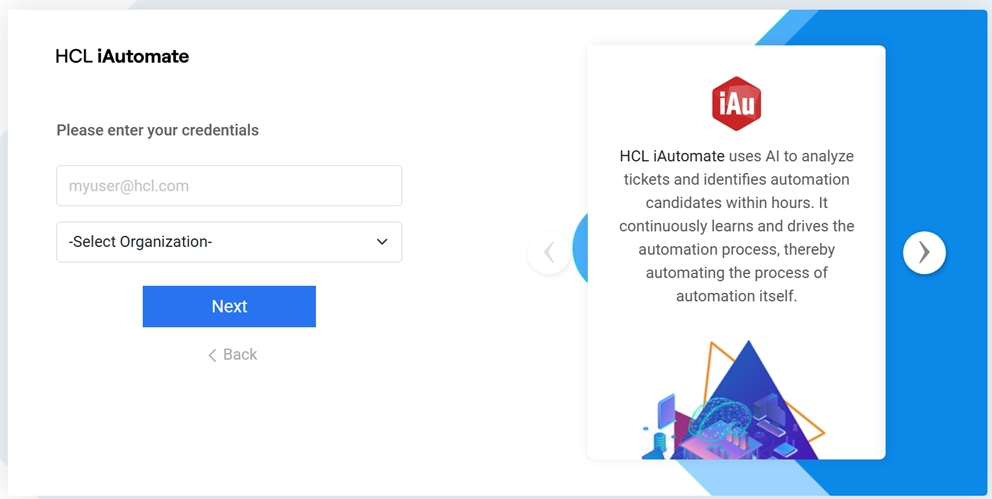
- Then among the mapped organizations, user selects the organization.
Figure 9. iAutomate Home Page (Cont.) 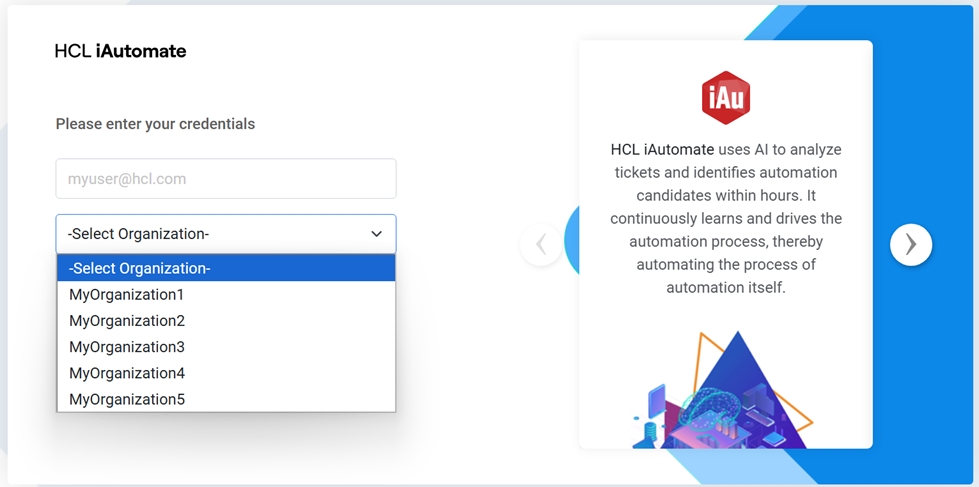
- Then user is prompted to enter password.
Figure 10. iAutomate Home Page (Cont.) 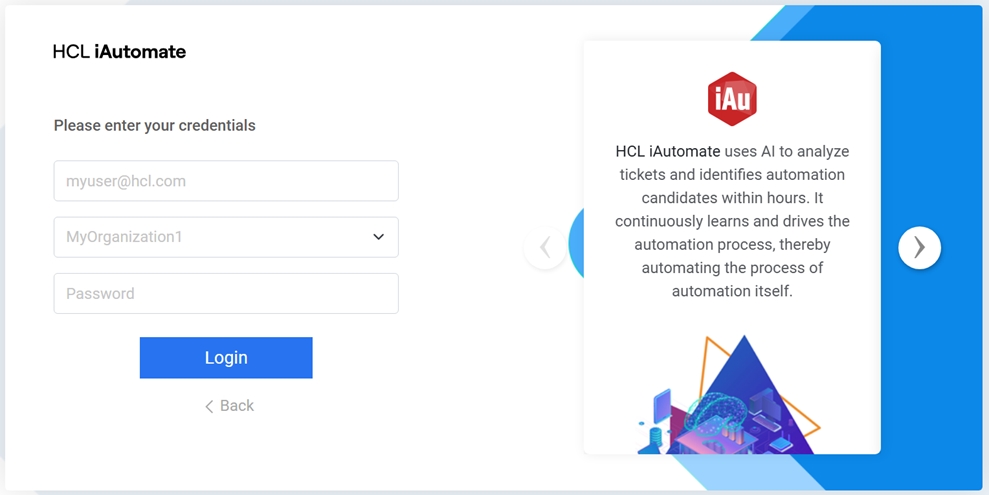
- Once a valid password has been entered then user will login into the portal and can
view/configure the details for the selected
Figure 11. iAutomate Home Page (Cont.) 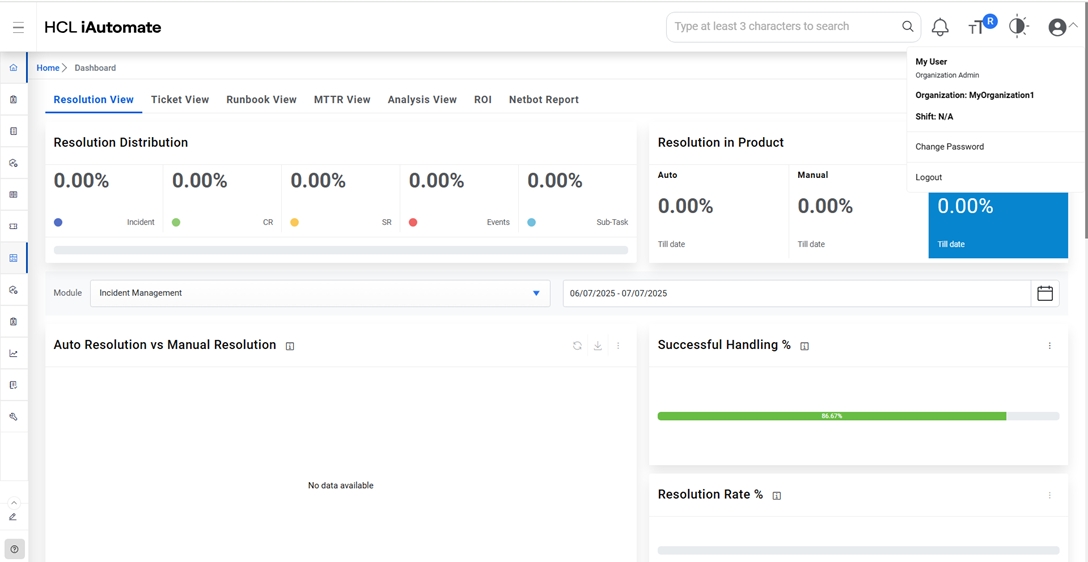 Note:The authentication will be governed by the organization selected during login, regardless of the parent organization type. If the selected organization is LDAP, then user needs to provide the details present in the corresponding LDAP settings.