Configure Key Vault
This section describes how to configure the passwords stored in Key Vault eg: CyberArk so that it can be used on screens to fetch password directly from Key Vault.
To configure key vault, perform the following steps:
- On the main menu bar, Click on Advance Configuration. Click on
Configure Key Vault. The following screen appears:
Figure 1. Configure Key Vault for Organization Admin 
- The configurations saved using super admin login will be used at admin level. And the configurations saved corresponding to any Organization admin login will be used for that organization only.
- Select Tool Name from dropdown.
Figure 2. Configure Key Vault 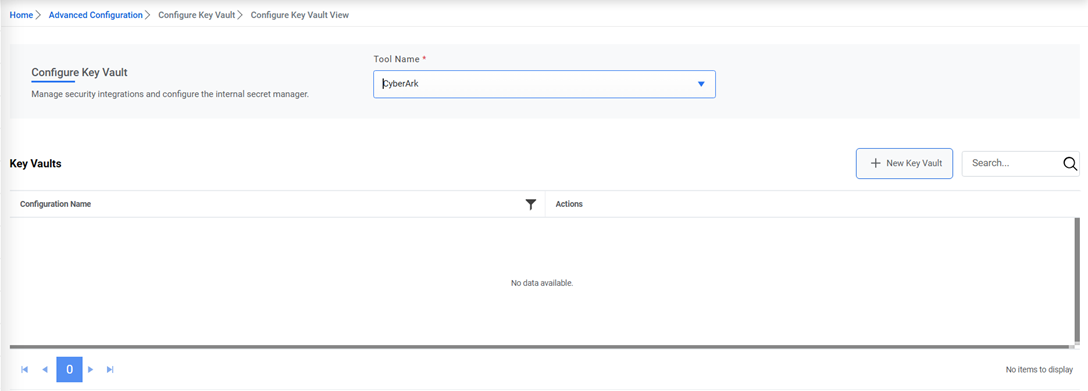
- For tool name CyberArk, below popup is opened on click on ‘New Key Vault’
button:
- Enter the Configuration Name and its Description.
- Enter the AppID, Safe, Folder and Object for the password
stored in Key Vault.
Figure 3. Key vault Configuration (Cont.) 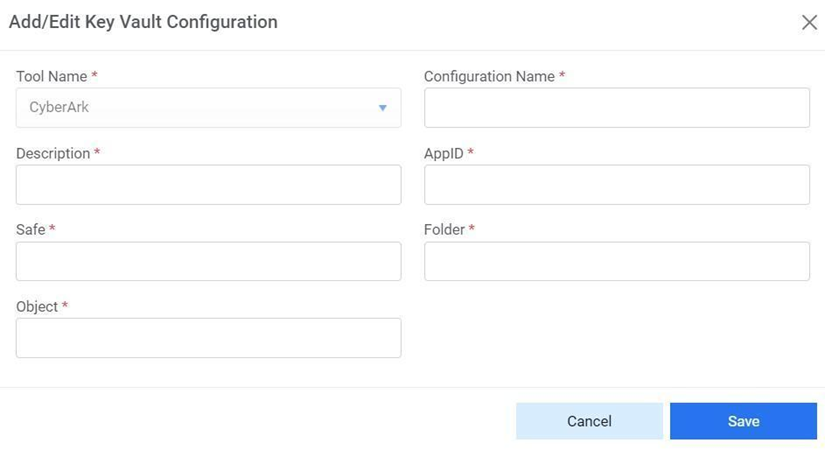
- For tool name as Internal
Secret Manager, the below popup opens when clicked on 'New Key Vault’ button.
- Enter the Configuration name.
- Enter the key value such as MyPassword in case of password for any configuration.
- Enter the password value in Password field.
Figure 4. Add/Edit Vault Configuration 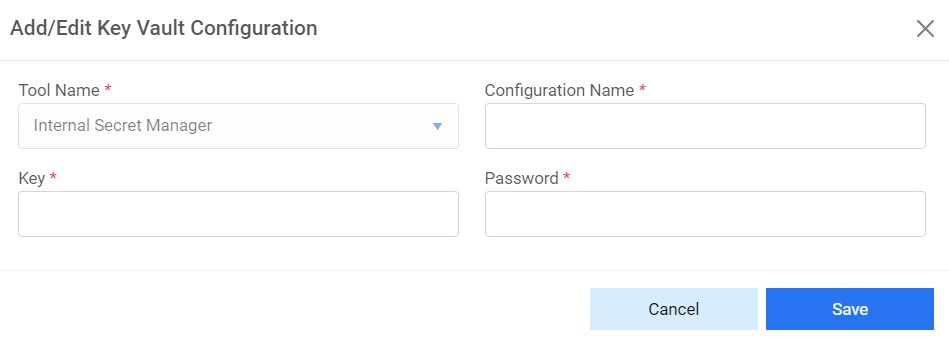
- For tool name as Azure Key Vault, the below popup opens when clicked on 'New Key
Vault’ button.
- Enter the configuration name.
- Enter the description of the configuration.
- Enter the Secret Name for which secret value needs to be fetched from Azure key vault.
Figure 5. Add/Edit Vault Configuration (Azure Key Vault) 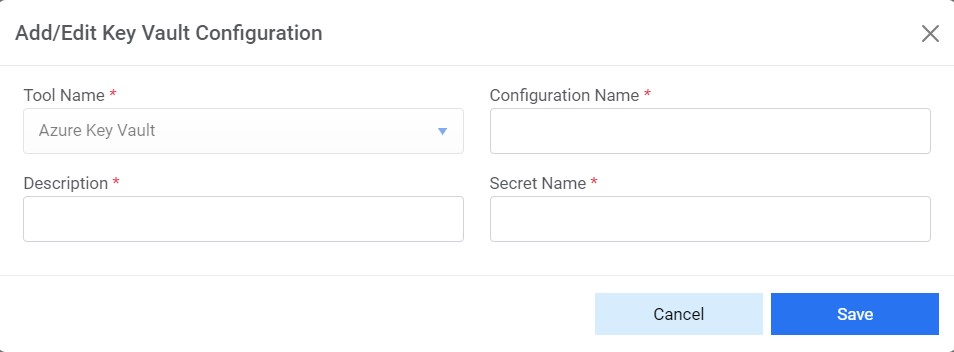
- Click on Save. The following confirmation message appears.
Figure 6. Key vault Configuration (Cont.) 
- The saved configuration starts appearing in the grid:
Figure 7. Key vault Configuration (Cont.) 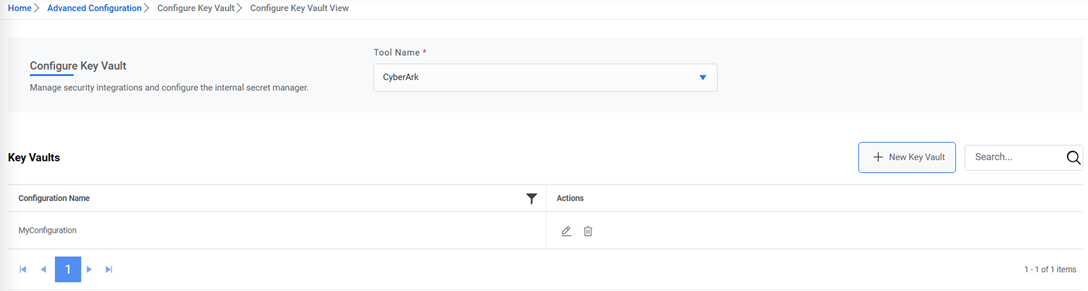
- To edit any configuration, click on the icon
 corresponding to the configuration to be edited. The Edit wizard
appears. Edit the details and click on Save.
corresponding to the configuration to be edited. The Edit wizard
appears. Edit the details and click on Save.Figure 8. Key vault Configuration (Cont.) (Cyberark) 
Figure 9. Key vault Configuration (Cont.) (Secret Manager) 
Figure 10. Key vault Configuration (Cont.) (Azure Key Vault) 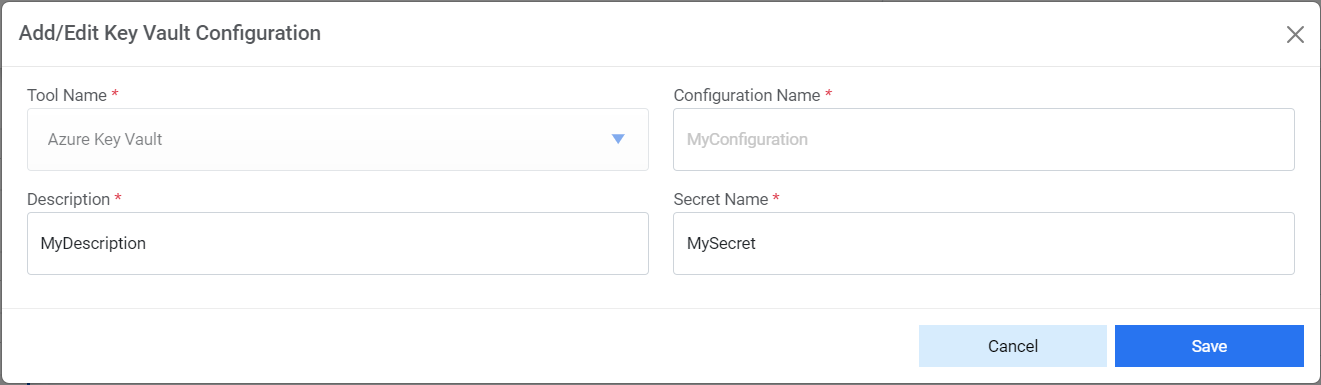
- The following confirmation message appears:
Figure 11. Key vault Configuration (Cont.) 
- To delete any configuration, click on icon
 corresponding to the configuration to be deleted. The following
confirmation message appears:
corresponding to the configuration to be deleted. The following
confirmation message appears:Figure 12. Key vault Configuration (Cont.) 
- Click Yes. The following success message appears:
Figure 13. Key vault Configuration (Cont.) 