Entity
This section describes how to extract entities such as an operating system, application name, and so on from the input summary of a ticket. This is considered one of the main inputs for the recommendation model. An entity can be defined as a noun or a pattern such as application name, operating system, and so on.
To build an entity model, perform the following steps:
- On the main menu bar, click Advance Configuration🡪Entity. The drop-down
lists the following options.
Figure 1. Entity 
Manage Named Entity
Named Entities are specially curated entities against any given runbook that provides control over recommendation of a runbook against a ticket.
Consider a scenario where the system has two runbooks for the same issue but with different domains. For e.g., we may have a runbook which automates the operation of database backup. But the requirement is to support multiple types of databases like MSSQL, Oracle, etc. For each type of database, a new runbook needs to be available in the system. For the system to understand and recommend the relevant runbook for a particular type of database, named entities need to be mapped against the runbooks.
If we want the system to return only MSSQL runbook for a ticket, then we need to specifically map ‘MSSQL’ and ‘!MSSQL’ against runbook for MSSQL and Oracle respectively.
The user can map named entities against runbooks using this menu item.
To add named entities, perform the following steps:
- On the main menu bar, click Advance Configuration->Entity and then Manage Named Entity. The Named Entity page appears.
- Select Module, and the Runbook Tool.
- Click Search. All the runbooks which are configured within the selected Runbook Tool will be listed.
- Type in the Named Entities against the respective Runbook Name.
E.g. -! windows, windows
Figure 2. Manage Named Entities 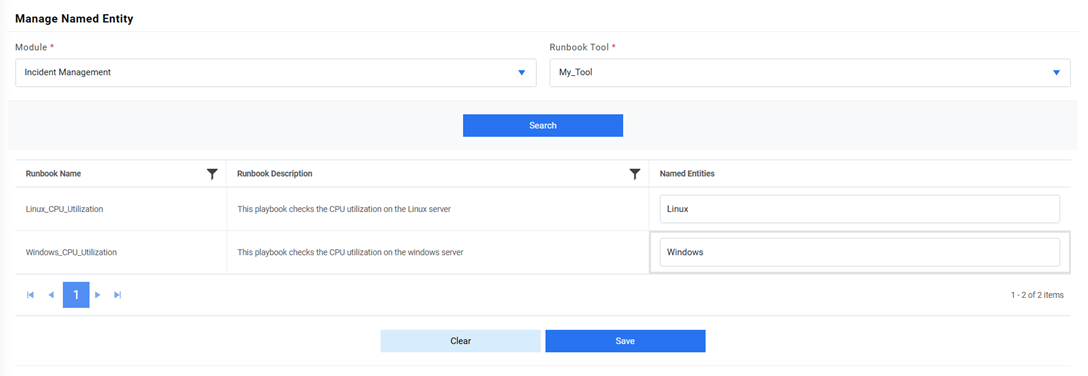
- Click Save to commit the changes.
- Below alert will be generated.
Figure 3. Manage Named Entities 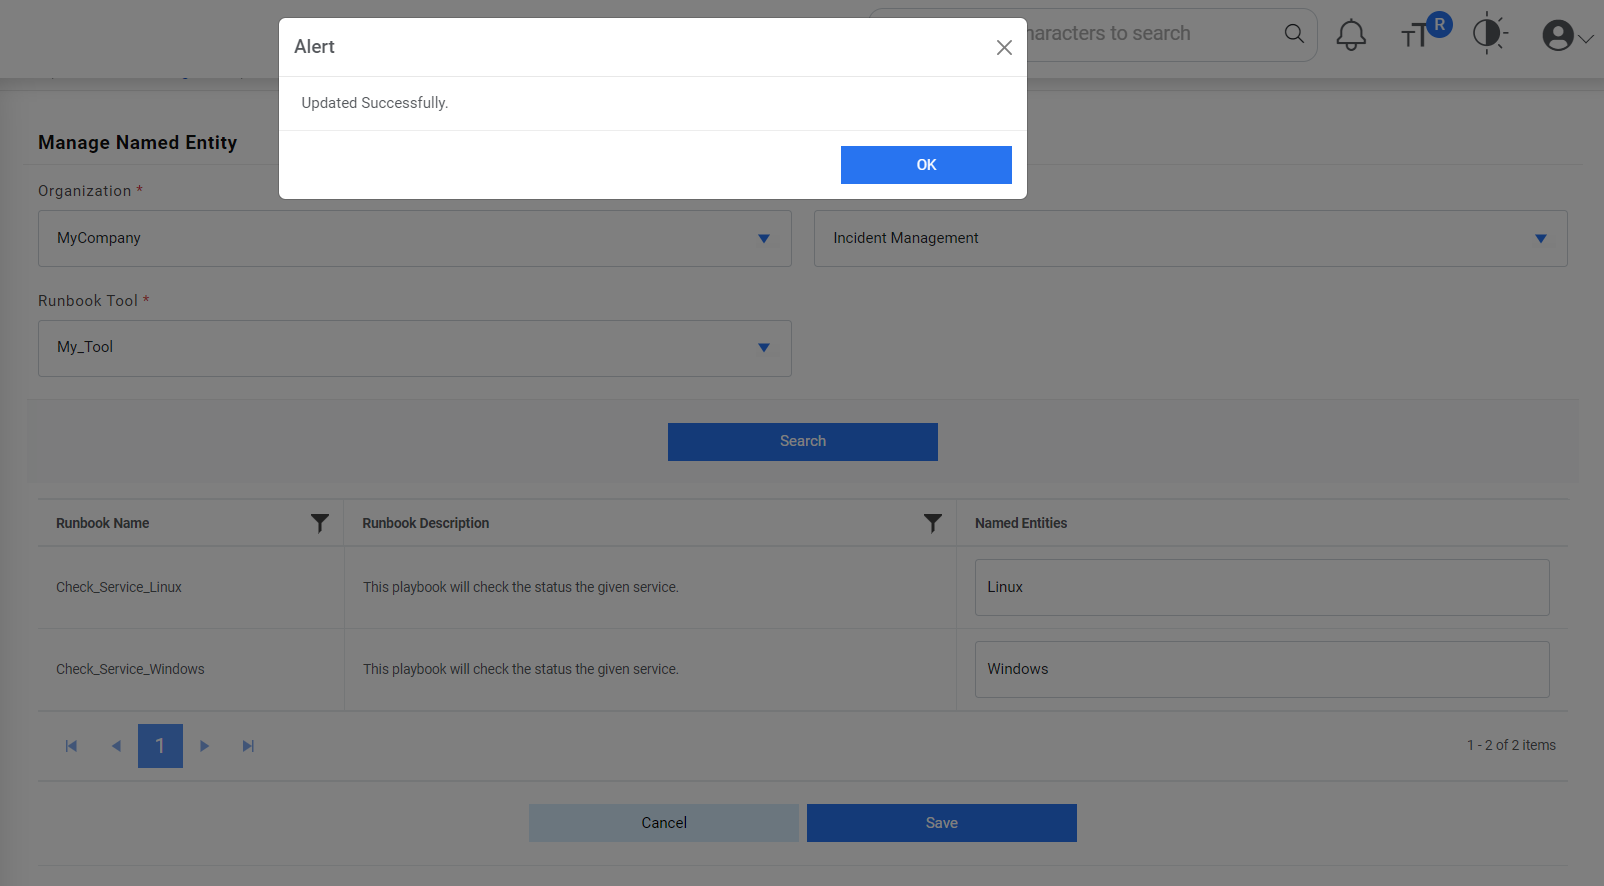 Note:It is not mandatory to mention the named entities for every runbook. It should be used only if required. Multiple values can be provided as comma separated values.
Entity Creation
Users can manage entities such as an operating system, application name, and so on in an organization by performing the following steps:
- On the main menu bar, click Advance Configuration Entity then Entity Creation.
- The Entity Creation page appears. It enables the user to add a new entity and lists the existing entities in a tabular view.
- Click on icon
 to Create
Entity.
to Create
Entity.Figure 4. Manage Entity 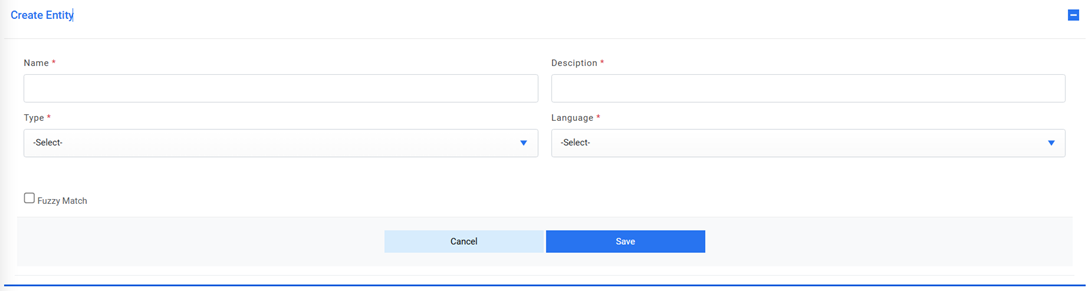
Add New Entity
Users can create a new entity in a customer environment by taking the following steps:
- On the Entity Creation page, type the entity name in the Name field, and then describe the entity in the Description field.
- Select the entity from the Type list and then select the required language from the Language field.
- If required, select the Fuzzy Match check box to enable fuzzy match. It allows for any spelling errors in entities in the ticket summary.
- Click Save.
Figure 5. Add New Entity 
- A confirmation message dialog box appears.
Figure 6. Add New Entity (cont.) 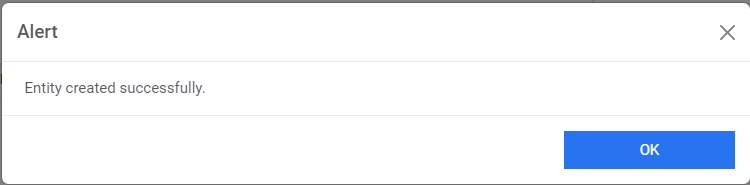 Note:All fields marked with an asterisk (*) are mandatory.

Edit Entity
Users can view and change the existing entities by performing the following steps:
- On the Entity Creation page, click
 next to the entity user wants to edit.
Figure 8. Edit Entity 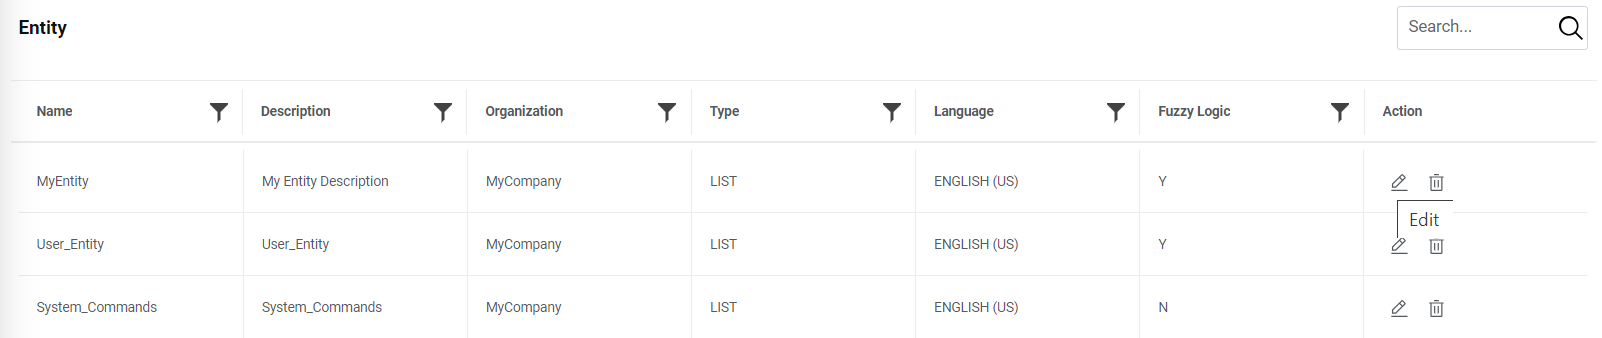
- This populates the details of the selected entity.
Figure 9. Edit Entity (Cont.) 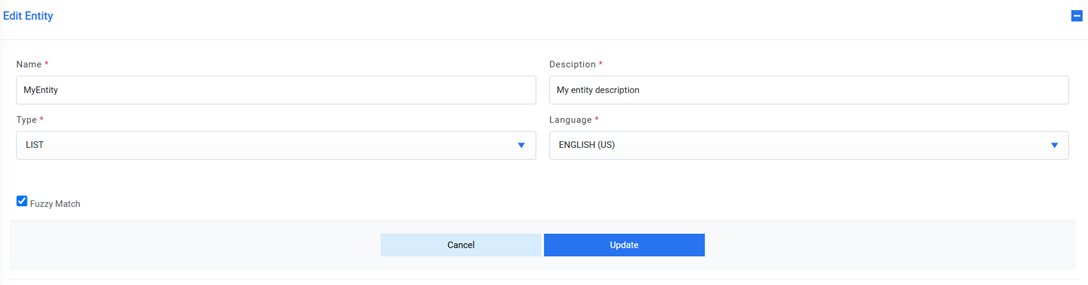
- Edit the required entity details.
- To update changes, click Update. A confirmation dialog box appears.
Figure 10. Edit Entity (Cont.)  Note:All fields marked with an asterisk (*) are mandatory.
Delete Entity
If a user no longer wants a certain entity in an environment, it can be deleted by performing the following step.
- On the Entity Creation page, click
 next to the entity you want to delete.
Figure 11. Delete Entity 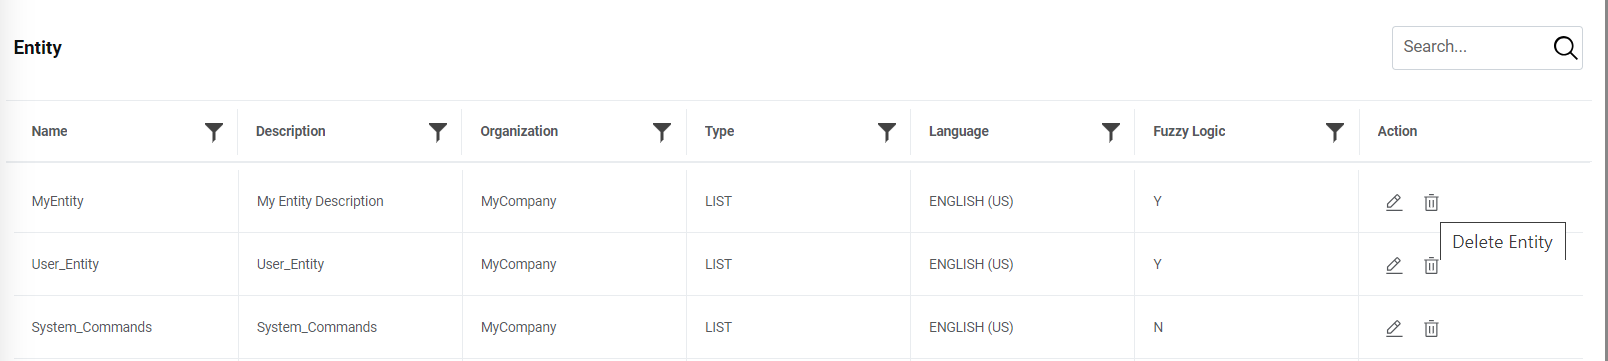
- A confirmation dialog box appears.
Figure 12. Delete Entity (Cont.) 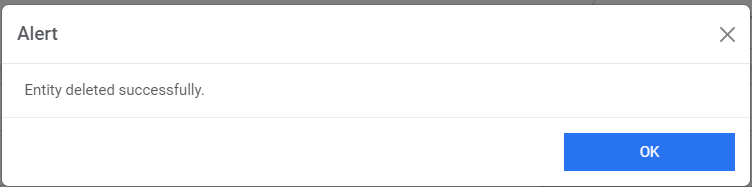
Entity Mapping
Users can map an entity to an organization by performing the following steps.
- On the main menu bar, click Advance Configuration then Entity
and then click Entity Mapping. The Entity Mapping page appears.
Figure 13. Entity Mapping 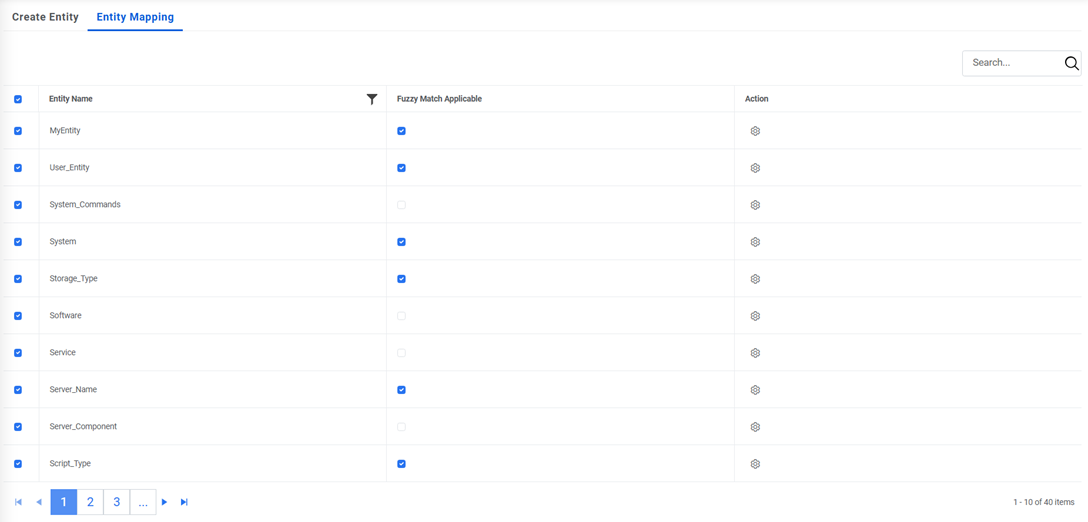
- It lists the entities created in Entity Creation tab in a tabular view.
- To map an entity, select the check box corresponding to the entity. A confirmation
dialog box appears.
Figure 14. Entity Mapping (Cont.) 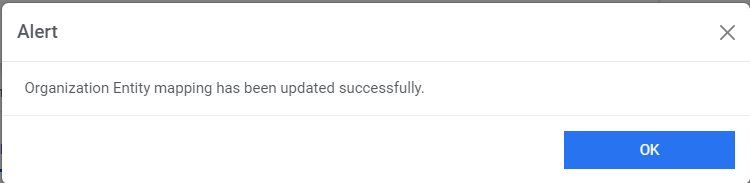
- On successful mapping, the Action column enables
 to perform multiple actions on the mapped entity.
Figure 15. Entity Mapping (Cont.) 
- To manage an organization specific entity, click
 .
.Figure 16. Entity Mapping (Cont.) 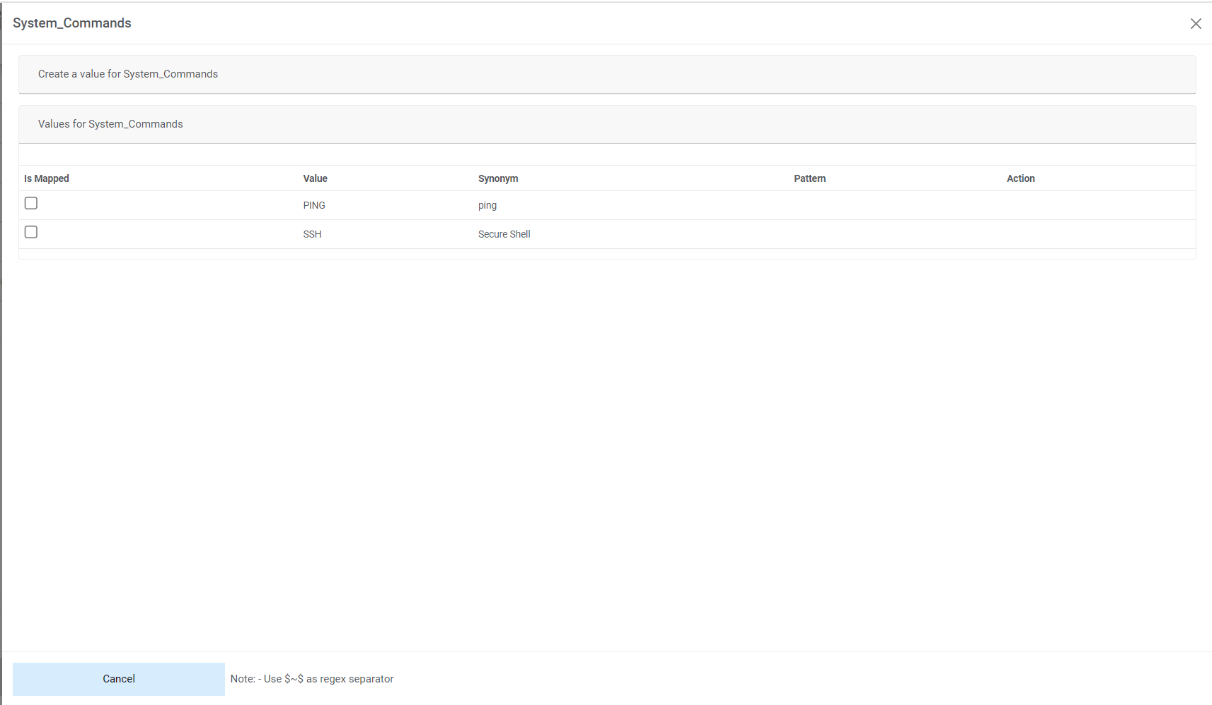
- To map a value to the selected entity, select the Is Mapped check box for the
corresponding value under the Value for Entity tab. A confirmation dialog box
appears.
Figure 17. Entity Mapping (Cont.) 
- After successful mapping of a value, user can edit or delete the value by clicking on
 or
or  .
.Figure 18. Entity Mapping (Cont.) 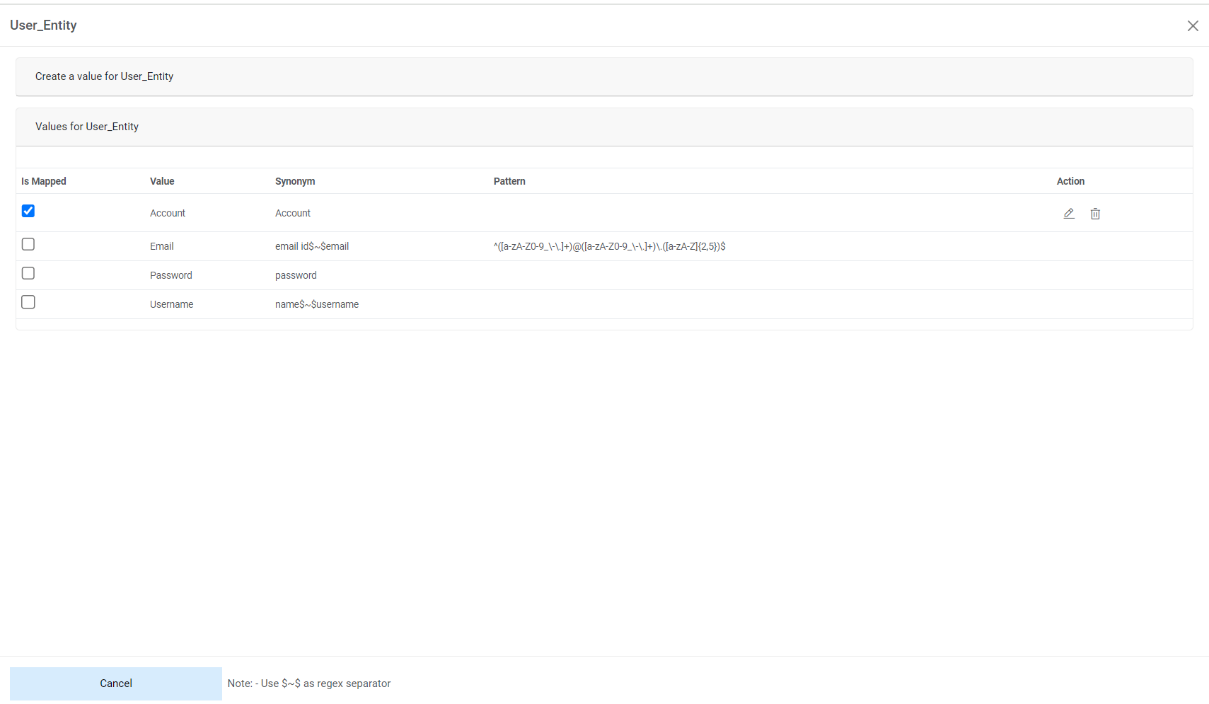
- Click Create a value for Entity to add specific organization values to an
entity.
Figure 19. Entity Mapping (Cont.) 
- A page appears for you to type the Value Name, Synonym, and Pattern (or regular expression).
- Click Save. A confirmation dialog box appears.
Figure 20. Entity Mapping (Cont.) 
- The new value is added and appears in the Values for Entity tab.
Figure 21. Entity Mapping (Cont.) 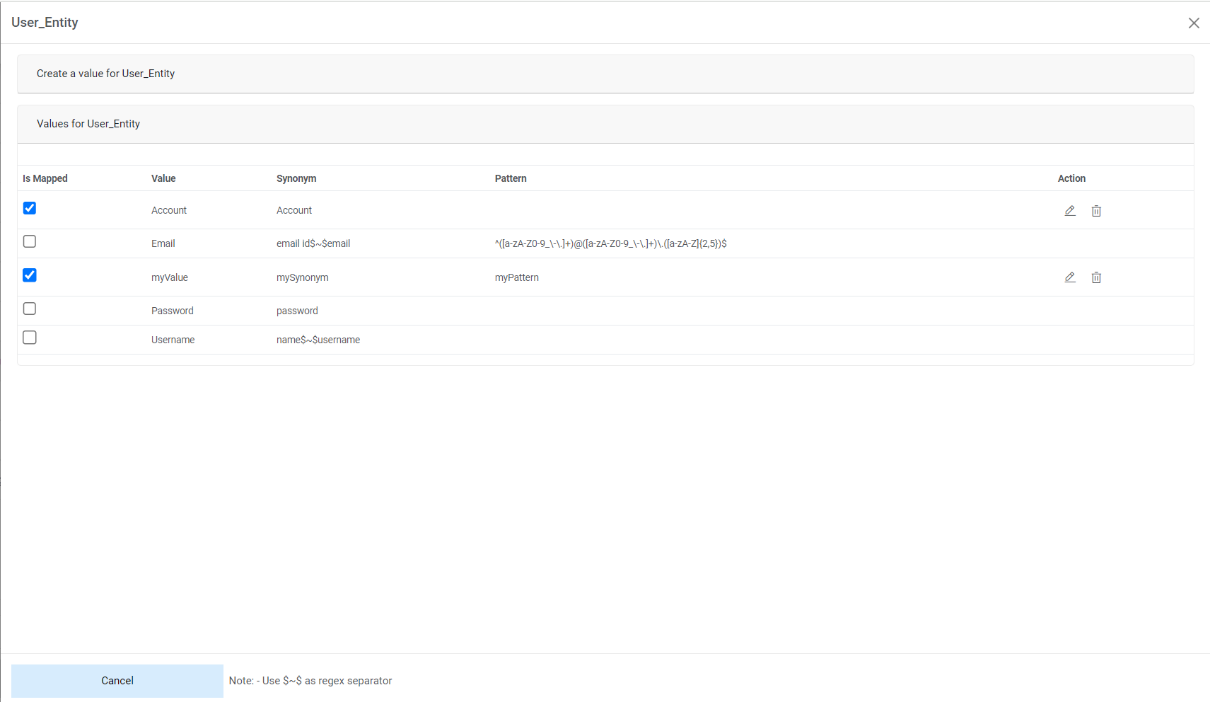 Note:User can edit or delete the existing values for the entity by clicking on
 or
or
 .
. - User can select the Fuzzy Match Applicable check box to enable fuzzy match.
Figure 22. Entity Mapping (Cont.)  Note:All fields marked with an asterisk (*) are mandatory.