Hyperparameter Configuration
Hyperparameters are set of parameters the values of which are identified by analyzing an organization’s data. Here, organizational data refers to ticket information which needs to be automated. The Hyperparameter configuration screen has been designed for the same purpose. These parameters values are used as prior information for training of models Runbook Recommendation (iRecommend) and Ticket Clustering (iUnique).
This section describes how to configure the hyperparameters used in the workbench by performing the following steps:
- On the main menu bar, click Advance Configuration Hyperparameter
Configuration. The Hyperparameter Configuration page appears.
Figure 1. Hyperparameter Configuration 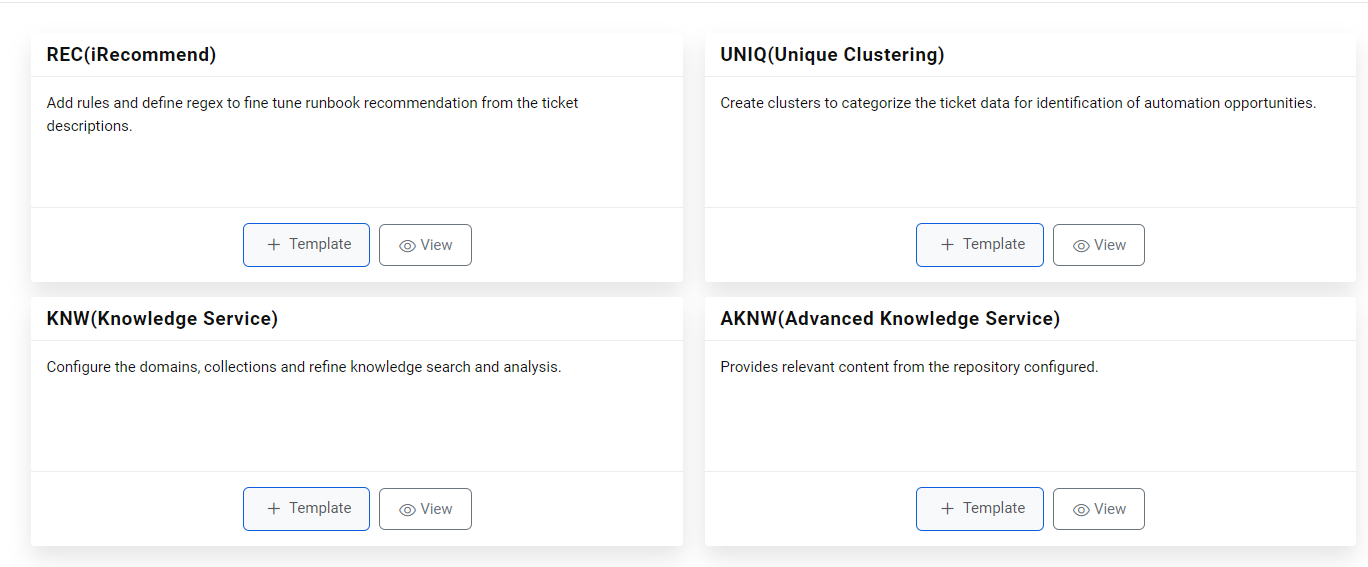
- To view the templates, click on
 for any of the components.
Figure 2. Hyperparameter Configuration (Cont.) 
Add New Template
Users can add a new template in a component by performing the following steps:
- Select View button on any of the components.
Figure 3. Add New Template 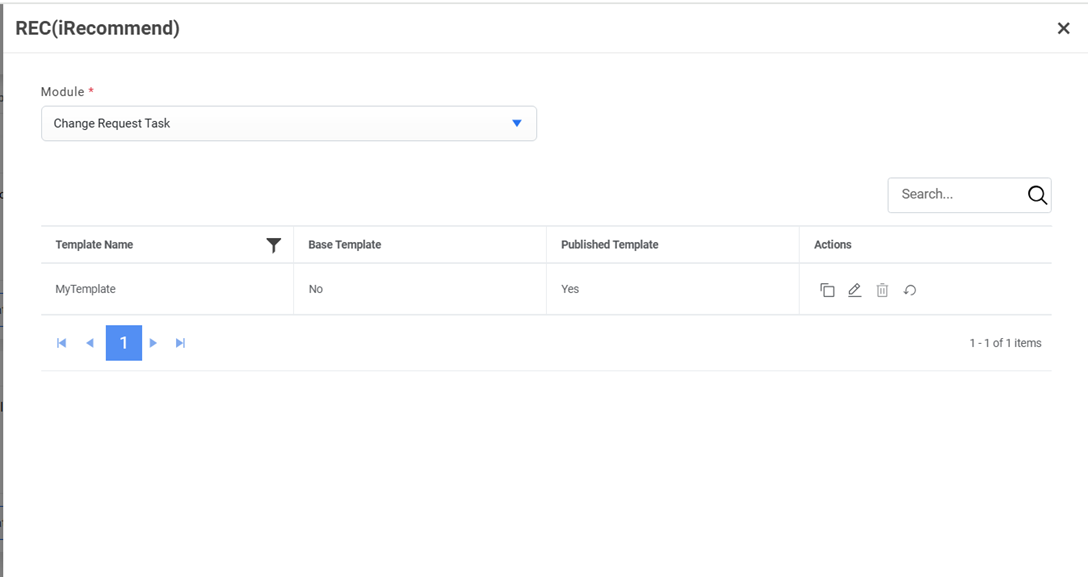
This lists the default base template and existing templates for the selected component if there are any. These templates provide a starting point for users to create a template by replicating or cloning them. It also enables a user to edit or delete the existing templates.
The component selection defines the further configuration.
- Click
 next to the template
selected for cloning. The Clone Configuration popup appears.
next to the template
selected for cloning. The Clone Configuration popup appears.Figure 4. Add New Template (Cont.) 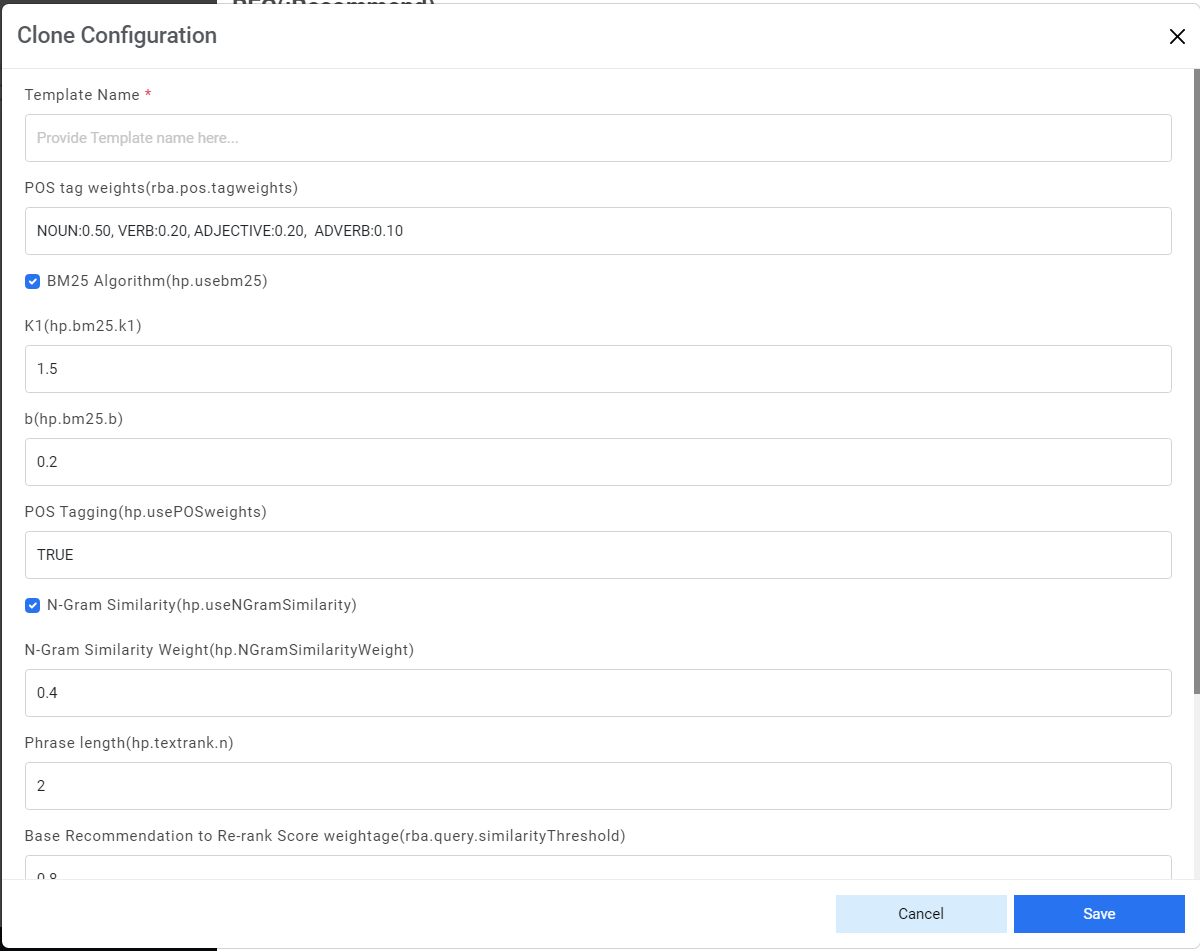
- To create a template, type the template name in the corresponding Template Name field and then define values for each of the following parameters:
- For recommendation:
- rba.pos.tagweights: It specifies the weightage of tags for given word as
part of speech in ticket.
Default Tag Values
- rba.pos.tagweights: It specifies the weightage of tags for given word as
part of speech in ticket.
| Tag | Default Value |
| Noun | 0.50 |
| Verb | 0.20 |
| Adjective | 0.20 |
| Adverb | 0.10 |
-
Usebm25: It is used to rank runbooks according to their relevance to a ticket
summary. Use a toggle button with options such as True or False to enable this parameter.
Enabling this parameter prompts you to specify the values following parameters:
- K1: The user can provide any value of less than 2.0. The Default value is 1.5.
-
B: The user can provide any value of less than 1.0. The Default value is
0.2.
Figure 5. Add New Template (Cont.) 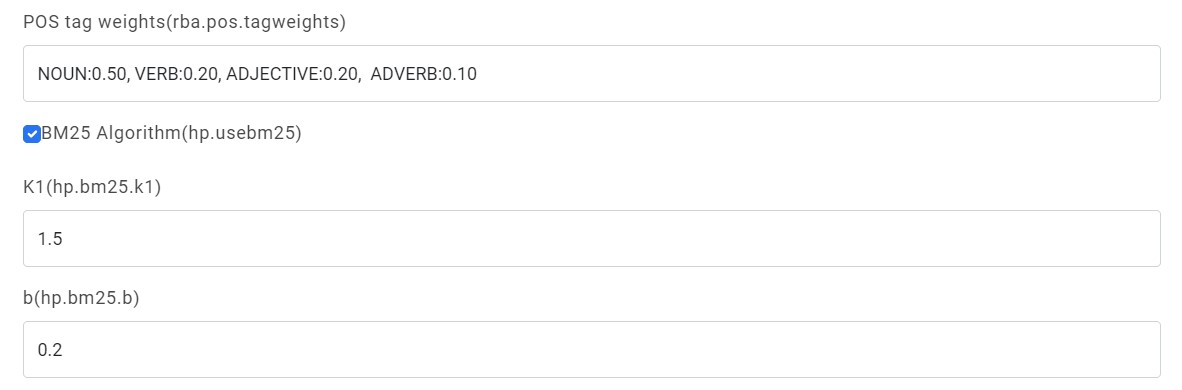
- usePOSWeights: Uses true or false values to enable or disable rba.pos.tagweights parameter.
-
NgramSimilarity: It uses phonemes, phrases, letters, words, or base pairs
according to the application from a speech and calculates whether to consider for a
recommendation. Administrators can activate or deactivate the functionality with the
help of a toggle button in terms of True or False. Selecting True prompts, the
following parameters:
- SimilarityWeight: Specifies the value for the combined weightage of bm25 and textrank score. The value should be less than 1.
- TextRank.n: Specifies the number of top words to be considered for
recommendation. The number should be equal to or greater than 1.
Figure 6. Add New Template (Cont.) 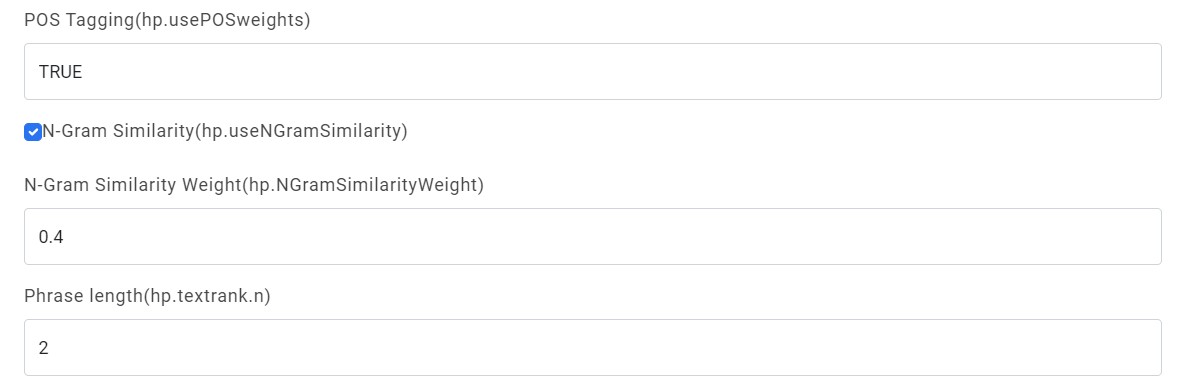
- EntityModel: Specifies whether to use the entity model or as True or False conditions for runbook recommendation.
-
KMeasure: Specifies the weightage given to the entity model and
recommendation model for runbook recommendation.
- 0 indicates that the entity model will be used for runbook recommendation.
- 1 indicates that the recommendation model will be used for runbook recommendation.
-
Between 0 and 1 indicates that the recommendation model and entity model will be used for runbook recommendation. If the recommendation model weightage is ‘t’, then the entity model weightage will be ‘1-t’.
Figure 7. Add New Template (Cont.) 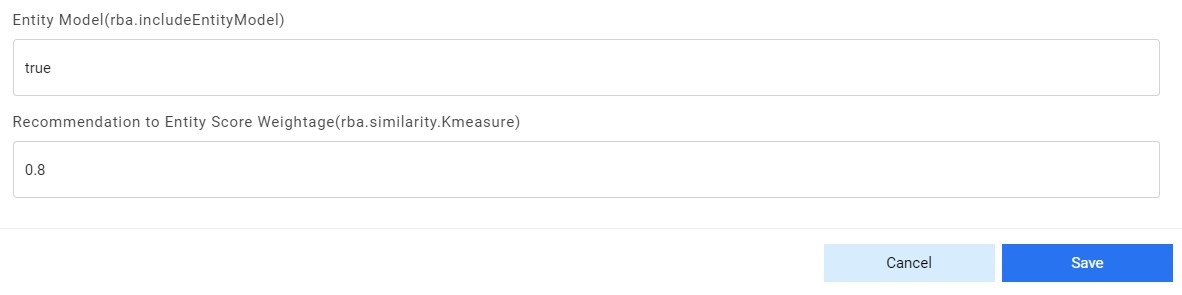
- Click Save.
- Users can also upload a template for any organization. For that, click on
 button for any component. The Add
Hyperparameter popup appears.
button for any component. The Add
Hyperparameter popup appears.Figure 8. Add New Template (Cont.) 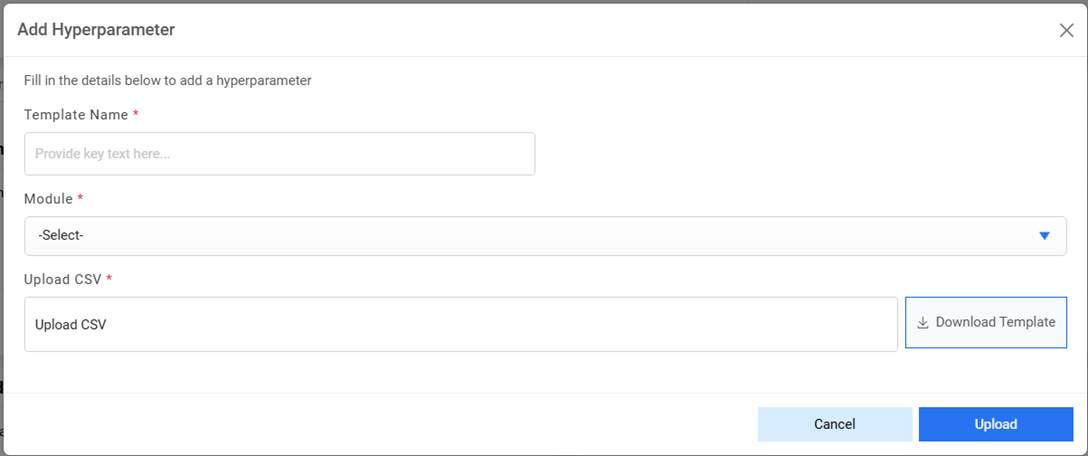
- Provide the template name, select the organization and Module for which the template
needs to be uploaded. Download template for reference and modify the same accordingly.
Upload the template.
Figure 9. Add New Template (Cont.) 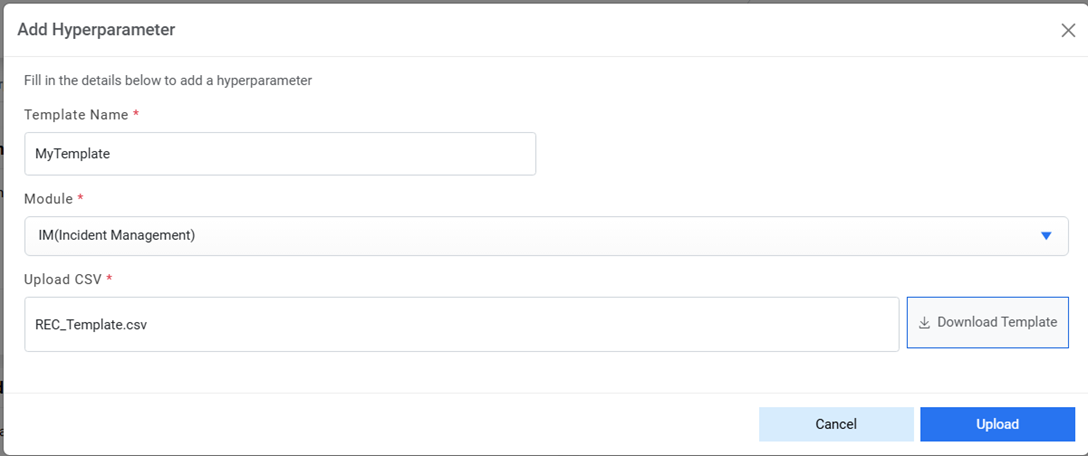
- Click on Upload. Below confirmation box appears.
Figure 10. Add New Template (Cont.) 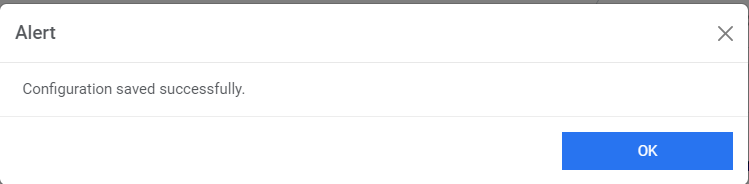
- Provide the template name, select the organization and Module for which the template
needs to be uploaded. Download template for reference and modify the same accordingly.
Upload the template.
- To create a template for unique cluster, perform the following steps:
- Click
 next to the template
selected for cloning. The Clone Configuration popup appears.
next to the template
selected for cloning. The Clone Configuration popup appears.Figure 11. Add New Template (Cont.) 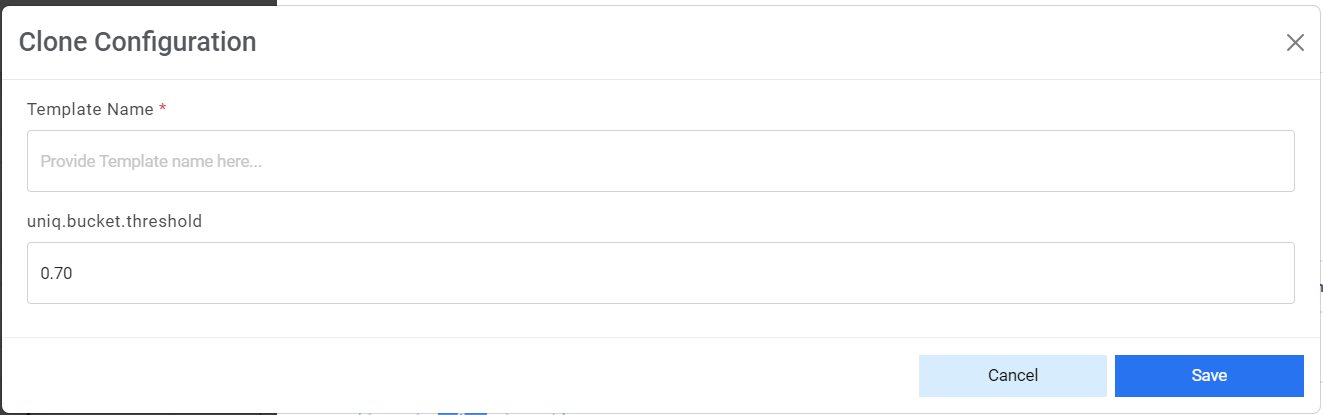
- To create a template, type the template name in the corresponding Template Name field.
- Type the value in Uniq.bucket.threshold field carefully to set up the
threshold value of the bucket for ticket clustering.Note:If a user increases the threshold value, the number of buckets will increase, and user will find more buckets with a similar description. If user decreases the threshold value, the different descriptions may be assigned to a single bucket.
- Click Save.
- Click
- The new template is added and listed at the bottom of the template list.Note:The templates created will be used in the WorkBench.
- Users can also upload a template for any organization. For that, click on
.png) button for any component.
button for any component. - The Add Hyperparameter popup appears.
Figure 12. Add New Template (Cont.) 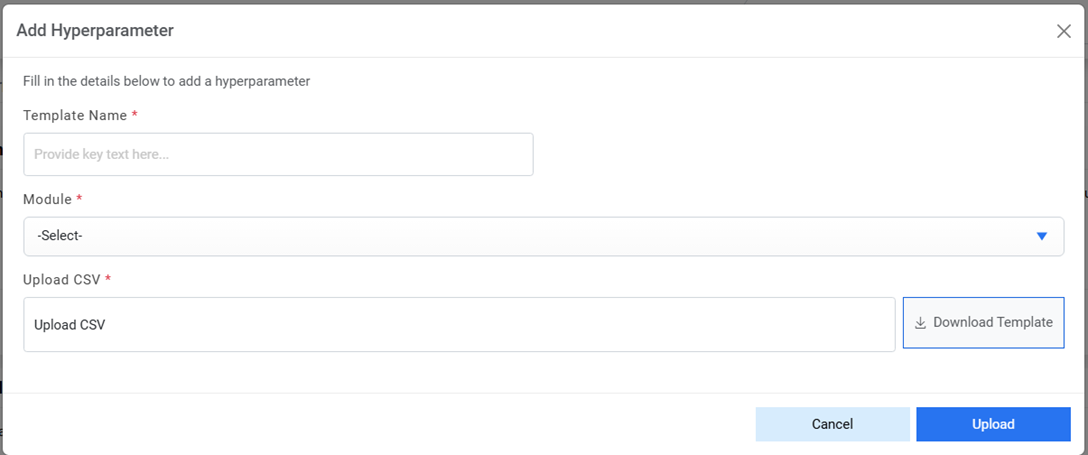
- Provide the template name, select the organization and Module for which the template
needs to be uploaded. Download template for reference and modify the same accordingly.
Upload the template.
Figure 13. Add New Template (Cont.) 
- Click on Upload. Below confirmation box appears.
Figure 14. Add New Template (Cont.) .png)
- Provide the template name, select the organization and Module for which the template
needs to be uploaded. Download template for reference and modify the same accordingly.
Upload the template.
Edit Template
Users can review the existing parameter and change its details by performing the following steps:
- On the Hyperparameter Configuration page, click on the View button of any Component Name.
- To edit a template for recommendation, perform the following steps:
- Click
 corresponding to the template that you
want to edit.
corresponding to the template that you
want to edit.Figure 15. Edit Template 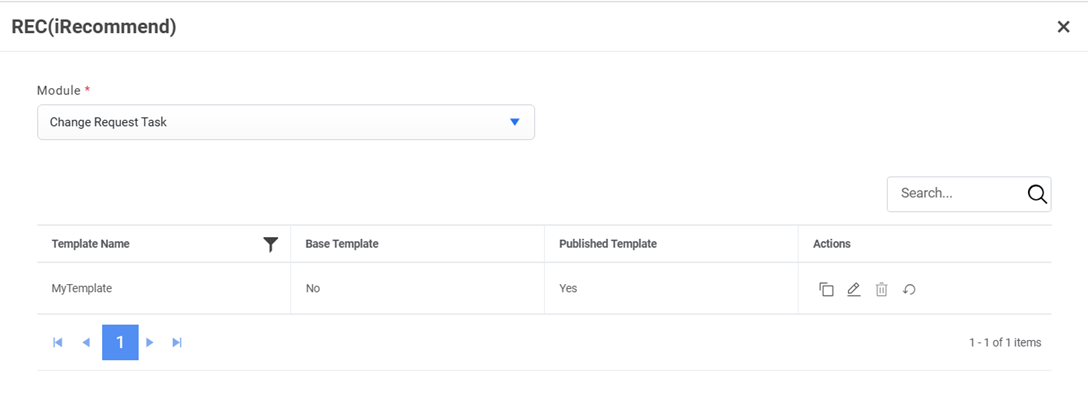
- The Edit Configuration popup appears.
Figure 16. Edit Template (Cont.) 
- Edit the required details and click Save. A confirmation dialog box appears.
Figure 17. Edit Template (Cont.) 
To edit a template for a unique cluster, perform the following steps:
- Click
 next to the template
you want to edit.
next to the template
you want to edit.Figure 18. Edit Template (Cont.) 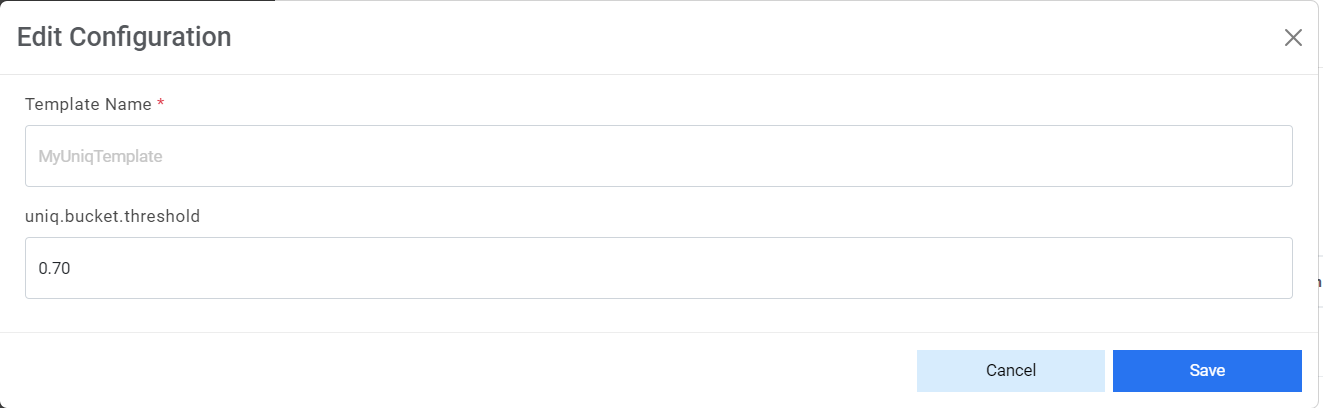
- Edit the required details and click Save. A confirmation dialog box
appears.
Figure 19. Edit Template (Cont.) 
- Click
Delete Template
If the user no longer needs a certain template, it can be deleted from the component by performing the following steps:
- To delete a template, click
 next to the
template you want to delete.
next to the
template you want to delete.Figure 20. Delete Template 
- Click Yes to confirm deletion of the selected template.
Figure 21. Delete Template (Cont.) 
- A confirmation dialog box appears.
Figure 22. Delete Template (Cont.) 
Publish Template
If the user wants to publish any template so that the published template gets used wherever needed, it can be done by performing the following steps:
To publish a template,
- Click
 next to the template you want to
Publish.
next to the template you want to
Publish.Figure 23. Publish Template 
- Click Yes to confirm Publish of the selected template.
Figure 24. Publish Template (Cont.) 
- A success message box appears:
Figure 25. Publish Template (Cont.) 