

Configure Database Settings
This task explains how to select a supported database type and provide the required connection details to configure the database in the BigFix UI Configuration Manager.
About this task
Procedure
-
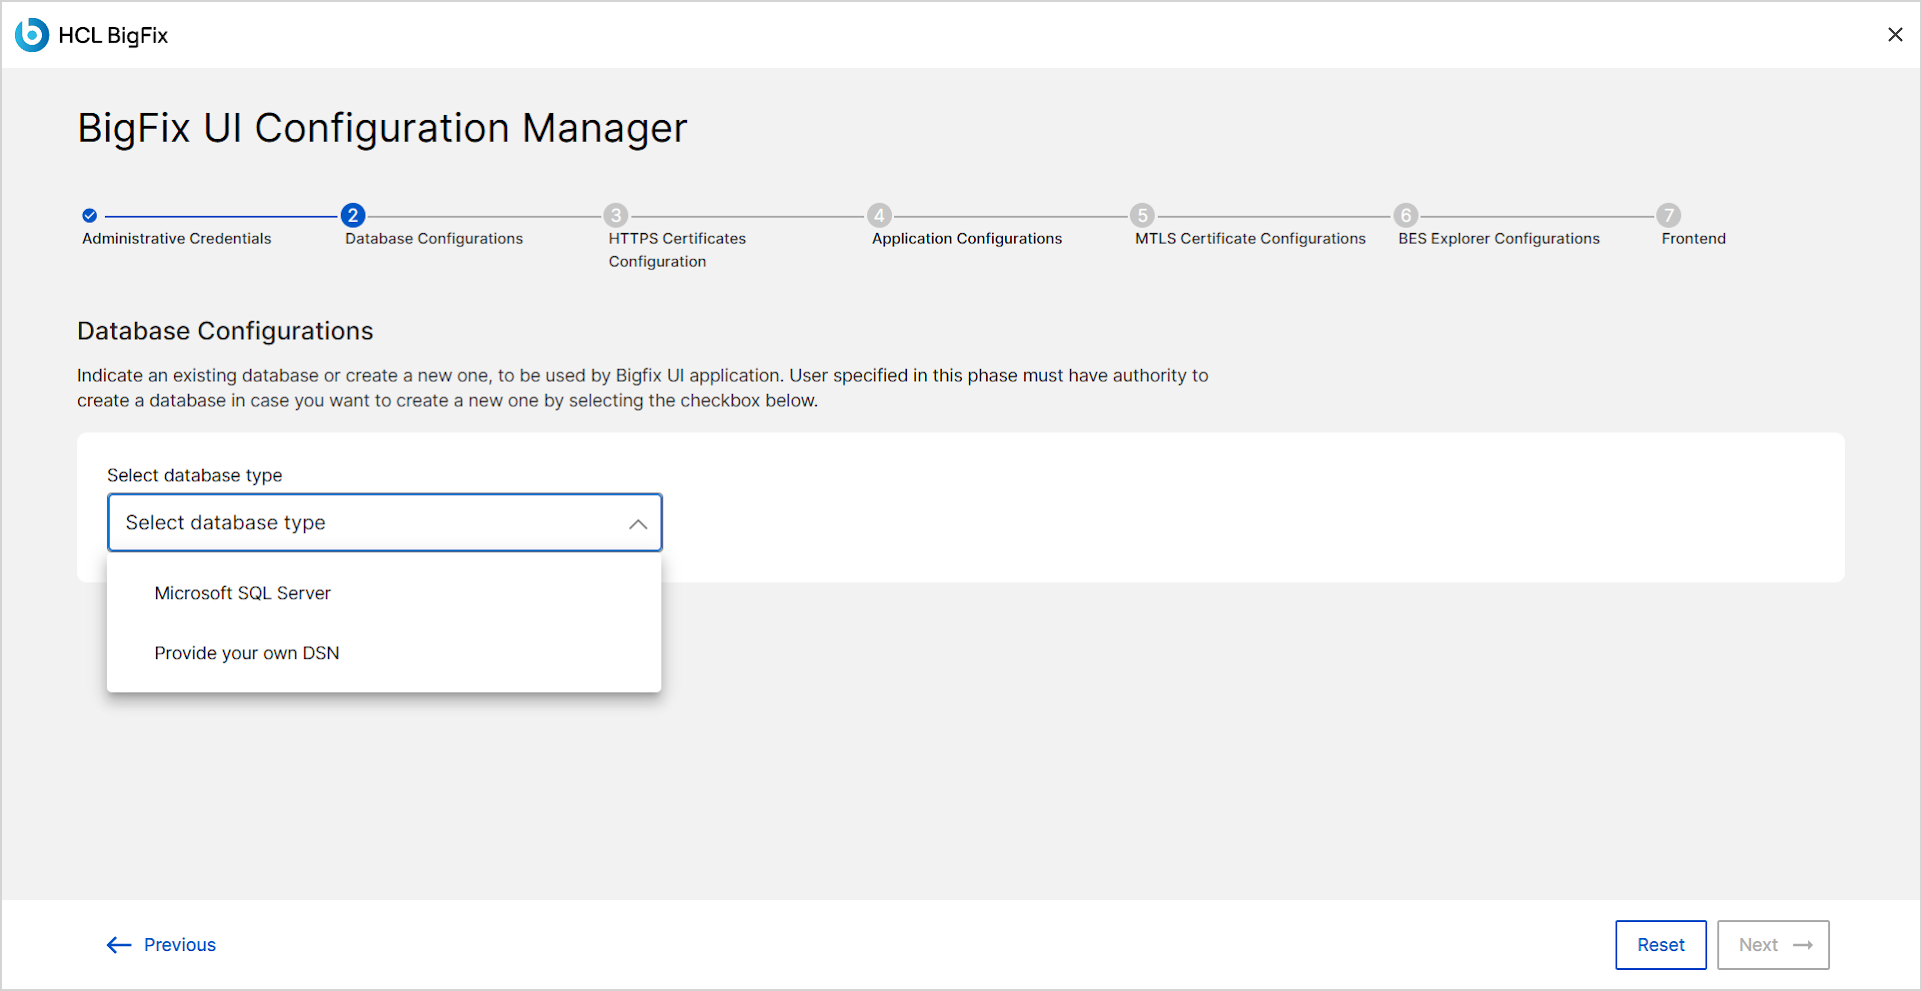
Ensure you are on the Database Configurations screen.
-
In the Select Database Type dropdown, click to view
available options. Choose the Microsoft SQL Server
database types:
- Microsoft SQL Server
- Provide your own DSN
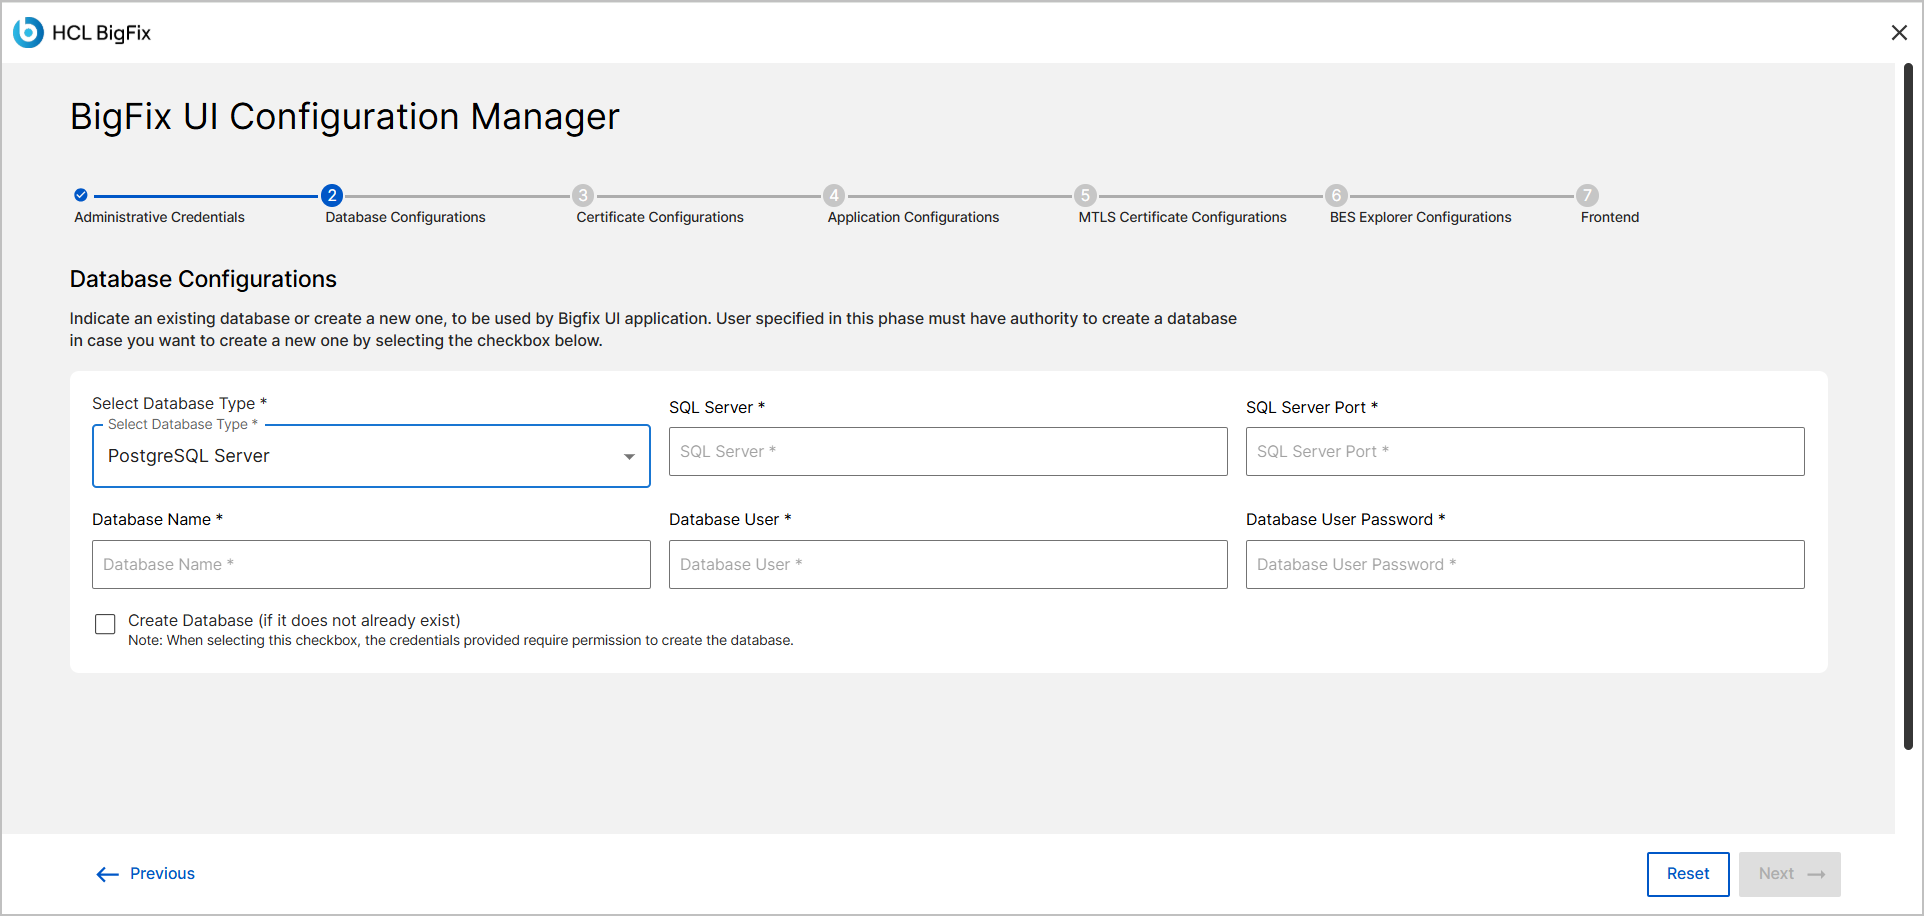
Note: Currently, only Microsoft SQL Server is supported for database configuration. MSSQL with Windows authentication is also supported (this corresponds to the Provide your own DSN option). Other database options shown in the drop-down list are not yet supported and should not be selected. -
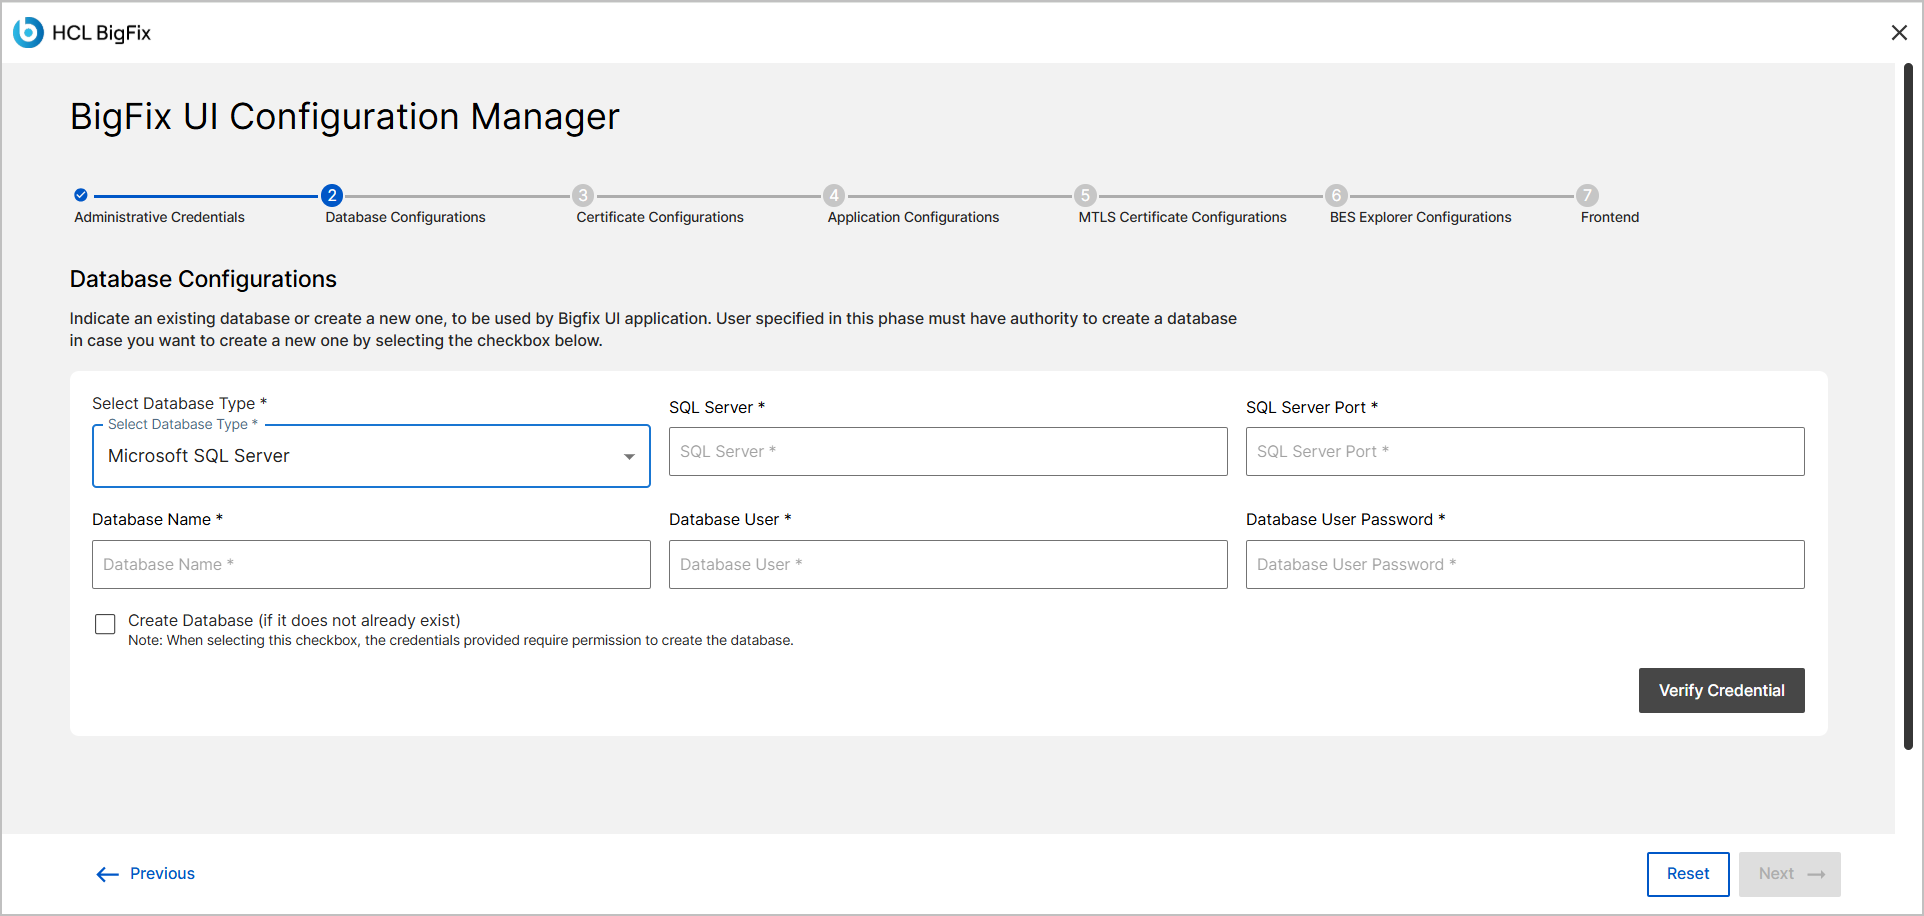
Review the database configuration fields that appear.
After selecting a database type, relevant configuration fields appear. For example:
- Microsoft SQL Server displays fields such as:
- SQL Server
- SQL Server Port
- Database Name
- Database User
- Database User Password
-
Create Database (if it does not already exist) checkbox.
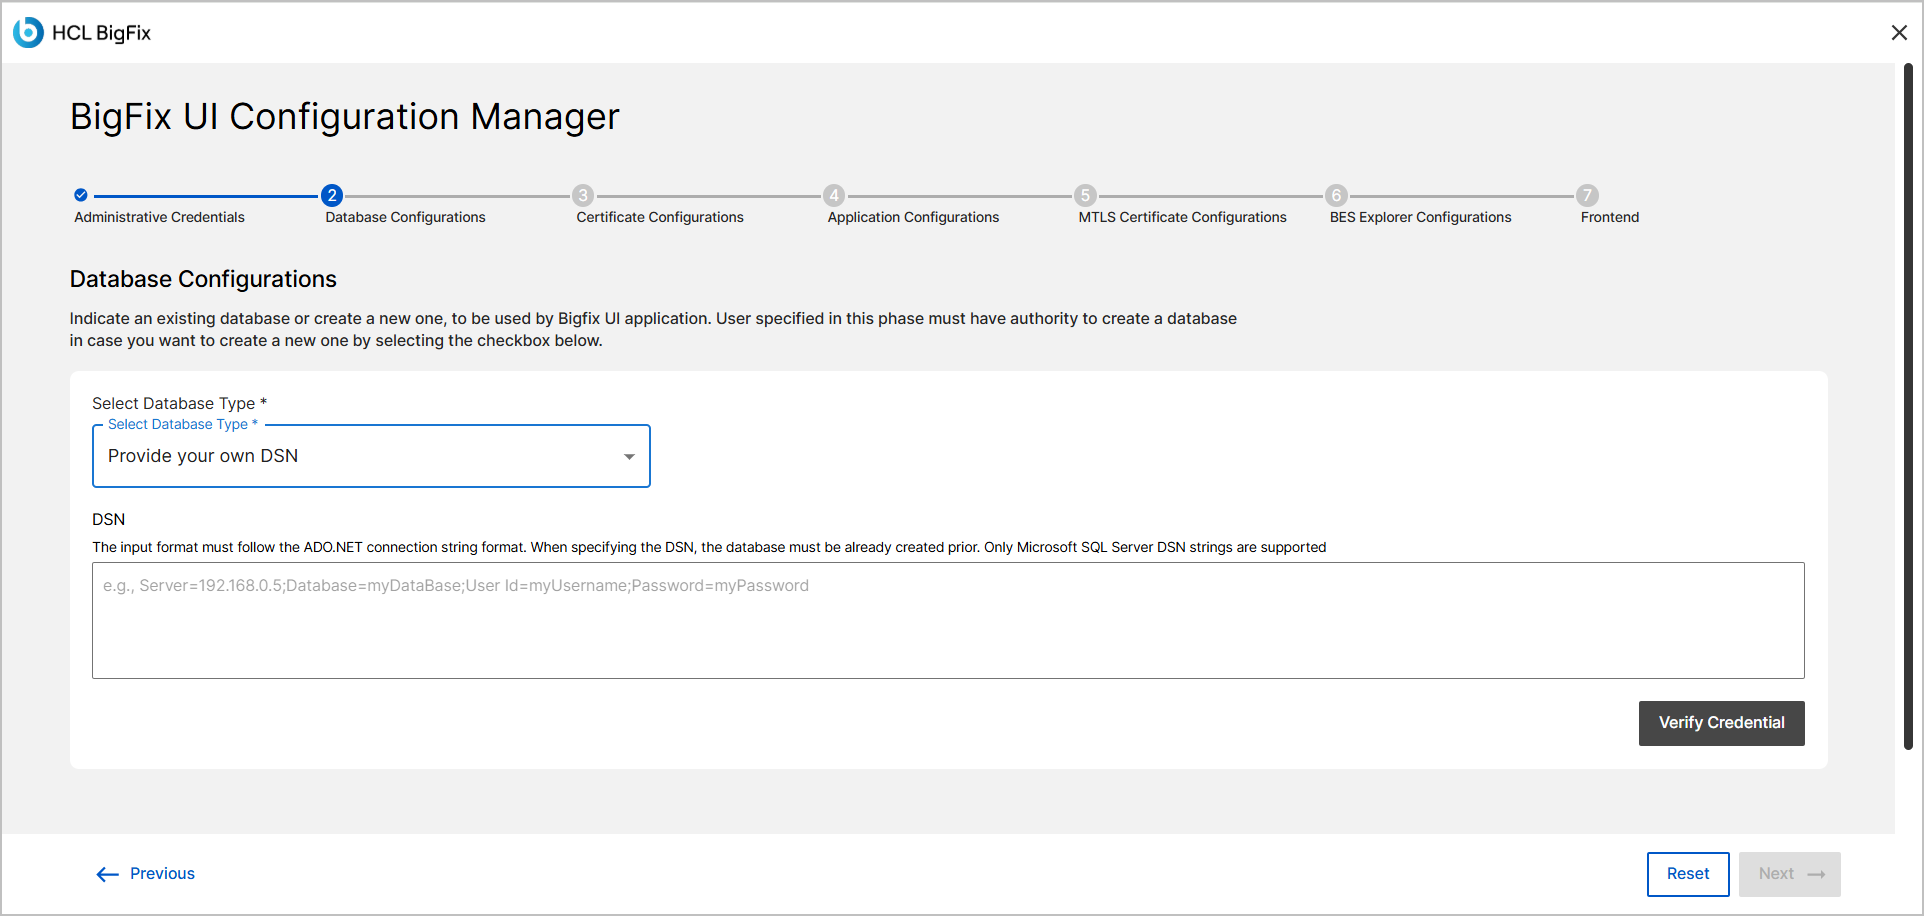
- Provide your own DSN shows the
DSN input field.
- Microsoft SQL Server displays fields such as:
-
If the selected database does not exist, Select the Create Database
(if it does not already exist) checkbox .
Note: When selecting this checkbox, the credentials provided require permission to create the database.
-
Enter the database configuration details.
Fill in the fields that appear based on your database type selection.
Note: All required fields must be completed before the Verify Credential and Next buttons are enabled. -
Once all mandatory fields are completed, click Verify
Credential to validate the database connection.
If verification is successful, a success message such as "Credentials verified successfully." is displayed.
If verification fails, an error message is shown (e.g., "Invalid credentials or connection timeout. Please check your inputs.")
Problematic fields are highlighted if possible.
-
If there is an error, click Reset button to clear all
the entered information.
When you click the Reset button, a confirmation dialog appears with the options:
- Reset: Clears all data entered in the form.
- Cancel: Closes the dialog and keeps the entered data.
If you want to exit the setup process, click the X icon in the top-right corner of the screen.
- After the successful database configurations, click the Next button to proceed to the Certificate Configurations.