Save (View)
- Users can save changes made to the grid views such as selected columns and applied filters—by clicking the "Save" button.
- This ensures that when the user returns to the page in the future, the grid will
retain the previously saved column configuration and filter.
Figure 1. Navigation for Create an Entity 
- When the user clicks the "Save" button, a confirmation prompt will appear asking if they want to save the current view settings.
- Please note: this action cannot be undone.
Figure 2. Navigation for Create an Entity 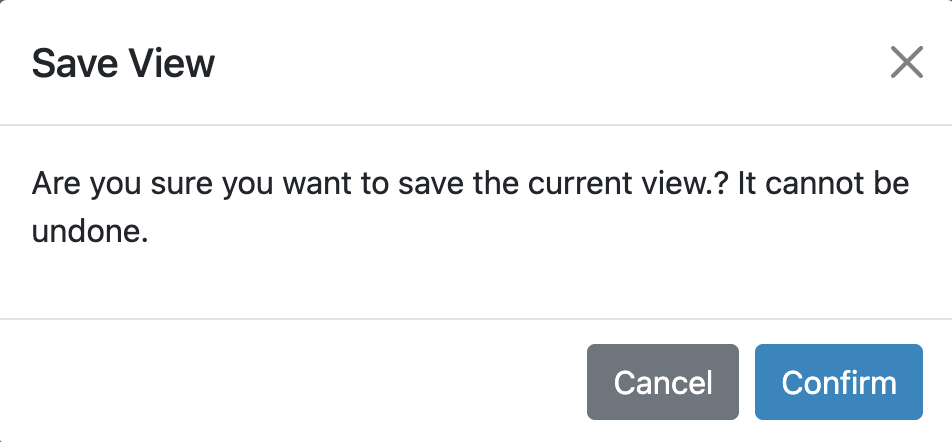
-
Once the user clicks "Confirm", the changes will be saved, and a green confirmation message will be displayed:
"View saved successfully."
-
Figure 3. Navigation for Create an Entity 
Save As (View)
- Users can also create a new custom view if they wish to save the current grid settings and applied filters without modifying the existing view by click on “Save As” button.
- This allows users to preserve the original view while saving the current configuration as
a separate, personalized view.
Figure 4. Navigation for Create an Entity 
-
When the user clicks the "Save As" button, a popup will appear, as shown in the image below.
In this popup, the user must provide the following details:
-
View Name: A name for the custom view
-
Description: Additional details about the view
- Show to: Choose whether the view should be visible only to the user or shared with other users
Figure 5. Navigation for Create an Entity 
-
- Once the form is completed and saved, the new view will be created without affecting the
existing one an s message will be displayed in green “View Saved Successfully”.
Figure 6. Navigation for Create an Entity 
- You can access the view through the 'Select Entity View' dropdown”.