Add Columns
- Users can customize the grid view by adding or removing columns according to their preferences. However, mandatory columns cannot be removed.
- To add or remove columns, click the "Add Column" button — the first button from the
left
Figure 1. Navigation for Create an Entity 
- On clicking the button, a pop as shown in the image will appear.
Figure 2. Navigation for Create an Entity 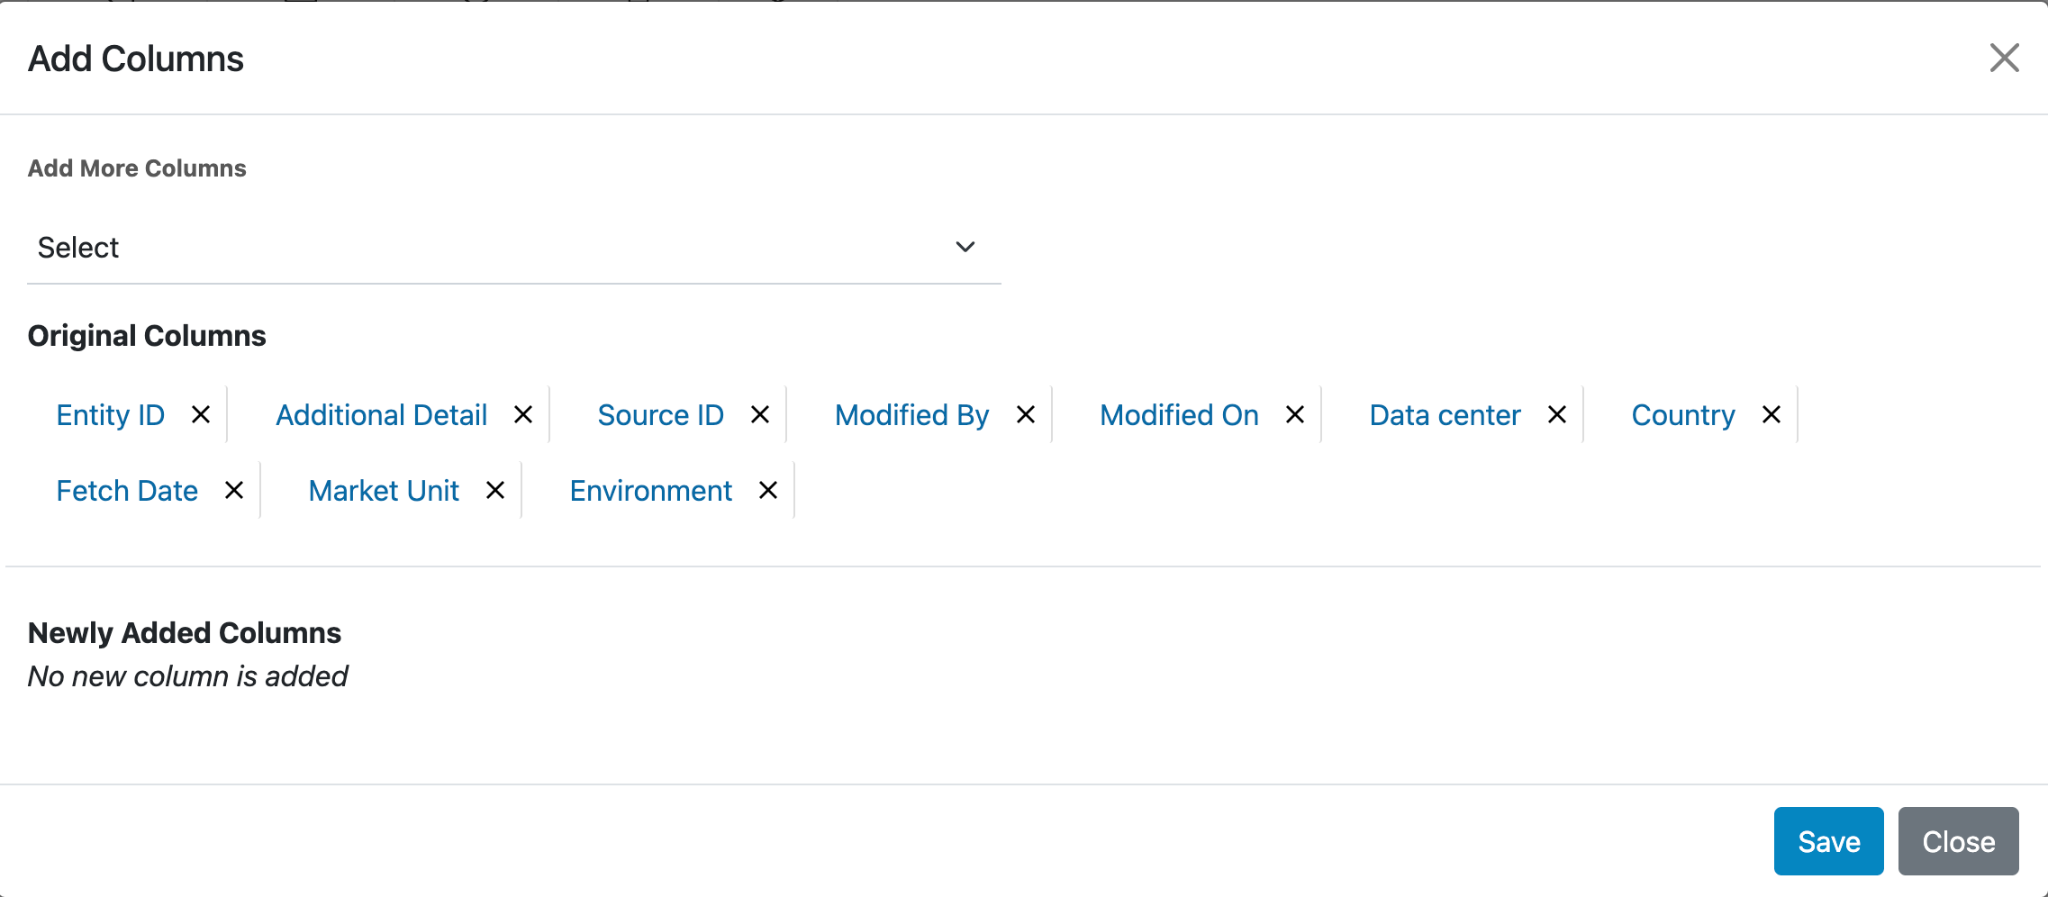
- Where user can use to select and add more columns to the grid by choosing option from the
“Add More Column” dropdown
Figure 3. Navigation for Create an Entity 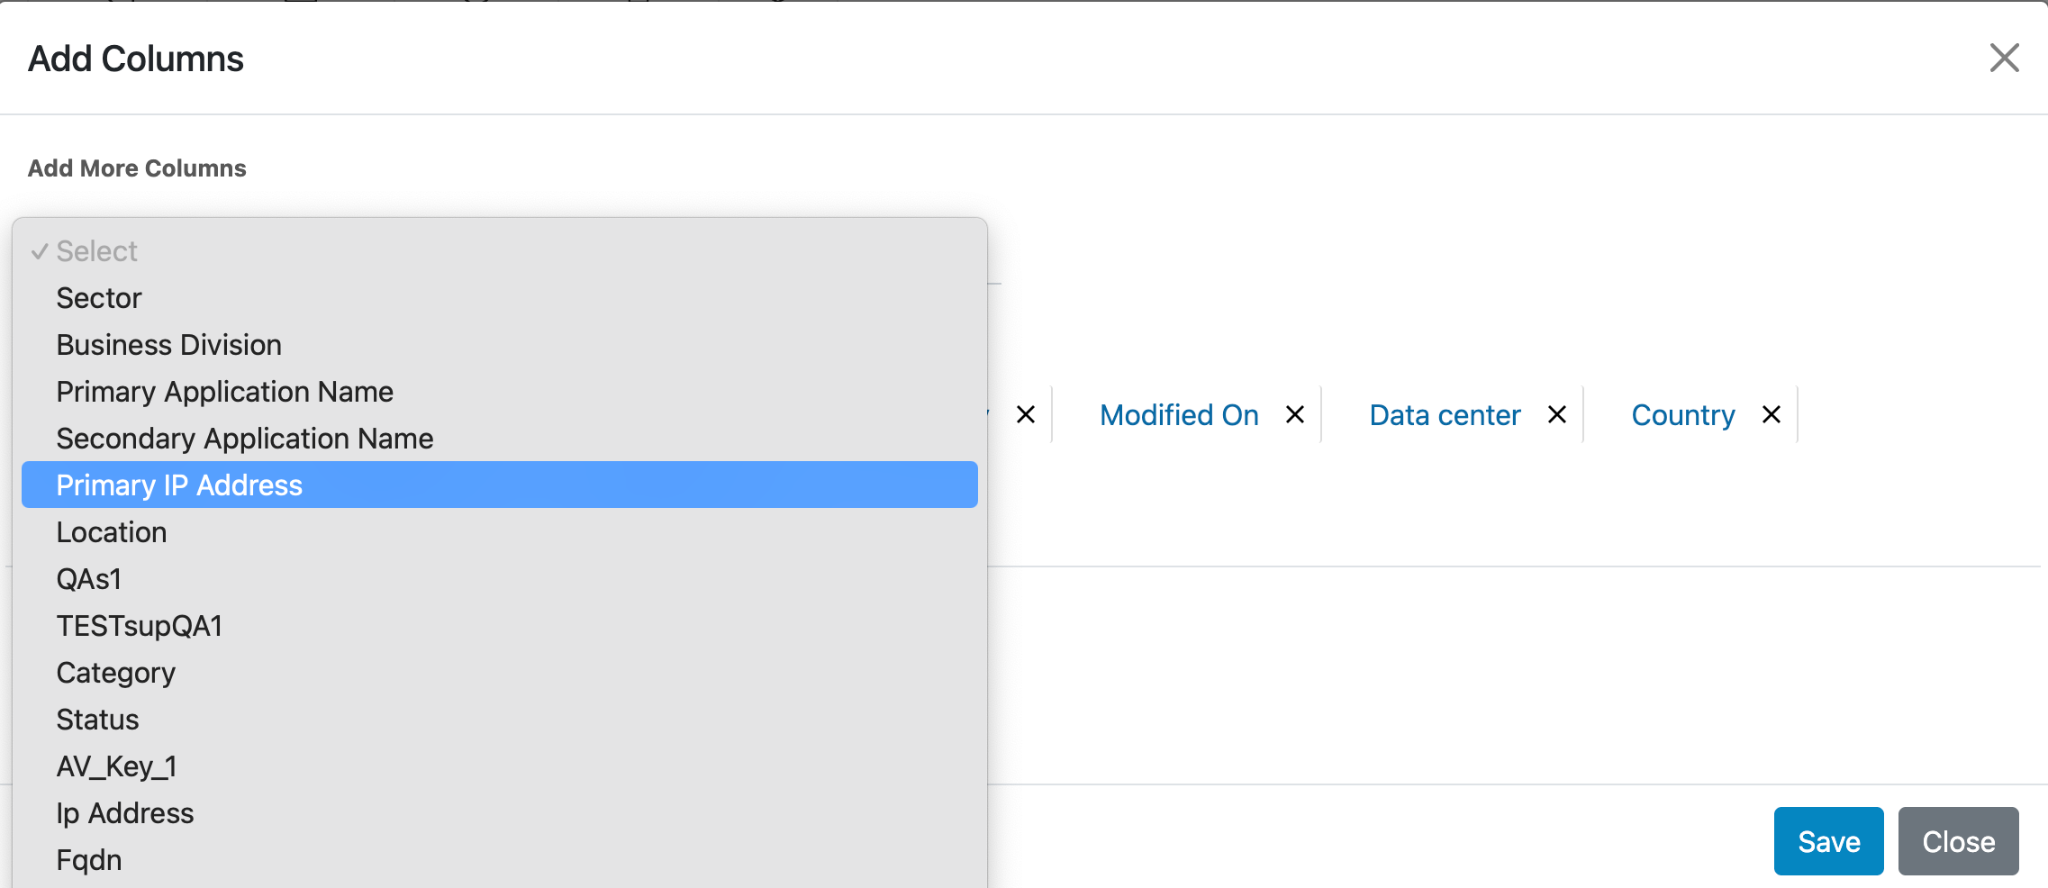
- Once options are selected from the dropdown, they will appear under the "Newly Added Columns" section, as shown in the image below.
- To remove a column from this section, simply click the "X" icon next to the column
name.
Figure 4. Navigation for Create an Entity 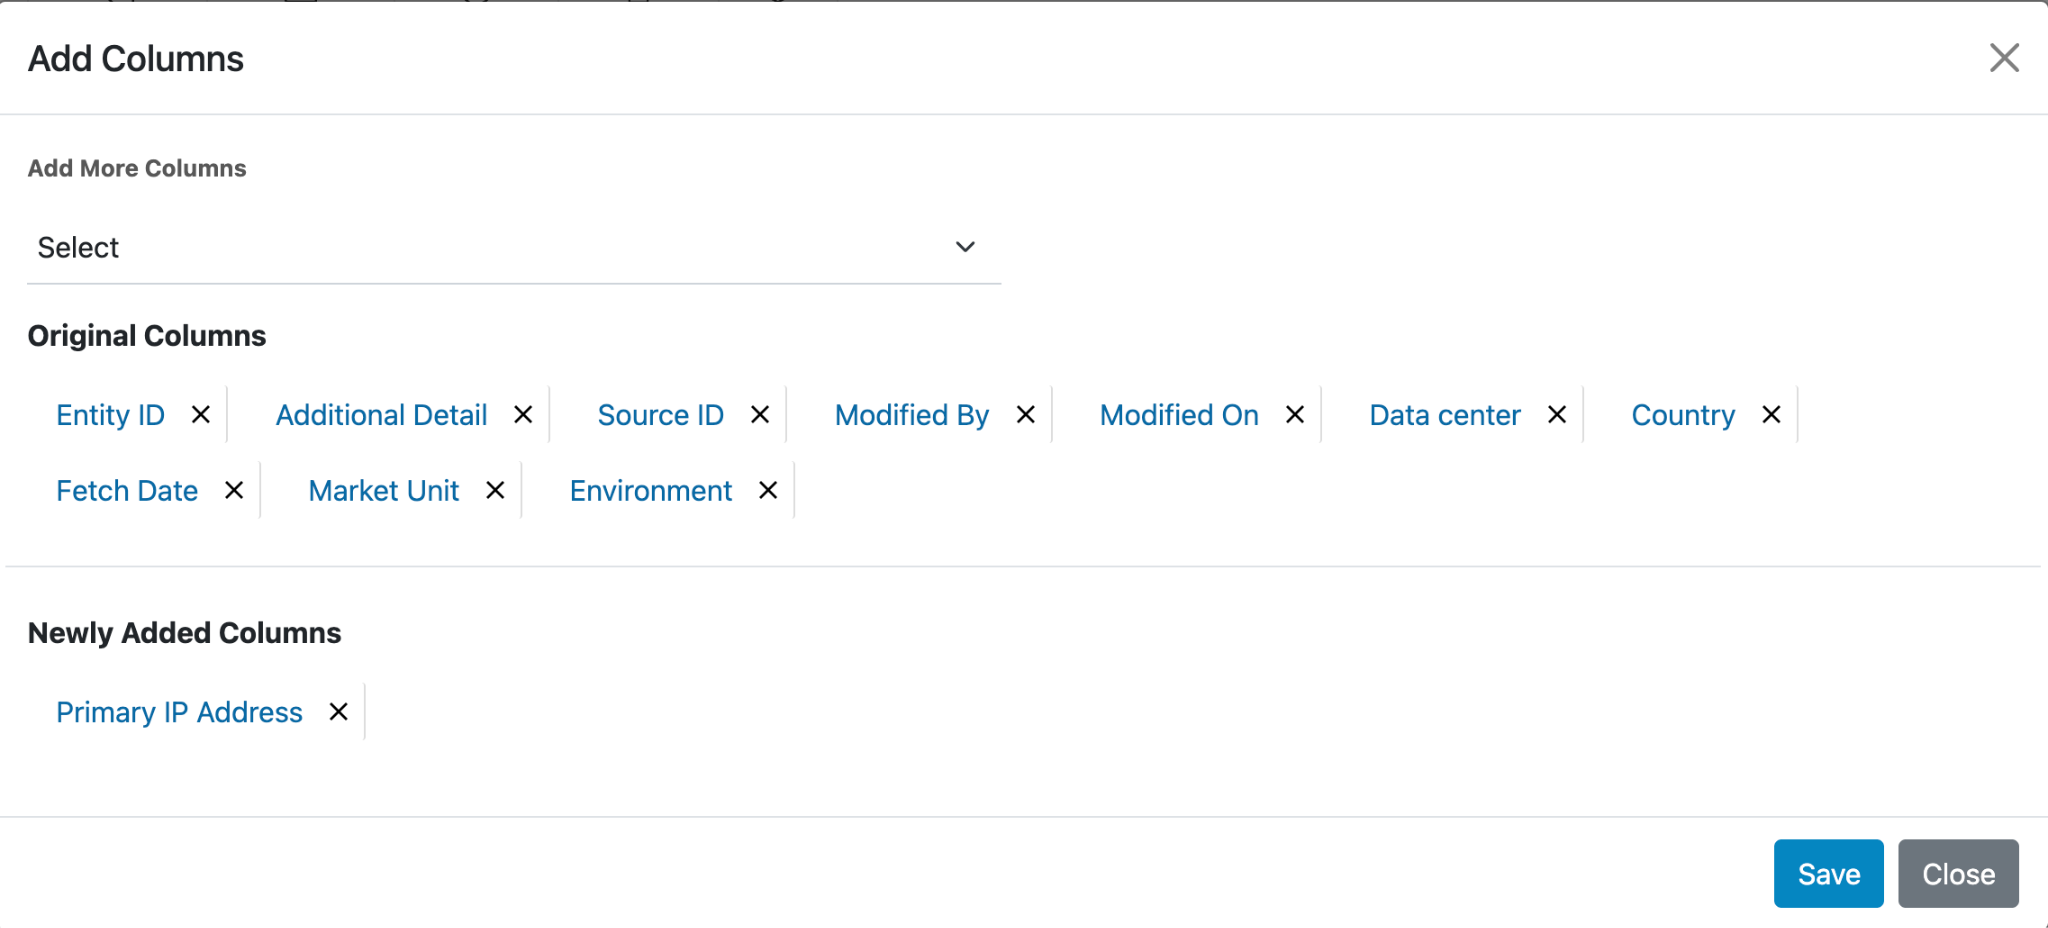
- After finalizing the column selection, the user must click the "Save" button. Once
clicked, the popup will close, and a green confirmation message will appear stating as
Columns updated successfully.
Figure 5. Navigation for Create an Entity 
-
To remove a column from the grid, click the "Add Column" button.
Under the "Original Columns" section, click the "X" icon next to the column name you wish to remove.
Then, click the "Save" button.
Figure 6. Navigation for Create an Entity 
-
A green confirmation message will appear stating:
"Columns updated successfully."
Figure 7. Navigation for Create an Entity .png)