Integration Configuration
Integration Configuration provides a centralized view to managing all customer integrations, including defining integrations, configuring integration mappings, and maintaining integration endpoints, ensuring seamless data exchange across connected systems.
Integration Endpoint
- Click Customer Onboard. For the required customer, click Edit in the Customer Actions column.
- Navigate to Integration Configuration → Integration Endpoint, where the
records for the selected customer are displayed in a grid view for
configuration.
Figure 1. Integration Endpoint Page 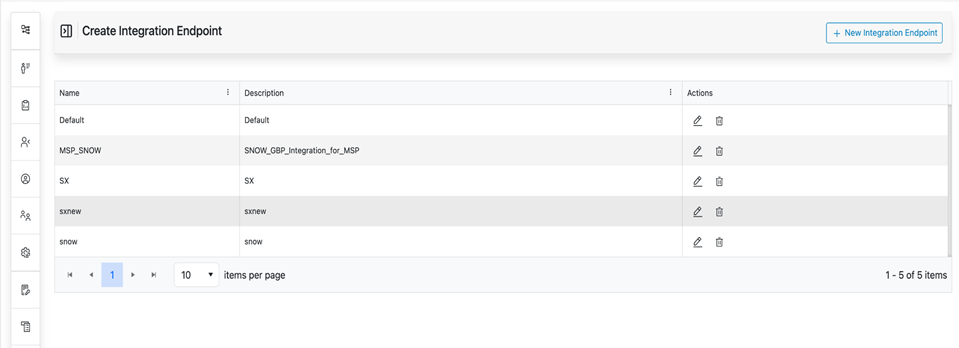
- User can perform the following actions:
- Add New
- Edit
- Delete
Add Integration Endpoint
- Users shall click the + New Integration Endpoint button.
Figure 2. New Integration Endpoint Button 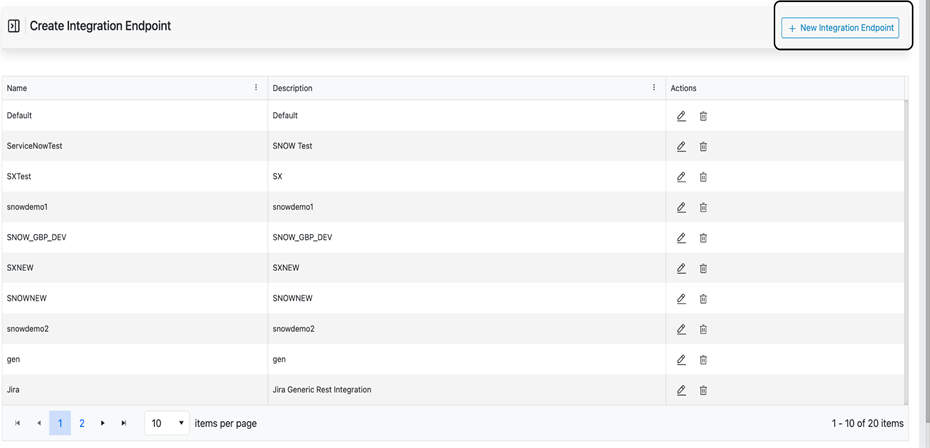
- A form will appear in the following mandatory fields:
- Name
- Description
Figure 3. Integration Endpoint Form 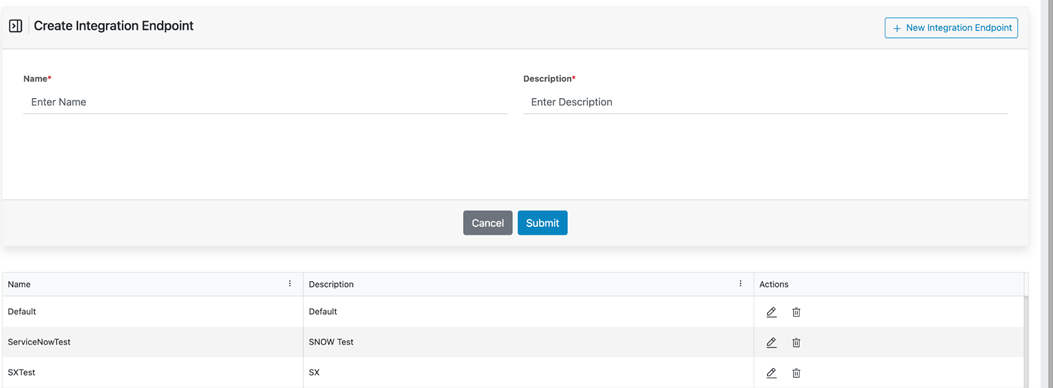
- Users shall enter values in both fields.
Figure 4. Integration Endpoint Success Message. 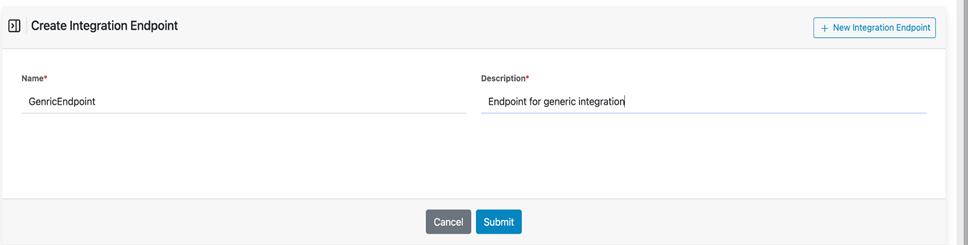
- Users shall click the Submit button.
- Upon successful submission:
- A successful message will be displayed.
- The newly created integration endpoint will appear in the table listed below.
Figure 5. Integration Endpoint Success Message (Cont.) 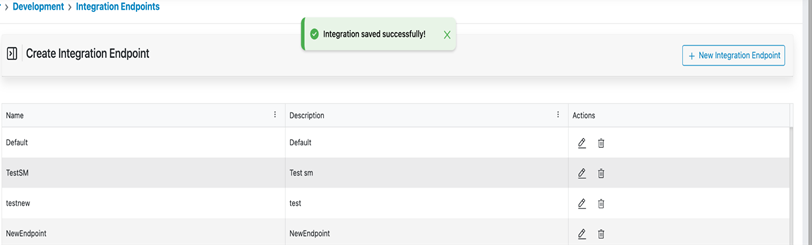
Edit Integration Endpoint
- User shall click the Edit button under the Actions column for the
integration endpoint to be updated.
Figure 6. Integration Endpoint Edit Button 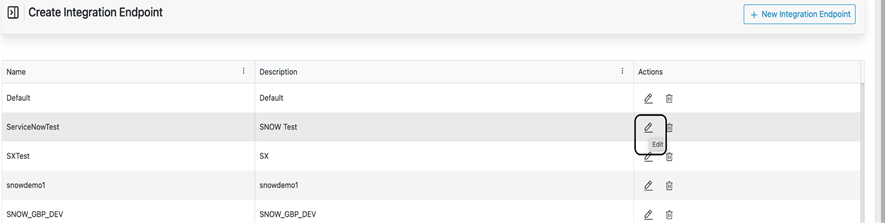
Figure 7. Integration Endpoint Update Form 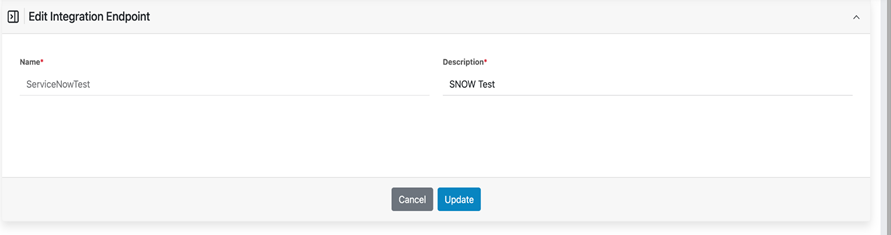
- A form will appear with pre-filled details for the selected
endpoint.Note:Endpoint Name will be non-editable.
- Users may update the Description field as required.
Figure 8. Integration Endpoint Updated Form 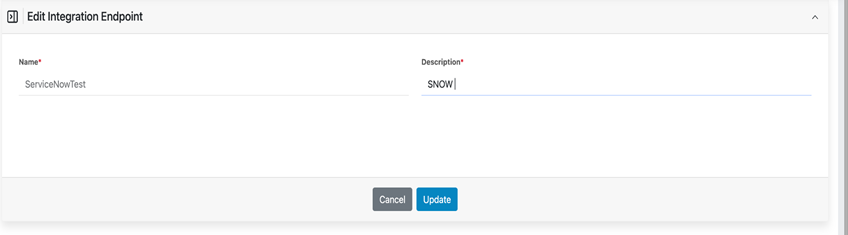
- Users shall click the Update button to save the changes.
Figure 9. Integration Endpoint Updation success message 
- A successful message will be displayed upon successful update.
Delete Integration Endpoint
- Users shall click the Delete button under the Actions column for the
integration endpoint to be removed.
Figure 10. Integration Endpoint Delete Button 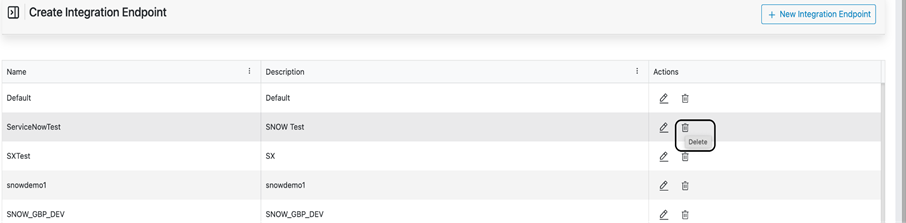
Figure 11. Integration Endpoint Delete Validation Message 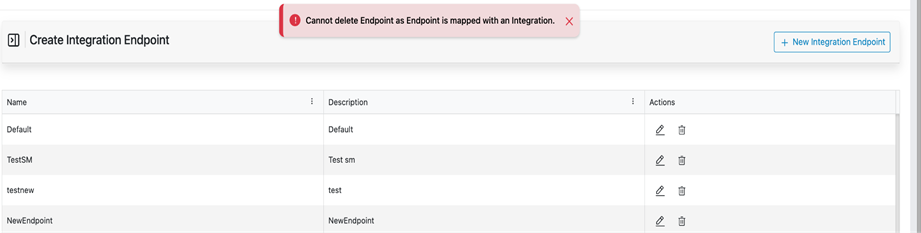
- Upon successful deletion, a success message will be displayed.
Figure 12. Integration Endpoint Delete Success Message 