Assignment Group Management
- To create an assignment group, on the main menu bar click on Roster Management →
Assignment Group Management..

- Click on
 icon to expand the section to add the
details.
icon to expand the section to add the
details.Figure 1. Add New Assignment 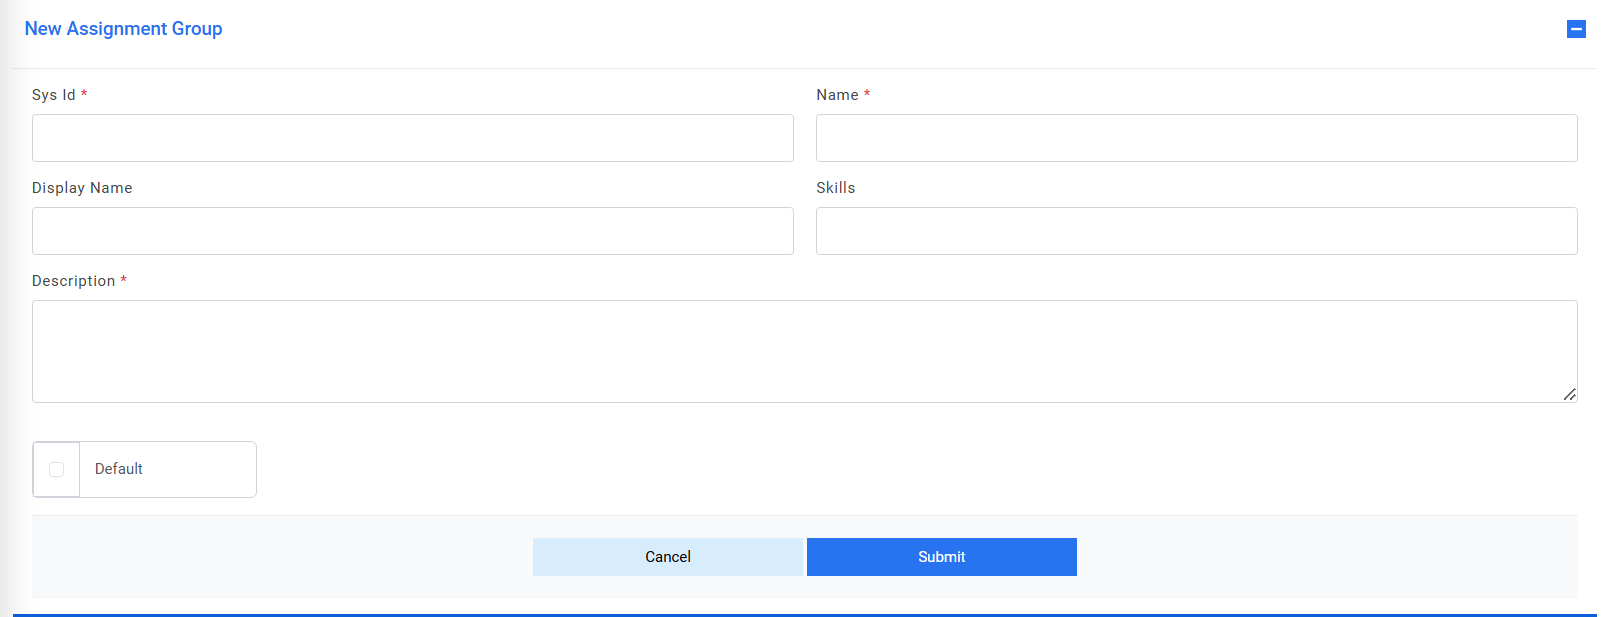
- Provide the Sys Id, Name, Display Name, Skills and Description of the group.
- Check the default checkbox to make the assignment group as default group.Note:The default group is the one which will be used in case no groups can be fetched from GenAI studio during ticket assignation.
Figure 2. Default Assignment Group 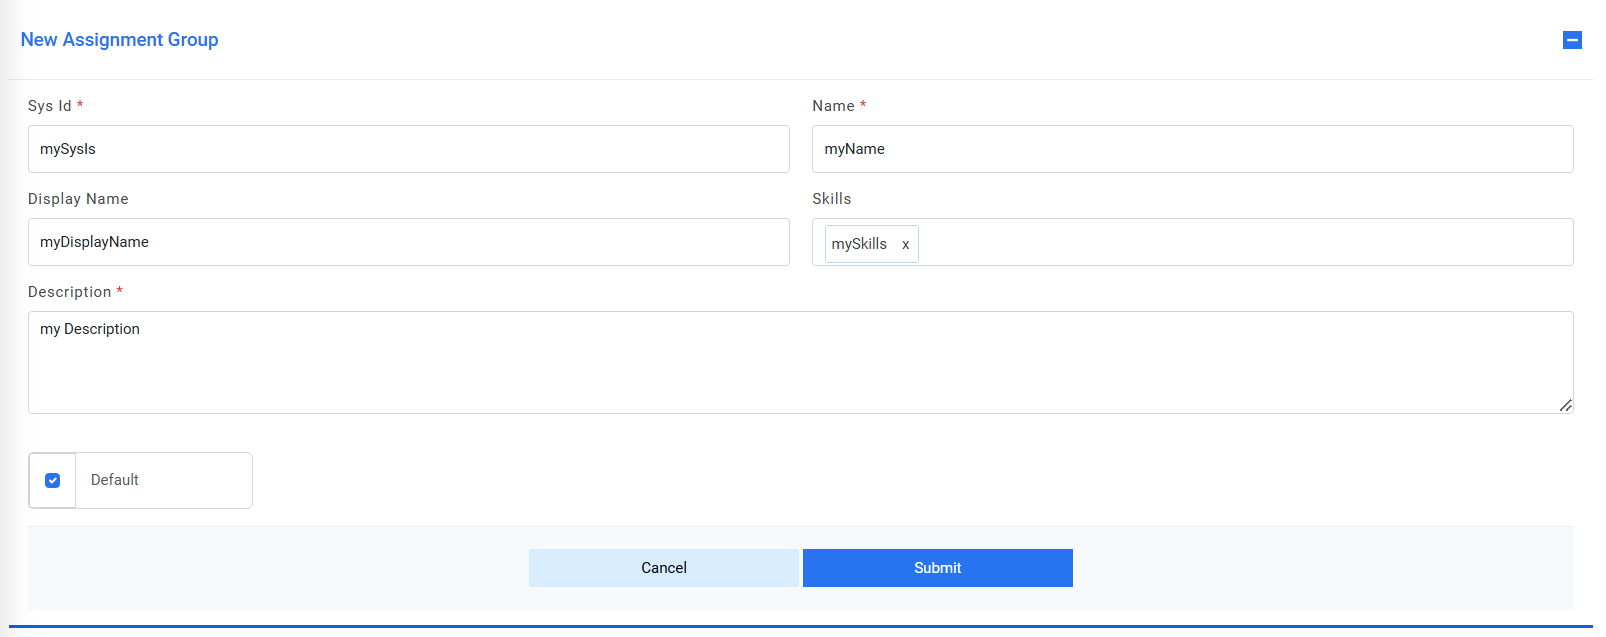
- Click on Submit.
- If the group gets successfully pushed/updated in GenAI studio, the alert message appears on the screen.
- If the created group doesn’t get pushed/updated in GenAI studio, then below alert will be
generated which means that the group has been created in iAutomate but due to failure in
calling GenAI Studio API, it’s not pushed in GenAI studio, hence user needs to manually push
there.
Figure 3. Success Message 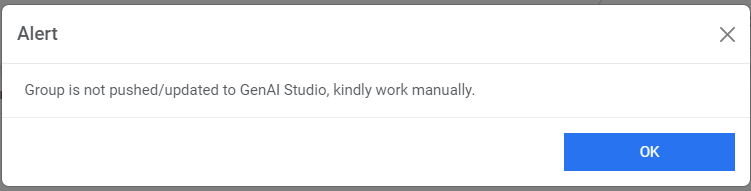
- To edit any group detail, click on
 icon next to it.
 - The details get populated in the section, edit the required details.
Figure 4. Edit Assignment 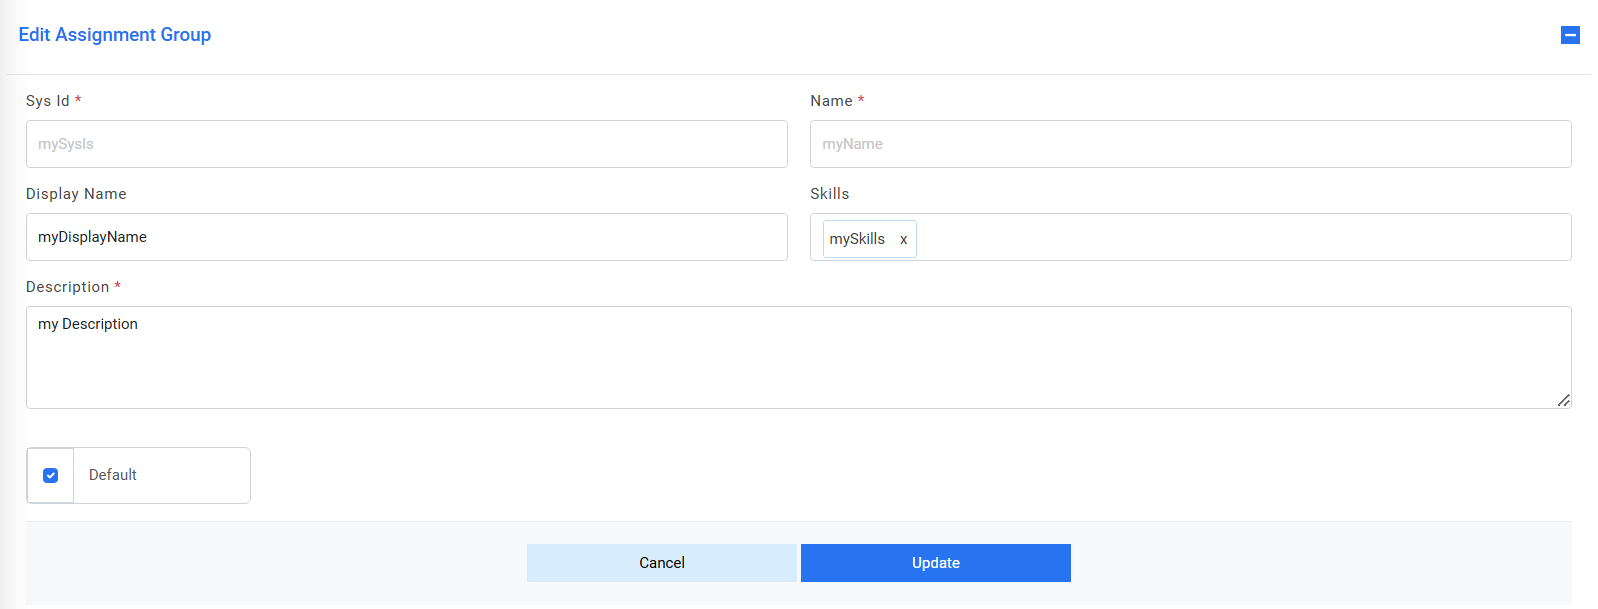
- Click on Update. The following alert gets generated.
Figure 5. Success Message 
- To delete any group, click on
 icon next to the record. A confirmation box appears.
Figure 6. Confirmation Message 
- Click on Yes, the alert below gets generated, and record gets deleted and removed from the
grid.
Figure 7. Success Message  Note:Users can configure the assignment group in the User Profile section while creation of user. Refer RBAC-User Management section.