Users can add a runbook tool in an environment by performing the following
steps:
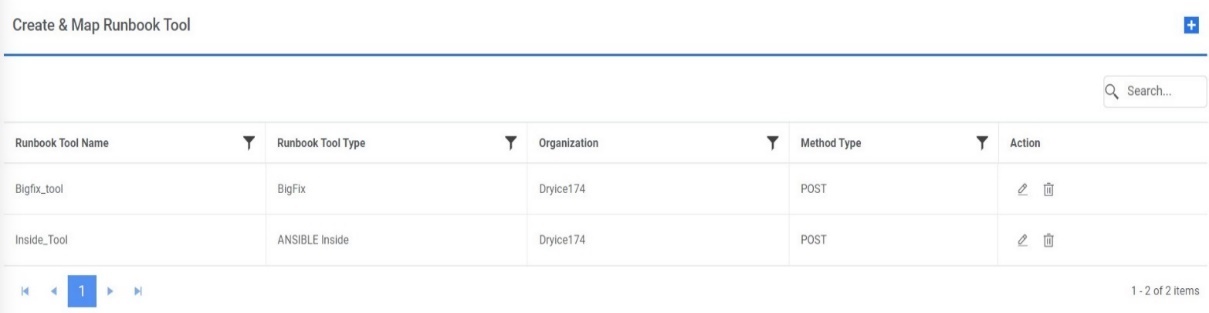
On the Manage Runbook Tool screen, click +.Figure 1. Manage Runbook Tool
Fill in the following details to create a runbook tool. You must provide values for all
the mandatory parameters.
Data Source: Select the data source for which the runbook tool will be
mapped.
Runbook Tool Name: Type the runbook tool name.
Runbook Tool Type: Select the type of runbook tool from the drop-down.
Template Type: Select the template type for ANSIBLE TOWER/AWX tool.
Integration Method: Select the integration method to integrate the runbook tool
with iAutomate.
Authentication type: Select the authentication type available for the selected
runbook tool. Select the integration method to integrate the runbook tool with
iAutomate.Figure 2. Add Details
Based on the selected runbook tool type, selecting the integration method displays
the following fields:Figure 3. Manage Runbook Tool (Cont.)
Note:
Secondary information is auto filled based on the runbook tool type
and selected integration methods.
Configure Runbook Tool
This section describes how to configure the runbook tool using the SOAP API in
case of CA ITPAM integration method or REST API in case of vRO, Microfocus Operations
Orchestrator, BigFix, BMCAO, ANSBILE TOWER/AWX, SNOW, StackStorm, ANSIBLE Inside, Jenkins,
ADO, BigFix SA, GitLab Runner and Microsoft System Orchestrator integration method.
To configure the runbook tool using the selected integration method,
Select the Authentication Type to authenticate the Runbook Tool.
Integration Section: In this section, the user needs to provide details for
integration.
Type the API URL as shown- http<s>://sourceinstanceName.com in the API URL
field where sourceinstanceName is the URL of the corresponding RBA Tool.
Select the integration method type from the Integration Method Type field.
Type the return code key in the Return Code Key field to identify the success or failure
of runbook execution.
Type the return message key in the Return Message Key field to display the success or
failure of runbook execution.Figure 4. Authentication Section
Authentication Section: Based on the authentication type selected, below
fields are visible in authentication section:
In case of token auth, type the Authentication URL to generate token and add the
Authentication parameters needed for token authentication.
Type the username and password in the User ID and Password field to get access to
API web services.
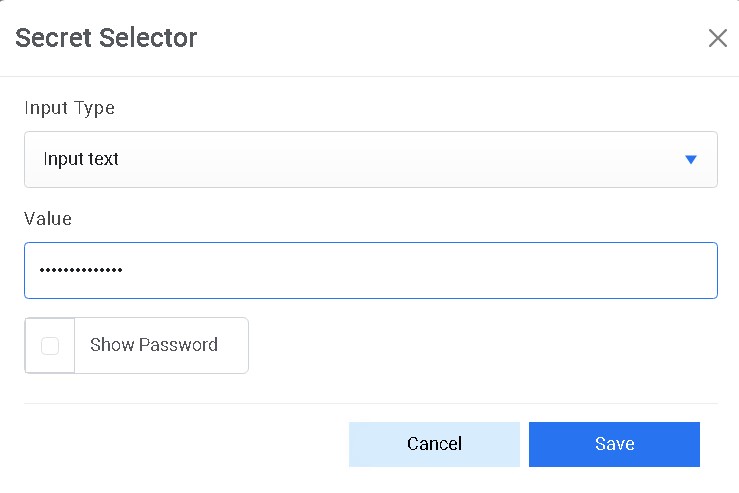
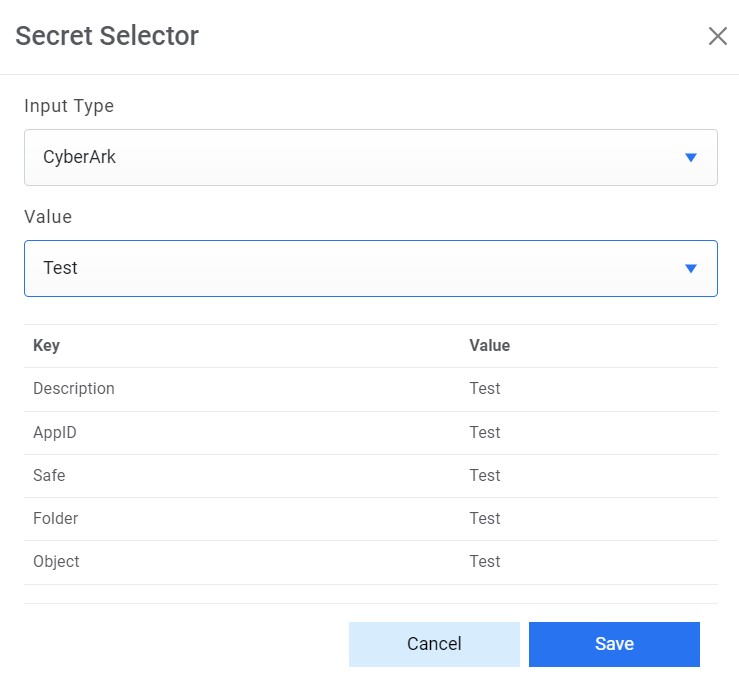
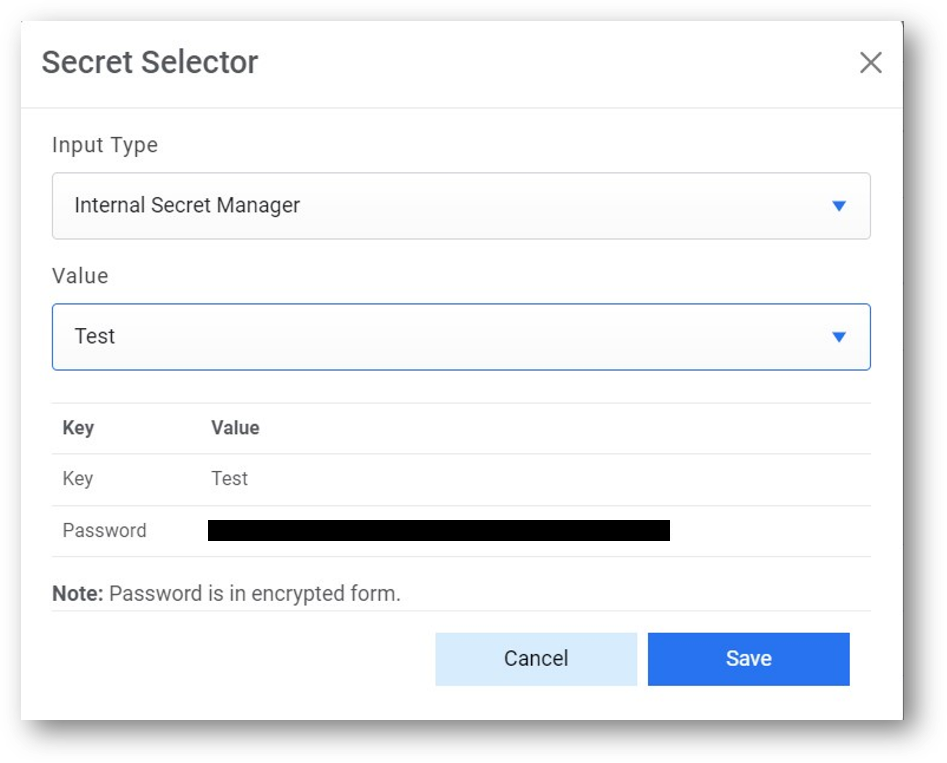
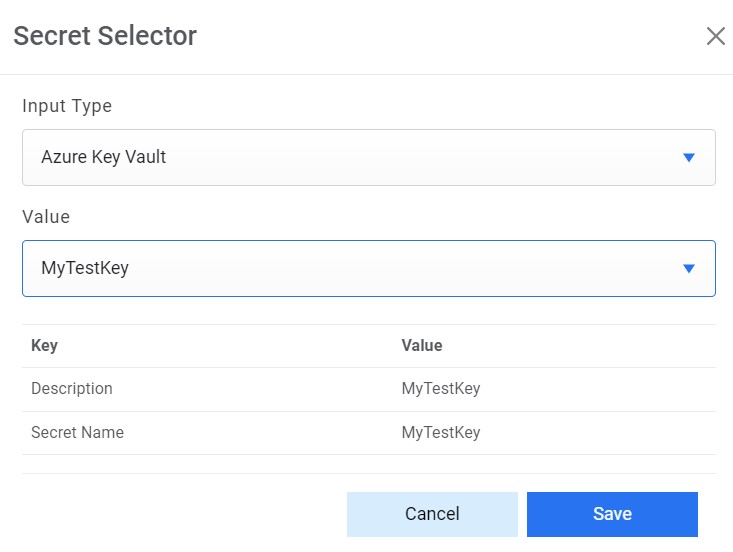
For password, click on Add Password button. If the password is available in plaintext,
then select Input type as Input Text and enter the password in Value field. Else if it is
available in Azure Key Vault then select Input Type as Azure Key Vault and then select any
of the configured details from the value field. Else if it is available in any Key Vault
such as CyberArk or Secret Manager then select Input Type as CyberArk or Secret Manager
respectively and then select any of the configured details from the value field.Figure 5. Password in Plain TextFigure 6. Password from Key Vault (CyberArk)Figure 7. Password from Key Vault (Secret manager)Figure 8. Password from Azure Key Vault
Note:
API URL, User ID, and Password are dependent on the
selected integration method
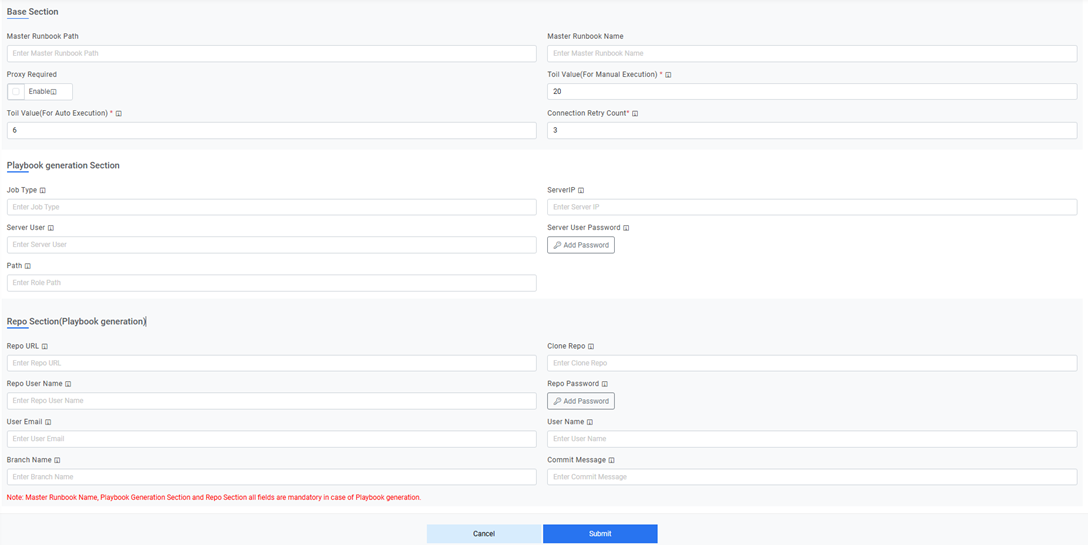
Figure 9. Base Section
Specify the path to get the consolidated scripts for the execution of runbooks in the
Master Runbook Path field. This will be provided by respective Runbook
Tool teams if they have a master runbook.
Specify the name of the master runbook.
Note:
This is not a
mandatory field. Users can change and run these scripts later.
Select Proxy Required if the environment needs
access to content from
servers outside a firewall. On selecting a proxy, the
system uses the proxy connection, as specified in the Manage Proxy section.
Enter the Toil Value (For Manual Execution) which is the maximum manual execution
time of runbook (in minutes). By default, it takes the value of the configured Toil value
(For Manual Execution) on the iAutomate Configuration page.
Enter the Toil Value (For Auto Execution) which is the maximum auto execution
time of runbook (in minutes). By default, it takes the value of the configured Toil value
(For Auto Execution) on the iAutomate Configuration page
Enter the Connection Retry Count which is the number of retry counts in case the
connection with RBA tool is failed when the ticket is triggered by
iAutomate.
Playbook Generation Section: This section is enabled for Ansible
Tower/AWX and Ansible CLI and is relevant in case of generating playbook from GenAI
studio.Figure 10. Playbook Generation Section
Enter the Job Type in Ansible Tower for the specific kind of task or operation that the
selected job template is configured to execute.
Enter the Server IP where new role will be created.
Enter the Server User and Server User Password to connect for role creation.
Enter the path where the playbook will be copied post generation.
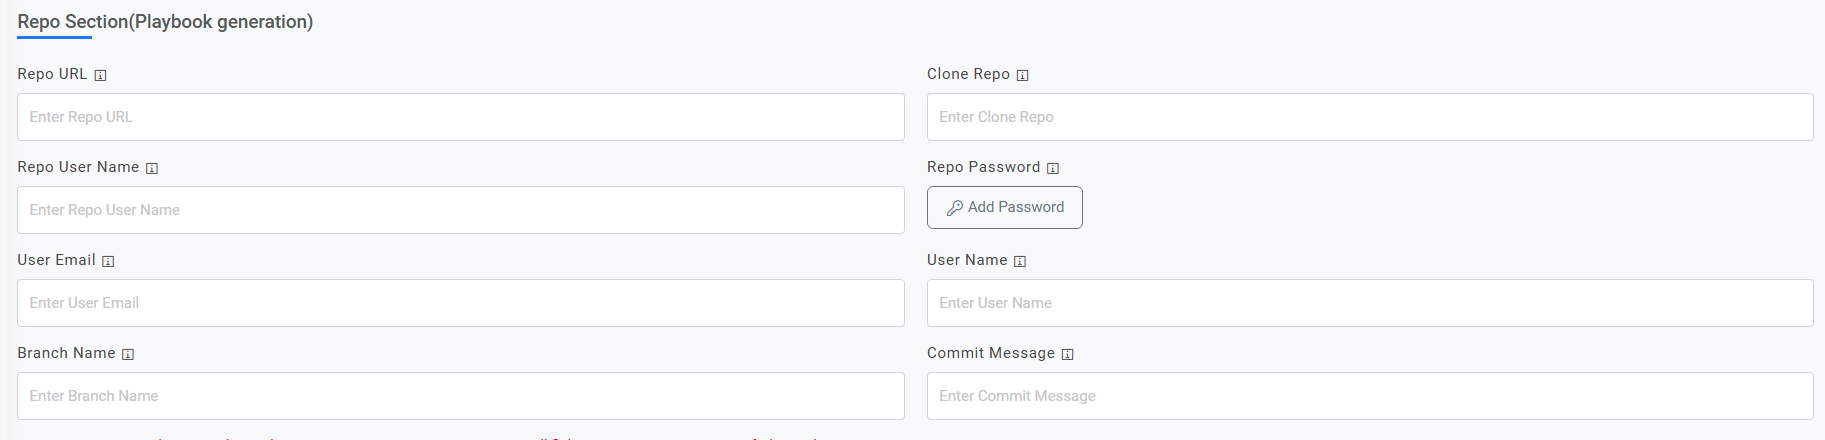
Repo Section (Playbook Generation): This section holds all the details when a
playbook generated from GenAI Studio needs to be pushed in Git repo.Figure 11. Repo Section (Playbook Generation)
Enter the Repo URL where the playbook code will be pushed.
Enter the Clone Repo where a role is created for playbook code.
Enter Repo User Name and Repo Password to connect with the Repo URL.
Enter User Email to identify the user’s email who is pushing the changes.
Enter User Name to identify the user’s name who is pushing the changes.
Enter the Branch Name in which the playbook code will be pushed.
Enter the Commit Message which is needed to push any playbook code to repo.
Note:
All fields marked with an asterisk (*) are mandatory.
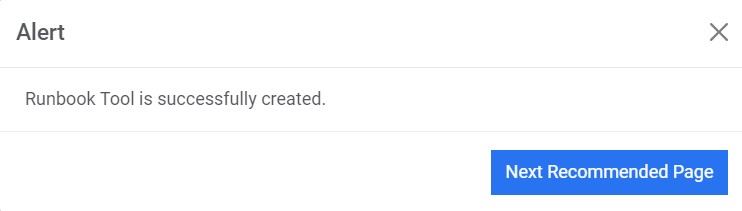
Click Submit to add the runbook toolFigure 12. Configure Runbook Tool
A confirmation dialog box appears.Figure 13. Runbook Tool Created
The new runbook tool is
created and listed in a tabular view.
Note:
If a connection to the
iAutomate configuration database cannot be established, an error message appears
explaining what must be done to resolve the issue.
Edit Runbook Tool
Users can open an existing runbook tool, review the available information, and
edit the runbook tool details by performing the following steps:
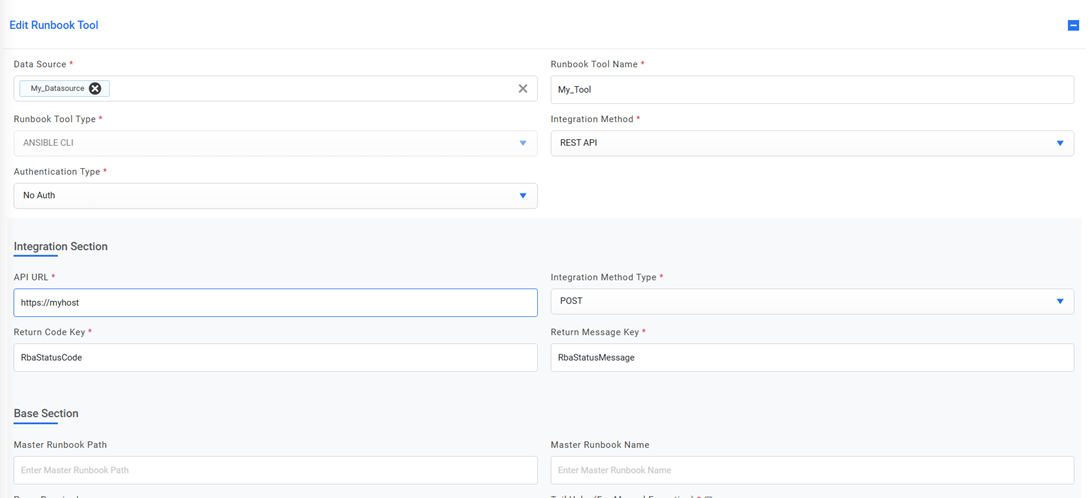
On the Manage Runbook Tool screen, click corresponding to the runbook tool that you want to edit.Figure 14. Edit Runbook Tool
This displays the complete details of the runbook tool
including the runbook tool name and type, integration method and type, API URL and its
log on credentials, master runbook path, return code key, and the return message
key.Figure 15. Edit Runbook Tool (Cont.)
Edit the selected Runbook tool details and click Update to commit the changes.
Click Cancel to discard changes.
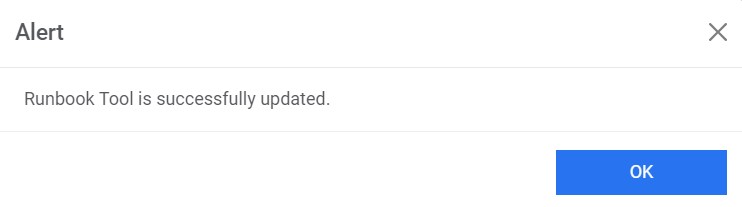
A confirmation dialog box appears.Figure 16. Runbook Tool Edited
Note:
All fields marked with an asterisk (*) are
mandatory.
Delete Runbook Tool
If a user no longer wants a specific runbook tool, he/she can delete it from the
environment by performing the following steps:
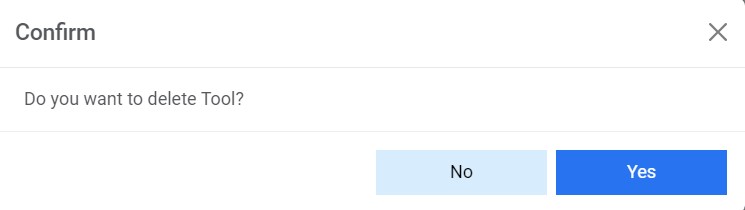
On the Manage Runbook Tool screen, click on corresponding to the Runbook tool that you want to
delete.Figure 17. Delete Runbook Tool
Click OK to confirm.Figure 18. Delete Runbook Tool (Cont.)
Note:
You cannot delete a Runbook tool which is mapped to an
active organization and data source.


 Note:API URL, User ID, and Password are dependent on the selected integration method


 corresponding to the runbook tool that you want to edit.
 Note:All fields marked with an asterisk (*) are mandatory.
 corresponding to the Runbook tool that you want to
delete.
corresponding to the Runbook tool that you want to
delete..png)
 Note:You cannot delete a Runbook tool which is mapped to an active organization and data source.