Schedule Runbooks
iAutomate allows users to schedule runbooks to run at a specified time. A runbook can be scheduled to run once or on a recurring basis.
Users can also schedule them weekly, monthly, specific days of the week or days of the month, or a particular day of the month.
To create a new runbook schedule, perform the following steps:
- On the main bar, click Runbooks and then Schedule Runbooks. The
Schedule Runbook page appears. To schedule a runbook, click on
 icon.
icon.Figure 1. Schedule Runbook 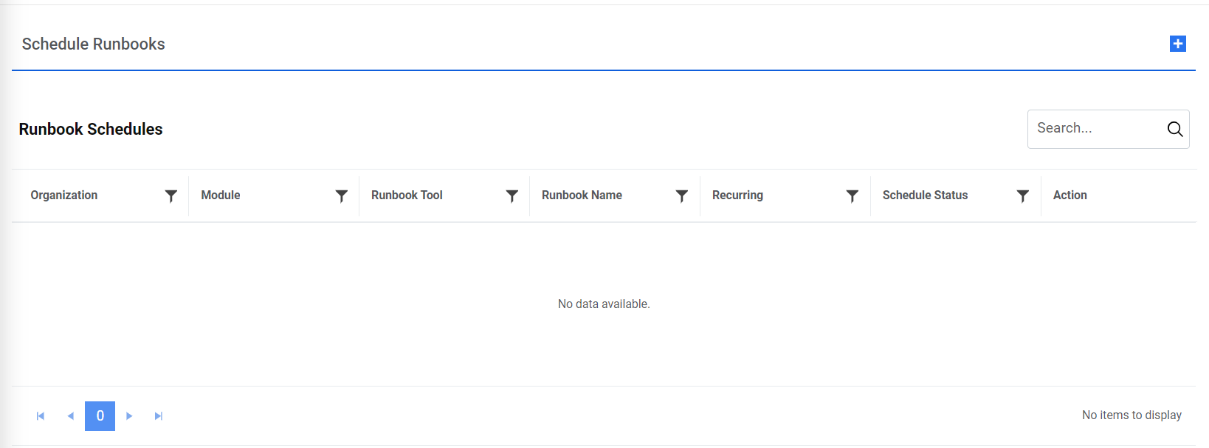
- Select Module and then select the Runbook Tool and click on Apply. It lists
all the runbooks configured with the selected Runbook tool in a tabular view.
Figure 2. Runbook Search Results 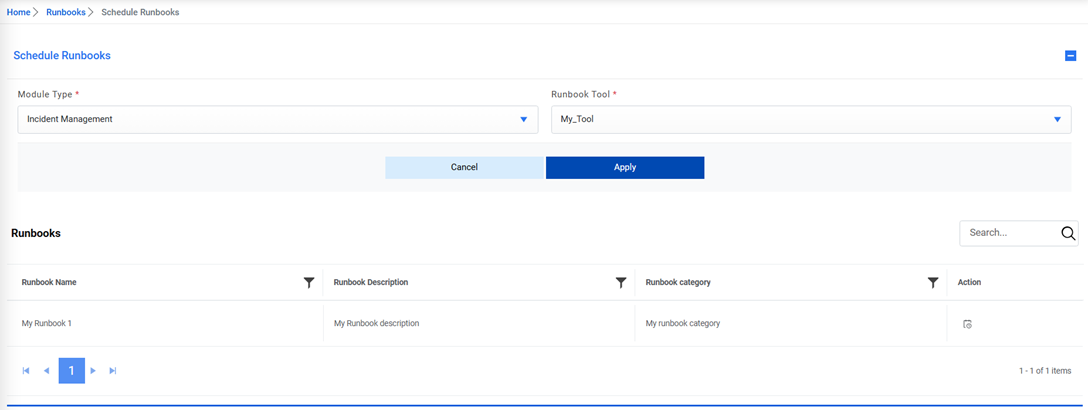
- Click
 and fill in the details to
schedule a Runbook.
and fill in the details to
schedule a Runbook.Figure 3. Runbook Details 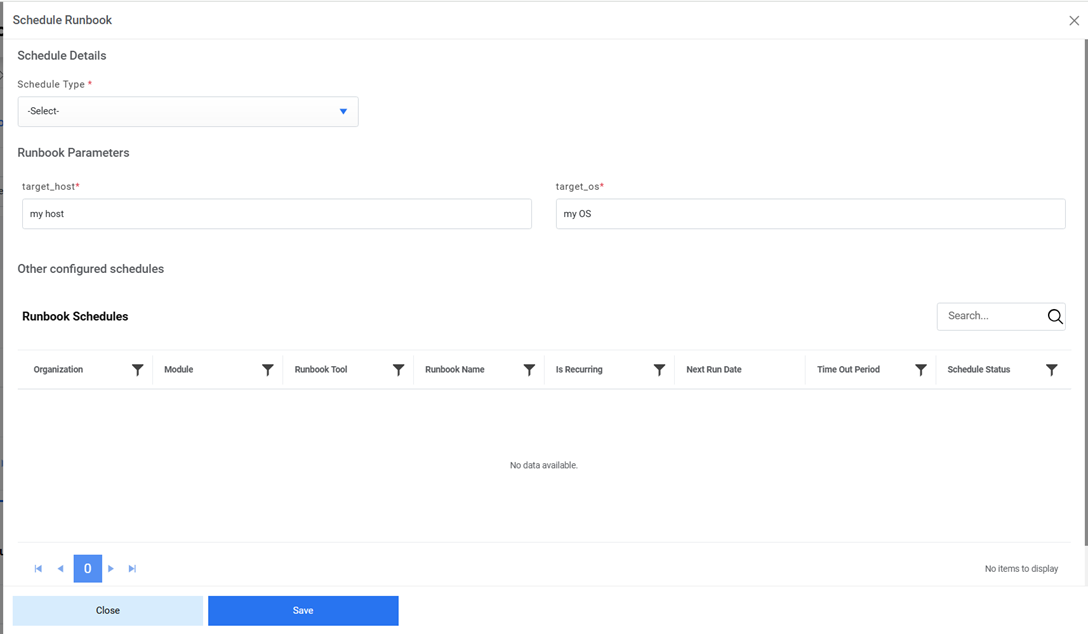
- Select One time or Recurring from the Schedule Type drop-down menu to specify the
scheduling frequency.
Figure 4. Select Schedule Frequency 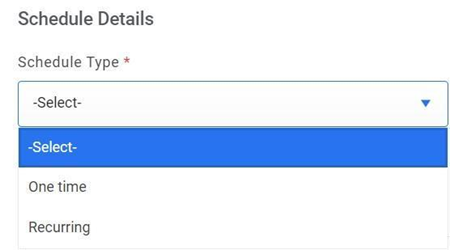
- If the user selects One time, specify the Start date and time.
Figure 5. Scheduled Runbook (One Time) 
- If the user selects Recurring, specify the Time Out Period and the
Schedule Frequency for how often the user wants the runbook to repeat by
hour, day, week, or by month.
Figure 6. Scheduled Runbook (Recurring) 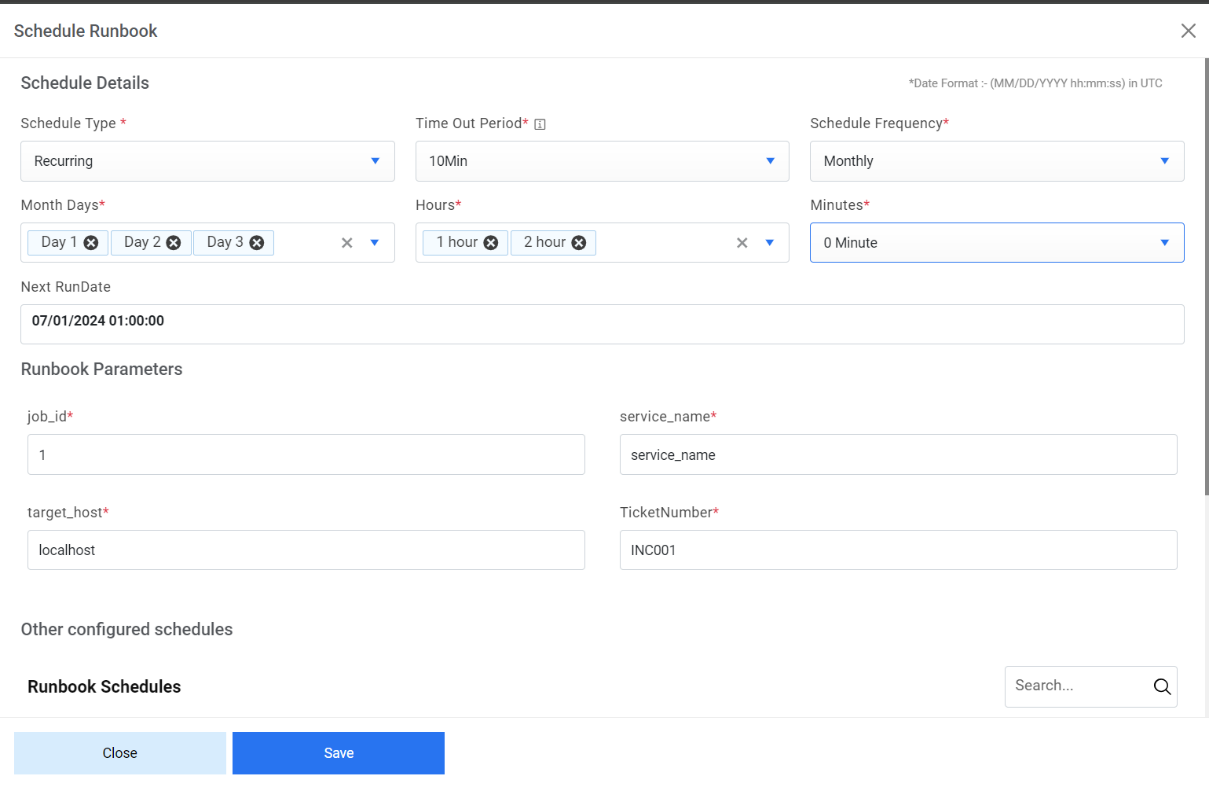
- Click Save. A confirmation dialog box appears.
Figure 7. Schedule Success Confirmation 
- This creates a new schedule and lists it on the Runbook Schedule page.
Figure 8. Schedule Runbook (Cont.) 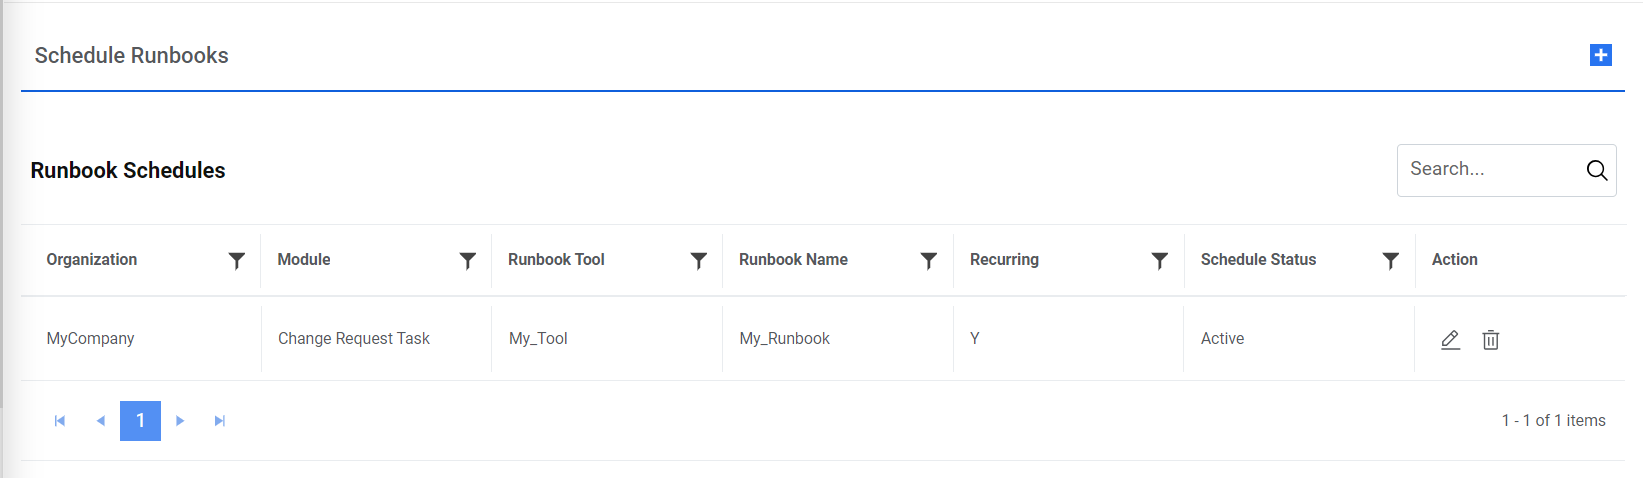
- The Runbook Schedule page enables users to edit or delete existing schedules.Note:One-time schedule type Runbook cannot be edited. In case the user needs to modify it, it will have to be added as a new entry through Schedule Runbook
- Click
 next to the schedule you
want to edit. This opens the auto-filled Schedule Runbook page.
next to the schedule you
want to edit. This opens the auto-filled Schedule Runbook page. - Click Update after editing the required details.
Figure 9. Edit Details 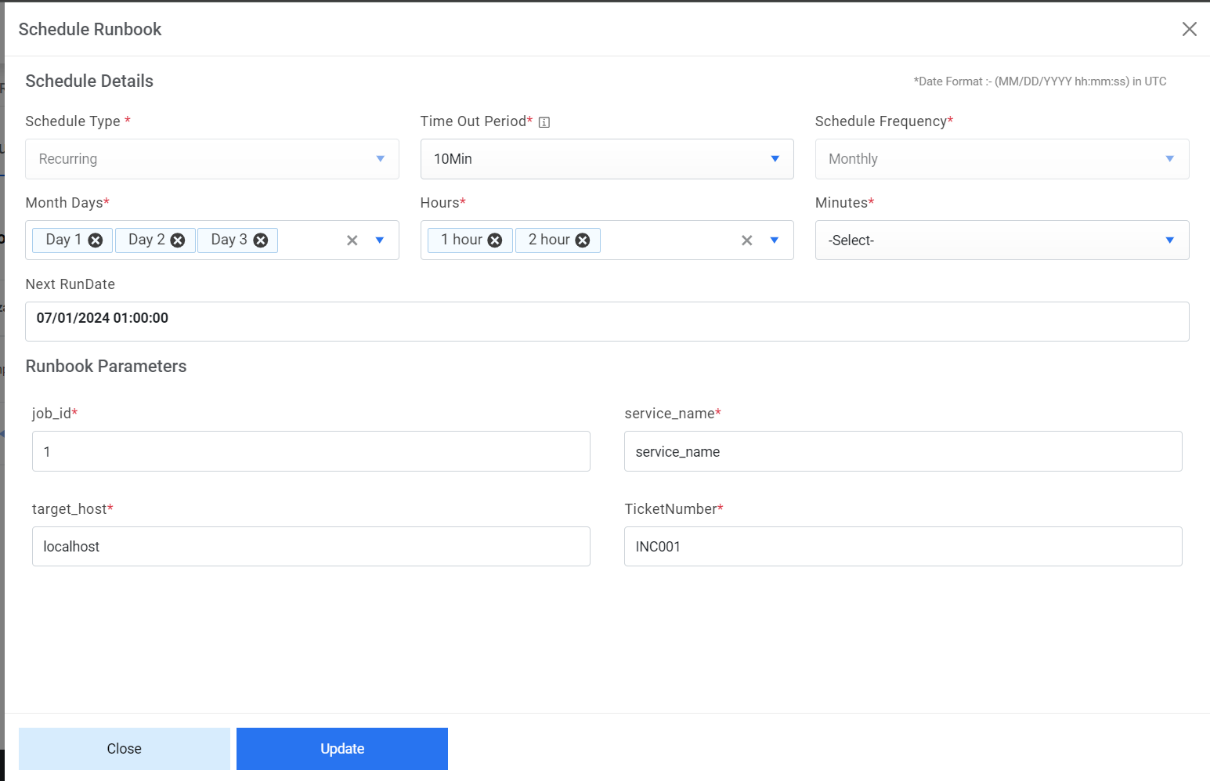
- A confirmation dialog box appears.
Figure 10. Edit Success Confirmation 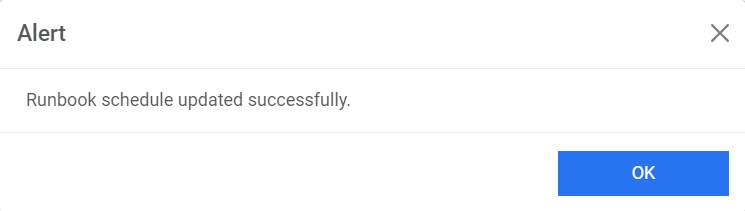
- To delete an existing schedule, click
 corresponding to the schedule.
 - Click Yes to confirm.
Figure 11. Delete Success Confirmation 