Manage Proxy
If the organization makes use of security measures such as a firewall or a proxy server, then there may be ports and protocols that need to be opened for configuring iAutomate. Provide the proxy server information for your site, along with a user account that has access to the local area network through which the server is connected.
To manage a proxy server, perform the following steps:
- On the main menu bar, click Configuration and then click Manage Proxy. The Manage Proxy detail page appears.
- Click on the Add New button to add proxy.
Figure 1. Manage Proxy 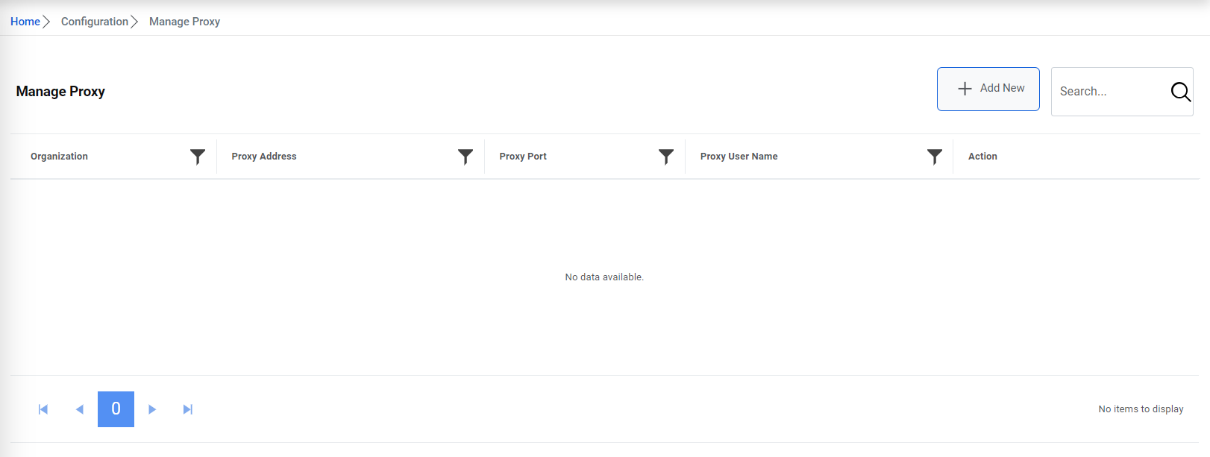
- Select the organization from the Organization dropdown.
- In the Proxy Address field, type the proxy URL.
- In the Proxy Port field, type the proxy port.
- In the Proxy UserName and Proxy Password fields, type the username and
password to access the proxy server.
Figure 2. Manage Proxy 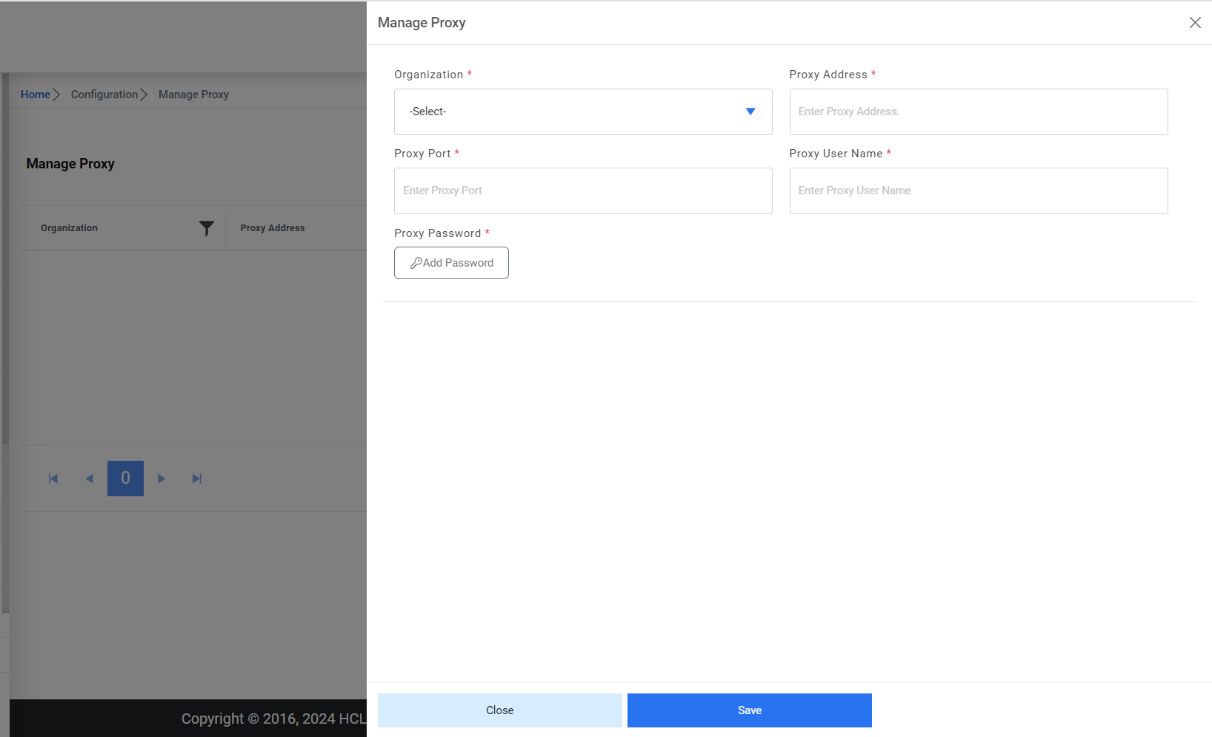
- For password, click on Add Password button. If the password is available in plaintext,
then select Input type as Input Text and enter the password in Value field. Else if it is
available in Azure Key Vault then select Input Type as Azure Key Vault and then select any
of the configured details from the value field. Else if it is available in any Key Vault
such as CyberArk or Internal Secret Manager then select Input Type as CyberArk or Internal
Secret Manager respectively and then select any of the configured details from the value
field.
Figure 3. Password in plaintext 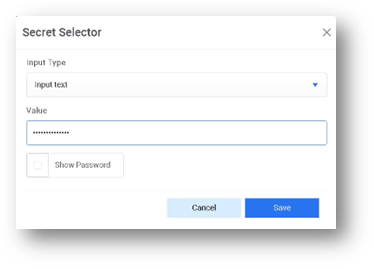
Figure 4. Password from Key Vault (CyberArk) 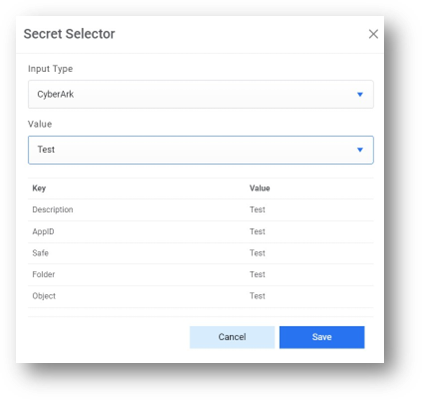
Figure 5. Password from Secret Manager .png)
Figure 6. Password from Azure Key Vault .jpg)
- Click Save.
- A confirmation box appears.
Figure 7. Success Message 
- To edit any proxy, click on
 corresponding to the proxy Details.
 - To delete any proxy, click on
 corresponding to the proxy Details.Note:All fields marked with an asterisk (*) are mandatory.
- To edit any proxy, click on