Managing Roles
This customization ensures that customer administrators have the necessary permissions to effectively access various configurations within their specific customer context.
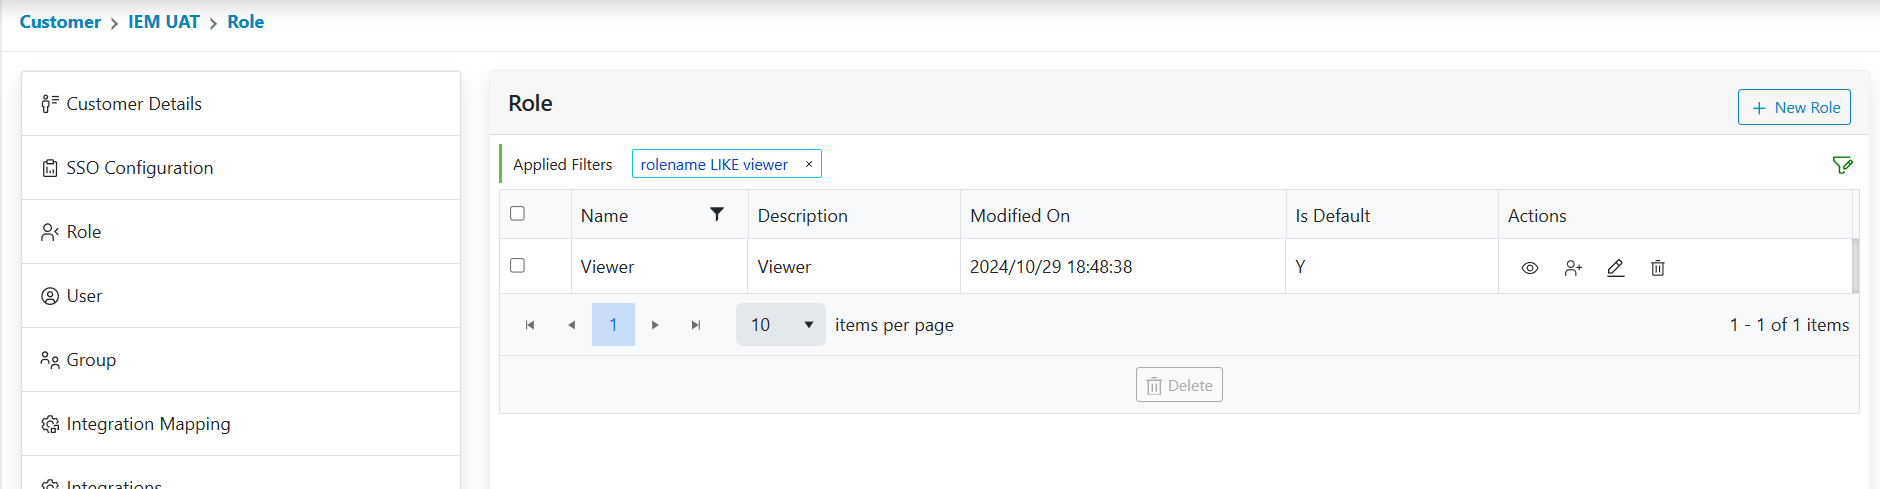
- This section enables user to Manage roles within the environment.
- Click the “Customer” 🡪“Customer Name”🡪 “Role”.
- Click on the Role Tab, the following page would be available.
Figure 1. Role Page 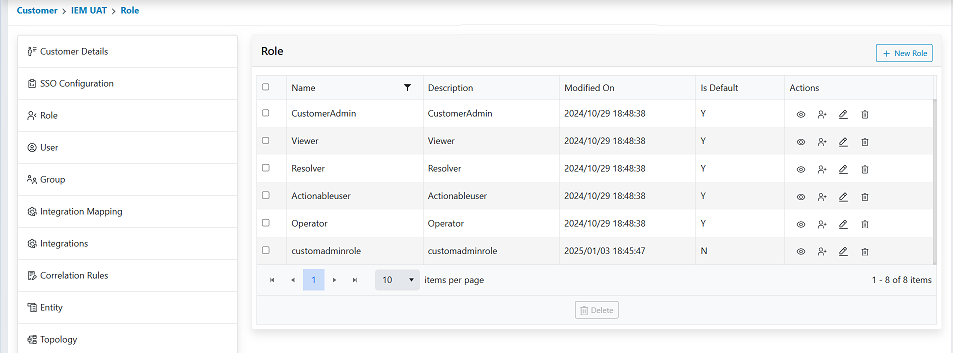
- When a user accesses the IEM console for the first time, only the default roles would be
visible to the user.Note:
The Default Roles cannot be edited.
- By default, IEM has the following default roles enabled:
- Customer Admin – A role with full access to the environment. (User can Add\Delete\Edit)
- View user, Actionable User and Resolver are Operational user roles. These roles are
accessed only on the Data View and Home page.
- View user – Has view only access.
- Actionable user – They can take actions on the actionable created in the environment but will not be able to mark them as resolved.
- Resolver – They have full access on the actionable, they can work upon actionable and
even mark them as resolved.Note:
Roles control the action that users perform on the page. The data visible to user is controlled by the customer and the group assigned to user.
Please Refer Users and Group sections to understand how the data is controlled.
Edit Role
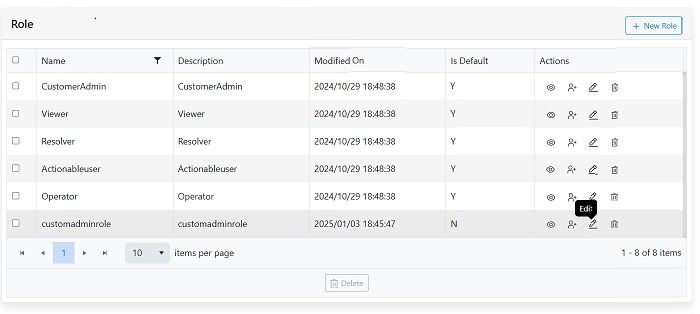
- Click on the Edit icon next to the role.
- The form will appear filled up with the saved data.
Figure 3. Edit a Role Description 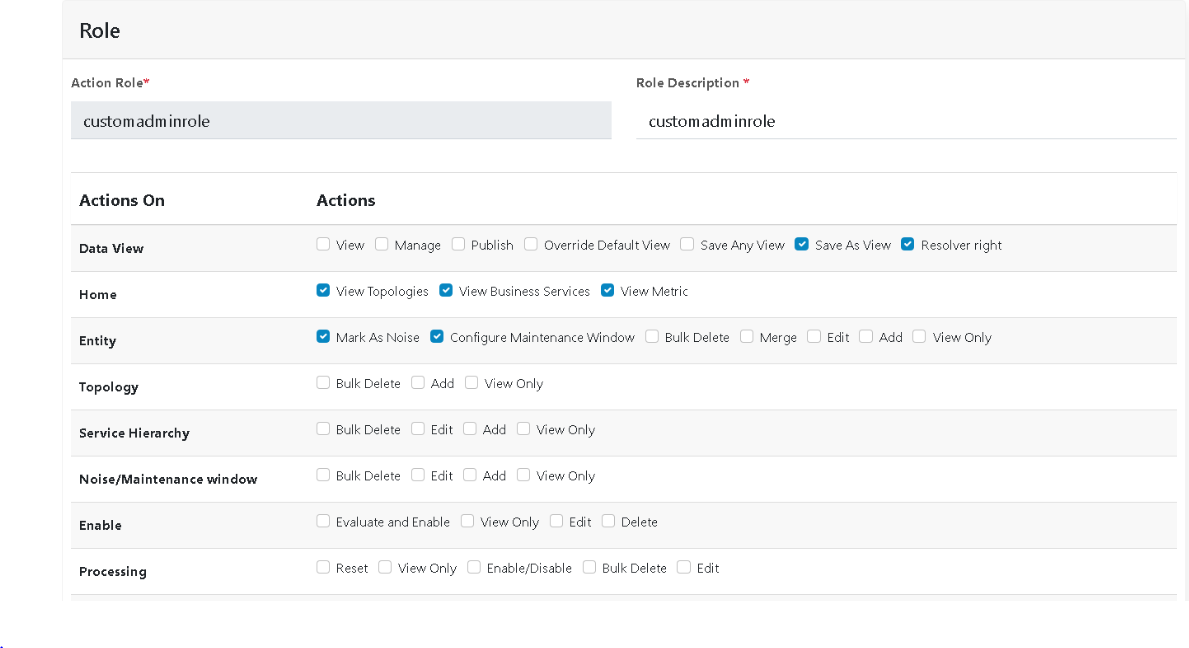
- Users can rename the role, add/remove more pages or add/remove actions that are
mapped.
Figure 4. Selecting Actions for a Role 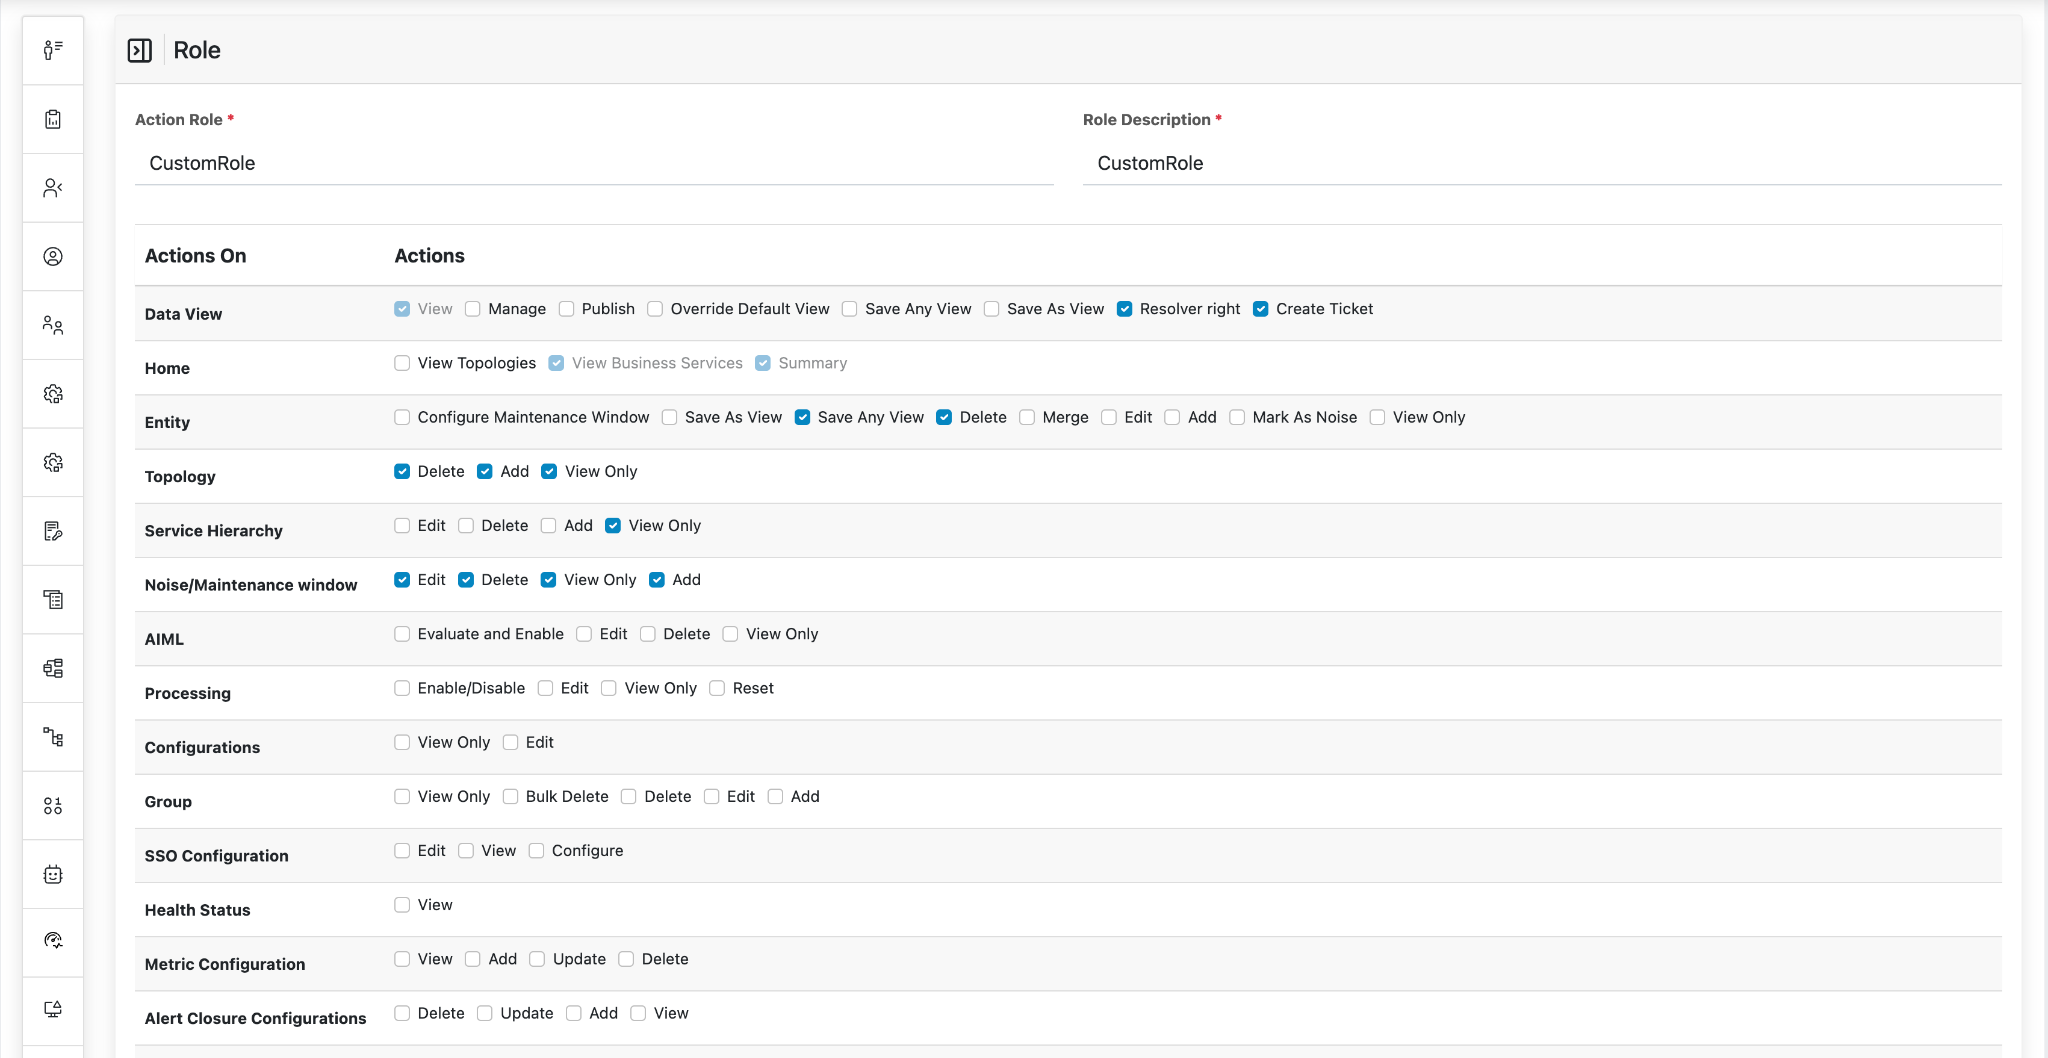
- And add a new User with full actions enabled. With all modifications the page looks like
the image below.
Figure 5. Selecting Actions for a Role 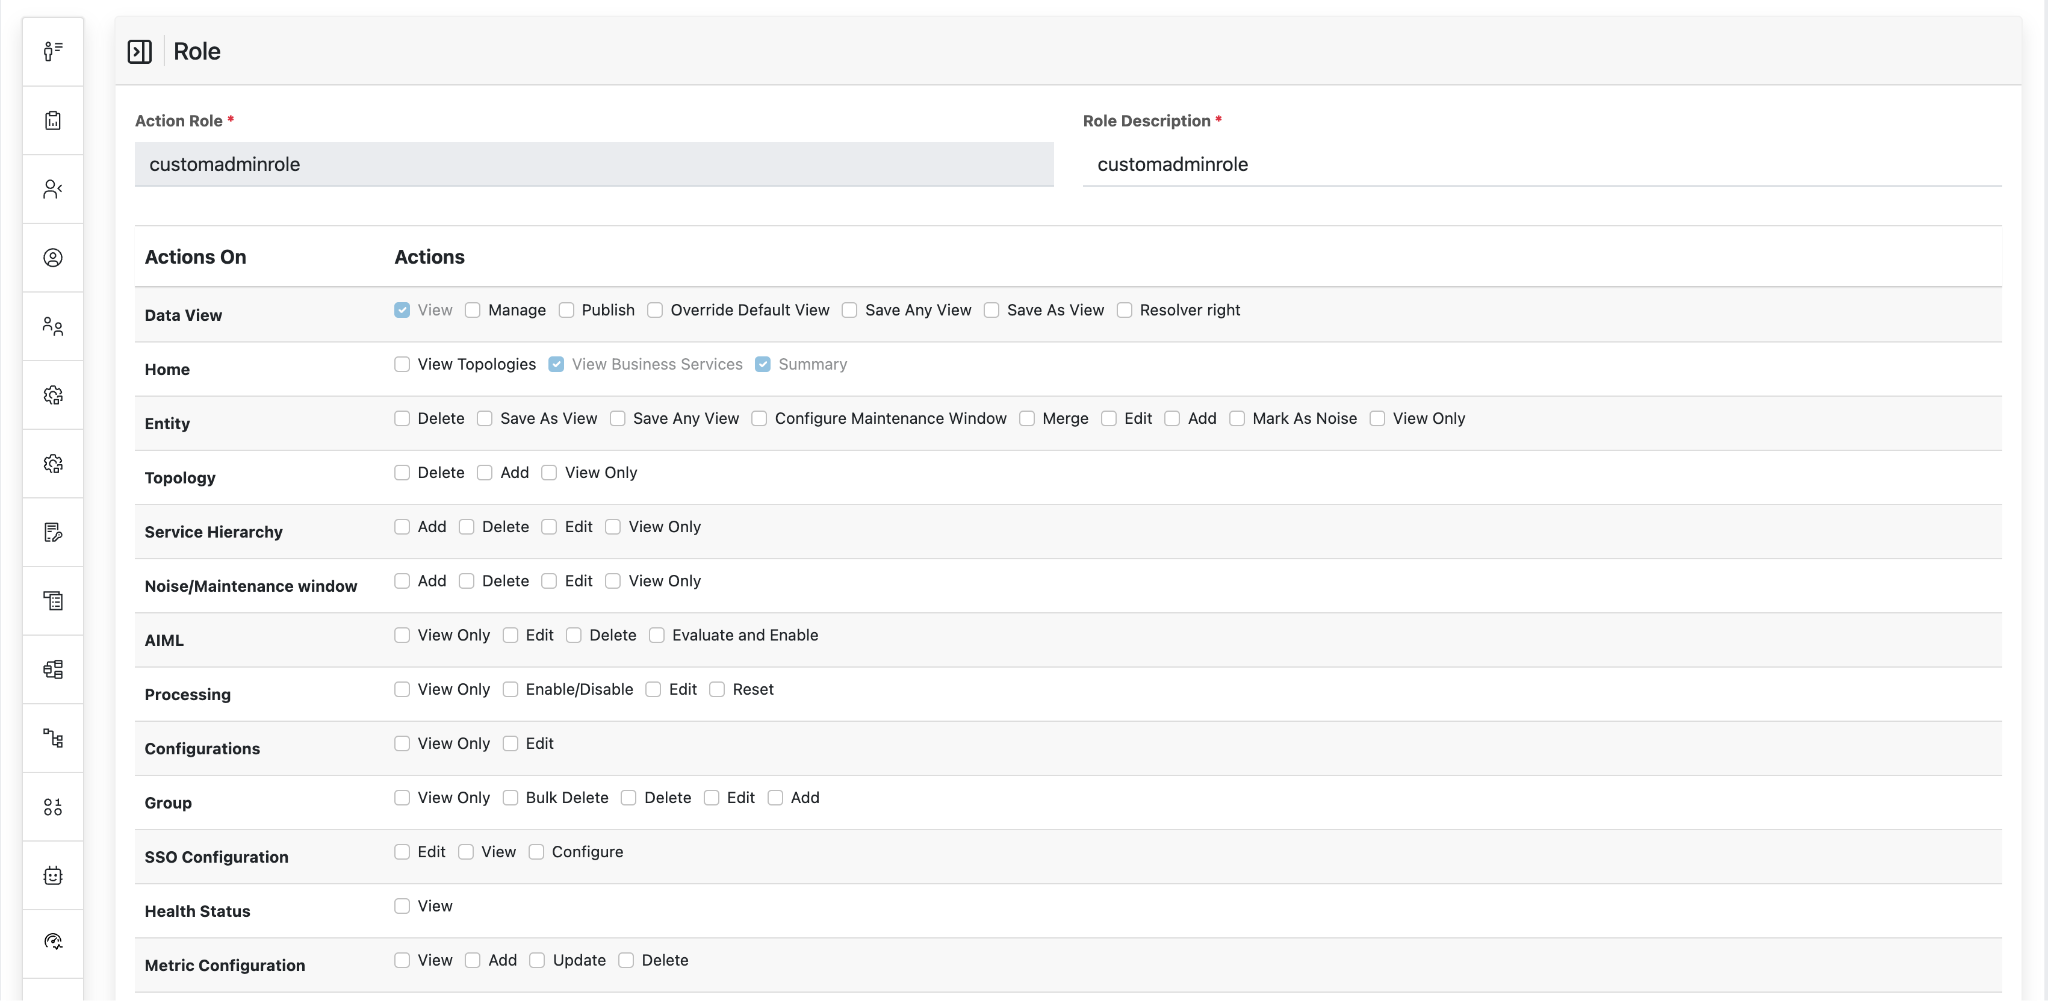
- Post the changes are made, Click on the Update button.
- On successful update the following message is displayed, post that the user will be
redirected back to the grid view page.
Figure 6. Alert Message 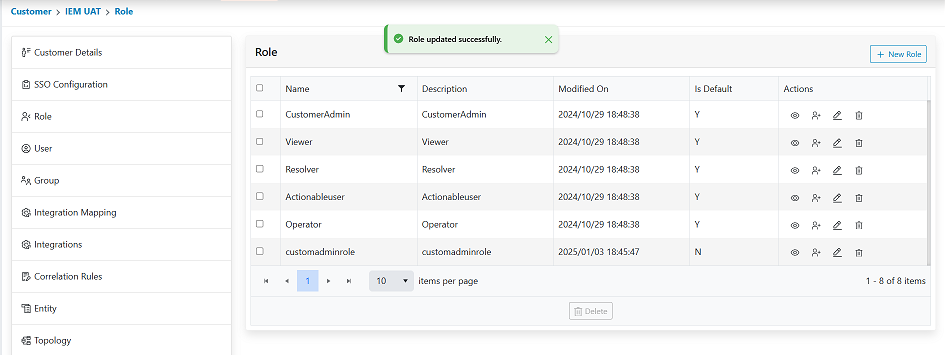
Delete Role
This action enables us to delete the customs created in the environment.
- For admin pages, select the roles that are to be deleted.
- Click on the delete icon corresponding to the role that s to be deleted.
- For Bulk delete, select the multiple roles, and click on the “Delete” icon at the
bottom.
Figure 7. Delete Role 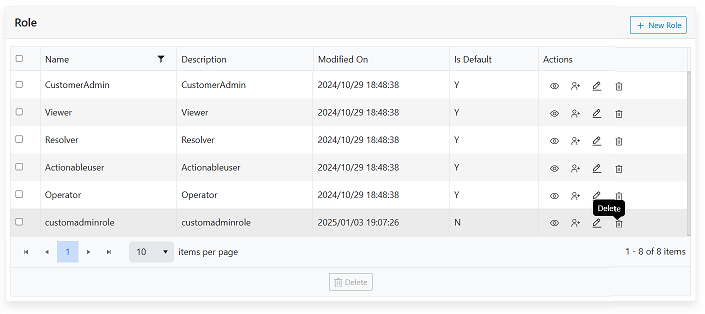
- Users will be prompted for confirmation pop-up as shown.
Figure 8. Confirmation pop-up. 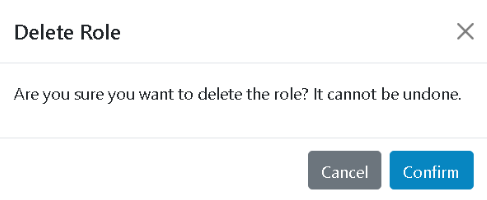
- Click Confirm. On successful deletion a confirmation message will be prompted
Figure 9. Alert Message 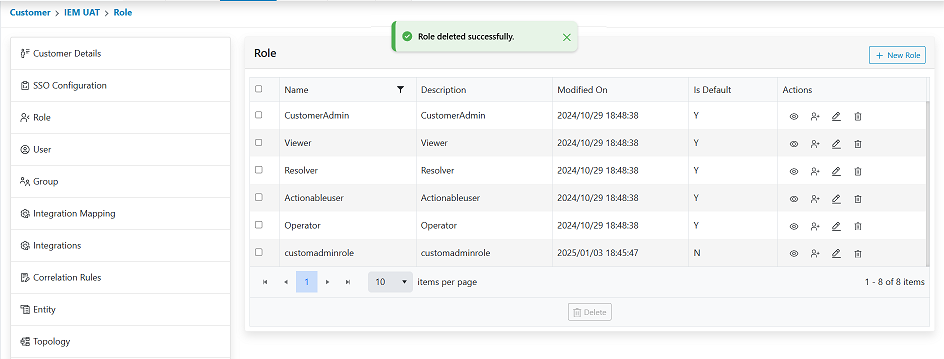
- The role will no longer be visible in the grid.
Figure 10. Updated Grid 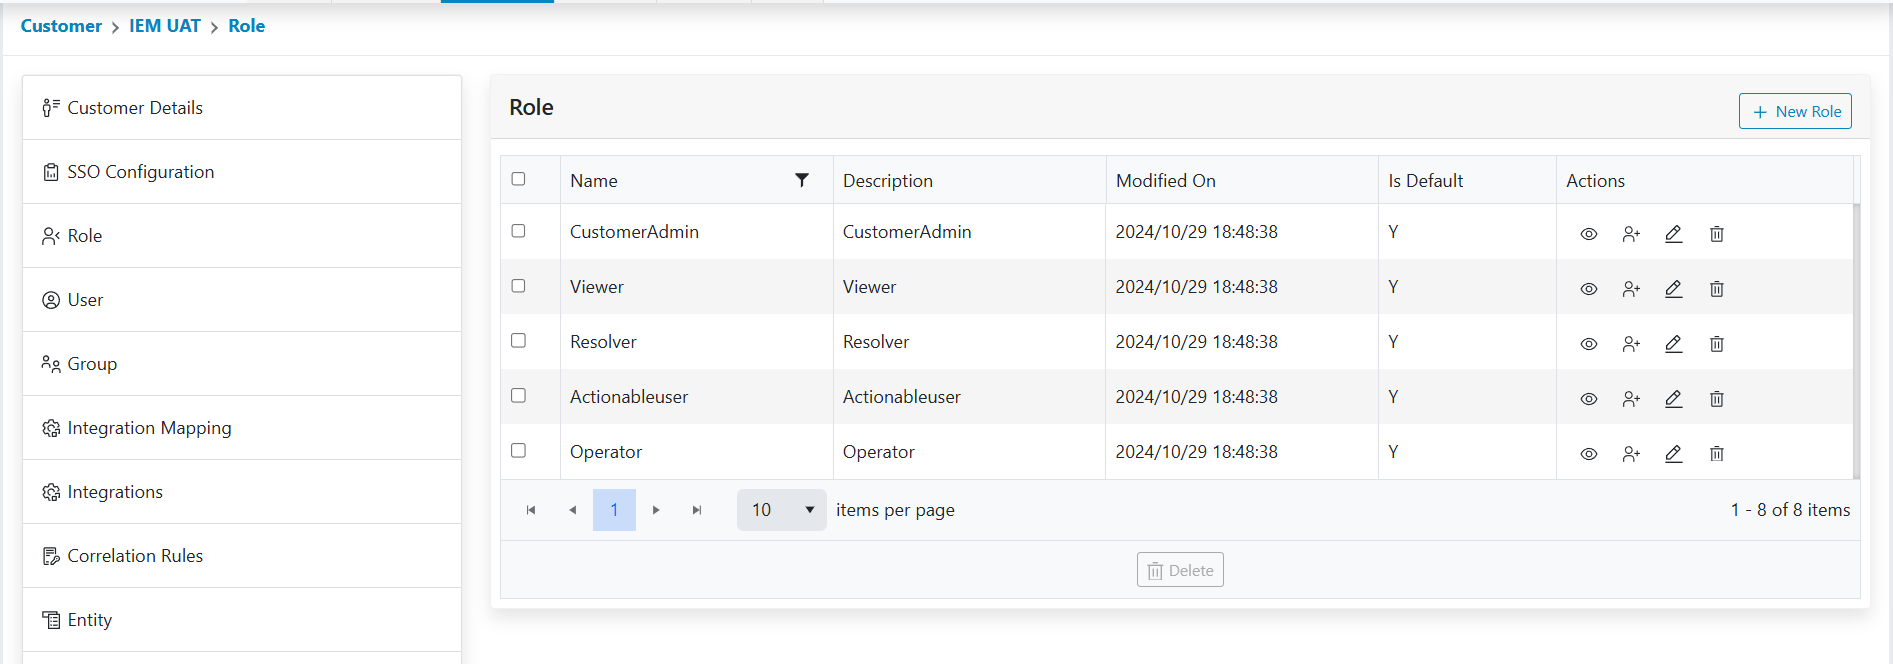
View Role
This action enables the users to view the custom roles created in the environment.
- The Action tab contains a view option, click on the view icon to view the
roles that are created.
Figure 11. View Role 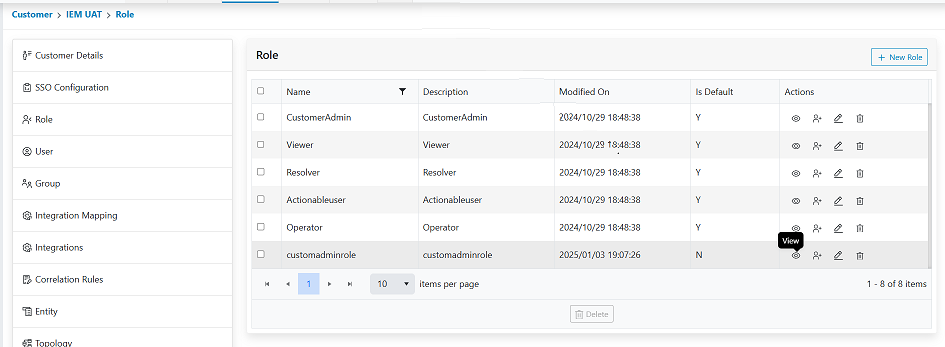
- Click on View for the “customadmin” role and the actions for the role will be displayed.
- Users cannot edit the role details via View option. Only the actions that are selected
for the role will be displayed.
Figure 12. Viewed Role 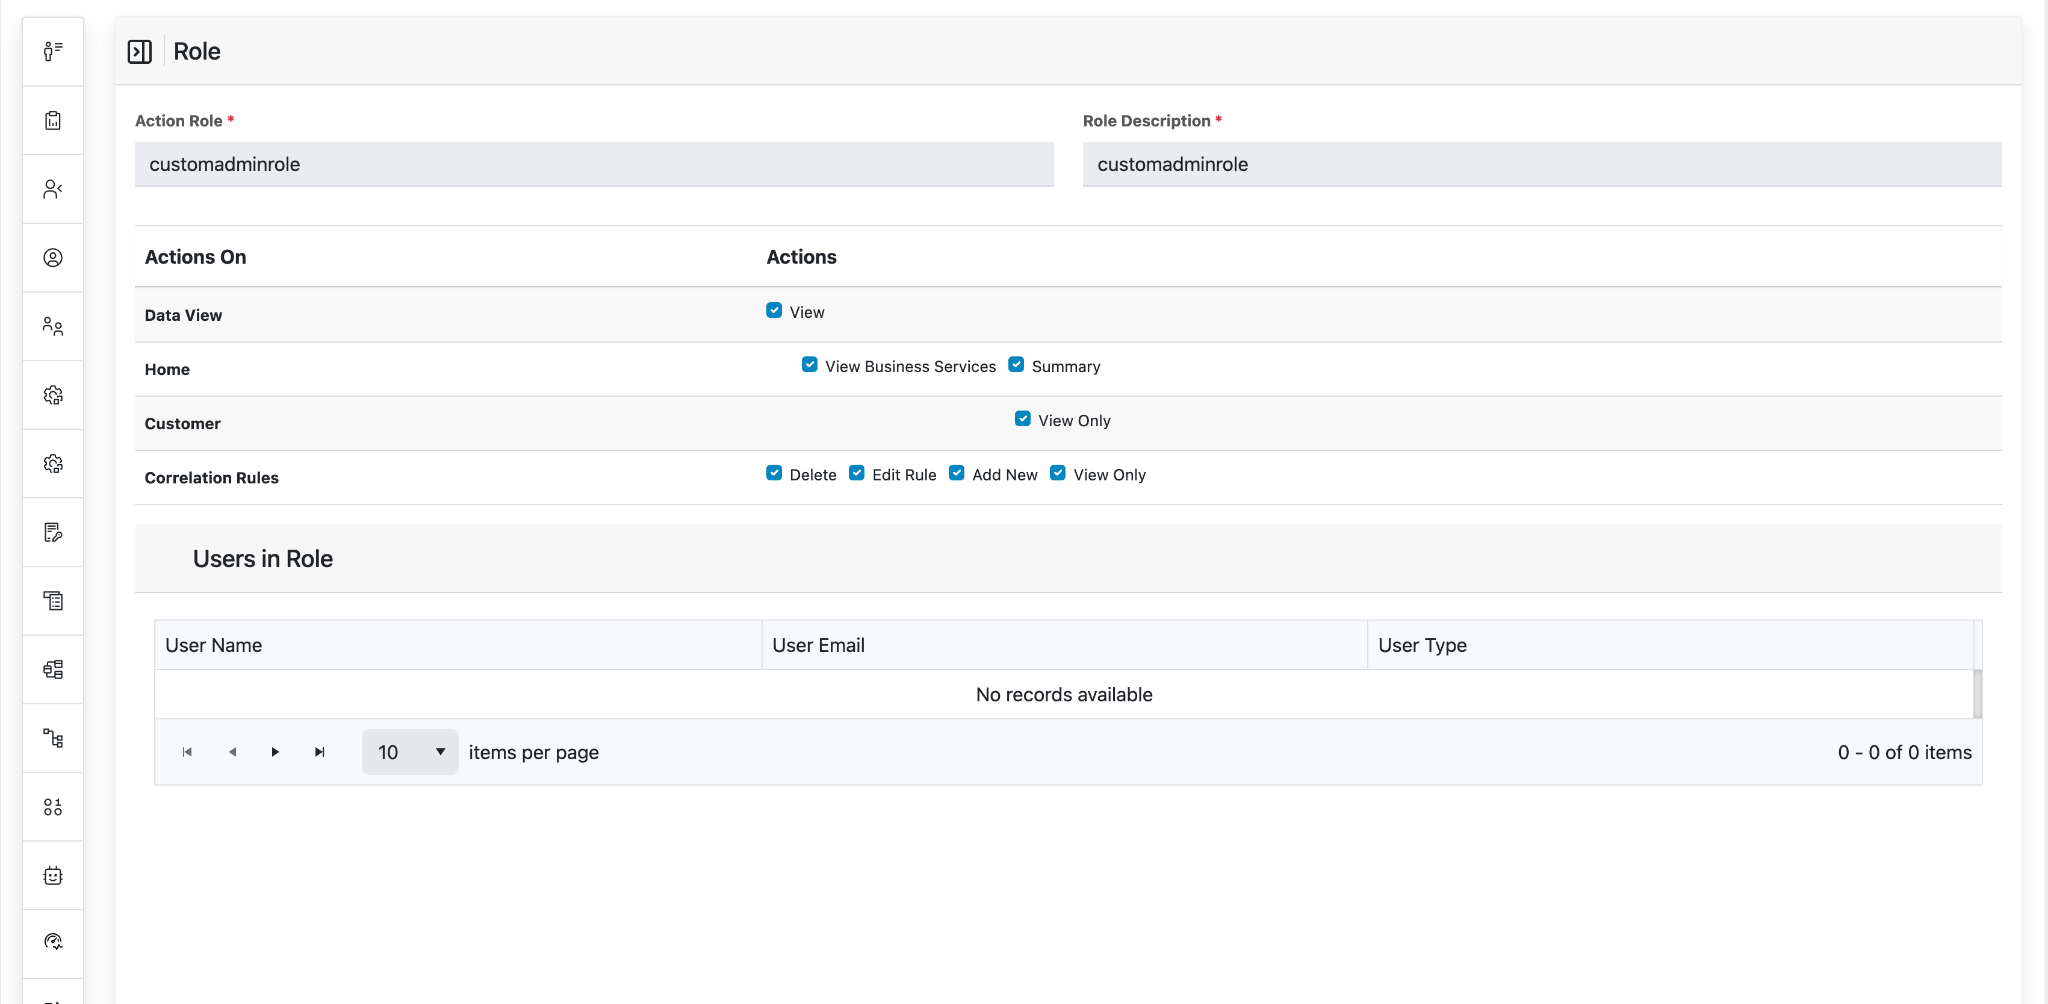
Assign User
This action enables users to assign users to the roles created in the environment.
- The Action tab contains Assign User option, click on the Assign User icon to
assign the roles to a particular user in the environment.
Figure 13. Assign User 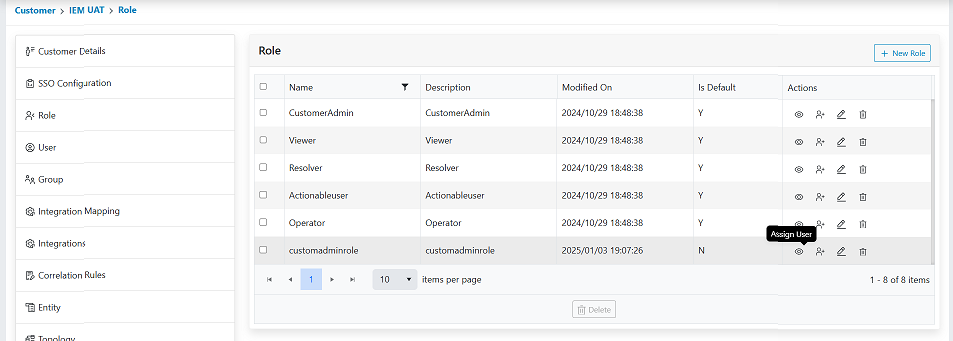
- After clicking on the Assign User option, a pop up will be opened which will ask for
User Email ID input.Note:
Users can only be assigned by adding the User Email ID.
Figure 14. Assign user Email ID 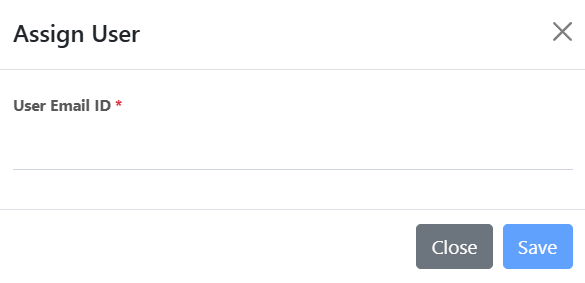
- After adding the required User Email ID, click on the Save Button.
Figure 15. User Email ID 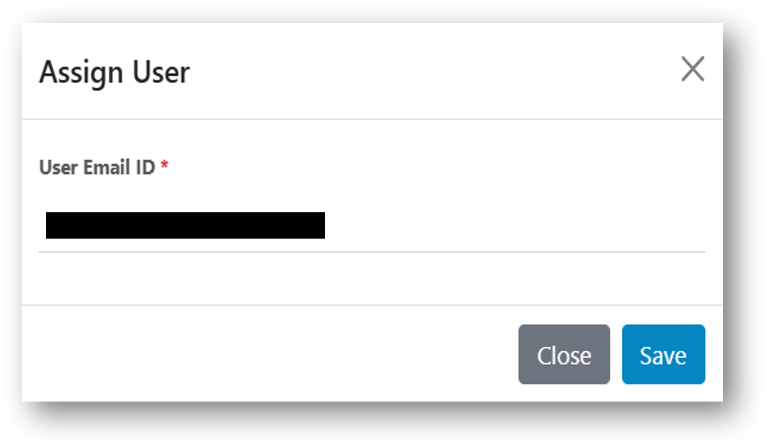
- On successful assignation, confirmation pop-up is displayed as shown below. Users will
be assigned successfully to that role.
Figure 16. Alert Message 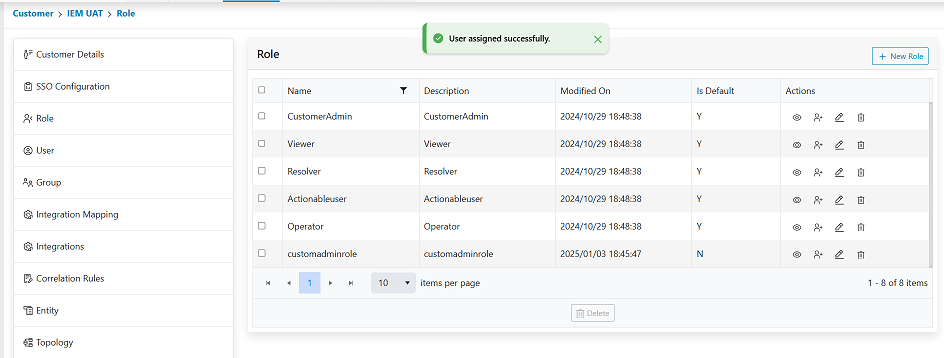
Apply Filters
This action enables the users to apply filters on the roles created in the environment. The steps explain how to Apply filters for the Role Data:
- Click on the Apply filter available action button present at the header of the
console.
Figure 17. Apply Filter Operation 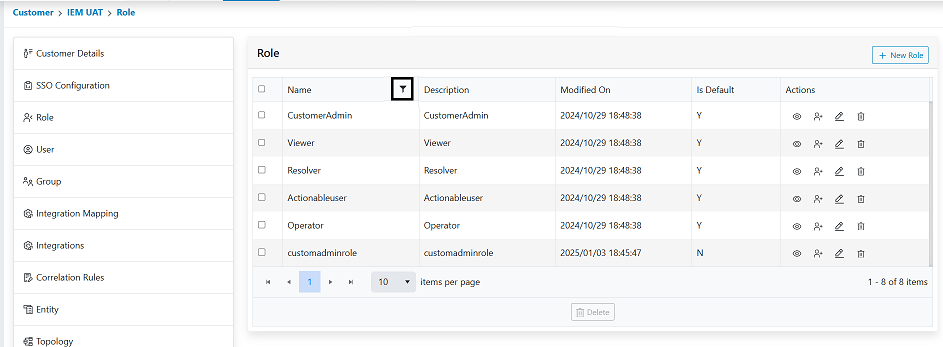
- The form will be appearing. From there user can select Field and Operator from drop down
list and provide Value (The name of the Role). Then click on the Apply button.
Figure 18. Apply Filter Operation 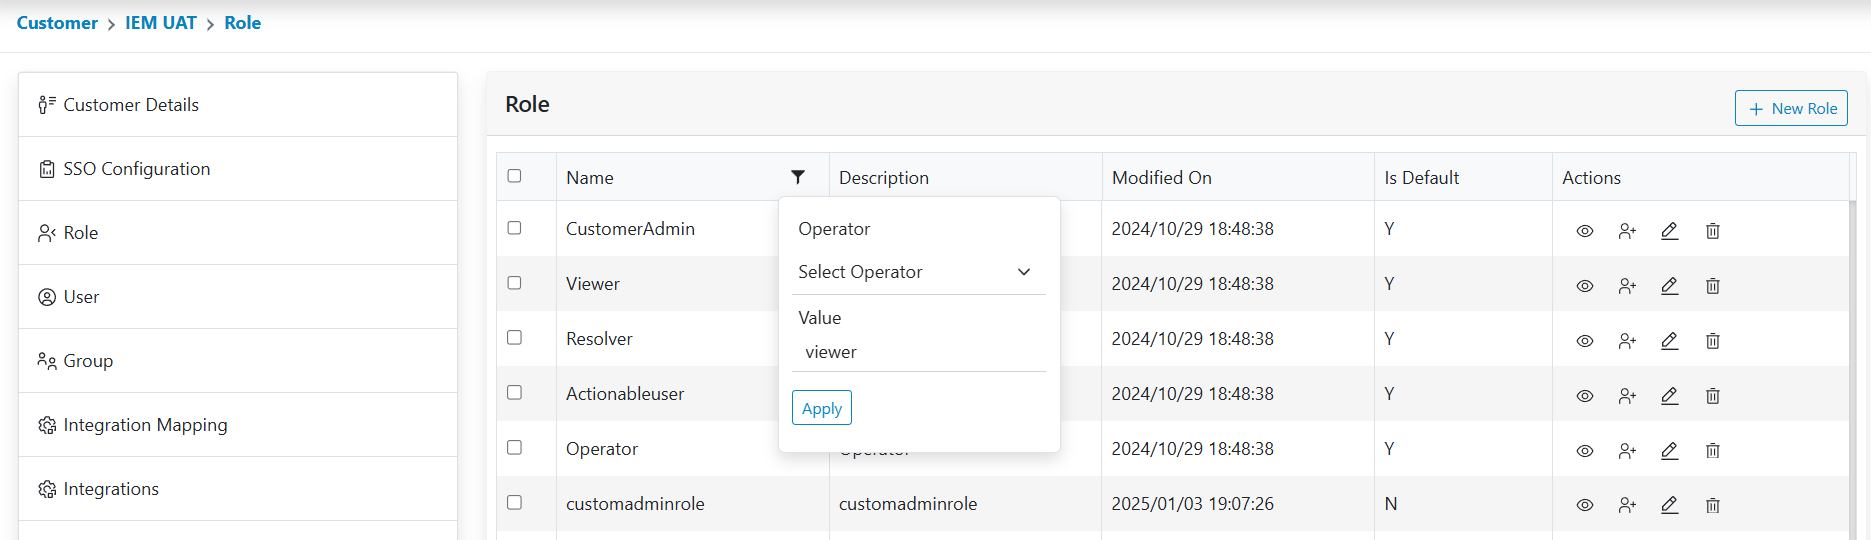
- Users can see the result of applied filter.
Figure 19. Apply Filter Result