A navigation bar on the left side will be visible. Click on the “User” Tab.
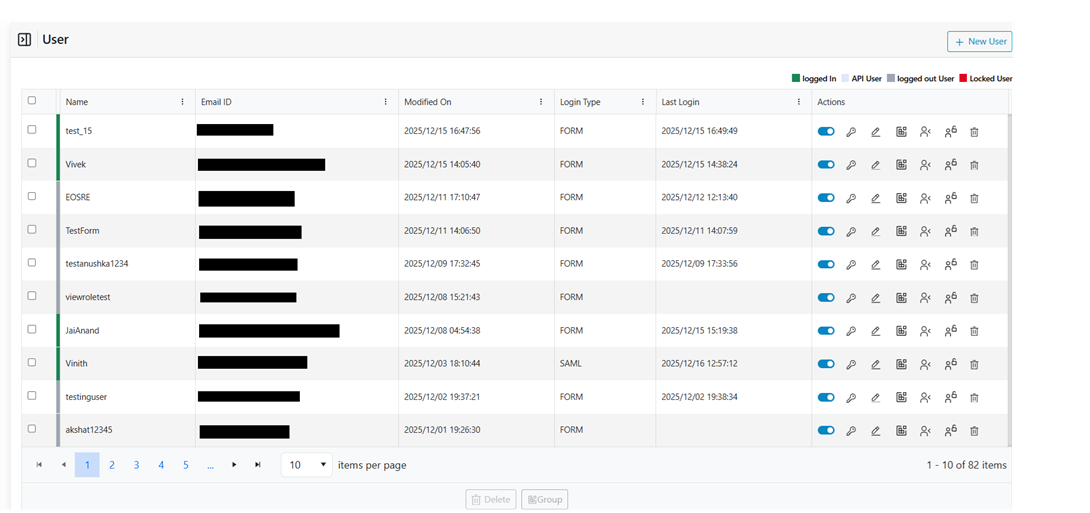
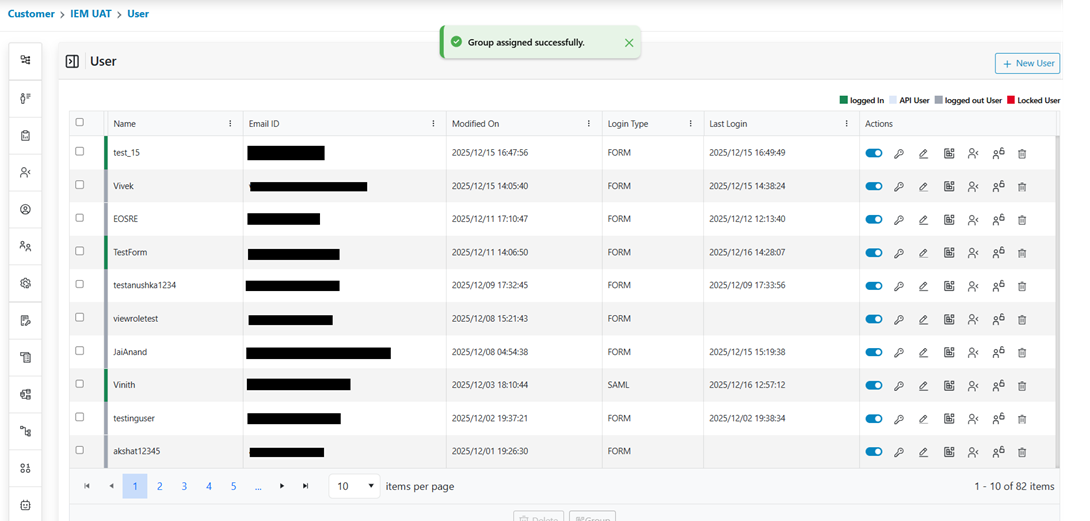
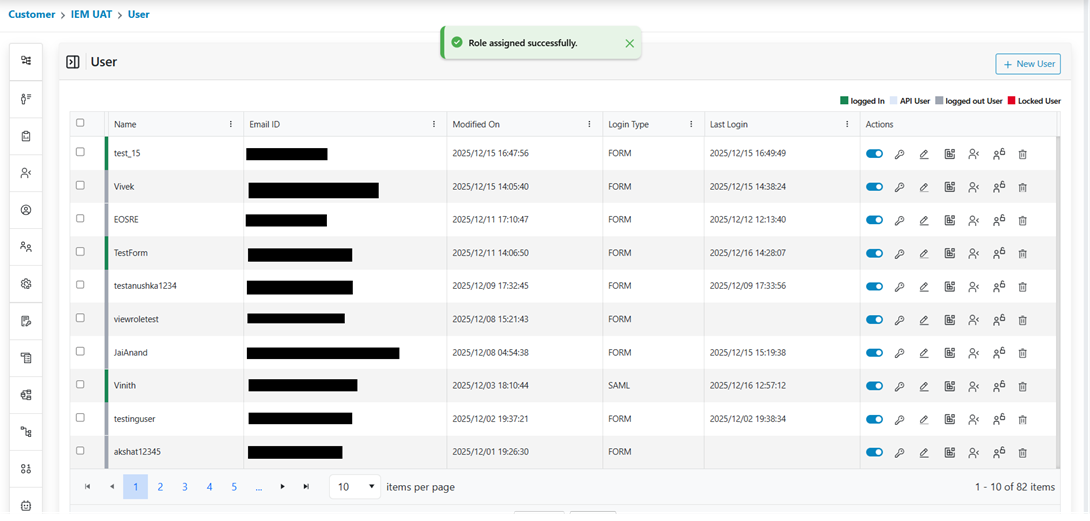
On clicking on the User from the menu the following form is opened:Figure 1. User Page
All the available users created in the environment are listed in the grid view.
Note:
When the user screen is accessed for the very first time only the super admin user will
be displayed. Like with the other pages, users can perform action on the page based on
the role assigned.
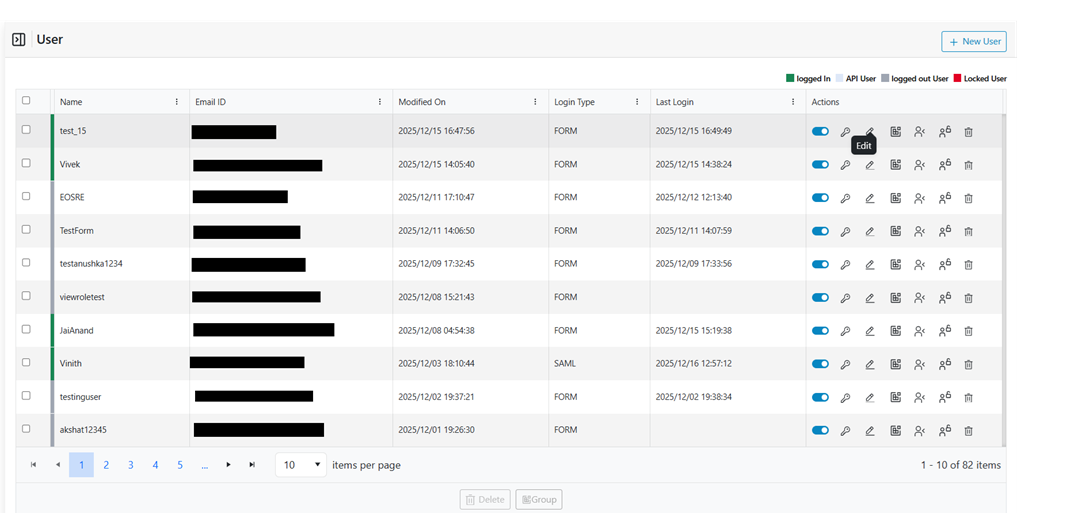
Edit User
This action enables users to edit an existing user in the
environment.
Click on the edit icon next to the user whose details are to be modified.Figure 2. Edit User
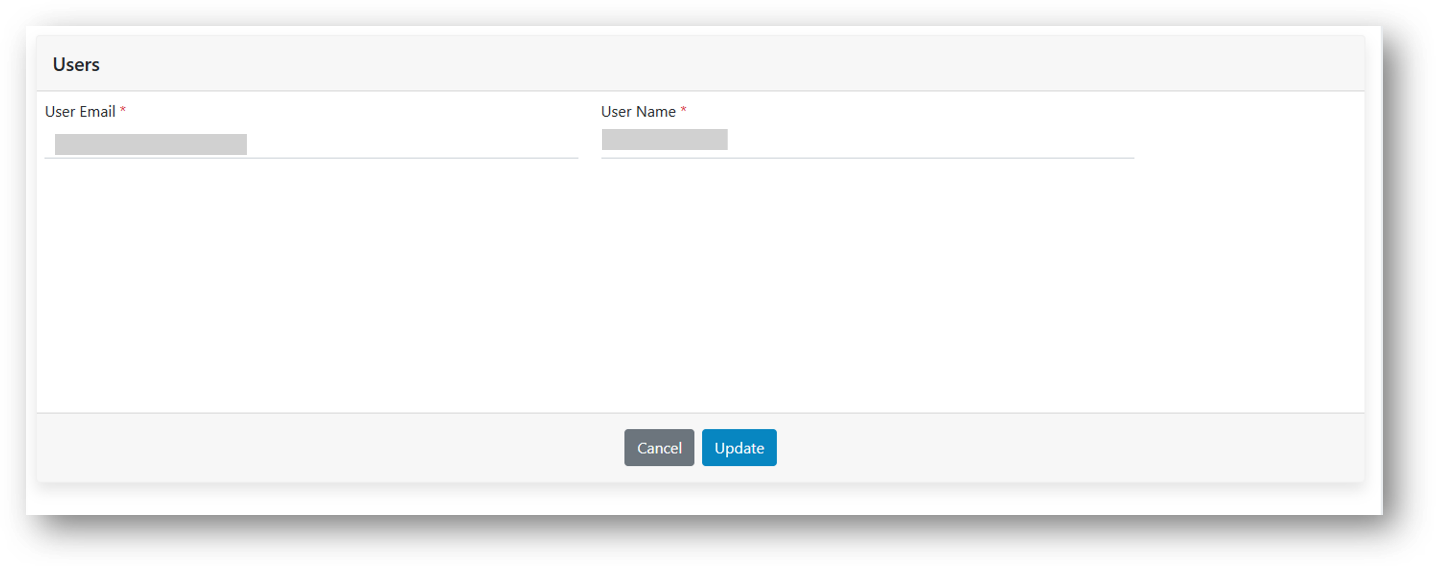
The form will appear with the saved details as shown.Figure 3. Edit Details
Except for the email id, remaining details can be modified the way it was done while
adding a new user.
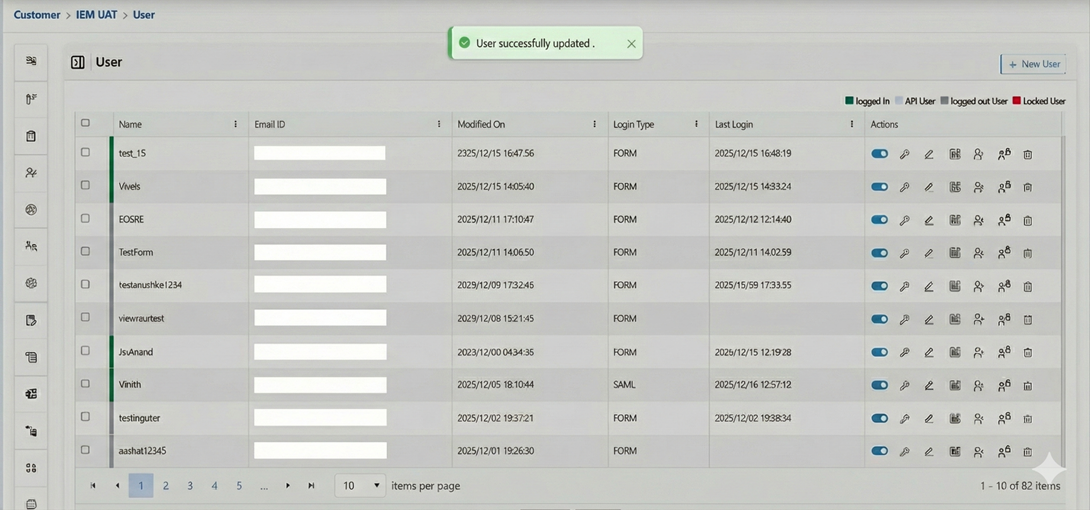
After editing click on the update button.Figure 4. Alert Message
On successful update a pop-up message is prompted as shown in the above image.
Delete User
Go to the User Tab.
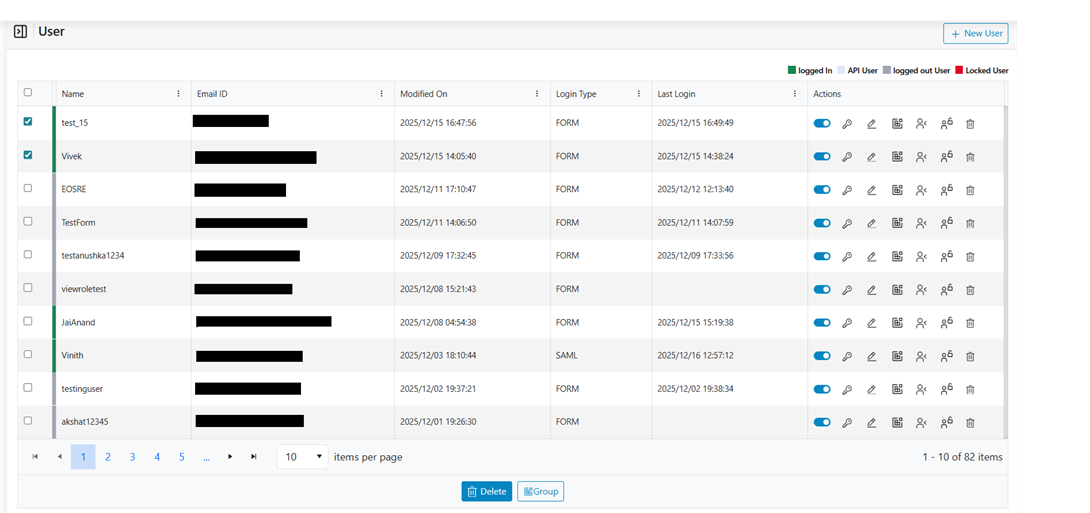
Users can select one or more users and delete the users. Select all the users to be
deleted from the system. After selecting the users click on Delete button shown below the
data table.Figure 5. Delete User
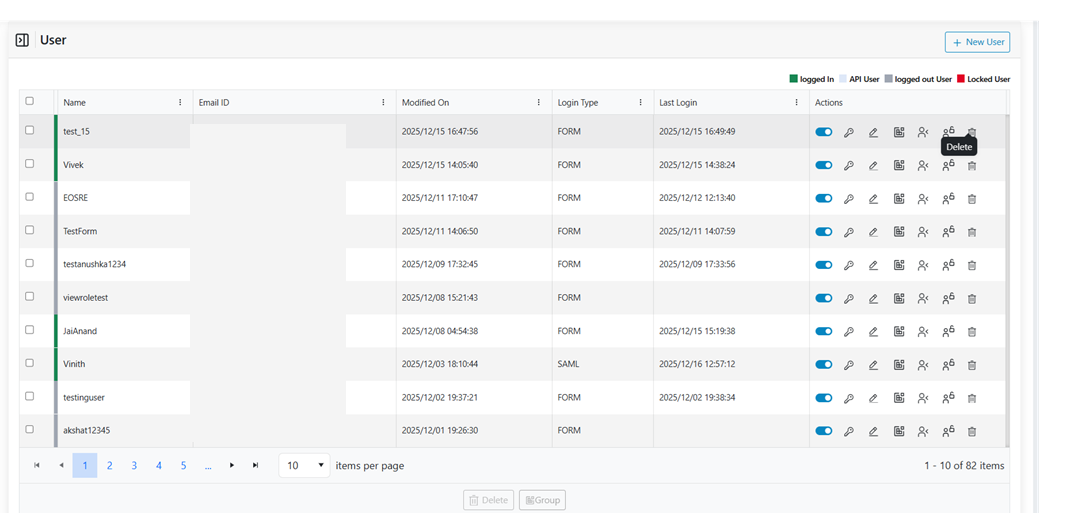
Users can also delete the user by clicking on the delete icon shown next to the
user.Figure 6. Delete User
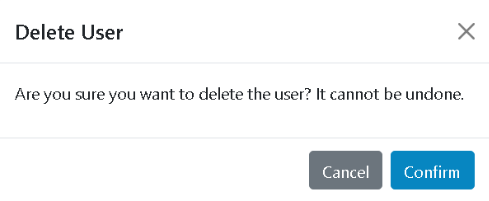
User will be prompted to confirm the deletion. Click on the confirm button.Figure 7. Confirmation pop-up.
On success a confirmation pop-up message will be displayed.
Unlock user
Click on the Unlock icon next to the user to unlock the user.Figure 8. Unlock user
Assign Group
Click on the Group icon next to the user to assign the Group.Figure 9. Assign Group to a user.
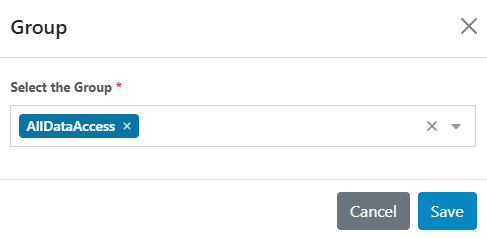
The form will appear with the saved details as shown.Figure 10. Group Dropdown
Users can select one or more groups from the dropdown. Click on the Save button.
On successful assignments for groups the following pop-up message is prompted.Figure 11. Alert Message
Assign Role
Click on the User Role icon next to the user to Assign Role.Figure 12. Assign role.
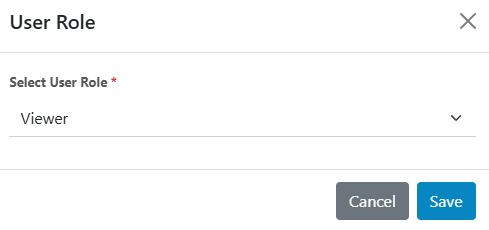
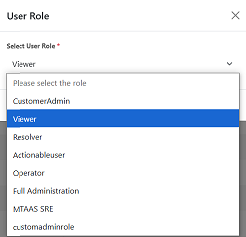
The form will appear with the saved details as shown.Figure 13. Role Dropdown
Users need to select User Role from the dropdown. Click on the Save button.Figure 14. Selecting User Role Dropdown to a User
On successfully assigning the role, the following pop-up message would be prompted.Figure 15. Alert Message
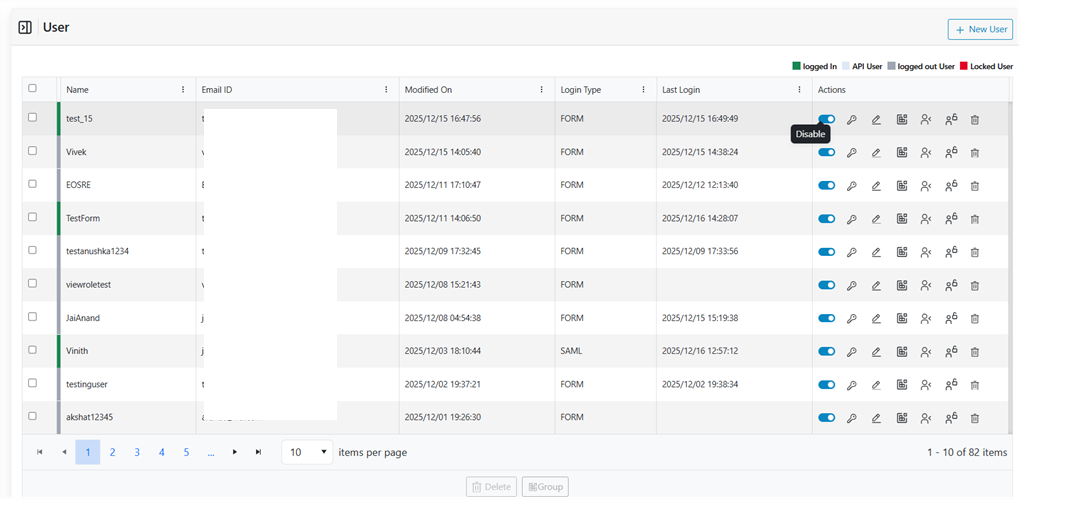
Enable/Disable User
Click on the User Tab.Figure 16. Enable /Disable User
Click on the Enable/Disable toggle button next to the user that needs to be
Enabled/Disabled.
On success, a confirmation pop-up message will be displayed.Figure 17. Confirmation of User DisabledFigure 18. Confirmation of User Enabled
Apply Filters
This action enables users to apply filters to search for users created in the
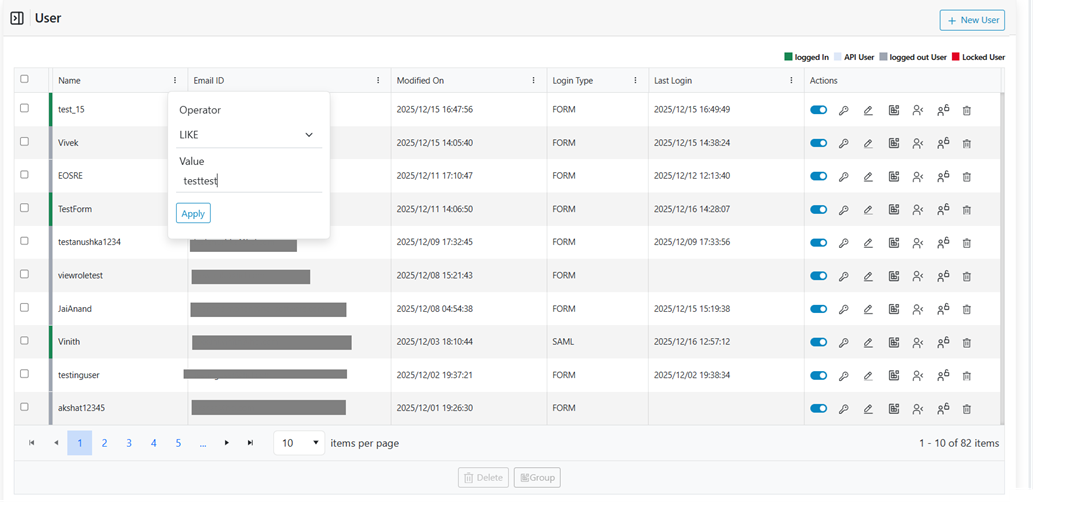
environment. The steps explain how to Apply filters for the User Data:Figure 19. Apply Filter Operation
Click on the Apply Filter action button presents at the header of the console.Figure 20. Applying Filter Operations
The Users form that appears. Select Field and Operator from drop down list and provide
Value. Then click on the Apply button.
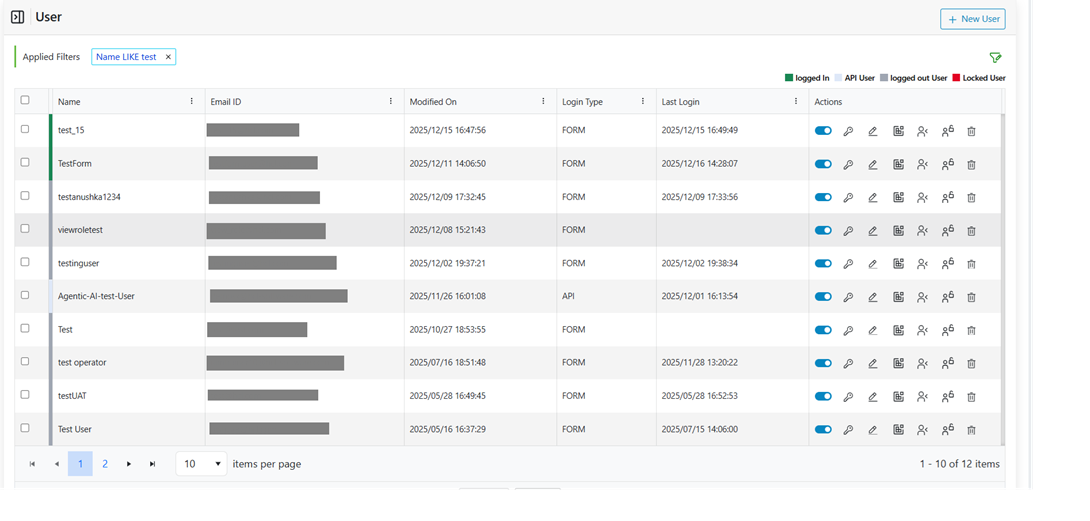
Users can view the result of the applied filter once the user clicks the Apply
button.Figure 21. Apply Filter Result

.png)


.png)