Ticket Analysis
Users can configure settings to analyze tickets and categorize them for auto execution or execution with manual intervention.
To manage ticket analysis, perform the following steps:
- On the main menu bar, click Analysis.
- Click Ticket Analysis. The Ticket Analysis page appears.
Figure 1. Ticket Analysis 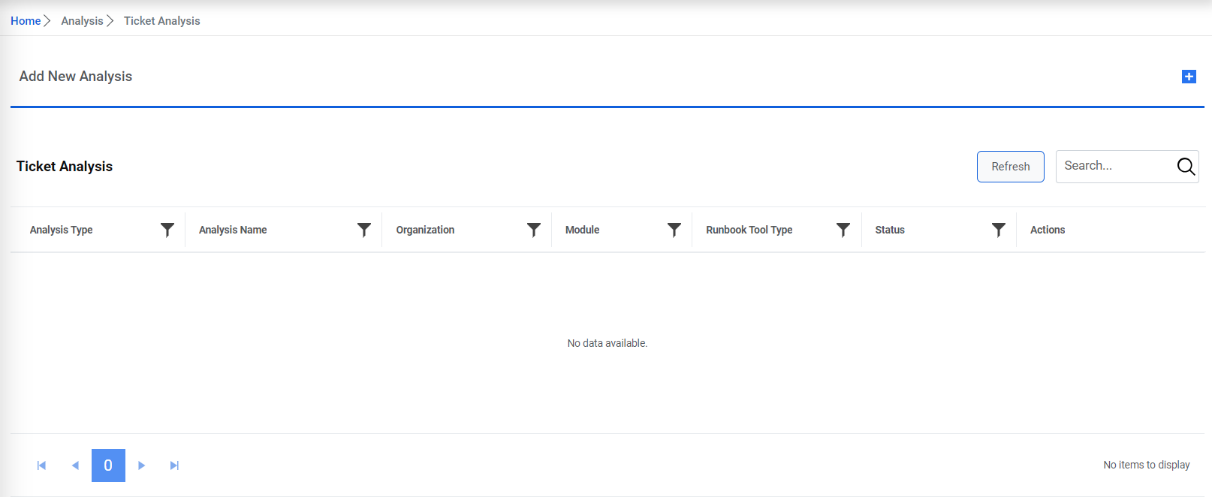
This lists the available analysis types in a tabular view and allows users to
configure new analysis by using the  icon, and view, build
and approve, merge, or delete the existing analysis.
icon, and view, build
and approve, merge, or delete the existing analysis.
Ticket analysis can be performed in two ways:
- To CSV Ticket Analysis: In this case, user can use existing organization data for ticket analysis. You can analyze that data and create a runbook of frequently occurring tickets. It imports the same runbook into the database for further use.
- For Environment Specific Ticket Analysis: In this case, the ticket analysis is performed continuously on the ticket data. Use can configure the frequency to daily, monthly, yearly, etc. under Manage Job section. It can be configured on a daily, monthly, or yearly basis.
Add New Ticket Analysis by Uploading CSV File
Users can add a new analysis for an organization by performing the following steps:
- On the Ticket Analysis screen, click
.png) .
. - The option to upload a CSV is displayed. It lets the user define the general attributes
for a new analysis. Users must set attributes marked with an asterisk (*) to appropriate
values for your environment before you can start analysis.
Figure 2. Add New Analysis 
- Select the Runbook Tool Type on which analysis needs to be run.
- In the Analysis Name field, type the unique name for the analysis to be created.
- Click Download Template to download the CSV template for uploading analysis details.
- Fill the details in the downloaded template and click Choose Files to upload the updated CSV template.
- To start ticket analysis, click Start Analysis
Figure 3. Add New Analysis (Cont.) 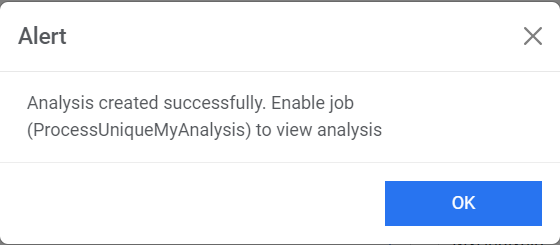 Note:On clicking Start Analysis, three new jobs are created. These are Unique Clustering, Unique Script, and Recommendation. The newly added analyses are listed in the Manage Jobs page.
 - To enable the job to view analysis, go to the Manage Jobs page.
- Select the newly added job for analysis with the status as Queued and then click
Enable Jobs. The confirmation dialog box appears.
Figure 4. Add New Analysis (Cont.) 
- This adds the analysis and lists it in a grid with the status as Queued.
Figure 5. Add New Analysis (Cont.) 
- Once the unique service starts processing the analysis, the status changes from
Queued to Pending Verification.
Figure 6. Add New Analysis (Cont.) 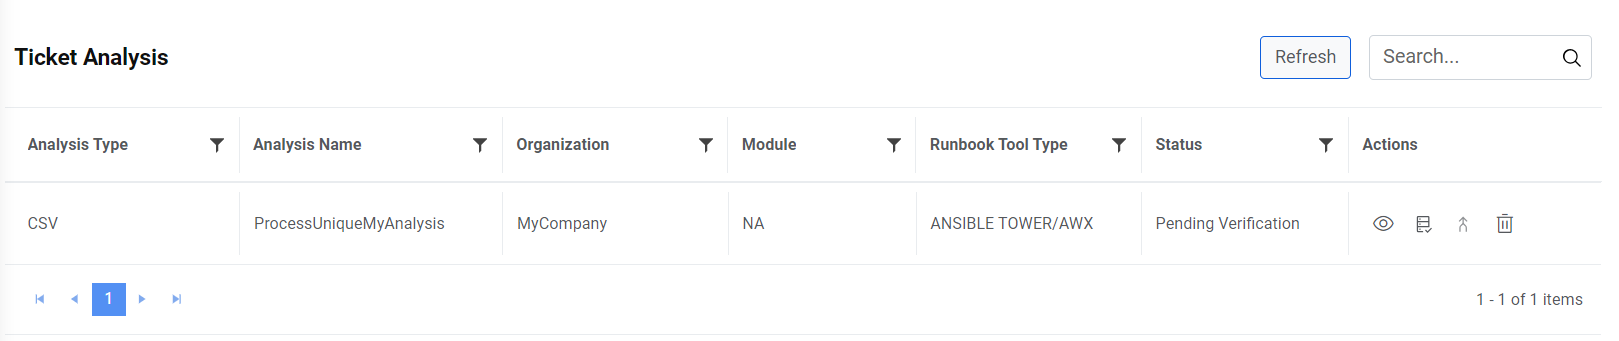
An administrator user can delete any analysis from the list of ticket analysis by clicking
 next to the analysis
type.Note:User can only delete the CSV specific ticket analysis.
next to the analysis
type.Note:User can only delete the CSV specific ticket analysis.
View Ticket Analysis
Users can view the information about an analysis that has already been defined.
To view ticket analysis, perform the following steps:
- On the Ticket Analysis page, click
 for the analysis you want to view.
Figure 7. View Ticket Analysis 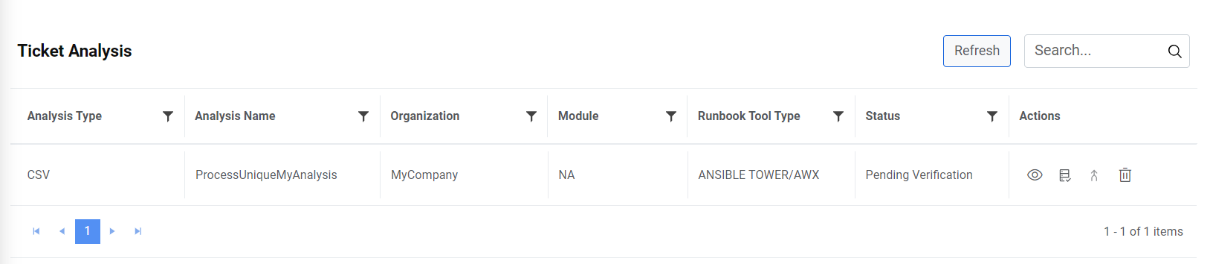
- The Ticket Details page appears where users can view the total number of tickets,
the number of unique tickets, and the number of unprocessed tickets.
Figure 8. View Ticket Analysis (Cont.) 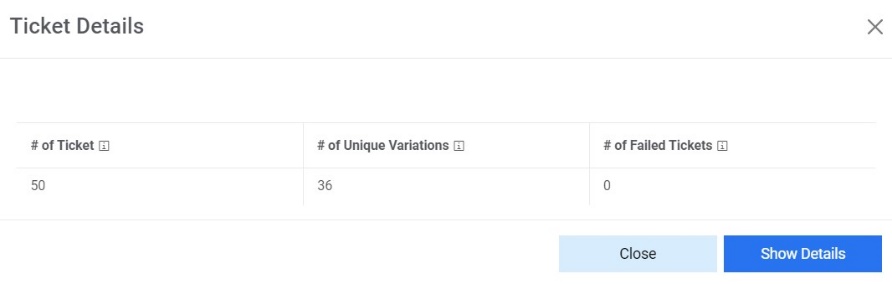
- Click Show Details and it prompts a window that shows the Similarity Score
and the Canonical Summary
for the selected ticket.
Figure 9. View Ticket Analysis (Cont.) 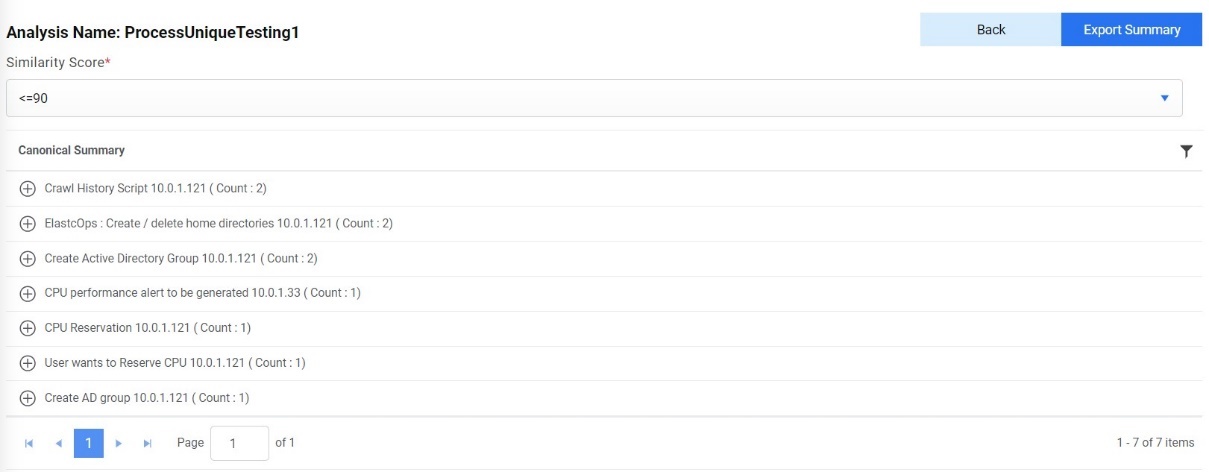 Note:Use Export Summary to export the canonical summary of the ticket to your folder or click Back to go back to the previous screen.
Build and Approve Ticket Analysis
To ensure the correct categorization of tickets into the right buckets, Build Ticket Analysis needs to be done. It helps in validating the ticket categorization.
To build/approve analysis, perform the following steps:
- On the Ticket Analysis page, click
 next to the analysis you want to build/approve.
Figure 10. Build/Approve Ticket Analysis .png)
- On the View Ticket page, analysis appear in a tabular view under the Canonical Summary column, based on the selection of similarity score.
- Expand the selected Canonical Summary to see the tickets under the selected
summary.
Figure 11. Build/ Approve Single Analysis (Cont.) 
- To remove a ticket from the canonical summary, select a ticket or multiple tickets and then click Remove based on the discriminator.
- This prompts users to select the Existing discriminator
, then type at least two comma separated
discriminators to verify the uniqueness of the selected tickets, and then click
Save.
Figure 12. Build/ Approve Single Analysis (Cont.) 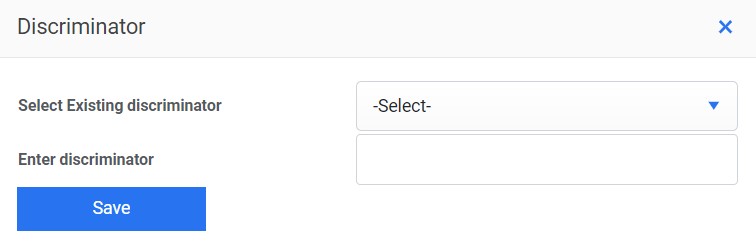
- This adds the new discriminator and lists it under the Discriminator column.
Figure 13. Build/ Approve Single Analysis (Cont.) 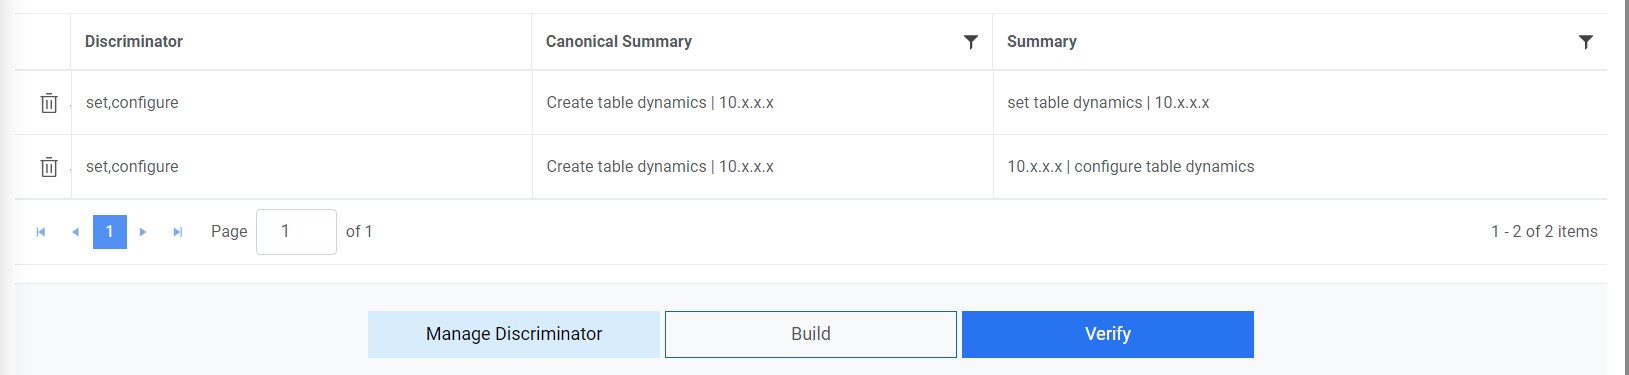
- To manage the added discriminator for analysis, select Manage Discriminator
- The Manage discriminator page appears and enables users to delete the
discriminator by clicking
 .
.Figure 14. Build/ Approve Single Analysis (Cont.) .png)
Users can also specify the discriminator for required tickets simultaneously by uploading the CSV file.
- To upload a discriminator, perform the following steps:
- Click Export Summary to download the CSV file, which contains the canonical
summary name, actual summary, ticket no., confidence score, ticket ID, bucket ID, and
the discriminator.
Table 1. CSV File Template to Upload Discriminator Canonical Summary Actual Summary Number Confidence Score Ticket ID Bucket ID Discriminator CPU Utilization Issue CPU Utilization Issue INC01 1 1 1 Test1, Test 2 - Update the required details and then click Import and Build Analysis button.
- Click Choose file to upload the CSV file and then click OK.
Figure 15. Build/ Approve Single Analysis (Cont.) 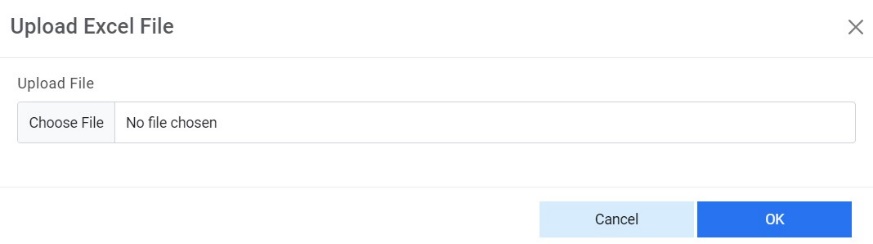
- A Build Initiated appears in the status for the selected canonical
summary.
Figure 16. Build/ Approve Single Analysis (Cont.) 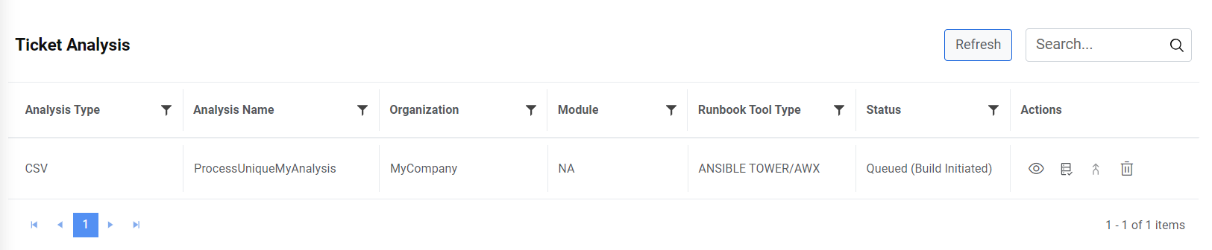
- Click Export Summary to download the CSV file, which contains the canonical
summary name, actual summary, ticket no., confidence score, ticket ID, bucket ID, and
the discriminator.
- After the discriminators are configured, click Build to restart the ticket
analysis of the selected tickets cluster based on the newly added discriminator. This
displays the Ticket Analysis screen where the ticket analysis status changes to
Queued (Build Initiated).
Figure 17. Build/ Approve Single Analysis (Cont.) .png)
- After the analysis is complete, the status automatically changes to Pending
Verification.
Figure 18. Build/ Approve Single Analysis (Cont.) 
- To verify the pending verification, click
 again next to the analysis you want to verify, and it will
redirect you to theVerify page.Note:Whenever a discriminator is added to an analysis, it is mandatory to rebuild the analysis.
again next to the analysis you want to verify, and it will
redirect you to theVerify page.Note:Whenever a discriminator is added to an analysis, it is mandatory to rebuild the analysis. - Click Verify to approve the analysis.
Figure 19. Build/ Approve Single Analysis (Cont.) 
The analysis status changes to Verified and Pending Merge.

The View Ticket screen displays and enables users to export canonical summary data using the Export to CSV option from the bucket.

Merge Analysis
Whenever the user adds or removes ticket from the ticket cluster, new unique variations must be merged with the existing unique variations.
To merge an analysis, perform the following steps:
- On the Ticket Analysis page, click
 next to the analysis you want to merge.
Figure 22. Merge Analysis 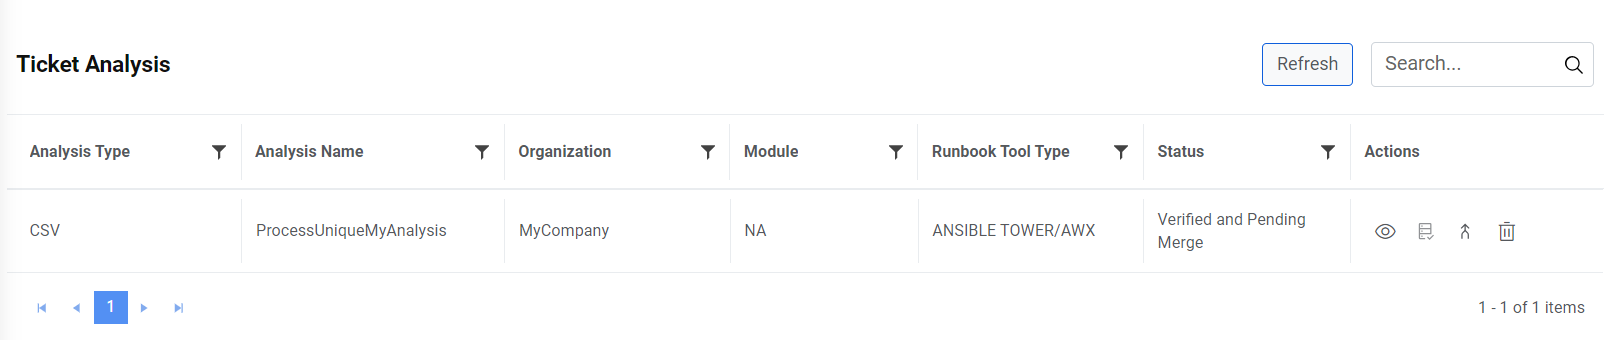 Note:Only tickets with Pending Merge status can be merged using this option.
 - The Merge Analysis page lists all the configured variations in a tabular
view.
Figure 23. Merge Analysis (Cont.) 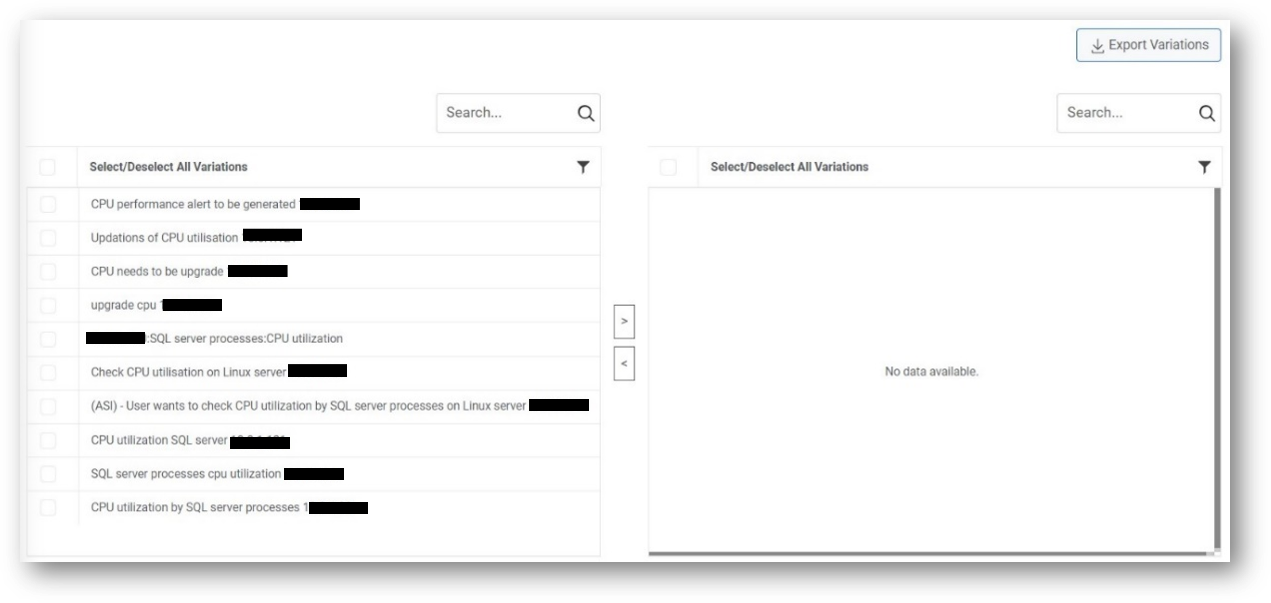
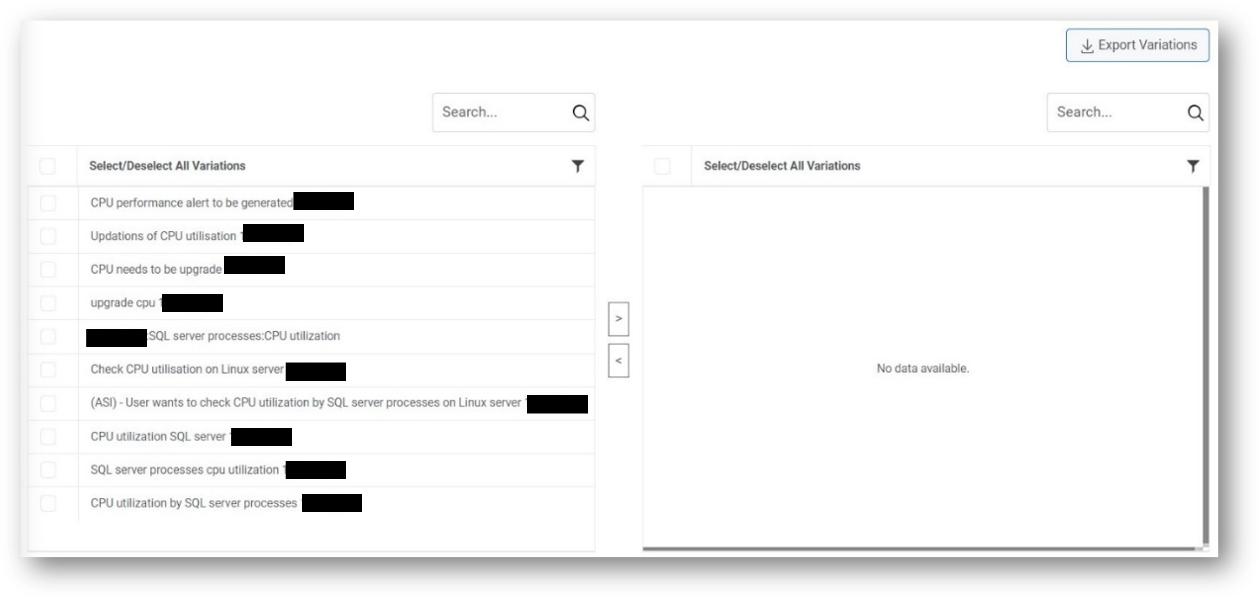
- Select the variations from the left grid. Click
 to move the selected variations to the right grid and vice
versa to remove selected variations.Note:User can select a single variation or multiple variations to merge.
to move the selected variations to the right grid and vice
versa to remove selected variations.Note:User can select a single variation or multiple variations to merge. - To merge the selected variations, click Merge, and then click Save.
Figure 24. Merge Analysis (Cont.) 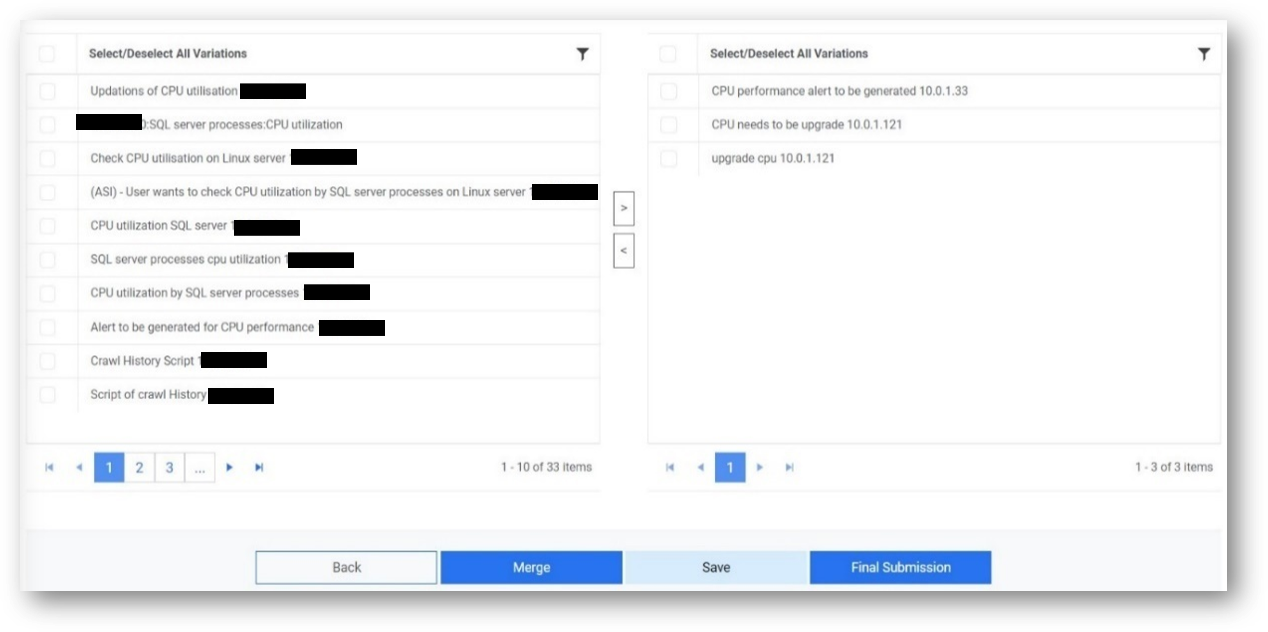
- To proceed with the analysis, click Final Submission to submit the merged
variations.Note:Click Export Variations to export the selected variations.
Auto Switch Mode for Analysis
Users can automatically validate newly identified unique tickets.
- On the Ticket Analysis screen, enable the toggle button
 next to the analysis to enable the Auto Switch
mode.
next to the analysis to enable the Auto Switch
mode.Figure 26. Auto Switch Mode for Analysis 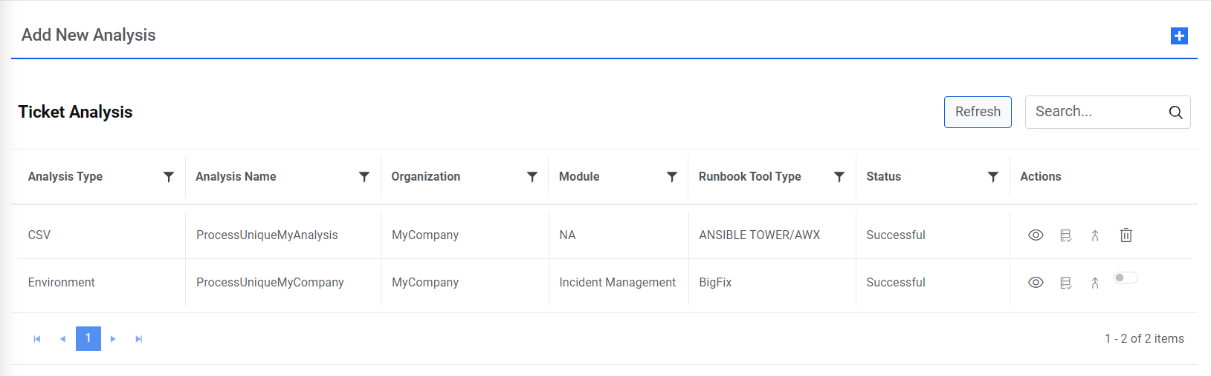
- The auto-mode for the analysis gets enabled.
Figure 27. Auto Switch Mode for Analysis 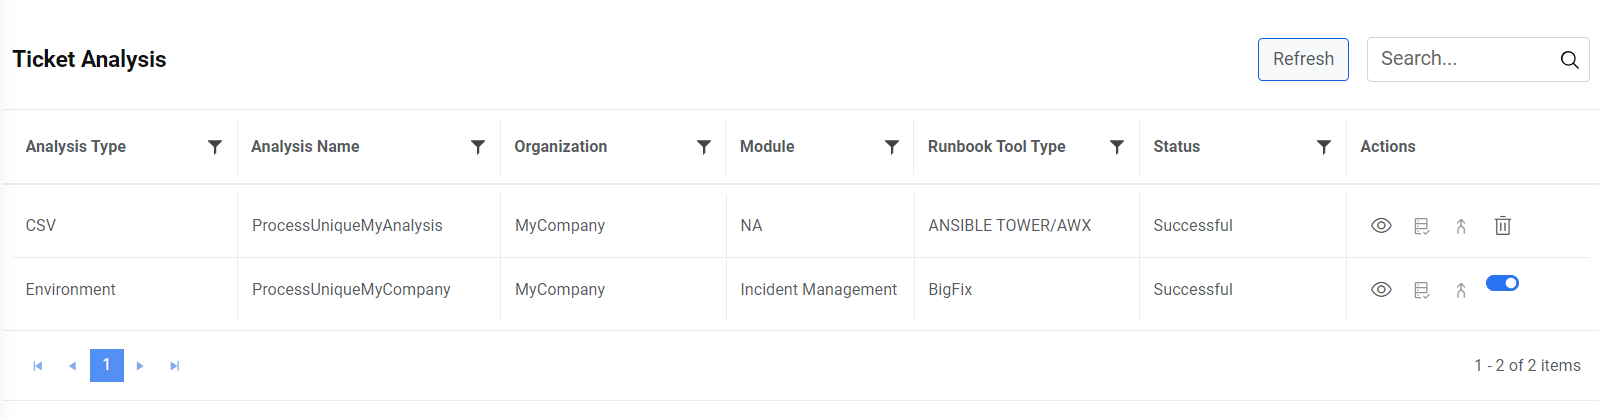 Note:The auto switch mode works only for environment analysis.
Delete Analysis
An analysis can be deleted if it is no longer required.
To delete an analysis, perform the following steps:
- Click
 to delete the analysis.
Figure 28. Delete Analysis 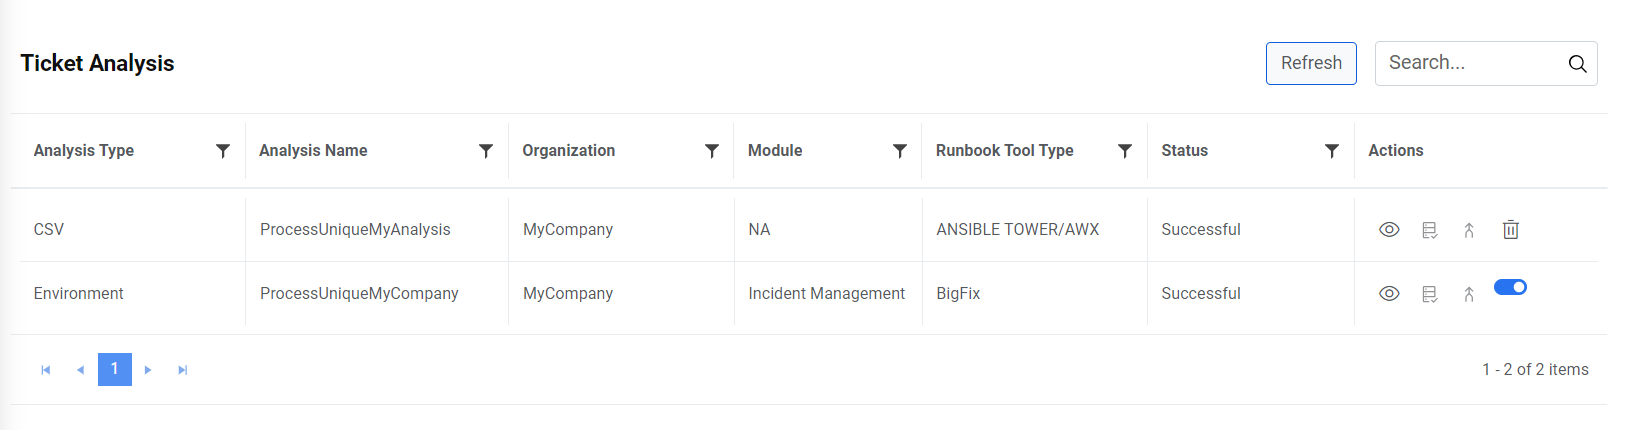
- Select the appropriate option visible in the confirmation dialog box if you would like
to make the jobs inactive or delete the data along with it.
Figure 29. Delete Analysis (cont.) 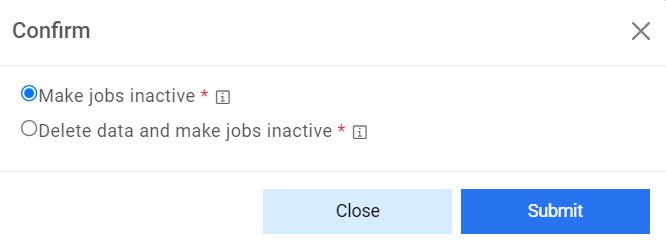
- A confirmation message appears.
Figure 30. Delete Analysis (cont.)