Role Management
In iAutomate, the following table lists the built-in roles supported by a user account.
| Role | Description |
| Super Administrator |
|
| Organization Admin |
|
| Operations Users |
|
| Operations Admin |
|
| SME Users |
|
| Knowledge Users |
|
| SAAS_Analysis User Role |
|
| SAAS_SME User Role |
|
| Netbot Admin |
|
| Netbot Approver |
|
| Netbot User |
|
| Runbook Approver |
|
| Runbook Generator |
|
| Runbook Tester |
|
A Super Administrator can manage roles in the iAutomate environment by performing the following steps.
- On the main menu bar, click RBAC.
- Click Role Management. The Role Management page appears.
Figure 1. Role Management 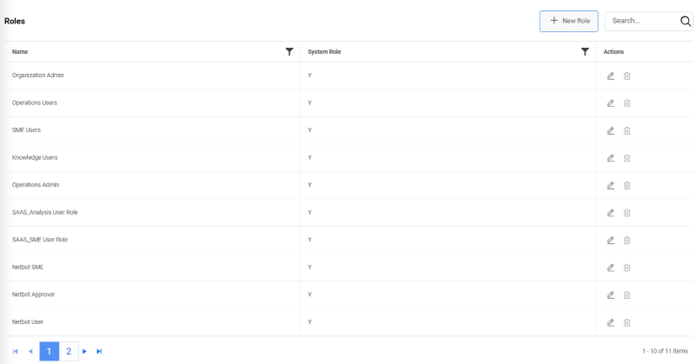
- It lists the available users in a tabular view and enables users to create a new role and edit or delete the existing role.
- The Status column displays the active or inactive status of the roles as Y or N. The System Role column denotes the default role that cannot be deleted from the environment as Y and editable roles that can be deleted as N.
Add New Role
As a super admin, user can add a new role into the iAutomate environment by using the following steps.
- On the Role Management page, click New Role.
Figure 2. Add New Role 
- Enter the Role Name and assign menus that need to be visible to that role and
then click Save. The newly added role will be visible in the grid.
Figure 3. Add New Role (cont.) 
This adds the new role and lists it at the bottom of the Role Name column.
Edit Role
Users can open and review the available information in existing roles and change the details by using the following steps.
- On the Role Management screen, click
 next to the role user wants to edit.
Figure 4. Edit Role .png)
- Edit the Role Name as required and click Update.
Figure 5. Edit Role (cont.) 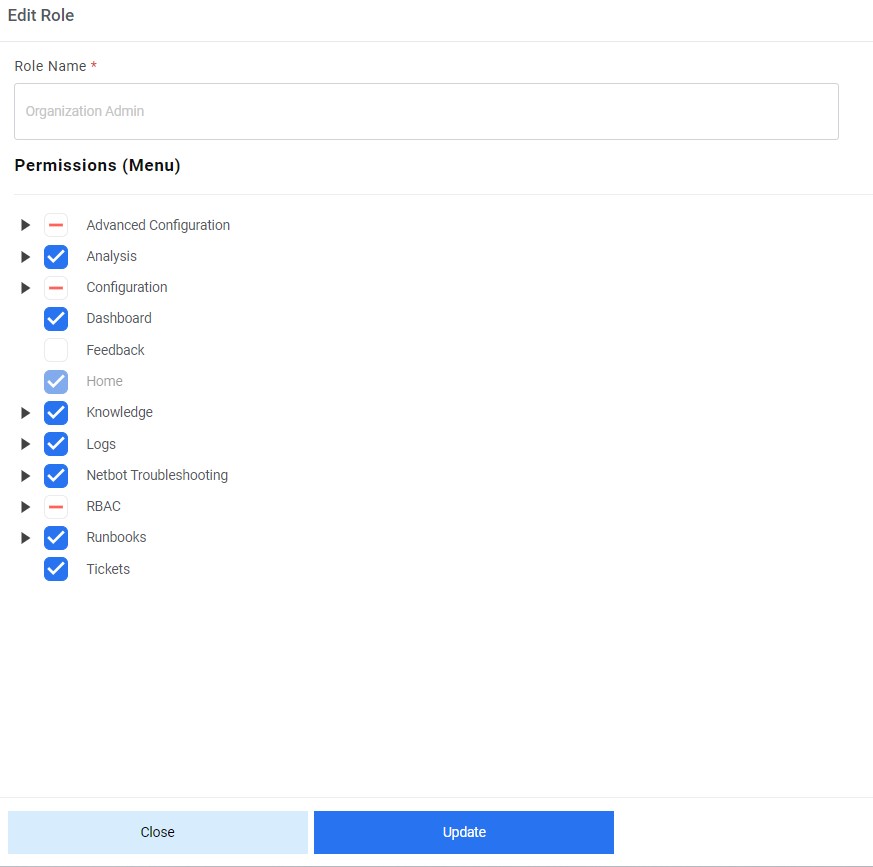
- A dialog box appears with the confirmation of the updates.
Figure 6. Edit Role (cont.) 
Delete Role
If user no longer requires a role, it can be deleted from iAutomate environment. To delete a role, perform the following steps:
- On the Role Management screen, click
 next to the role user wants to delete.
Figure 7. Delete Role 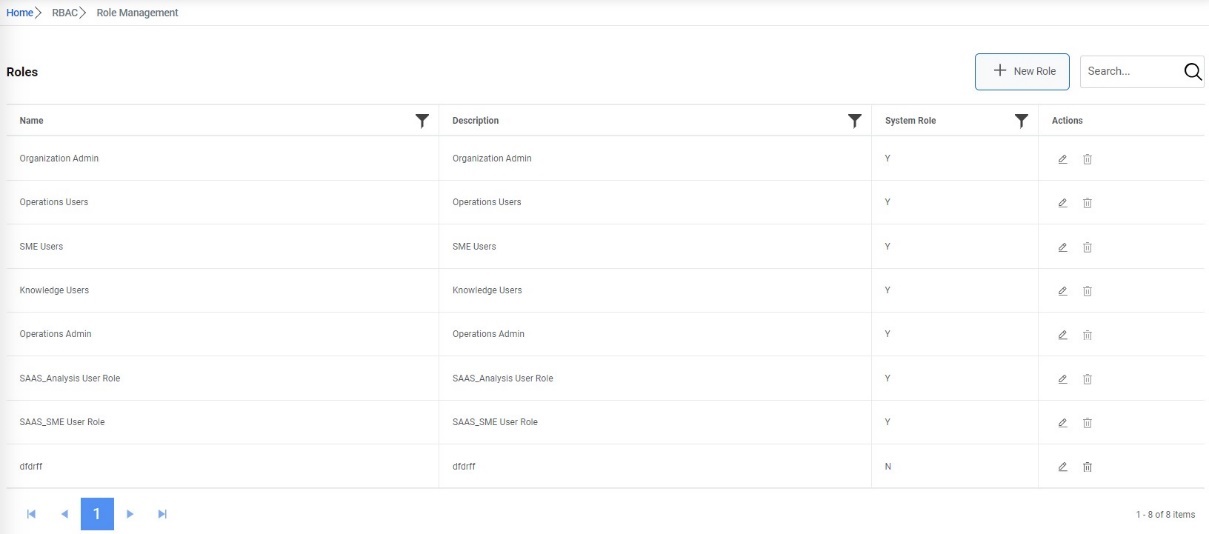
- Click OK to confirm deletion.
Figure 8. Delete Role (Cont.) 
- A confirmation dialog box appears.
Figure 9. Delete Role (Cont.)