Group Management
RBAC defines a management role group that simplifies the assignment of roles to a group of users. All members of a role group are assigned the same set of roles.
For group management, perform the following steps:
- On the main menu bar, click RBAC.
- Click Group Management. The Group Management page appears.
Figure 1. Group Management 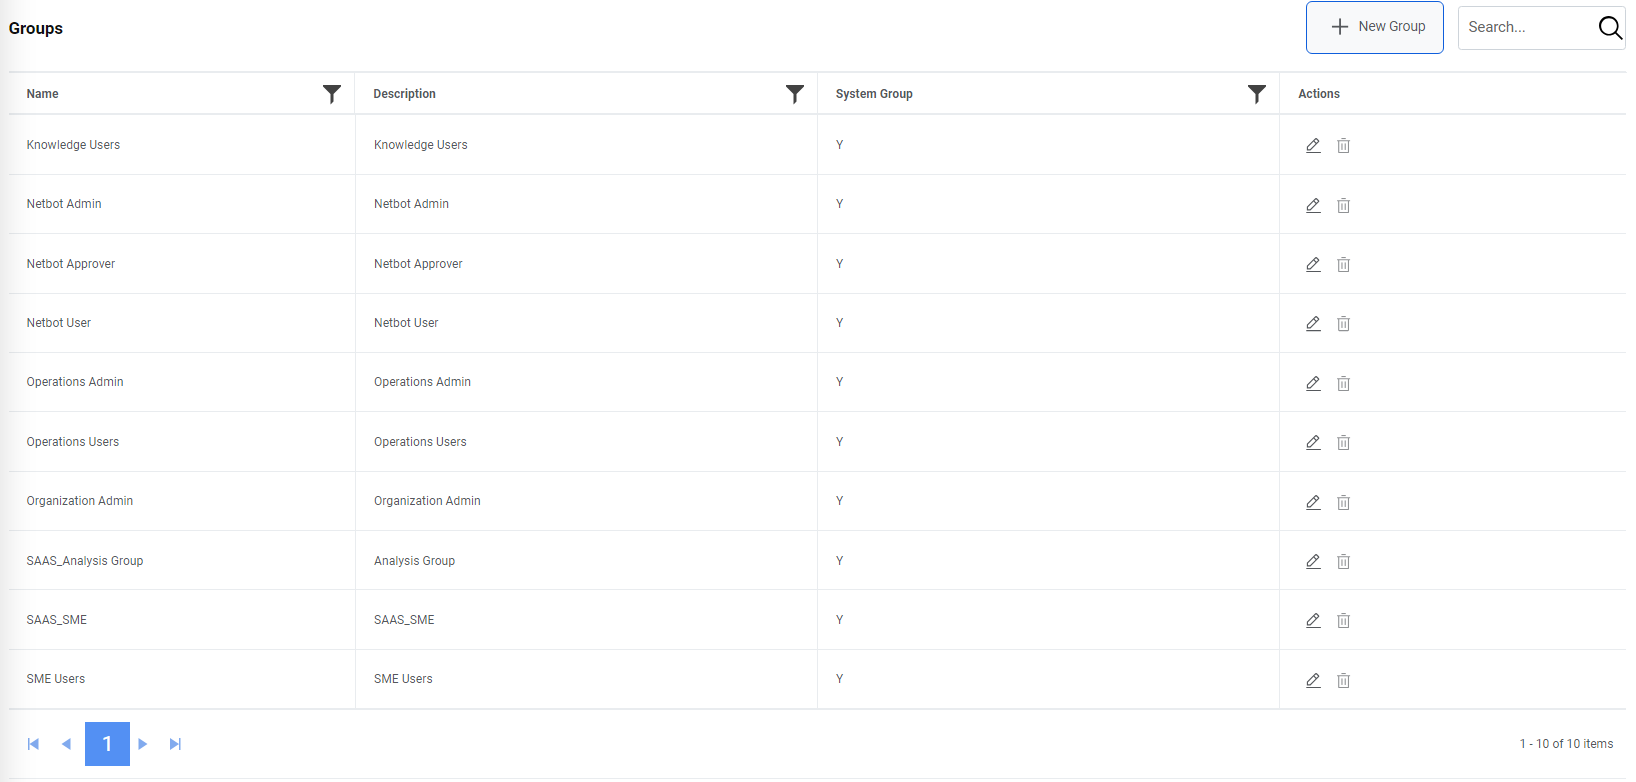
- The Is System Group column represents the default group that cannot be deleted from the environment as Y and custom groups that can be deleted from the environment as N.
- The Actions column represents the action that can be performed for the custom groups. Only edit action can be performed for the default groups.
Add New Group
A Super Administrator or Organization Administrator can add a new group into iAutomate environment by using the following steps:
- On the Group Management screen, click Add New.
Figure 2. Add New Group 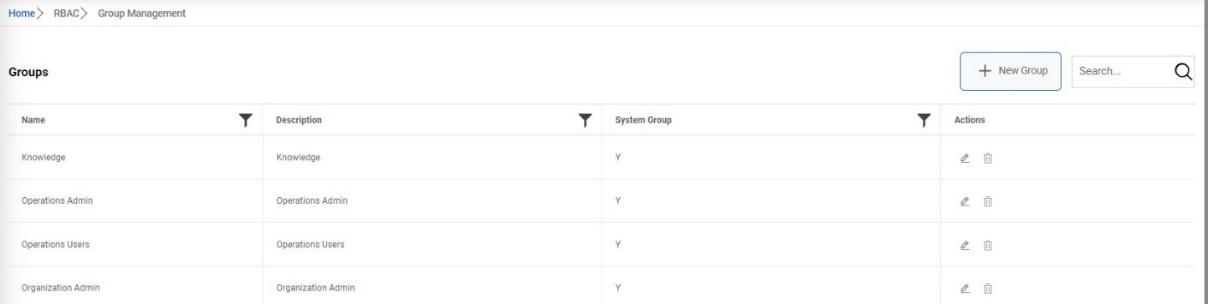
- Enter the Group Name, map roles to the group and click Submit. The newly
created group will appear in the grid.
Figure 3. Add New Group (cont.) 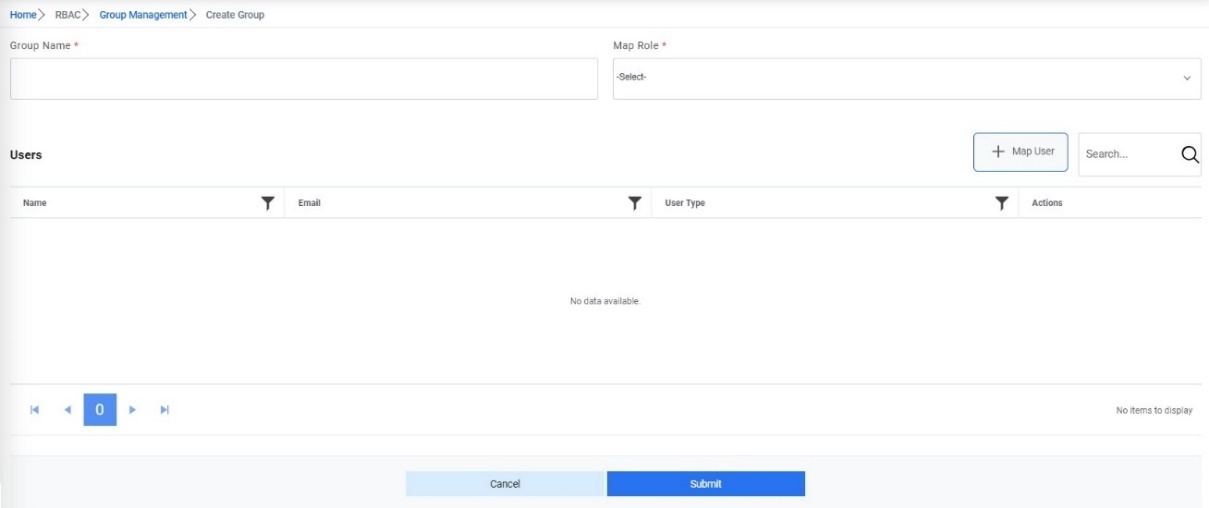
- After the group is created, users can map roles and users to the group.
Map Role to Group
A Super Administrator or Organization Administrator can map a role to a new group by using the following steps:
- On the Group Management screen, click on
 icon next to the group user wants to map to a
role. Then select additional roles that need to be mapped to
the group from the Map Role dropdown.
icon next to the group user wants to map to a
role. Then select additional roles that need to be mapped to
the group from the Map Role dropdown.Figure 4. Add New Group (Cont.) 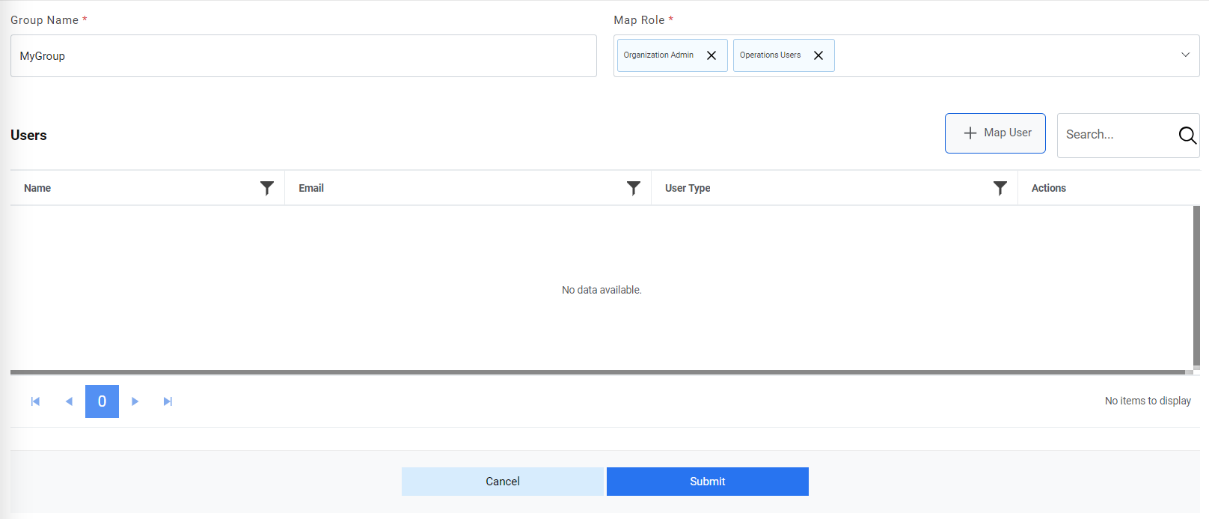
- Click Save. A confirmation dialog box appears.
Figure 5. Map roles to Group (Cont.) 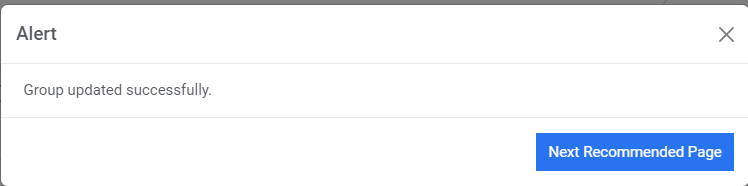
Map User to Group
A Super Administrator can map users to a new group by performing the following steps.
- On the Group Management screen, click
 next to the group to which the user wants to map to a user.
Then click on Map Users button. It lists all the users available to be mapped to the
group.
next to the group to which the user wants to map to a user.
Then click on Map Users button. It lists all the users available to be mapped to the
group.Figure 6. Map a User 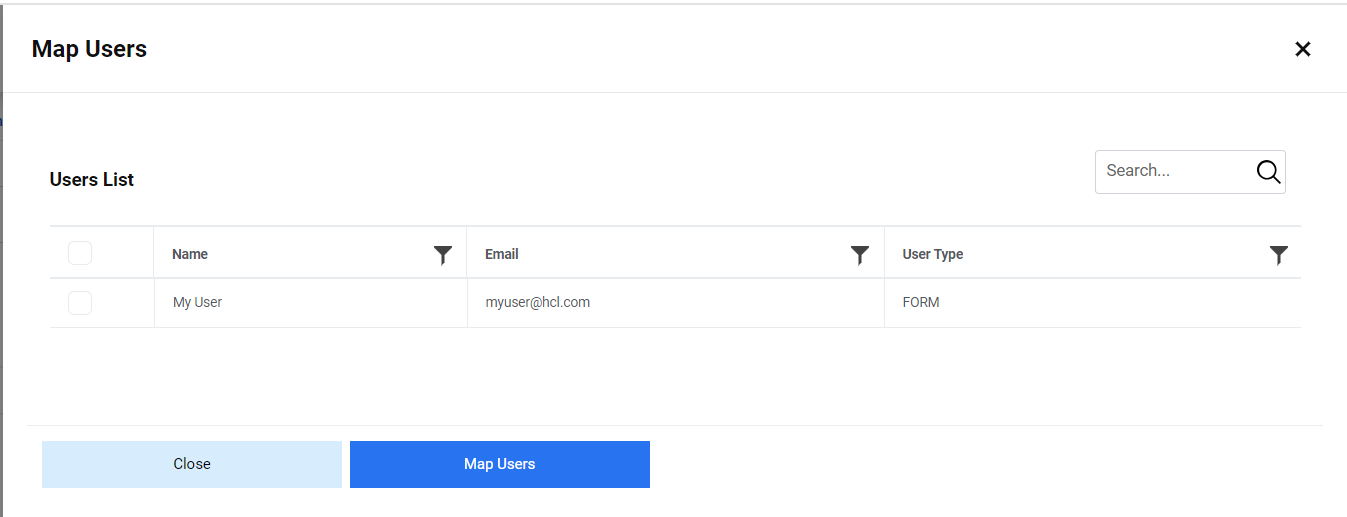
- Check the user that needs to be mapped and click on Map Users button. It lists
the user in the grid then click on Update.
Figure 7. Map a User (Cont.) 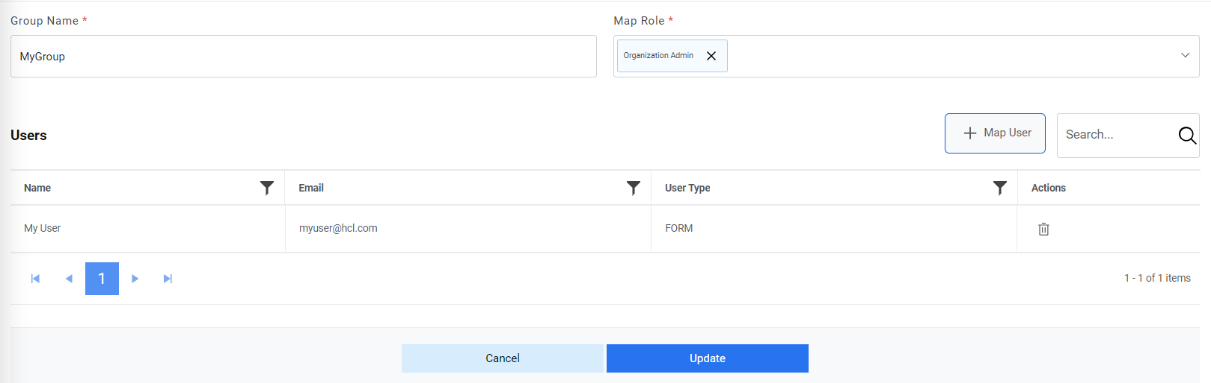
- A confirmation dialog box appears.
Figure 8. Map a User (Cont.) 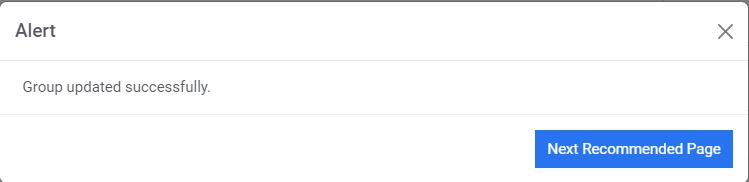
Edit Group
Users can open an existing group, review the available information, and change the group details by using the following steps.
- On the Group Management screen, click
 next to the group user wants to edit.
Figure 9. Edit Group 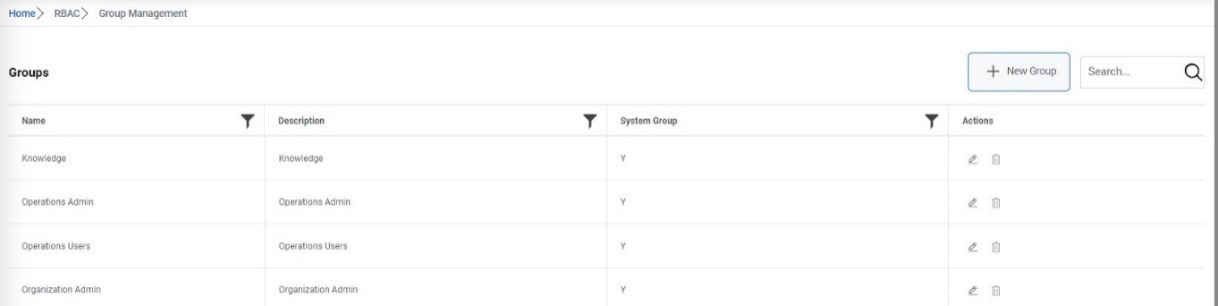
- User changes Map Role and map Users to the group. After editing, click
Update.
Figure 10. Edit Group (Cont.) .png)
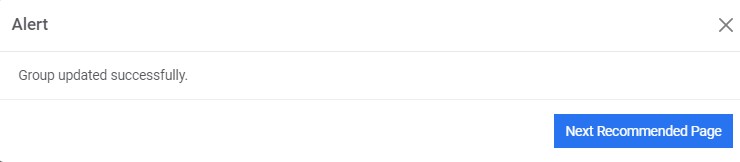
A dialog box appears with the confirmation message.
Delete Group
If the user no longer needs a group, it can be deleted from the iAutomate environment by performing the following steps.
- On the Group Management screen, click
 next to the group user wants to delete.
Figure 12. Delete Group 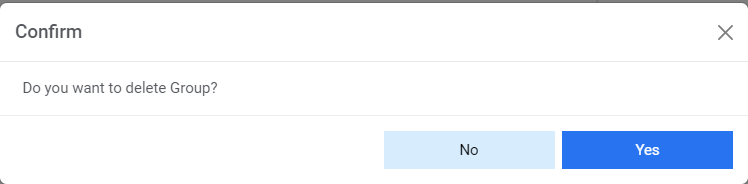 Note:Users cannot delete a group which is a System Group.
 - Click Yes to confirm.
Figure 13. Delete Group (Cont.) 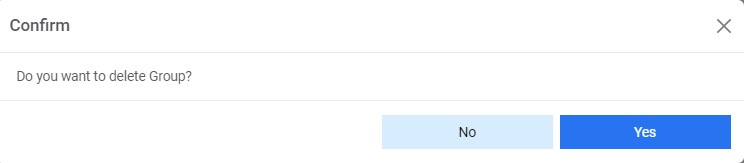
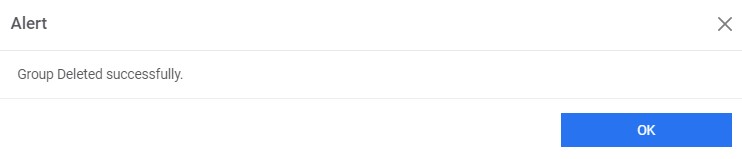
- A confirmation dialog box appears.
Figure 14. Delete Group (Cont.)