User Master
Through IMM, it becomes easy for an Admin to manage other administrators/users as it allows the admin to create, edit, view, and delete any other admin/users.
- On the Main Menu bar, click Username at the top right corner.
- Drill down drop-down appears on the screen.
- Then click User Master.
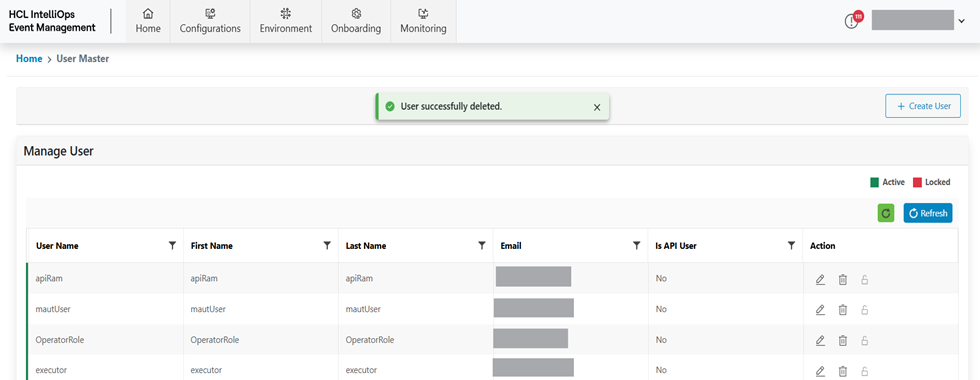
Figure 1. User Master 
- The User Master screen appears, and it lists down the available Users in a tabular
view and user can add, update and delete users.
Figure 2. User Master (Cont.) 
- Refer to the following table to understand the fields mentioned in the above figure.
Table 1. User Master Fields Description Username This field indicates the Username. First Name The field indicates the User First name Last Name This field indicates the User Last name Email This field indicates the Email Is API User This field indicates user is API user or normal user Action User to take actions like Edit and Delete against the listed users - It also consists of the following actions:
- Add User: To add a User.
- Edit User: To update an existing User.
- Delete User: To delete an existing User.
Add User
To add a User needs to follow the blow steps:
- On the User screen, click Create User button.
Figure 3. Add User Screen 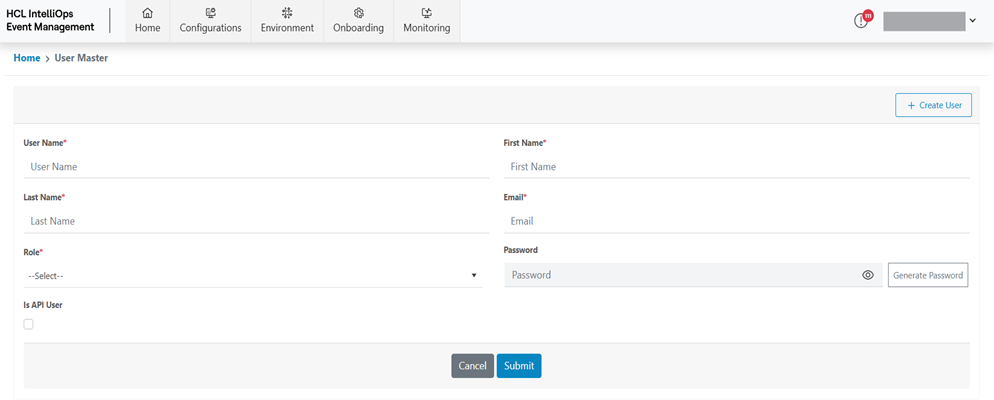
- Refer to the following table to understand the fields mentioned in the above
figure:
Table 2. Add User Fields Description Username This field contains the Username First Name This field contains the User First Name Last Name This field contains the User Last Name Email This field contains the User Email Role This field contain the user Roles like Admin, User etc. Password This field contain the password for user Is API User This field contains the User Types like API users, other users. - Enter Username.
- Enter First Name.
- Enter Last Name.
- Enter Email Identifier.
- Select Role.
- Generate User Password by clicking on Generate Password button.
- If User is required for API access, then check Is API User check box.
- Click on Submit to create User.
Figure 4. User Created Successfully 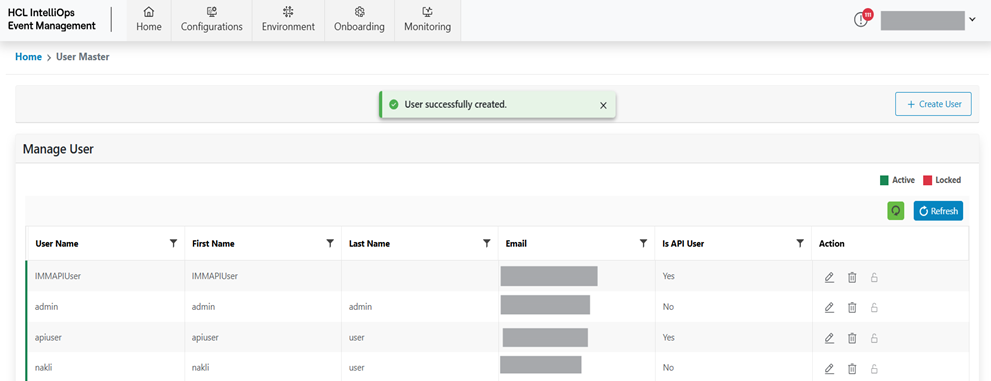
Edit User
To Edit/ Modify the information of an existing User, user needs to follow the below-mentioned steps:
- On the Main Menu bar, click Username at the top right corner.
- Drill down drop-down appears on the screen.
- Then click User Master.
- Available User list is shown in tabular view.
Figure 5. Users in Tabular Form 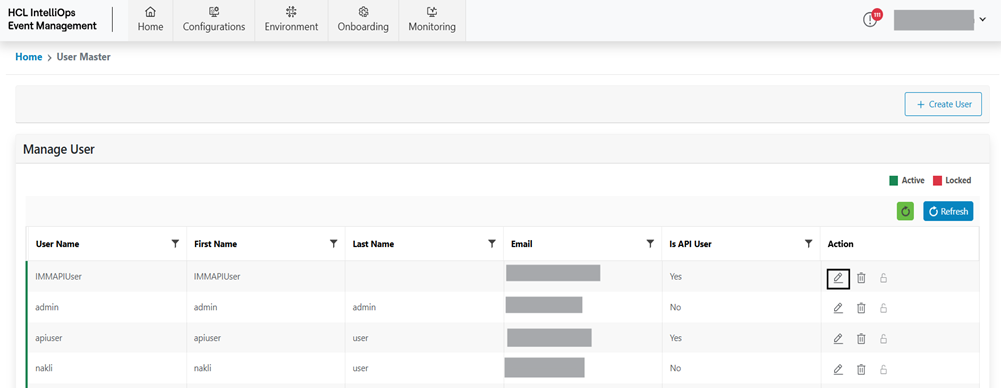
- Click Edit (
.png) )
corresponding to the Role to be edited.
)
corresponding to the Role to be edited. - Modify the details as required and click Update.
Figure 6. Edit User 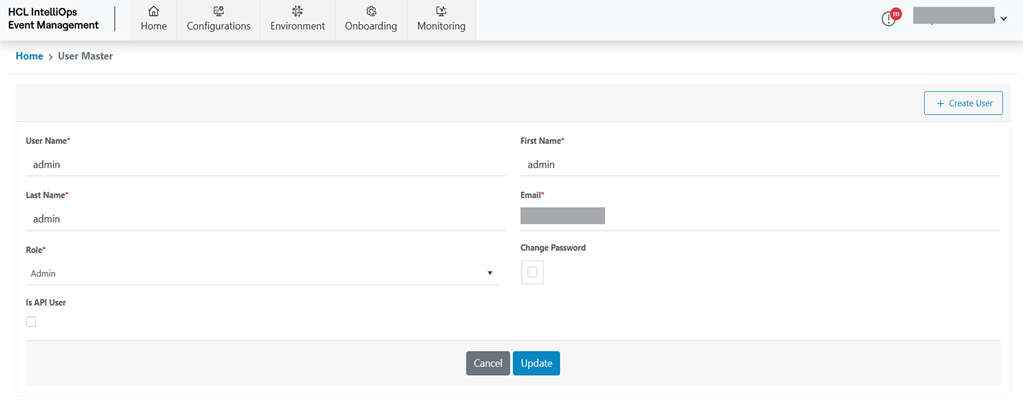
- A success message pop-up appears on the screen.
Figure 7. Authentication Configuration 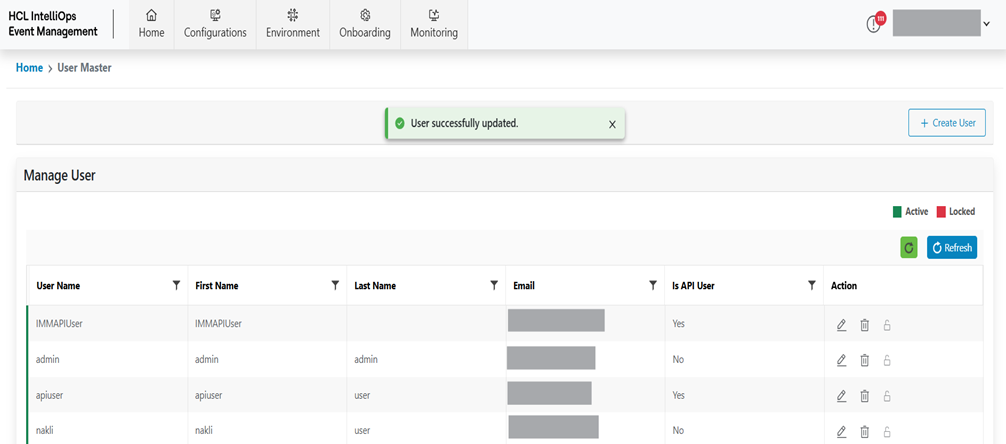
Delete User
To delete an existing User, user needs to follow the below steps:
- On the Main Menu bar, click Username at the top right corner.
- Drill down drop-down appears on the screen.
- Then click User Master.
- Available User list will be shown in a tabular view.
Figure 8. Delete User 
- Click Delete (
.png) )
corresponding to the User to be deleted.
)
corresponding to the User to be deleted. - A confirmation message appears.
Figure 9. Delete User (Cont.) 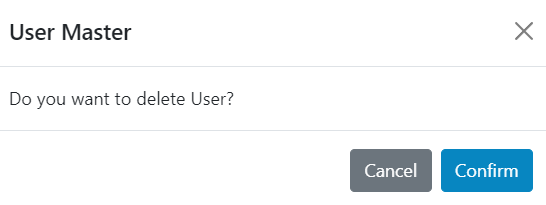
- Click Confirm to delete the user.
Figure 10. Success Message