For tenant admin to view and focus on the most relevant data for monitoring and
optimizing team performance, admin can select specific metrics, graphs, and tables to
Focused area. The focused area will be prominently displayed at the top of each page,
while the remaining tables, graphs, and metrics will be repositioned lower on the
page.
The Focused Area is applicable to the reports only for Overview, Users, Performance,
Unresolve, CSAT, and Conversation.Figure 1. Focused Area
Overview:
Click the edit button. The checkbox on each card will be visible—select the specific
widget you want to focus on. Figure 2. Edit Option
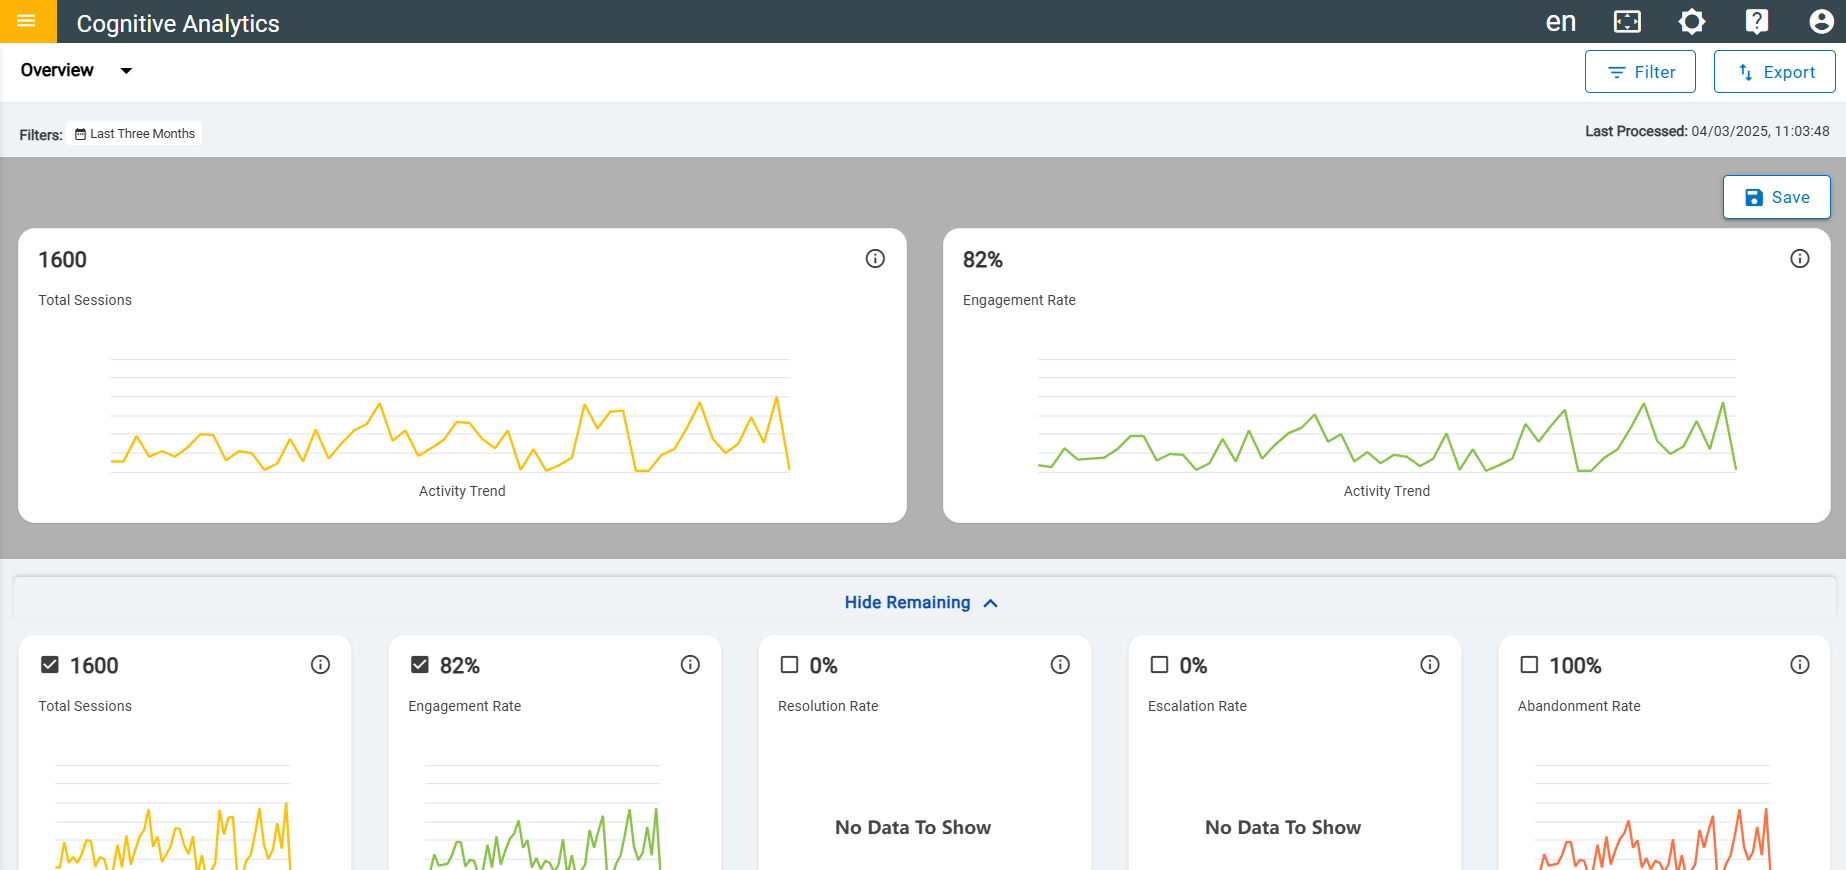
After the admin selects a specific widget , it will be displayed in the focused
area. The admin can then click on the save. Figure 3. Select Cards
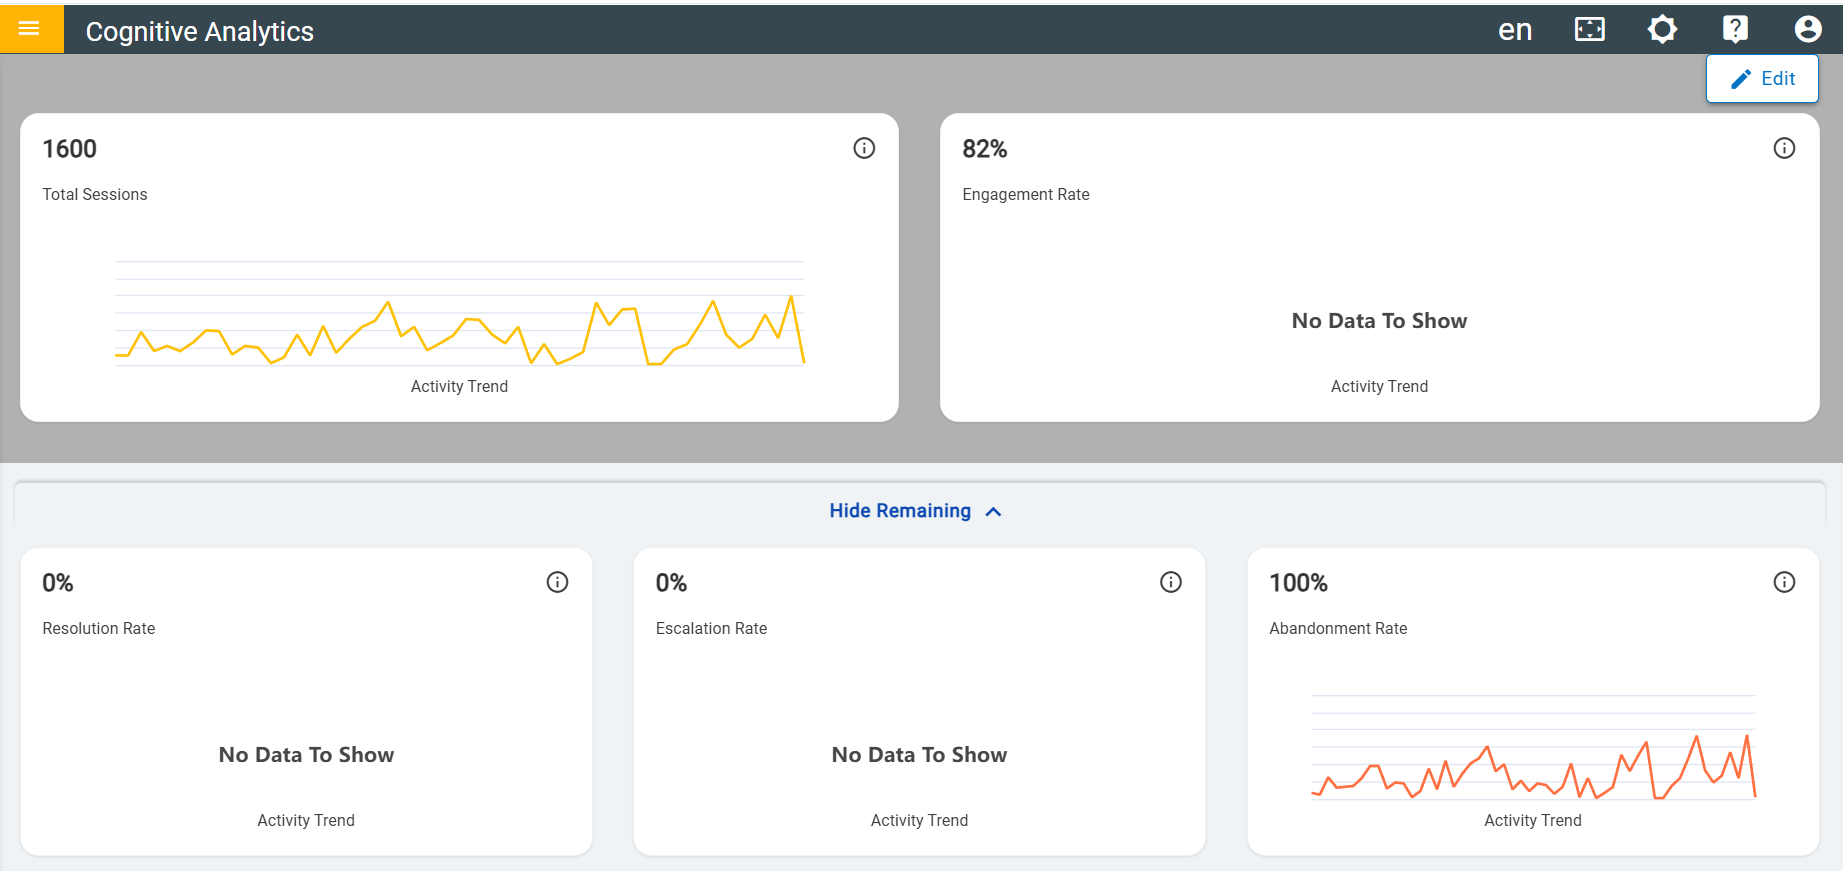
Upon clicking the "Save" button, any modifications made within the focused area will
be stored and preserved. Figure 4. Updated Dashboard
If admin wants to unselect the cards from the focused area click on edit, unselect
the cards and click on saveTo remove cards from the focused area, follow these
steps:
Click on the Edit button. This will allow admins to make changes to
the focused area.
Unselect the specific cards that the admin wants to remove from the
focused area. Admin can do this by clicking on the cards to deselect
them.
Once the adminunselected all the desired cards, click on the Save
button.
This will save admin changes and remove the unselected cards from the
focused area.
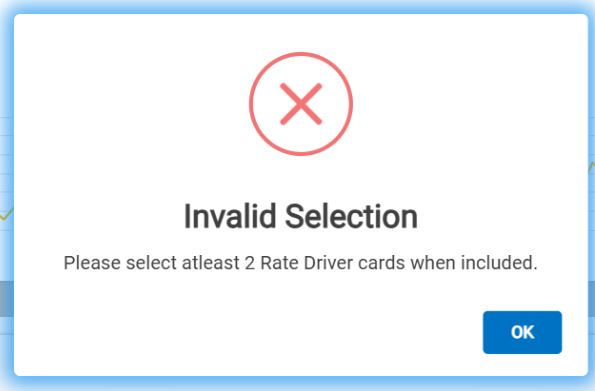
Validation: At least two cards must be selected; otherwise, a warning
message will appear.
Figure 5. Warning Message
To ensure a clear and uncluttered view of the data, the admin has the option to
conceal rows that are not immediately relevant to their current task. This can be
achieved by clicking on the designated "Hide Remaining" arrow, which will
effectively collapse and hide the rows that are not currently in focus. This
functionality allows admin to concentrate on the most pertinent information without
being overwhelmed by excessive data.Figure 6. Conceal rows
Users:
Click the edit button. The checkbox on each card will be visible—select the specific
card you want to focus on. Figure 7. Edit option
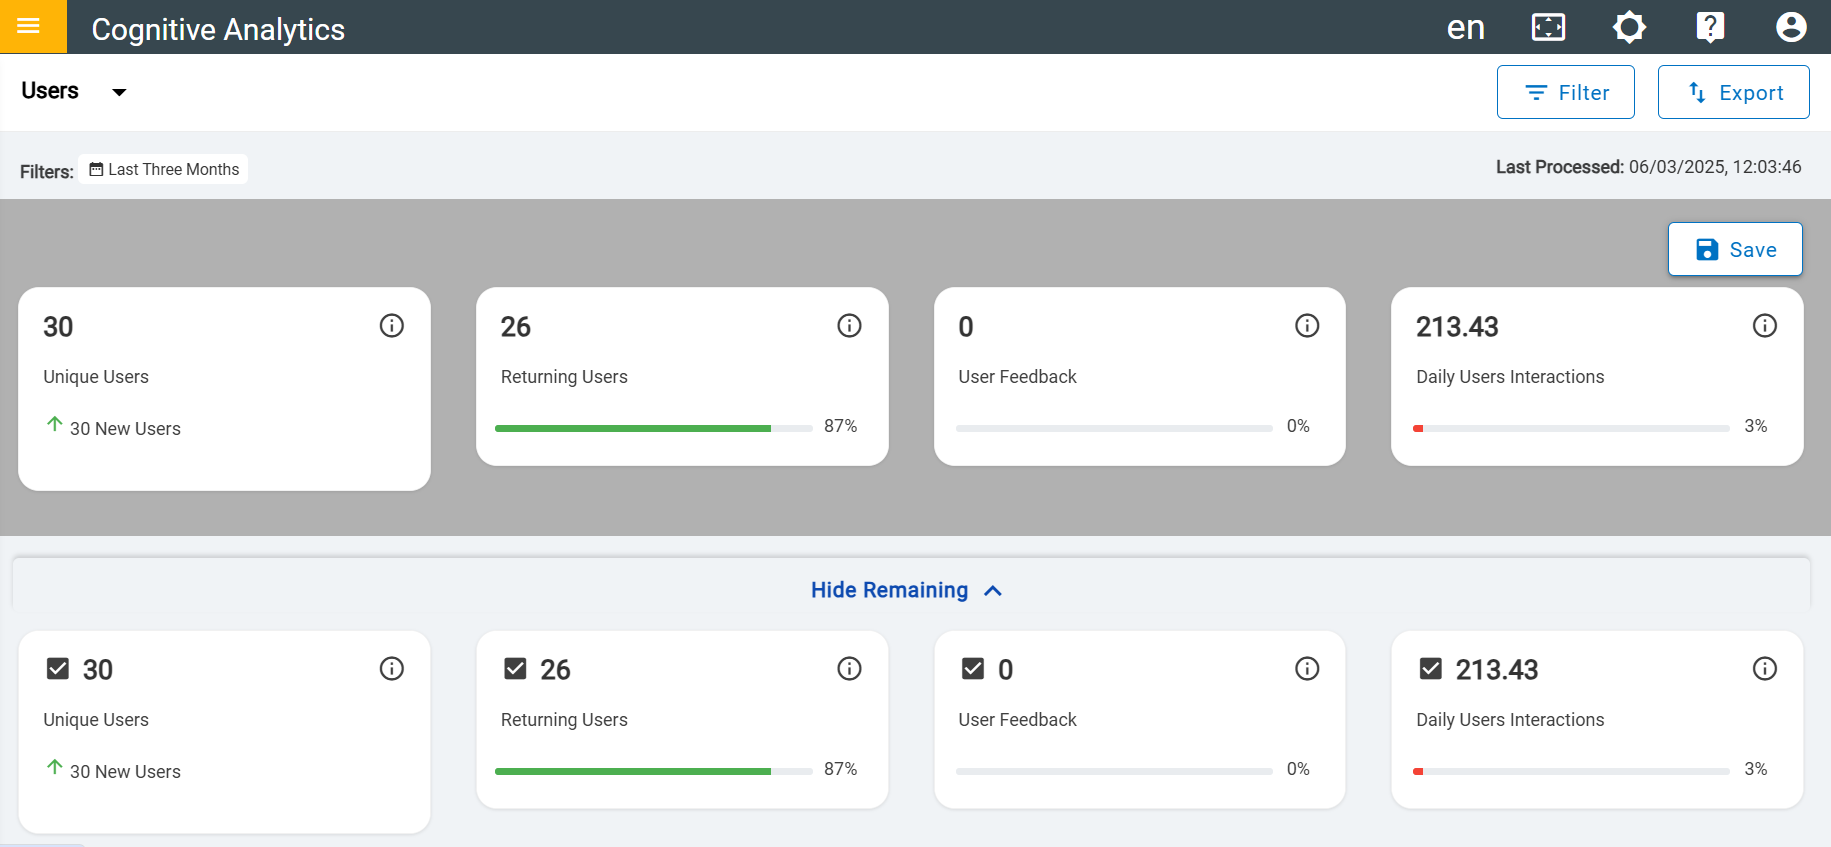
After the admin selects a specific widget, it will be displayed in the focused area.
The admin can then click on the save. Figure 8. Select Card
Upon clicking the "Save" button, any modifications made within the focused area will
be stored and preserved. Figure 9. Updated dashboard
If admin wants to unselect the cards from the focused area click on edit, unselect
the cards and click on saveTo remove cards from the focused area, follow these
steps:
Click on the Edit button. This will allow admins to make changes to
the focused area.
Unselect the specific cards that the admin wants to remove from the
focused area. Admin can do this by clicking on the cards to deselect
them.
Once the admin unselected all the desired cards, click on the Save
button. This will save your changes and remove the unselected cards from the
focused area.
Validation:
At least four cards must be selected; otherwise, a
warning message will appear.Figure 10. Warnings Message
To ensure a clear and uncluttered view of the data, the admin have the option to
conceal rows that are not immediately relevant to their current task. This can be
achieved by clicking on the designated "Hide Remaining" arrow, which will
effectively collapse and hide the rows that are not currently in focus. This
functionality allows admin to concentrate on the most pertinent information without
being overwhelmed by excessive data.
Figure 11. Conceal rows
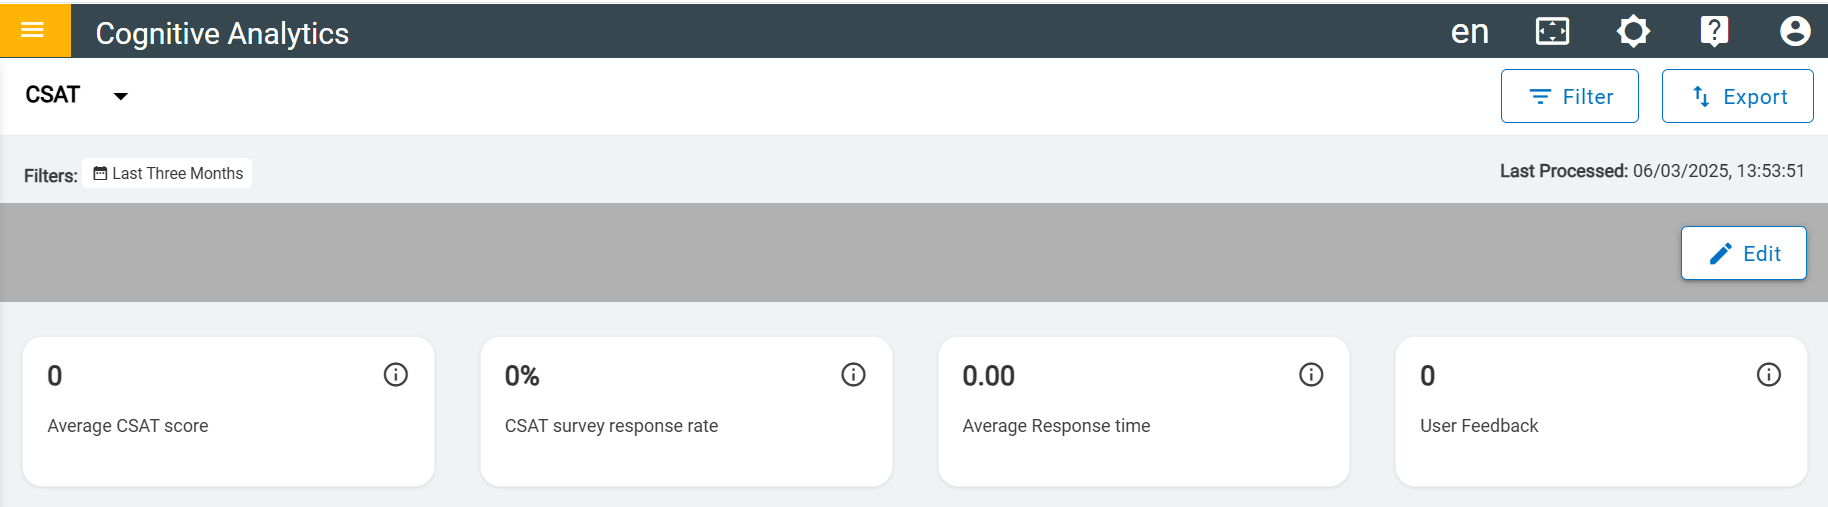
CSAT
Click the edit button. The checkbox on each card will be visible—select the specific
card you want to focus on.
Figure 12. Edit Option
After the admin selects a specific card, it will be displayed in the focused area.
The admin can then click on the save.
Figure 13. Select Cards
Upon clicking the "Save" button, any modifications made within the focused area will
be stored and preserved.
Figure 14. Updated Dashboard
If admin wants to unselect the cards from the focused area click on edit, unselect
the cards and click on saveTo remove cards from the focused area, follow these
steps:
Click on the Edit button. This will allow admins to make changes to
the focused area.
Unselect the specific cards that the admin wants to remove from the
focused area. Admin can do this by clicking on the cards to deselect
them.
Once the admin unselected all the desired cards, click on the Save
button. This will save your changes and remove the unselected cards from the
focused area.
Validation:
A warning message will be displayed if the admin
does not select all cards.Figure 15. Warnings Message
To ensure a clear and uncluttered view of the data, the admin has the option to
conceal rows that are not immediately relevant to their current task. This can be
achieved by clicking on the designated "Hide Remaining" arrow, which will
effectively collapse and hide the rows that are not currently in focus. This
functionality allows admin to concentrate on the most pertinent information without
being overwhelmed by excessive data.
Figure 16. Conceal rows
Conversations
Click the edit button. The checkbox on each card will be visible—select the specific
card you want to focus on. Figure 17. Edit Option
After the admin selects a specific card, it will be displayed in the focused area.
The admin can then click on the save. Figure 18. Select Cards
Upon clicking the "Save" button, any modifications made within the focused area will
be stored and preserved.Figure 19. Updated Dashboard
If admin wants to unselect the cards from the focused area click on edit, unselect
the cards and click on saveTo remove cards from the focused area, follow these
steps:
Click on the Edit button. This will allow admins to make changes to
the focused area.
Unselect the specific cards that the admin wants to remove from the
focused area. Admin can do this by clicking on the cards to deselect
them.
Once the adminunselected all the desired cards, click on the Save
button. This will save your changes and remove the unselected cards from the
focused area.
Validation:
A minimum of four metric cards must be selected;
otherwise, a warning message will be displayed.Figure 20. Warnings Message
To ensure a clear and uncluttered view of the data, the admin have the option to
conceal rows that are not immediately relevant to their current task. This can be
achieved by clicking on the designated "Hide Remaining" arrow, which will
effectively collapse and hide the rows that are not currently in focus. This
functionality allows admin to concentrate on the most pertinent information without
being overwhelmed by excessive data.Figure 21. Conceal rows
Performance
Click the edit button. The checkbox on each card will be visible—select the specific
card you want to focus on. Figure 22. Edit Option
After the admin selects a specific card, it will be displayed in the focused area.
The admin can then click on the save.Figure 23. Select Cards
Upon clicking the "Save" button, any modifications made within the focused area will
be stored and preserved.Figure 24. Updated Dashboard
If admin wants to unselect the cards from the focused area click on edit, unselect
the cards and click on saveTo remove cards from the focused area, follow these
steps:
Click on the Edit button. This will allow admins to make changes to
the focused area.
Unselect the specific cards that the admin wants to remove from the
focused area. Admin can do this by clicking on the cards to deselect
them.
Once the admin unselected all the desired cards, click on the Save
button. This will save admin changes and remove the unselected cards from
the focused area.
Validation:
The admin should select several small metric cards
that will completely fill the row. Otherwise, a warning message will appear.Figure 25. Warnings Message
To ensure a clear and uncluttered view of the data, the admin have the option to
conceal rows that are not immediately relevant to their current task. This can be
achieved by clicking on the designated "Hide Remaining" arrow, which will
effectively collapse and hide the rows that are not currently in focus. This
functionality allows admin to concentrate on the most pertinent information without
being overwhelmed by excessive data.
Figure 26. Conceal rows
Unresolved Queries
Click the edit button. The checkbox on each card will be visible—select the specific
card you want to focus on.Figure 27. Edit Option
After the admin selects a specific card, it will be displayed in the focused area.
The admin can then click on the save.Figure 28. Select Cards
Upon clicking the "Save" button, any modifications made within the focused area will
be stored and preserved.Figure 29. Select Cards
If admin wants to unselect the cards from the focused area click on edit, unselect
the cards and click on saveTo remove cards from the focused area, follow these
steps:
Click on the Edit button. This will allow admins to make changes to
the focused area.
Unselect the specific cards that the admin wants to remove from the
focused area. Admin can do this by clicking on the cards to deselect
them.
Once the admin unselected all the desired cards, click on the Save
button. This will save admin changes and remove the unselected cards from
the focused area.
To ensure a clear and uncluttered view of the data, admin have the option to conceal
rows that are not immediately relevant to their current task. This can be achieved
by clicking on the designated "Hide Remaining" arrow, which will effectively
collapse and hide the rows that are not currently in focus. This functionality
allows admin to concentrate on the most pertinent information without being
overwhelmed by excessive data.Figure 30. Conceal rows


.png)


.png)


.png)


.png)


.png)


