
Creating a layout and assigning it to the landing page
In this lesson, you use the Commerce Composer tool to start a new layout for your landing page, which involves setting the name and schedule for the layout.
About this task
To learn more about layouts and layout templates, read the following topic:
Procedure
- In the Commerce Composer tool,
create a folder in which to store your new layout:
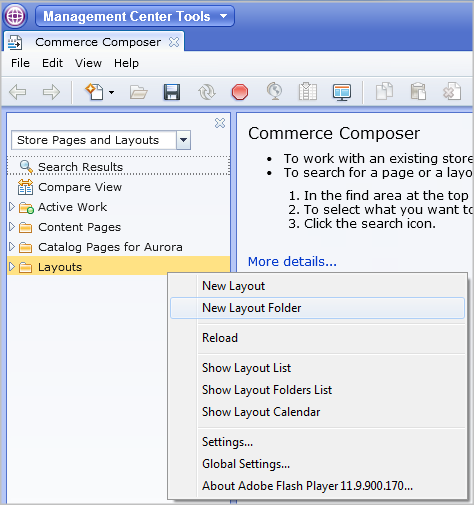
- In the explorer view, right-click the Layouts folder,
and then click New Layout Folder.
- In the explorer view, right-click the Layouts folder,
and then click New Layout Folder.
- Start a new layout for your landing page:
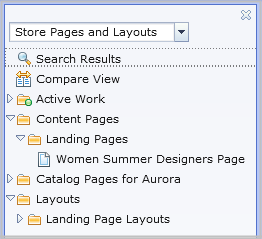
- In the explorer view, expand the Content
Pages folder and the Landing Pages folder
to display the Women Summer Designers Page page:
- Right-click the Women
Summer Designers Page page that you created in the previous
lesson, and then click New Layout.

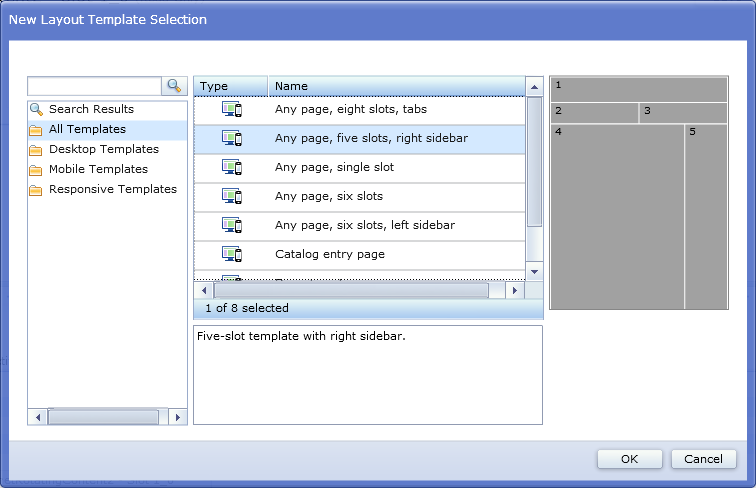
The previous two steps demonstrate a quick way to start a new layout by using the right-click menu options for the target page. When you use this method, the layout is automatically assigned to the page. The New Layout Template Selection window lists all the layout templates that are included with the Commerce Composer tool.
- Select the template that is named Any page,
five slots, right sidebar, and then click OK.
- In the explorer view, expand the Content
Pages folder and the Landing Pages folder
to display the Women Summer Designers Page page:
- Complete the fields in the Manage Layout tab:
- Drag the Landing Page Layouts folder
from the explorer view into the Folder table.
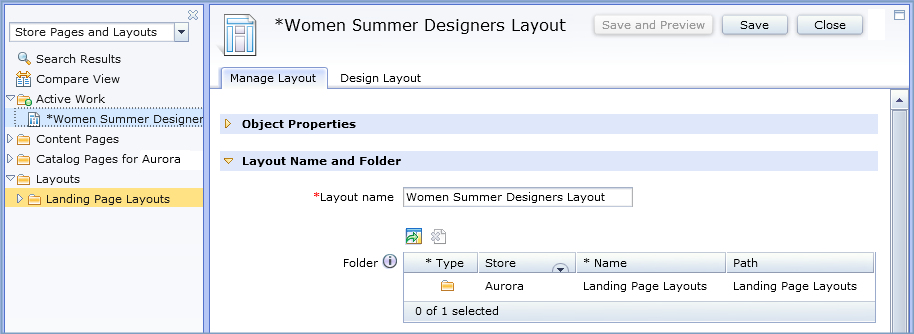
As a result, your new layout is stored in this folder.
- Leave the Priority field set
to 0.
This landing page has only one layout that is assigned, so there is no need to set a priority. The Priority field is useful to resolve conflicts when more than one layout might be assigned to or inherited by a page for a specific time period. The layout with the highest priority is applied on the storefront. - Set the start date to May 1 and
the end date to May 31.Note: Make sure that the date is in the future, which is based on the date that you are doing this tutorial. For example, if the month of May is already past for the current year, set the schedule for the month of May next year.
The layout that you are creating will be applied to the page for the month of May. When June arrives, the layout will no longer be applied to the page and the empty default layout will be used to render the page. To avoid this situation in a real scenario, you can choose one of the following options: - Assign a different layout to the page and assign a start date of June 1.
- Delete the page.
- Populate the default layout for the page so that it displays some content.
- Leave the Start date and End date fields empty so that the layout remains assigned to the page indefinitely.
- Drag the Landing Page Layouts folder
from the explorer view into the Folder table.
- Notice that the Pages table already contains the Women Summer Designers Page. The page is already assigned because you started the layout by right-clicking the page in step 2.b.
- Click Save to save your work.