

Managing Roles
Create, edit, and manage user roles with customizable access to applications in the BIgFix UI environment. You can customize each role by specifying app-level permissions, ensuring users have secure and appropriate access based on their responsibilities.
Built-in roles
Built-in role is predefined role provided by BigFix UI to streamline user and access management.
Custom roles
- Create a custom role
- Creating a custom role involves defining a user role with specific permissions and access tailored to your organization's unique requirements. Unlike built-in roles, which have fixed configurations, custom roles allow flexibility in managing devices, applications, and user assignments. For detailed steps, read Creating a new role.
Default and Non-Removable Applications
Certain applications are marked as default in the backend and are automatically assigned to every role. These apps cannot be unselected during role creation or editing.
Examples include:
-
My Dashboard (home screen)
-
Device Explorer (expand Explore and select Devices)
- Fixlet Explorer (expand Explore and select Fixlets)
-
Deployment Manager (expand Explore and select Deployments)
Creating a new role
Follow these steps to create a custom role to define specific permissions and access tailored to your organizational needs. Assign a name, and specify access levels. Save the role to manage devices and applications efficiently:
- To navigate to Role Manager, from the User Manager page, click Roles
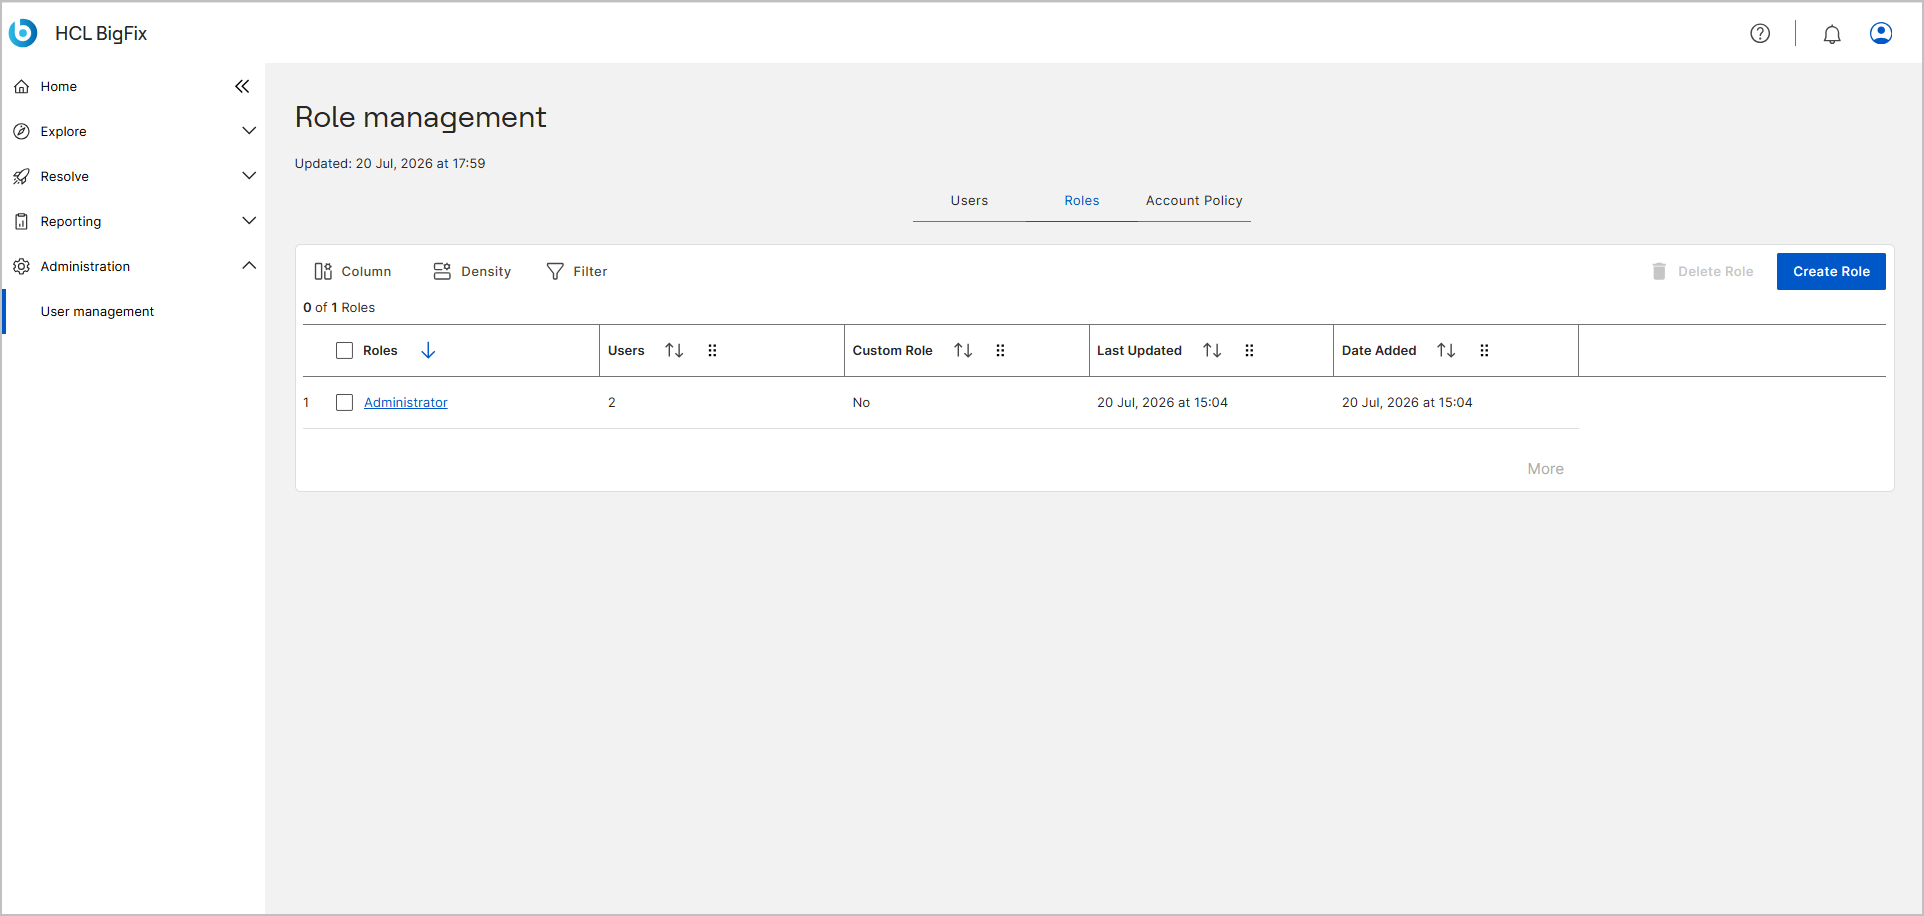
- Create a Role:
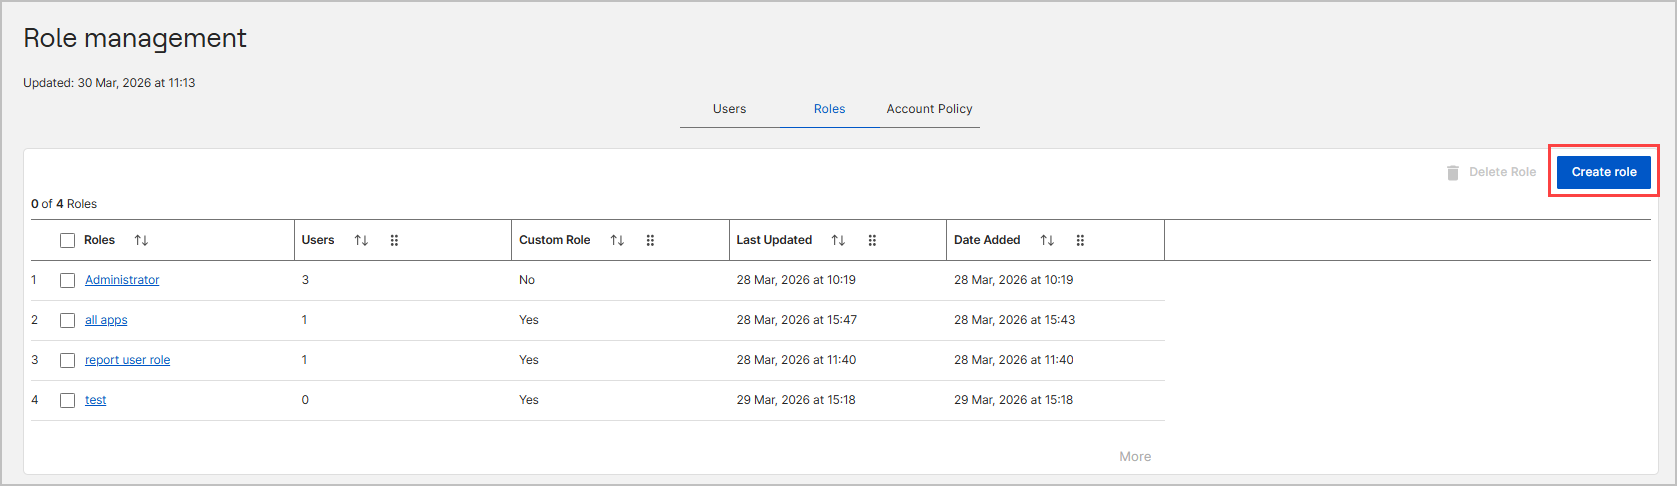
- From the action bar, click Create role to add a
new role. The Create Role widget appears.
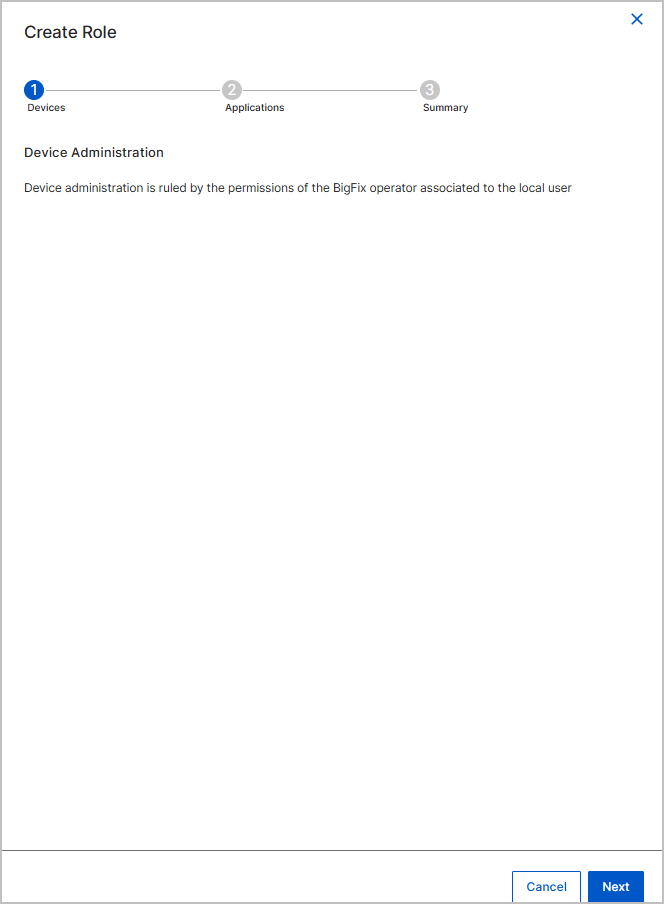
- Devices: Review the note that device administration is ruled by
the permissions of the BigFix Operator associated with the local user.
Click Next.
- Applications: Turn on or off the toggles for the applications the
role should access.
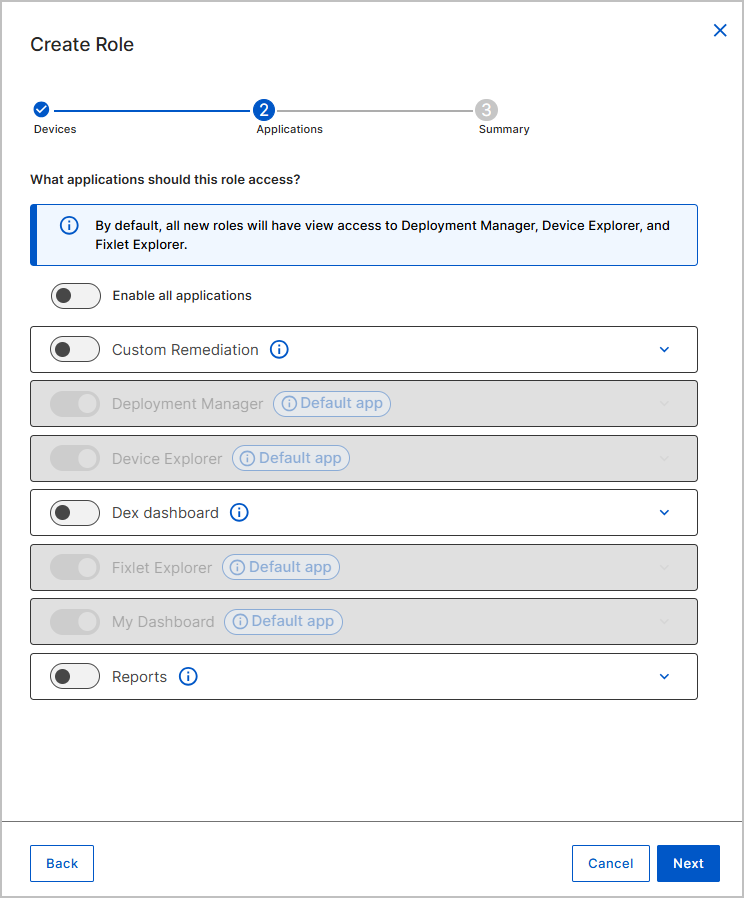
- The list includes all available apps and short descriptions.
- Some apps (like My Dashboard) are pre-selected and cannot be unselected.
- To configure granular permissions for the Reports
application, turn on the Reports toggle and click the
expand arrow.
- Select the appropriate reporting access level:
Admin, Read only, or User.
-
Admin: Grants full access to manage and create all reports.
-
Readonly: Restricts the user to viewing existing reports only.
-
User: Grants standard access based on additional feature toggles.
-
-
If you select User, select the Can use scripted reports check box to grant access to custom scripted reports.
- Select the appropriate reporting access level:
Admin, Read only, or User.
- Click Next to proceed to the Summary page.
- On the Summary page, enter a Role name
(required) for the role.
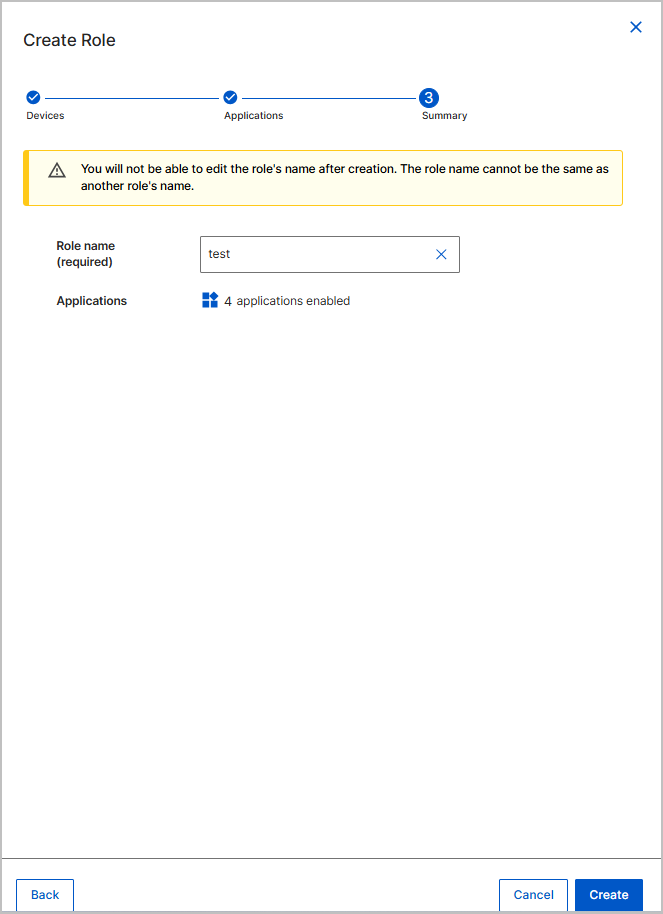 Note: Provide a unique name for the role. You cannot edit the role name once it is created.
- Verify the number of devices and the number of applications to access.
- Click Create. The role is successfully created and the success message displayed in the main page.
Result: The new role appears on the Role Management page. Click the role to view its details.
- From the action bar, click Create role to add a
new role. The Create Role widget appears.
Viewing Role Details
Follow these steps to view the applications and users associated with a specific role:
-
Navigate to Administration > User management.
-
Select the Roles tab.
-
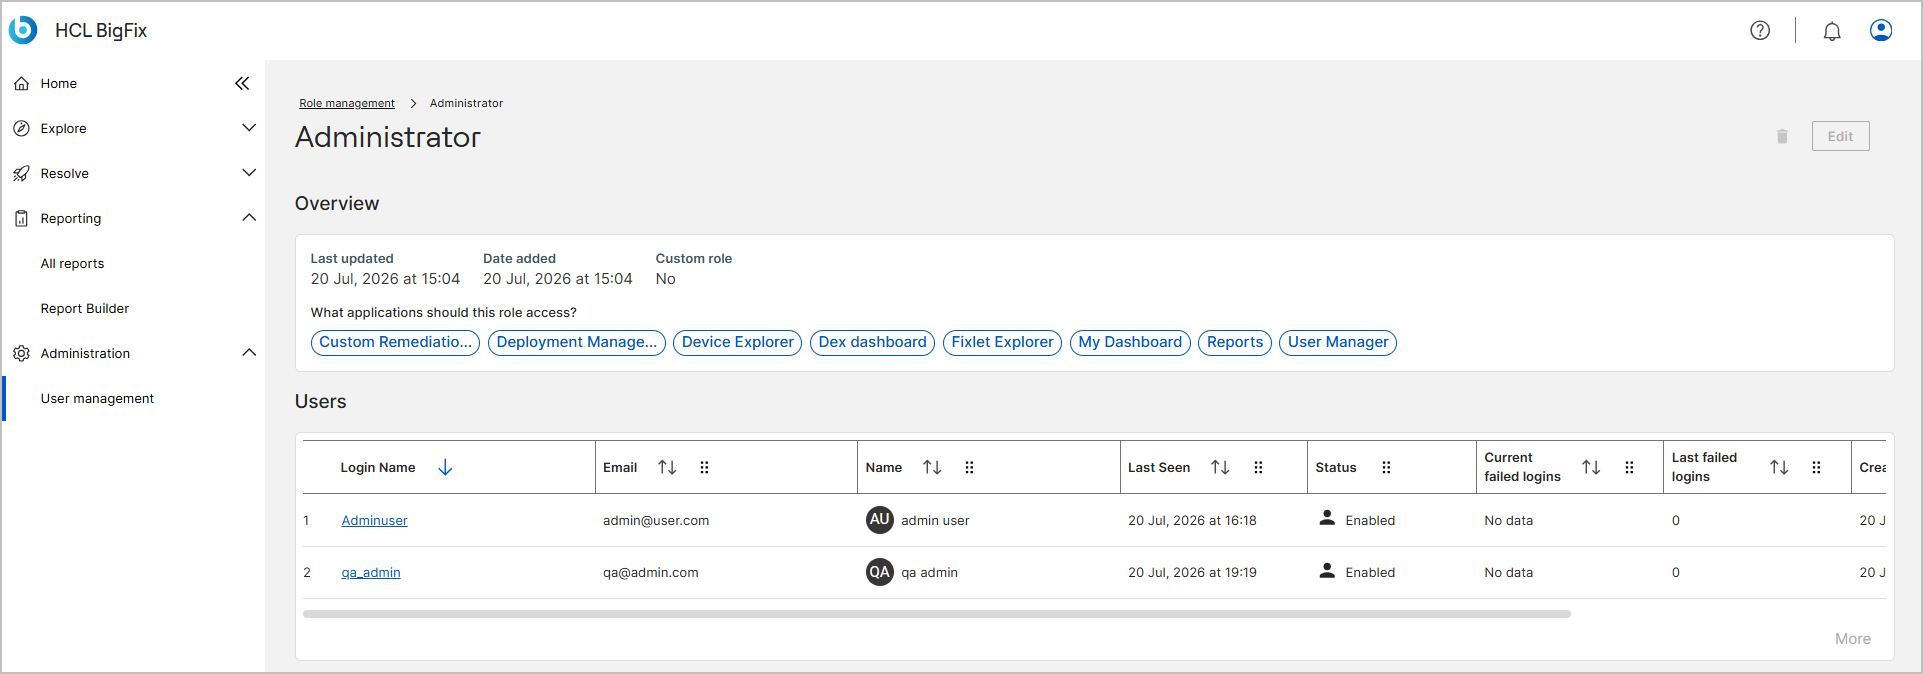
Click a role name from the Roles column.
The role details page appears, displaying the Overview section with accessed applications and the User(s) section listing all users currently assigned to the role.
Editing a Custom Role
-
You can only edit custom roles.
-
You cannot modify built-in roles, such as the Administrator role.
-
Navigate to Administration > User management and select the Roles tab.
-
Click the name of the custom role you want to edit.
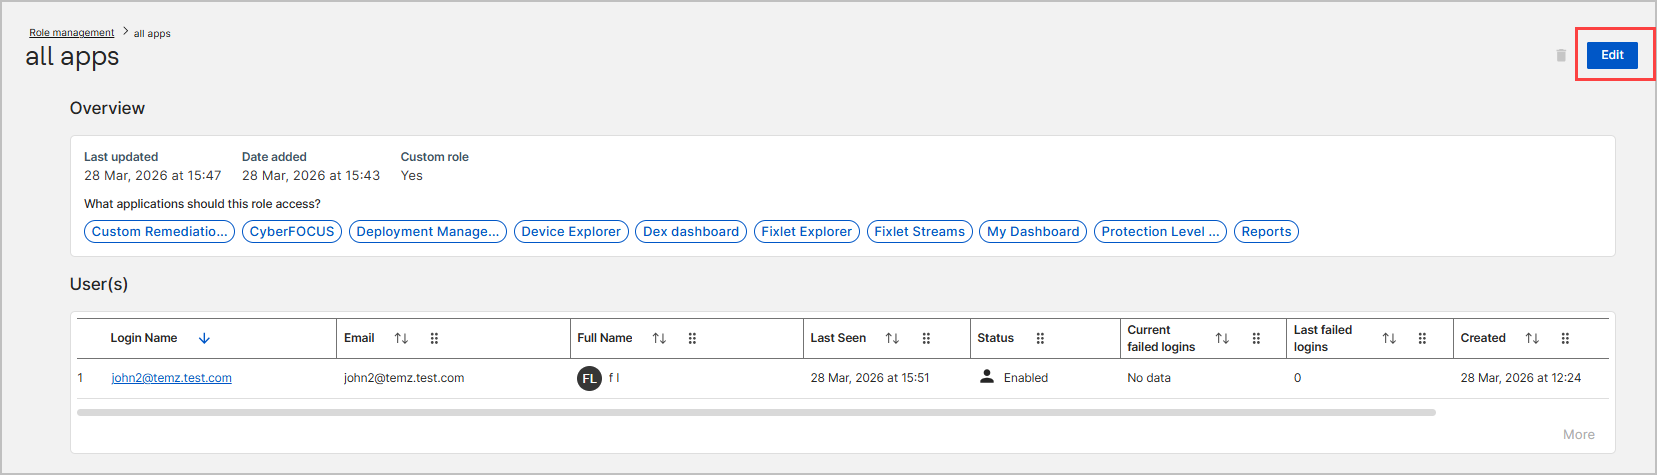
- Click Edit in the top right corner. The
Edit Configuration wizard appears.
-
On the Devices step of the Edit Configuration wizard, review the device administration note and click Next.
-
On the Applications step, turn on or off the toggles for the applications the role should access.
-
To configure granular permissions for the Reports application, turn on the Reports toggle and click the expand arrow.
-
Select the appropriate reporting access level: Admin, Read only, or User.
-
If you select User, select the Can use scripted reports check box to grant access to custom scripted reports.
-
-
Click Next.
-
On the Summary step, review your changes and click the update button to apply the new configuration.
The custom role permissions update immediately. Assigned users will experience the modified access levels upon their next action.
Deleting a Custom Role
-
You cannot delete built-in roles.
-
A custom role can only be deleted if zero users are currently assigned to it. Unassign all users from the role before attempting deletion.
You can delete a role using either of the following methods:
- Method 1: Delete from the Roles list
- Navigate to Administration > User management and select the Roles tab.
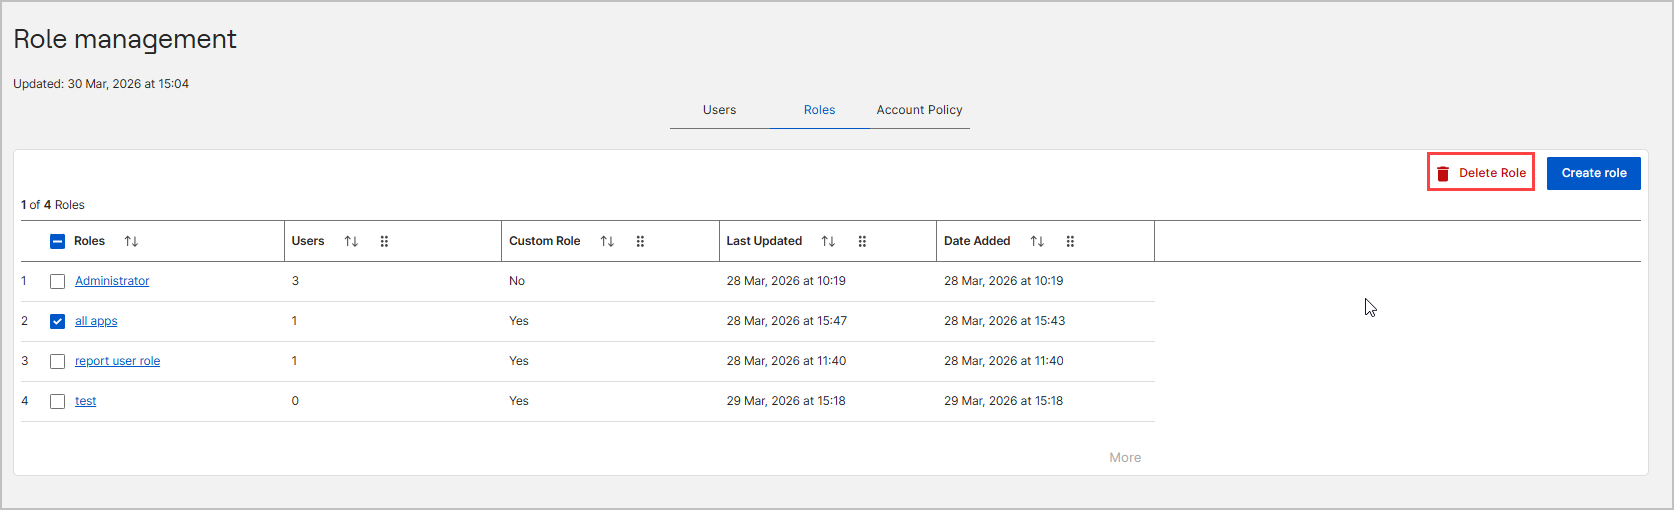
- Select the check box next to the role or roles you want to delete.
- Click Delete Role at the top right of the table.
- Method 2: Delete from the Role details page
-
Navigate to Administration > User management and select the Roles tab.
-
Click the name of the role you want to delete.
-
Click the Delete (trash can) icon in the top right corner.
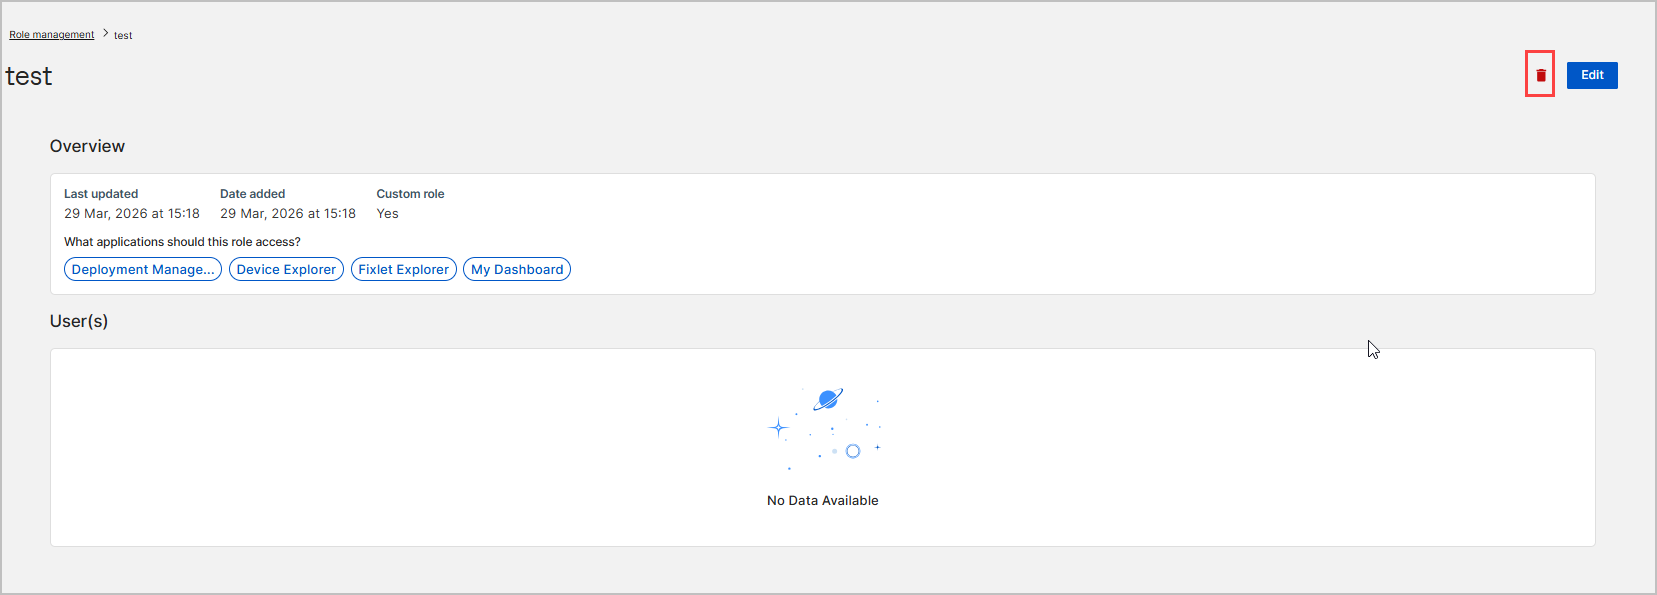 Note: A custom role can only be deleted if zero users are currently assigned to it. Unassign all users from the role before attempting deletion.
-
Reassigning a role to users
As an administrator, when creating a new user , you can assign a role to ensure they have the appropriate level of access from their first login. You can reassign the roles at any time to adapt to organizational changes, evolving operational needs, and updated security policies.
To reassign users roles:
- In the User Management section, go to the Users tab.
- Select one or more users from the grid.
- Click Reassign and select a new role from the
available options.
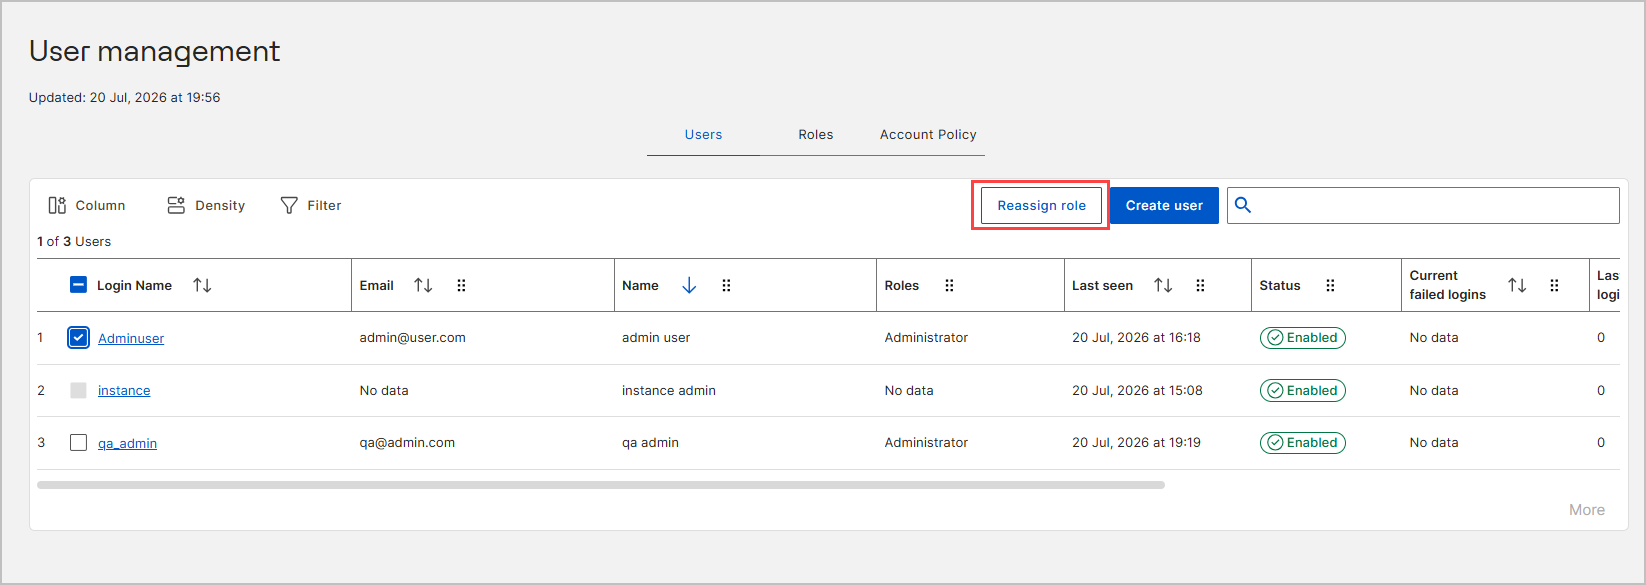
- In the Reassign role dialog, select the radio button next to the desired role.
- Click Update.
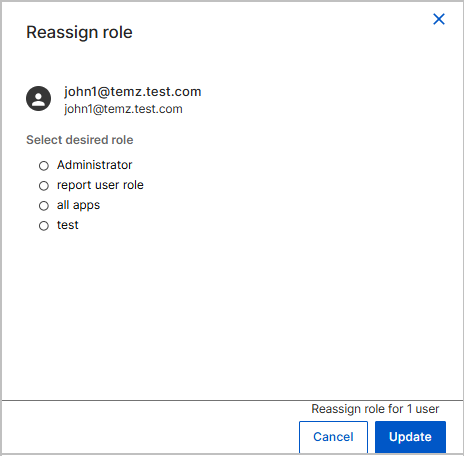
- The selected users are immediately reassigned to the new role. You can verify the change by checking the Roles column in the User management grid to see the newly associated role.