Add WhatsApp Campaign
Steps to create a WhatsApp campaign using HCL CDP Marketing Automation Platform.
Create a WhatsApp engagement from Segments
To create a whatsappp engagement from segements, follow the steps below:
- Navigate to .
- Select the Segment Name, and on the left panel, click WhatsApp.
- Click Add Engagement.
Create a WhatsApp engagement from Channels
To create a whatsapp engagement from channels, follow the steps below:
- Navigate to .
- On the left panel, click Whatsapp.
- Click Add Engagement, and select the Segment Name from the list.
- Click Confirm And Proceed To Next Step.
Configure WhatsApp Campaign Details
To configure the WhatsApp campaign details, follow the steps below:
Add General details of Engagement
- Engagement Name (mandatory): Enter a name for the Engagement. It should range from 6-25 characters.
- Label (mandatory): Choose a product label from the list. For more information about product labels, refer here.
Add a Goal
Goal Type: Select a goal type from the drop-down list. For more information about Conversion Goals, refer Campaign Channels.
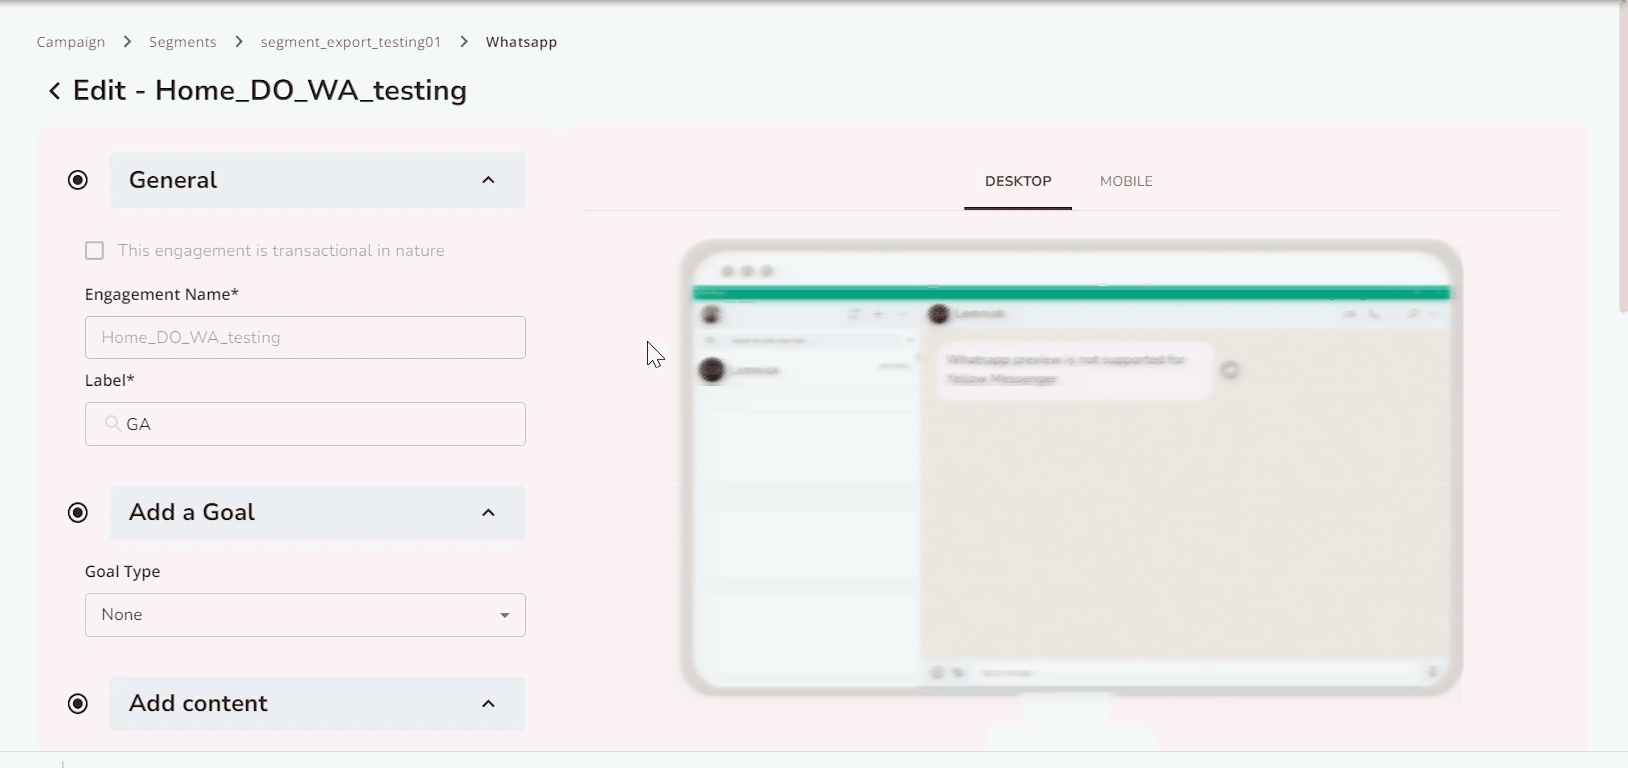
Add content
Adding content varies according to the template configured with each WhatsApp service provider.
In the Yellow Messenger, you can configure the template manually as the vendor does not provide any API to fetch the template details.
- Namespace: Add a Namespace.
- Template Name: Choose your template. The upcoming field will be displayed as per the requirement of the template configured in Gupshup
- Language: Choose the language in which the template has been configured
- Variable Mapping: Customize variable mappings to align with the
template configured in Yellow Messenger. These mappings retrieve data
from HCL CDPto personalize your communication.Important:
- Ensure the variable mappings added here match those in the Yellow Messenger template.
- Mismatched variables will prevent the campaign from proceeding.
- Use the Try it our feature to test if your variables match the template.
- Add a Button to your template: Configure the template with a button to redirect the users to the target page by selecting the check box and adding the target URL.
- Include media: Upload the media either as a URL or as a file using the radio buttons. The supported media file formats are images, docs, and video.
- Add File Name: Add the file name, and click Submit.
- Choose Template: Select a template configured for your WhatsApp communication. The variable mapping fields will update automatically to reflect the macros based on your template configuration.
- Template Text: The message text is displayed here as per your selected template. This field is read-only.
- Template Message Variable Mapping: Map variables to the message according to your template. These variables will fetch dynamic data from HCL CDP based on the inputs provided.
- Template Button Variable Mapping: Map variables to the buttons in your template using the template button variable mapping fields.
- Template Preview: Preview your WhatsApp template to see how it will appear on different devices. The preview updates in real time and can be viewed in Mobile or Desktop mode.
- Include Media: Select either URL or File using the
radio buttons to add media. Then, click the Upload button to
upload a file or add a URL.
- Supported media file formats: Images, documents, and videos.
- Maximum file size: 5 MB.
- Enter the Document Name: For document-type media, enter the file name and click Submit.
- Choose Template: Select a template configured for your WhatsApp communication. The variable mapping fields will update according to the template configuration to fetch macros.
- Template Text: Displays the message as configured in your template. This field is read-only.
- Template Message variable mapping: Map variables to the message as per the template. These variables pull data from HCL CDP based on the provided inputs.
- Template Preview: Preview how your WhatsApp templates will appear on different devices. The preview updates in real-time and is available in Mobile and Desktop modes.
- Include media( If required in the template): Add media to the
template by selecting either URL or File using the radio
buttons. Click the Upload button to upload a file or add a URL.
- Supported media file formats: Images, documents, and videos.
- Template Id: Enter the Template ID provided by BIK.ai. You cannot manually create engagement content; it must be created as part of the template on the BIK.ai dashboard. Use the same Template ID as created on the dashboard, along with all the supported parameters, such as URL and media.
- Template Name: Assign a name to the template. It is recommended to use the same name as on the BIK.ai dashboard for better understanding and mapping.
- Language: Select the language for your communication.
- Variable Mapping: Map variables according to the template to configure the engagement communication. You can also use macros for dynamic content.
- Include CTA: Add a CTA button if supported by the template. There
are three CTA types:
- URL: Enter the URL directly in the UI. You can include macros in the URL.
- Contact: The contact information is predefined in the template on the BIK.ai dashboard.
- Quick Reply: Add the chat flow ID provided by BIK.ai, which defines a messaging flow for two-way communication.
- Include media (If the template facilitates):
Add media as either a URL or a file. Use the radio buttons to select the method, and click Upload to complete the action.
- Supported media file formats: Images, documents, and videos.
Schedule Settings
Schedule: Schedule an engagement to send at a later time or trigger it immediately once the engagement goal is achieved. For more information about Engagement Scheduling, refer Campaign Channels
Save
Click Save to save the Engagement configuration. You can verify the configuration using the Try it out option.