Add Email Campaign
This page explains how to create an email campaign using HCL CDP Marketing Automation Platform.
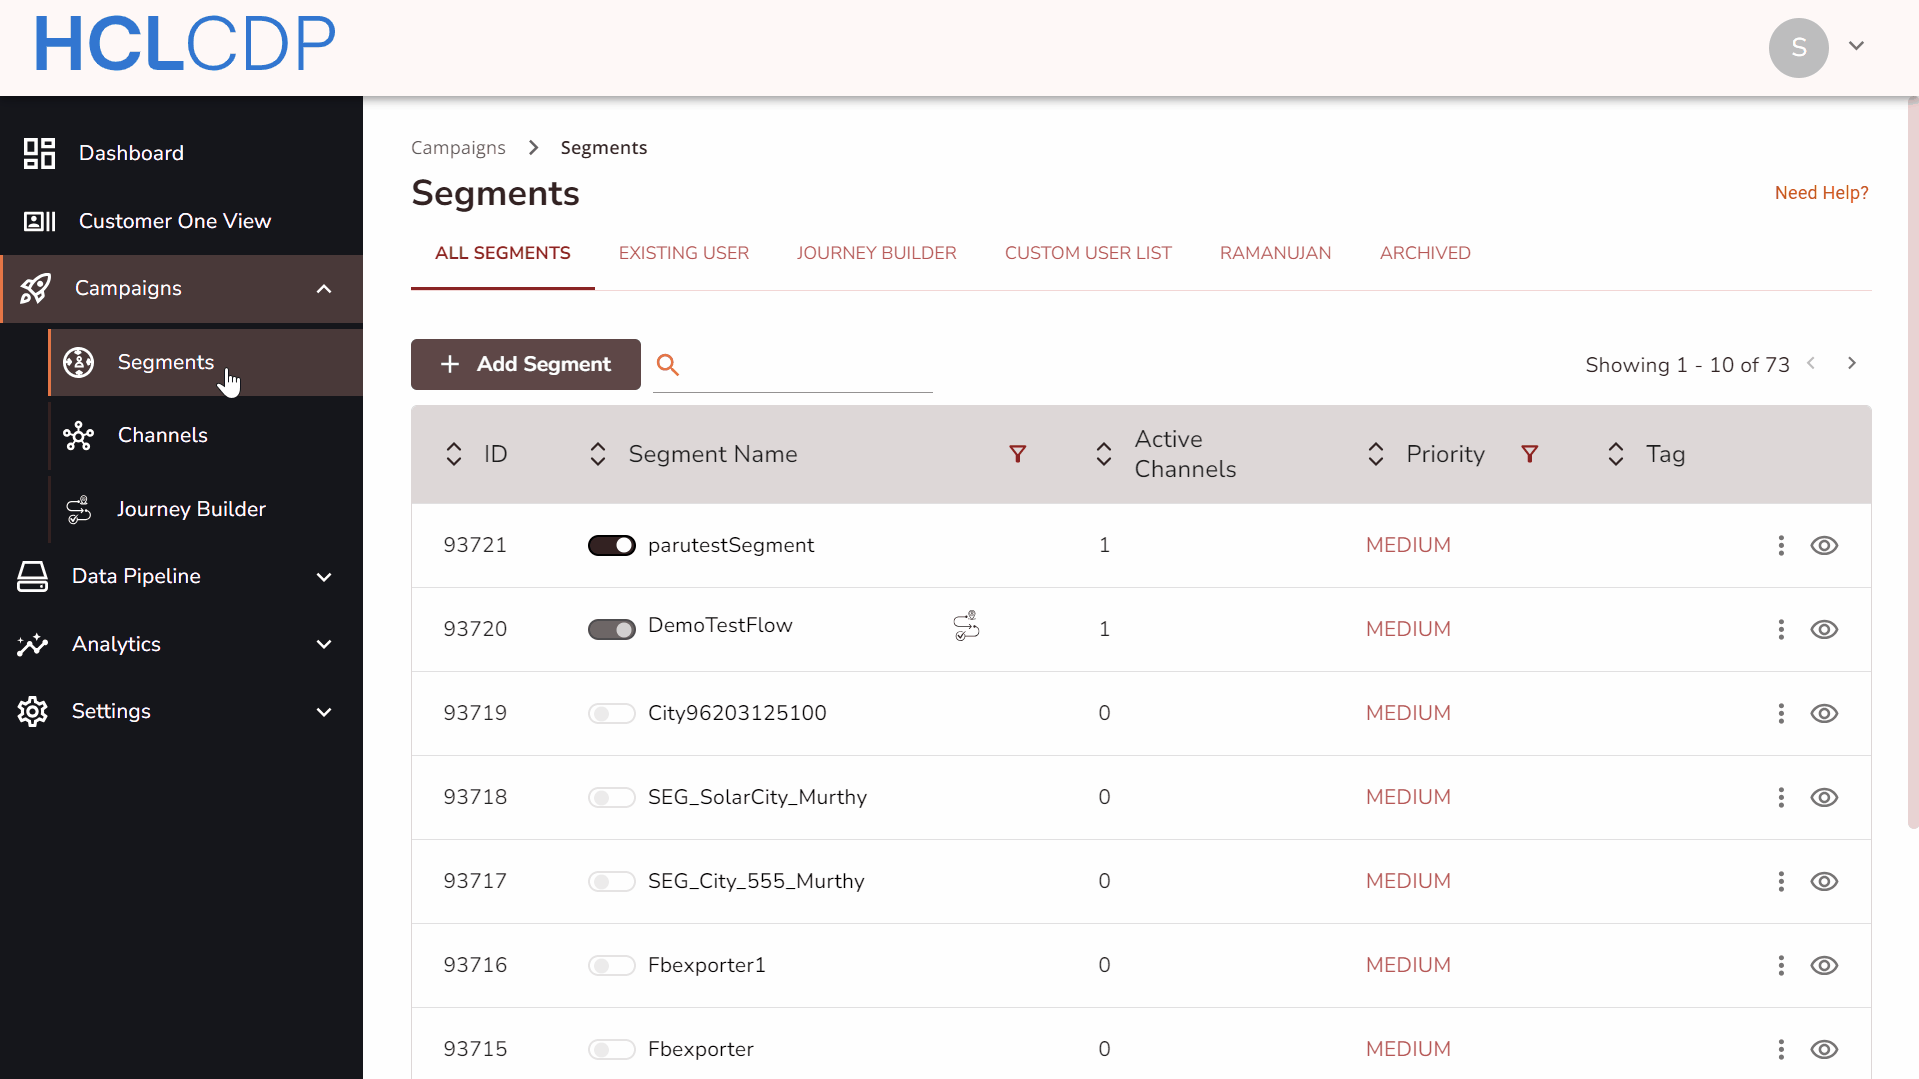
Create an Email Campaign
Create an Email Engagement from Segments
- Navigate to .
- Select a Segment, and click Email.
- Then, click Add Engagement.
Create an Email Engagement from Channels
To create an email engagement from channels, follow the steps below:
- Navigate to .
- On the left pane, click Email channel, and then click Add Engagement.
- Choose a segment from the list, and click Confirm And Proceed To the Next Step.

Configure Engagement Details
In the Create Email Engagements screen, update the following details:
Add General details of Engagement
- Engagement Name (mandatory): Enter a name for the Engagement. It should range from 6-25 characters.
- Label (mandatory): Choose a product label from the list. For more information about product labels, refer here.
- Choose Email Client (mandatory): Select an ESP from the drop-down list.
Add a Goal
Goal Type: Select a goal type from the drop-down list. For more information about Conversion Goals, refer Campaign Channels.
Enter Email Settings
- From (mandatory): Enter the email address from which the
communication will be established. Note: Make sure that the email address should be verified at the ESP end.
- ReplyTo: Choose the email address to reply to the user.
Configure Template
- Subject (Mandatory):Enter a subject line that clearly explains the email's purpose. Emojis can be added to make it more engaging.
- Preview Text: Provide a brief preview of the email content. Emojis are supported here as well.
- Body (Mandatory): Create a basic template with options to customize the content. You can add links, images, emojis, and special characters, as well as modify the font style and text alignment. The template supports image uploads in JPEG, JPG, PNG, GIF, and WEBP formats.
You can't create highly customized templates directly in this editor, but you can use tools like Mailchimp or Mailjet to design HTML templates. Copy the HTML code into the code view section and customize it further by adding macros for personalization. For more information about macros, refer here.
Template Preview
You can preview your email templates by hovering over Show Preview to see how the email will appear on different devices. The preview updates in real-time, and you can switch between Desktop, Mobile, and Tablet views.
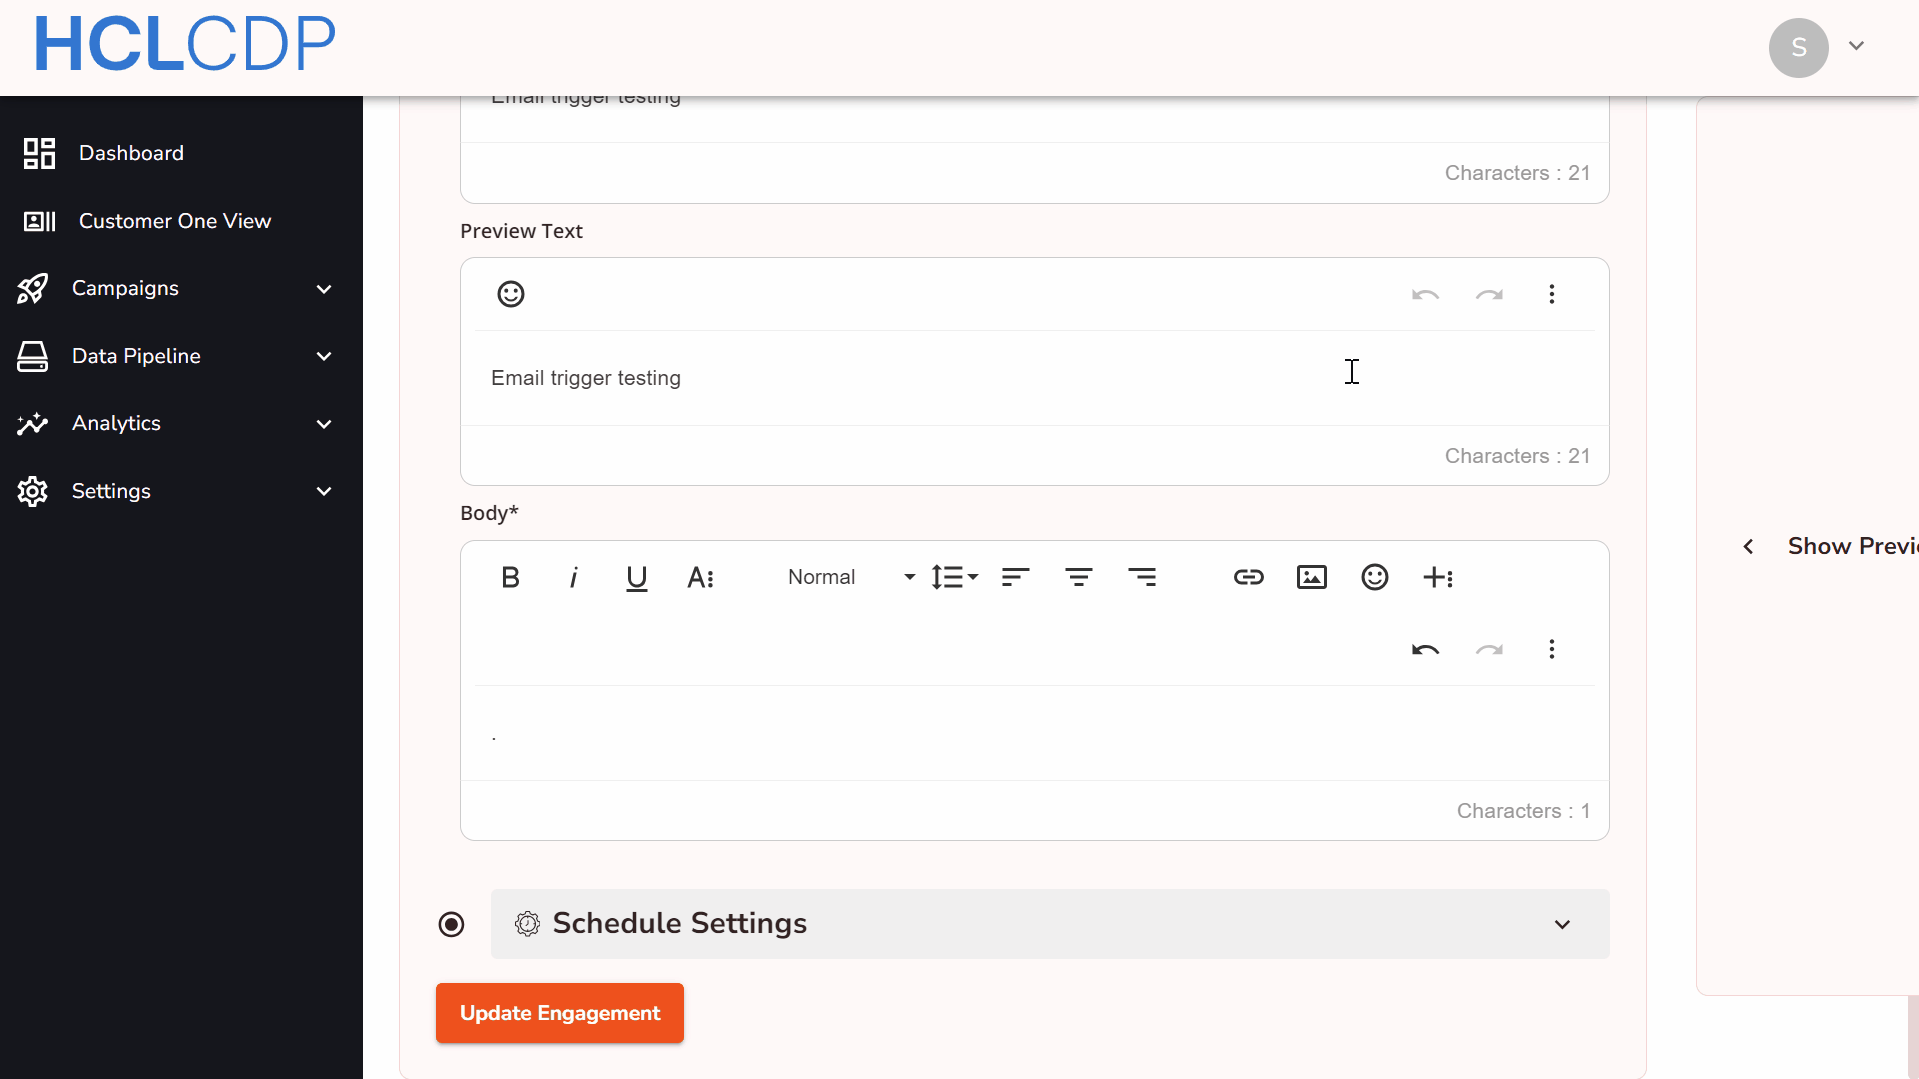
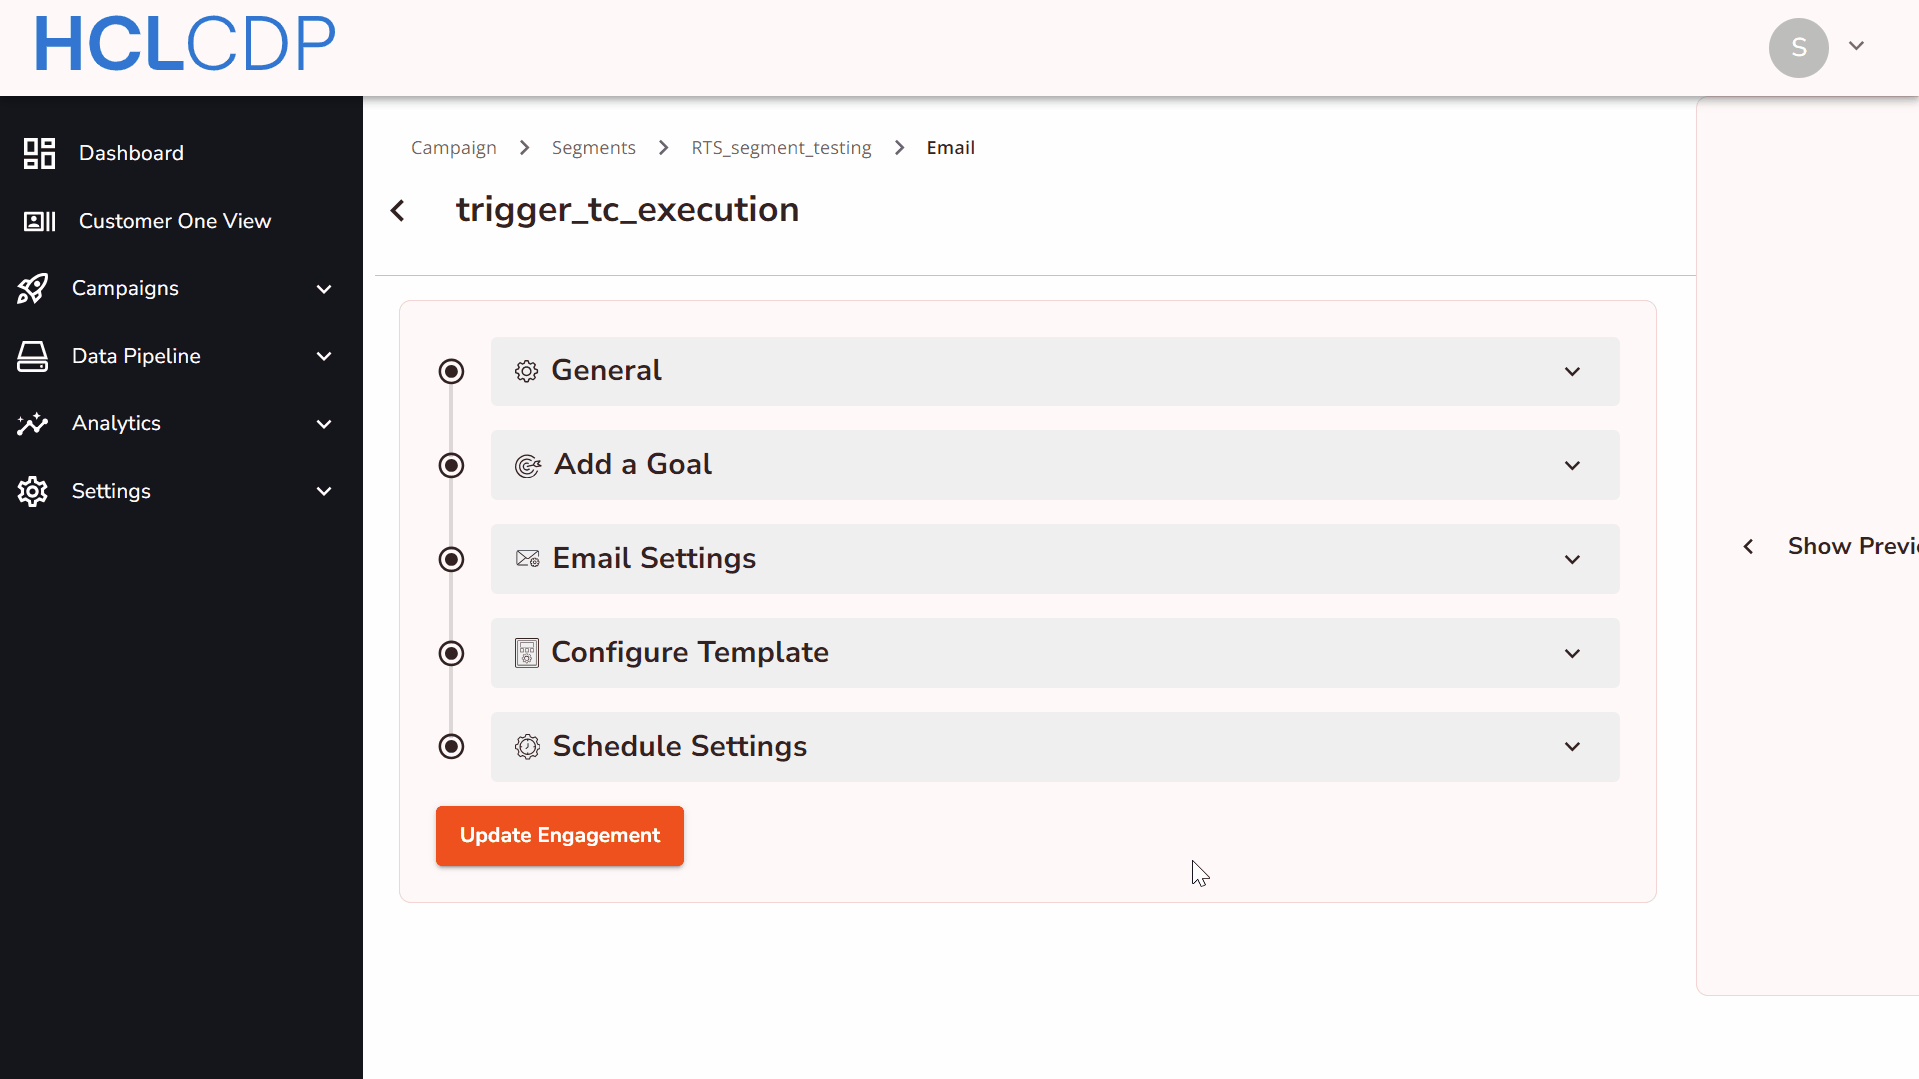
Schedule Settings
Schedule: Schedule an engagement to send at a later time or trigger it immediately once the engagement goal is achieved. For more information about Engagement Scheduling, refer Campaign Channels
Update Engagement
Click Update Engagement to update the Engagement.
Send Test Email
You can send a test email to the testing contacts defined in HCL CDP. While the preview shows how the email looks during engagement creation or updates, the email may appear differently in clients like Gmail or Outlook. To verify, send a test email and adjust as needed. You can add a test email contact in Settings.
To send a test Email, follow the steps below:
- From the list of Engagements, click the three dots in the Schedule section.
- Click Send Test Email, and select the test Email address.
- Click the Send Test Email button to send the test email. On successful execution, the test email will be received in the configured email address.