Creating New Datasource
This module explains how to add a new data source to the Integrated Vulnerability Remediation (IVR) SaaS application.
Prerequisites
IVR does not scan devices directly. It ingests vulnerability data either from an integrated external scanner (such as Tenable) or through manual CSV uploads using the Universal Vulnerability Ingestion (UVI) feature. The following prerequisites apply specifically to configuring a Tenable data source. If you are importing vulnerability data manually, see Manually Importing Vulnerabilities.
-
BigFix Management:
-
Ensure the BigFix Agent is installed on the target devices. For instructions on enrolling devices in the SaaS environment, see Adding devices to BigFix.
-
Verify that these devices are reporting correctly to your BigFix deployment.
-
-
Tenable Vulnerability Management: Ensure the following actions are completed within your Tenable Vulnerability Management instance:
-
Install Scanners: Ensure Tenable Nessus Scanners or Agents are installed on the target devices.
-
Create & Launch Scan: Create a scan profile (e.g., Basic Network Scan) that targets the IP addresses of your BigFix-managed devices. Refer to Create a Scan in the Tenable documentation.
- Verify Completion: Launch the scan and wait for the status to reach Completed. IVR can only import finalized scan results.
-
-
API User Permissions:
-
The Tenable user account associated with the API keys must have Viewer or Auditor permissions at a minimum.
-
Ensure that your user account has the necessary permissions (e.g., Basic User with "Can View" access to assets, or Administrator) to retrieve vulnerability data. Refer to Generate API Keys in the Tenable documentation.
-
Procedure
- Navigate to Create New Datasource page.
- On the left navigation pane, go to Resolve > Integrated Vulnerability Remediation to access the IVR application dashboard.
- Perform one of the following actions based on your current setup:
- New Users: You are automatically directed to the Configure Datasources page.
- Existing Users: To add an additional source, click Configure. The Configure Datasources page opens.
- On the Configure Datasources page, click Create
Datasource.
The Create New Datasource widget opens on the right side.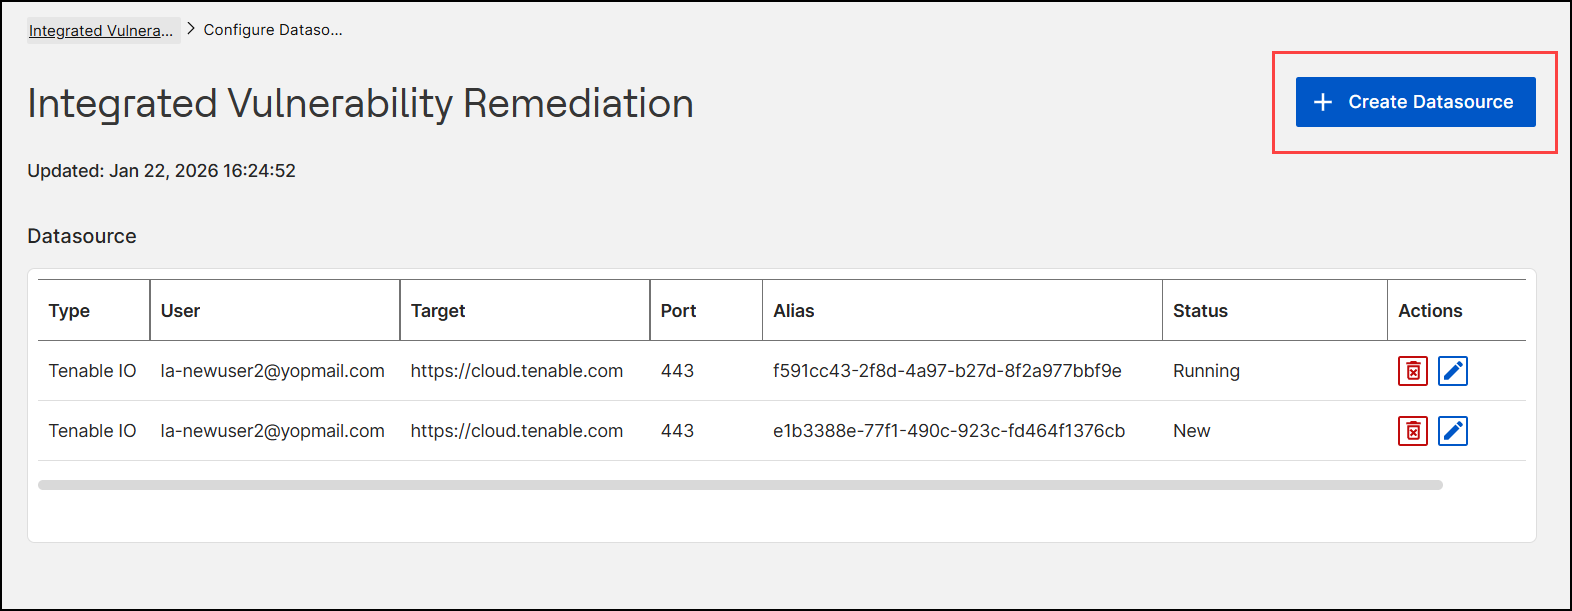
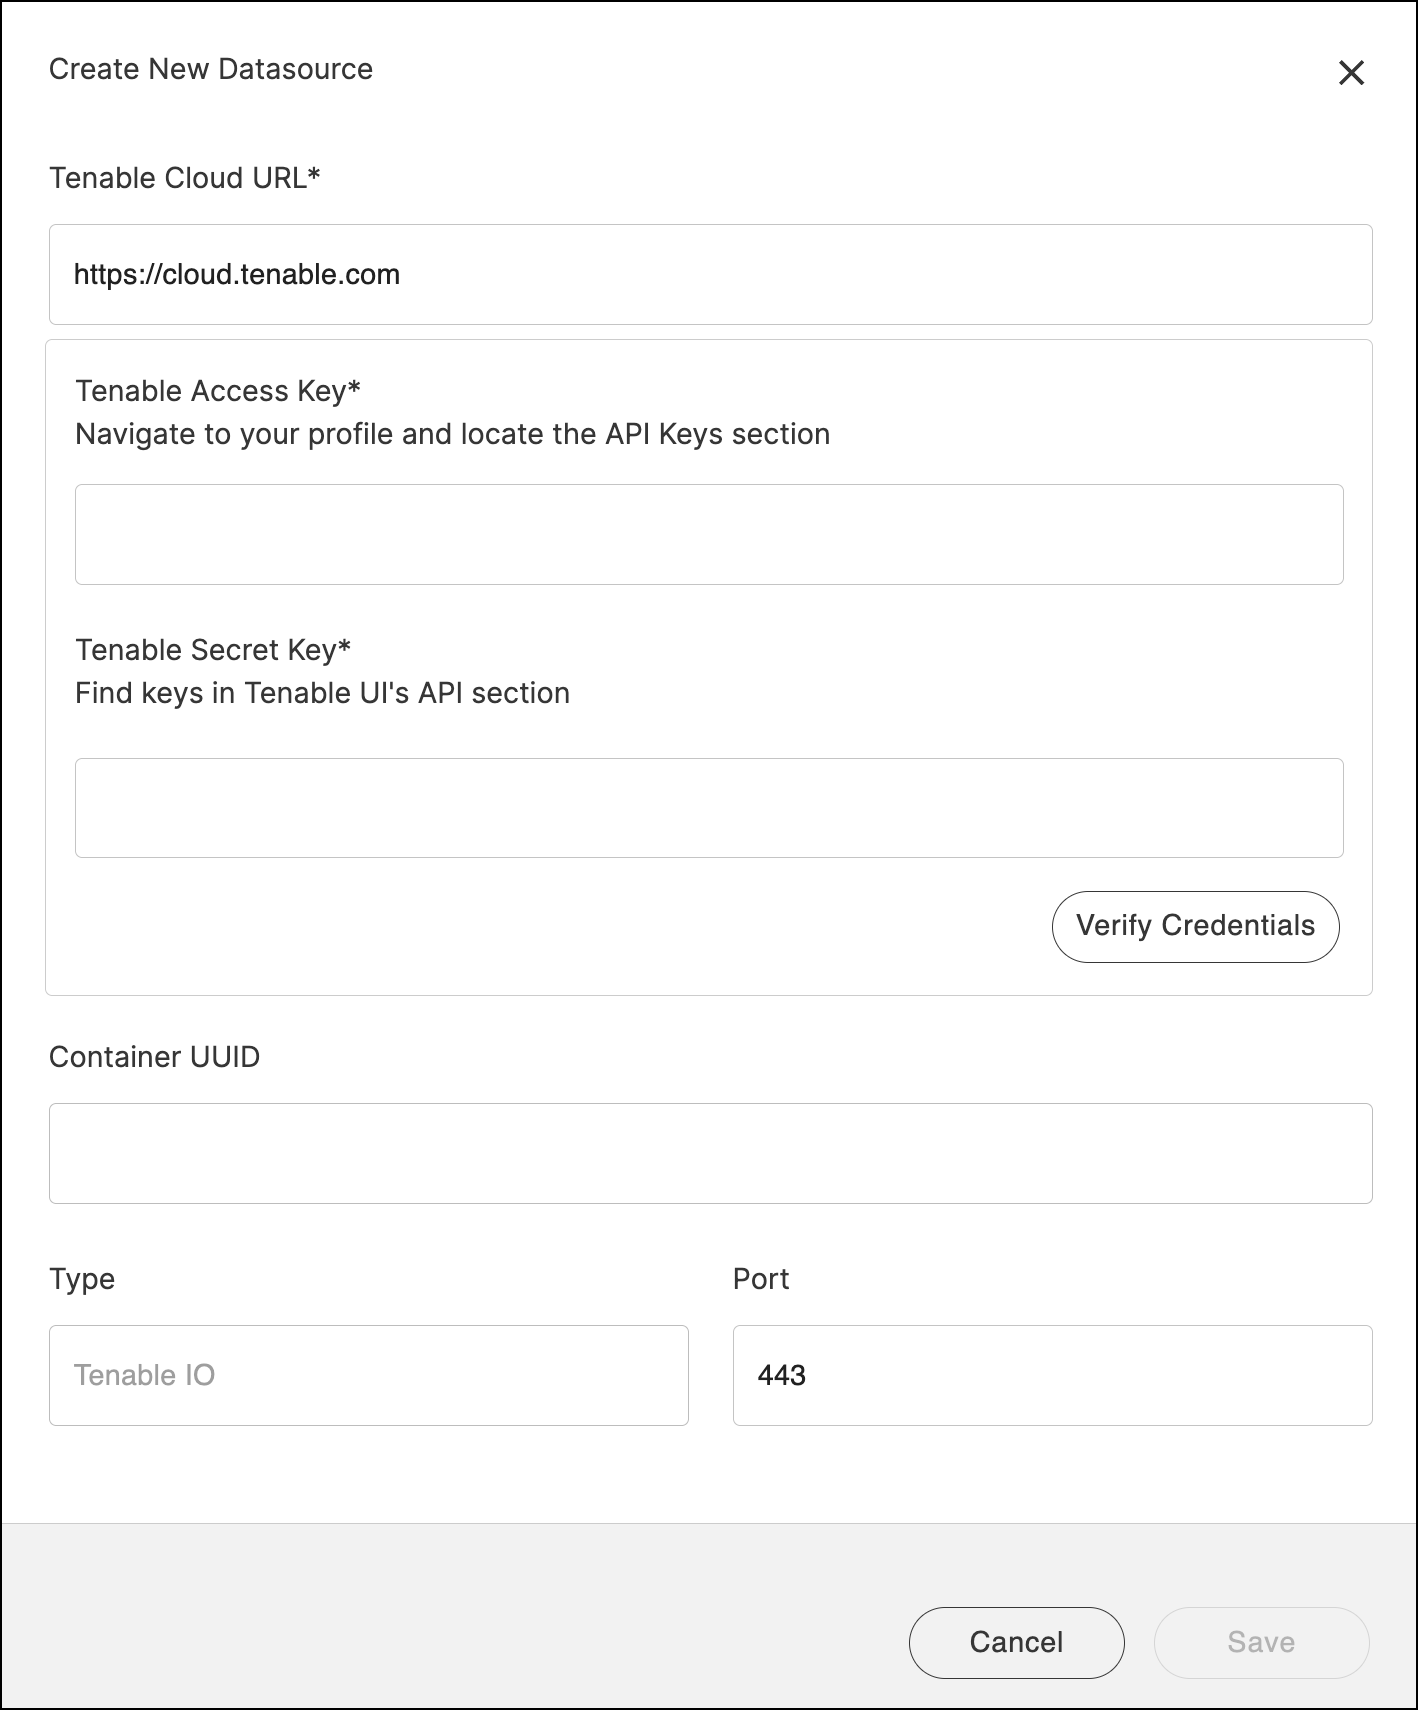
- Fill in required information.
- Enter the following details:
Field Description Tenable URL The API endpoint for the Tenable instance (e.g., https://cloud.tenable.com).Access Key Unique key generated from the user's Tenable account. Secret Key Secret pair for the access key, also retrieved from Tenable. Port 443 by default. Note:Ensure the access and secret keys are copied accurately and securely stored. These are required for authentication and data retrieval. - Click Verify credentials. If verification succeeds, a
UUID is generated for the data source. Click
Save.
On success:
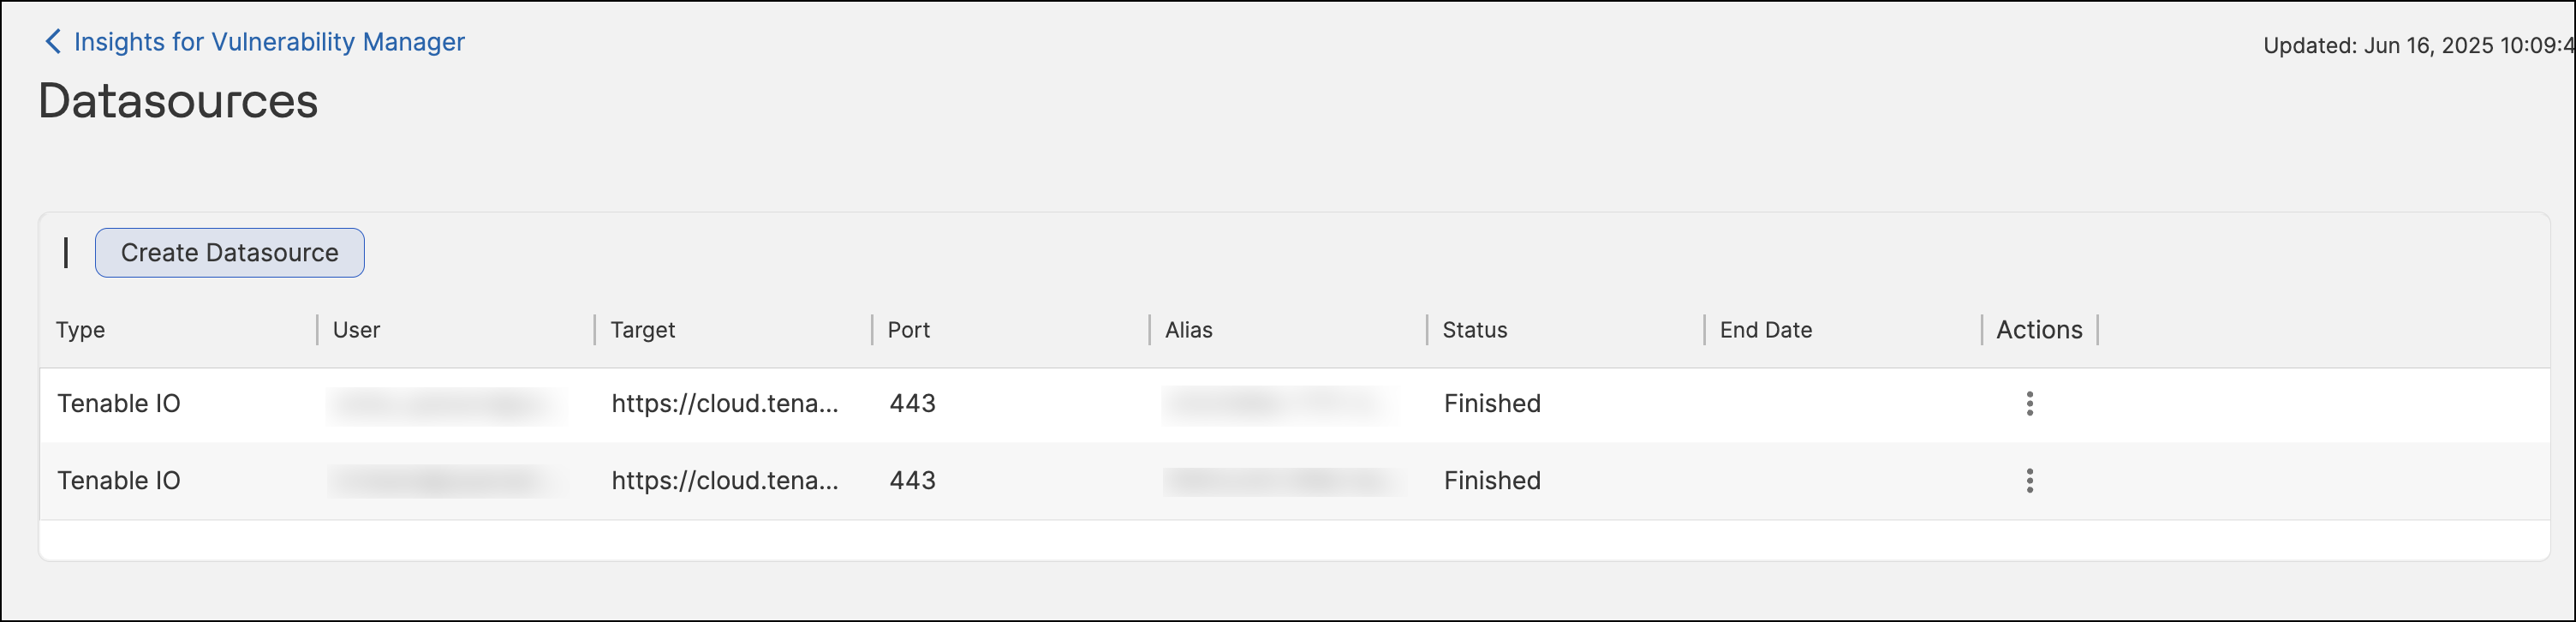
- The data source appears in a datasource table.
- The initial status of the datasource is New. The
system checks for new datasources every 10 minutes. As soon
as the scheduler picks up the new datasource, the status
changes to Running and the system starts fetching
vulnerabilities from the external scanner. When the import
process completes, the status updates to Finished.Note:Once the automation starts, it cannot be stopped. You cannot edit or delete a data source while it is in the Running status. Additionally, you cannot edit the data source if the resulting UUID is different (i.e., you cannot change the data source to a different tenant).
- Enter the following details:
- Click the Pencil icon
 under
the Actions field to open the Update Datasource
widget.
under
the Actions field to open the Update Datasource
widget.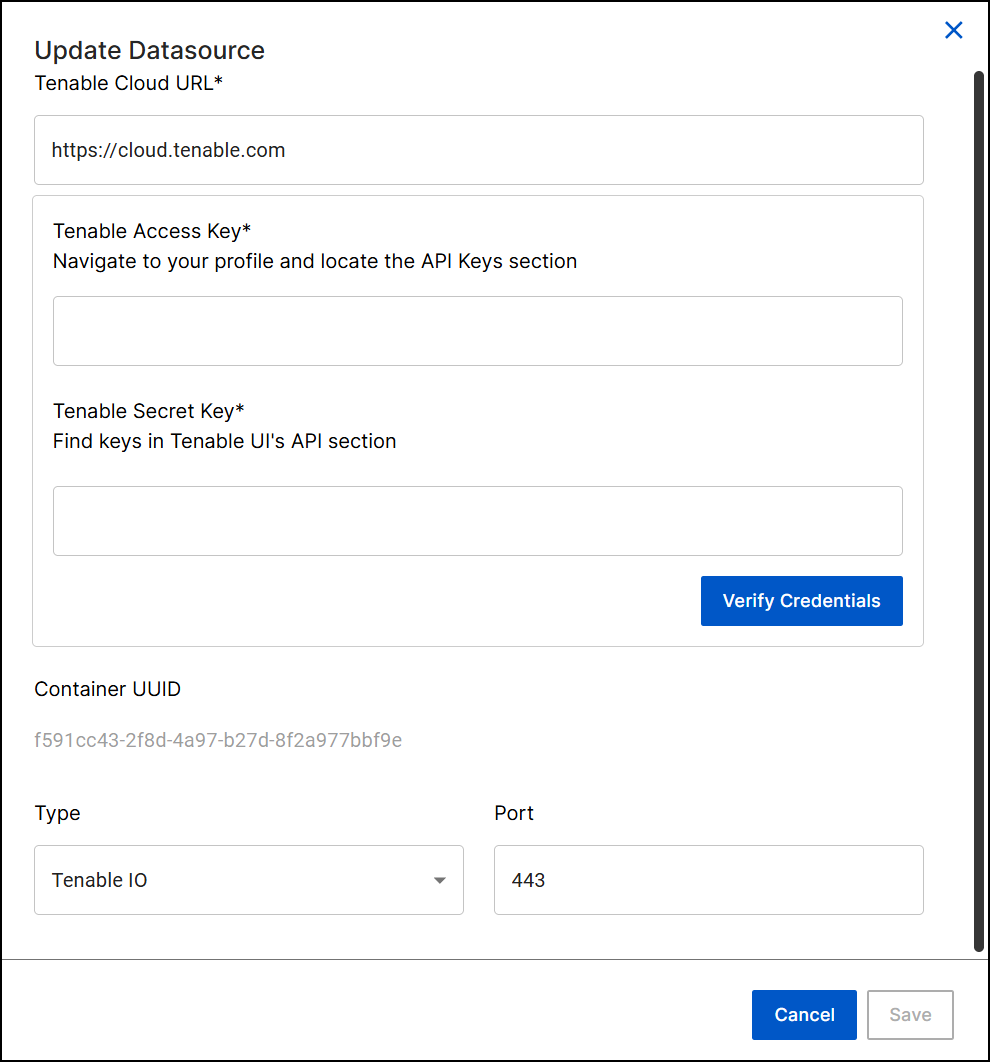 Note:It is mandatory to re-enter both Access Key and Secret Key, even if unchanged.
 - Make the necessary changes and click Save.
-
Click the Delete icon
 to remove the data source entry.Note:You cannot delete a datasource that is in the Running status.