Installation of Patch Work Bench from the ServiceNow Store
This topic provides step-by-step instructions for installing the Patch Workbench application from the ServiceNow Store, including configuration of roles, Mid-Server, BigFix endpoints, scheduled jobs, and patching policies.
About this task
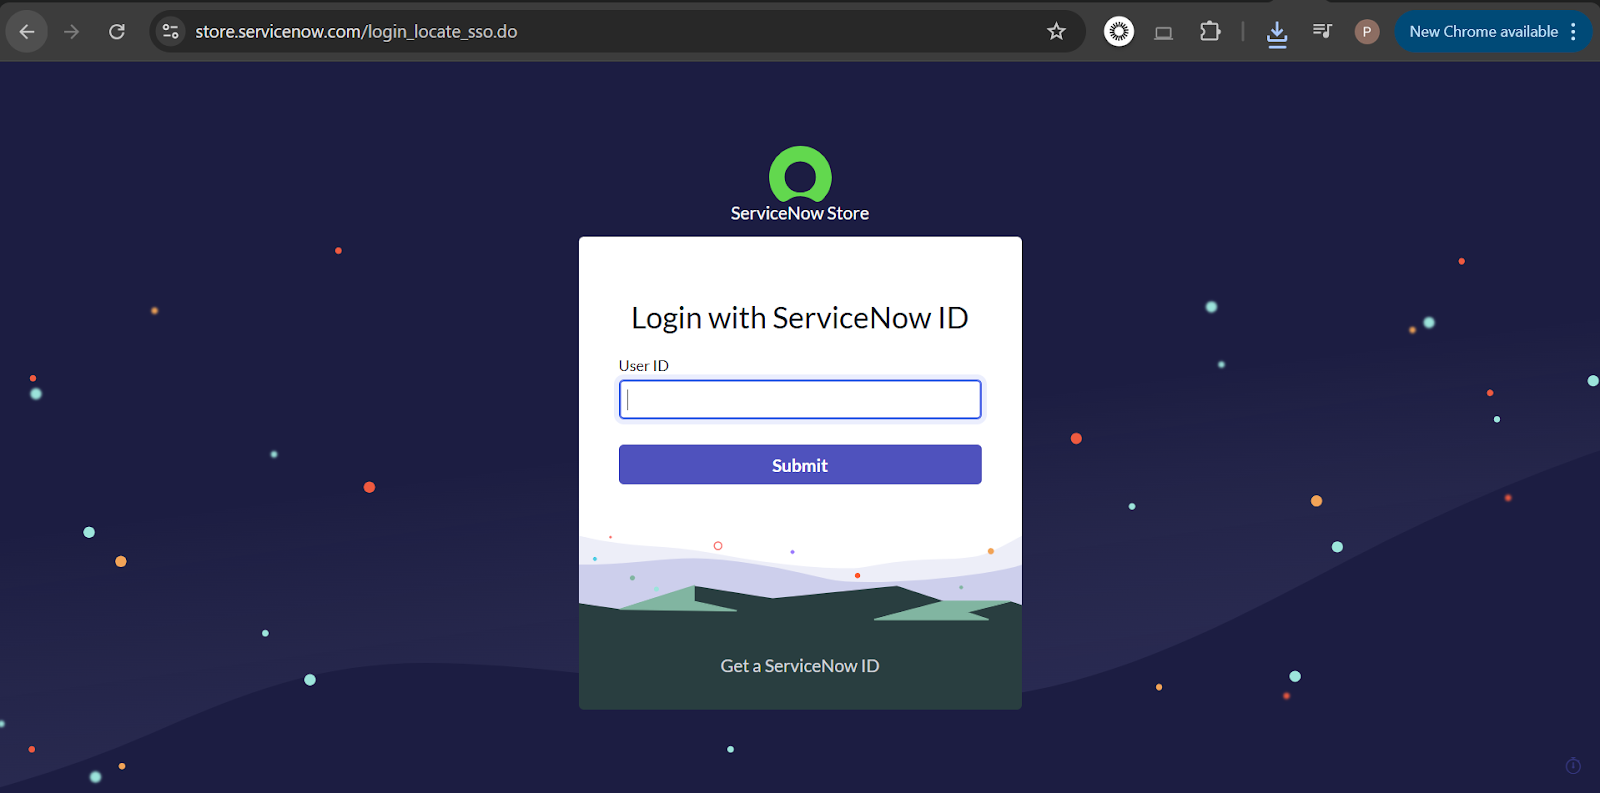
- Log in to the ServiceNow Store.
Find the Application in the Search bar
Locate the Patch Workbench application.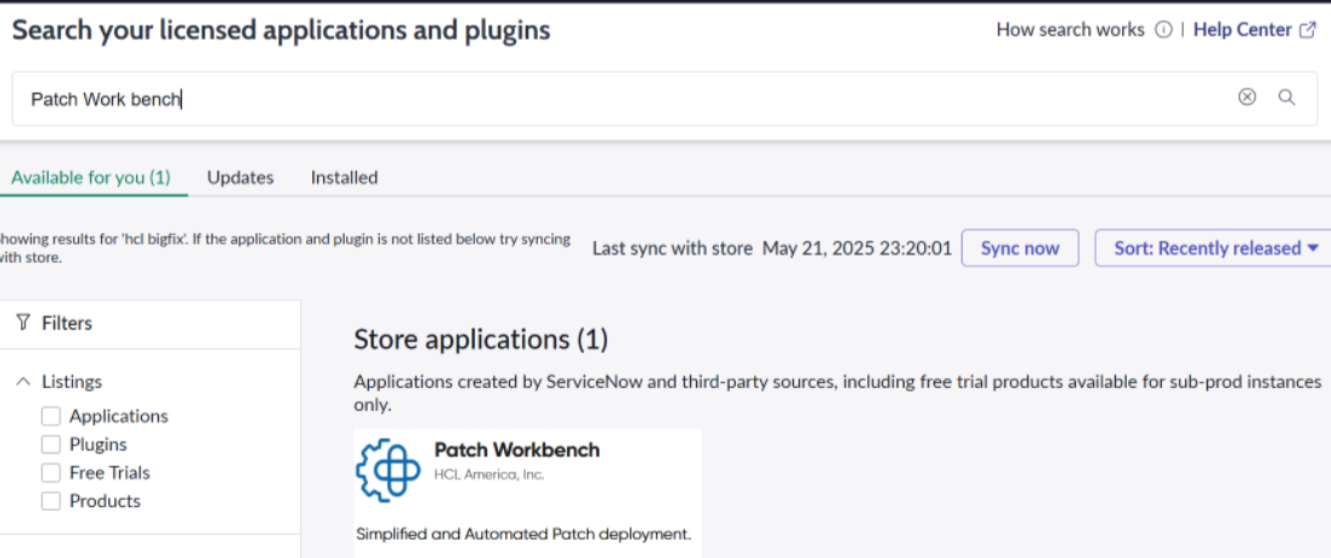
-
Get or Update the Application
- Click Get or Update and select your target instance.
-
The app will be sent to your instance under .
-
Navigate to the Application
-
Go to .
-
Search for the application name HCL BigFix Patch Workbench.
-
-
Install or Update the Application
-
Click Install (or Update if applicable).
-
Verify Installation
Go to to verify the installation.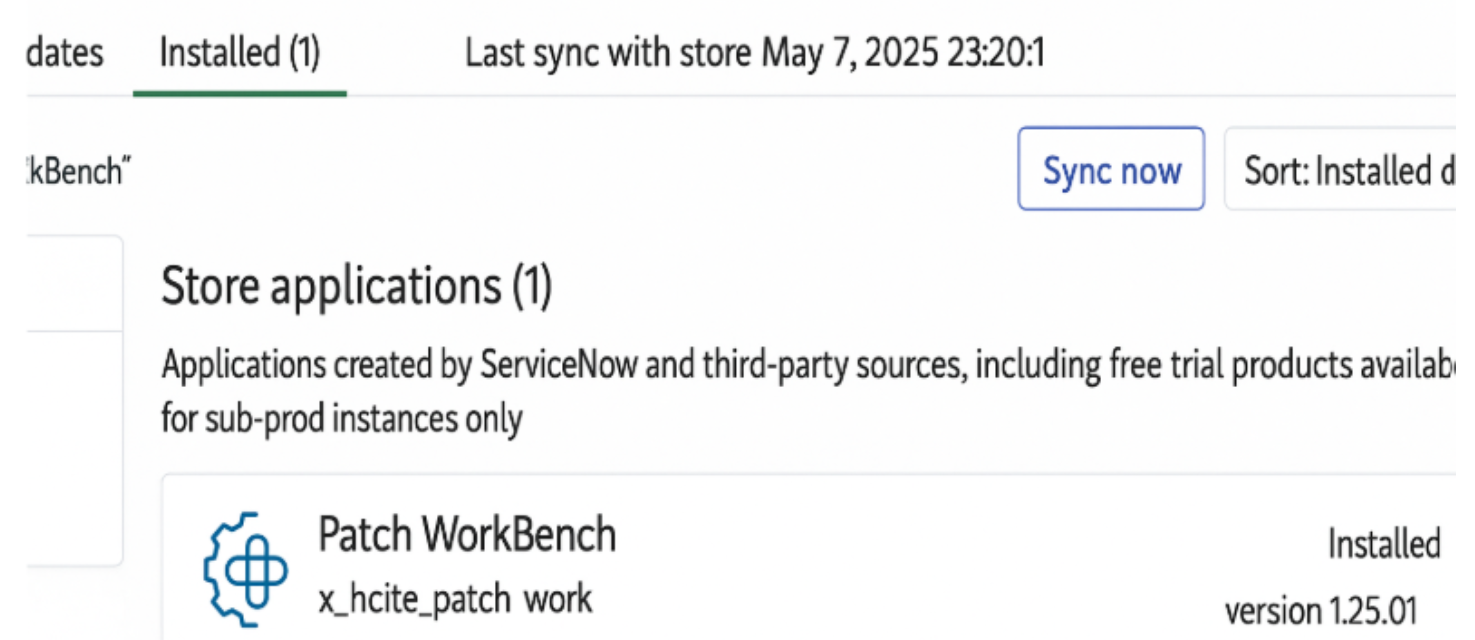
-
Follow Setup Instructions
-
Follow any setup or configuration instructions provided by the app (check the release notes).
-
-
Assign User Roles
-
Assign the role
x_hclte_patch_work.userto users who will use this app.
-
-
Install Mid-Server
-
Install the Mid-Server for a secure connection between ServiceNow and BigFix.
-
-
Configure BigFix Endpoints and Credentials
-
Enable and configure BigFix endpoints and credentials in the REST message under the Patch Workbench application.
-
-
Check Synchronization
-
Verify the patches and computer data synchronization between ServiceNow and BigFix.
-
-
Re-verify Roles and Permissions
-
Ensure all roles and permissions are correctly set.
-
-
Enable/Monitor Scheduled Jobs
-
Enable and monitor any scheduled jobs, if applicable.
-