Installation of MID Server
This topic provides step-by-step instructions for installing and configuring a MID Server.
About this task
Procedure
-
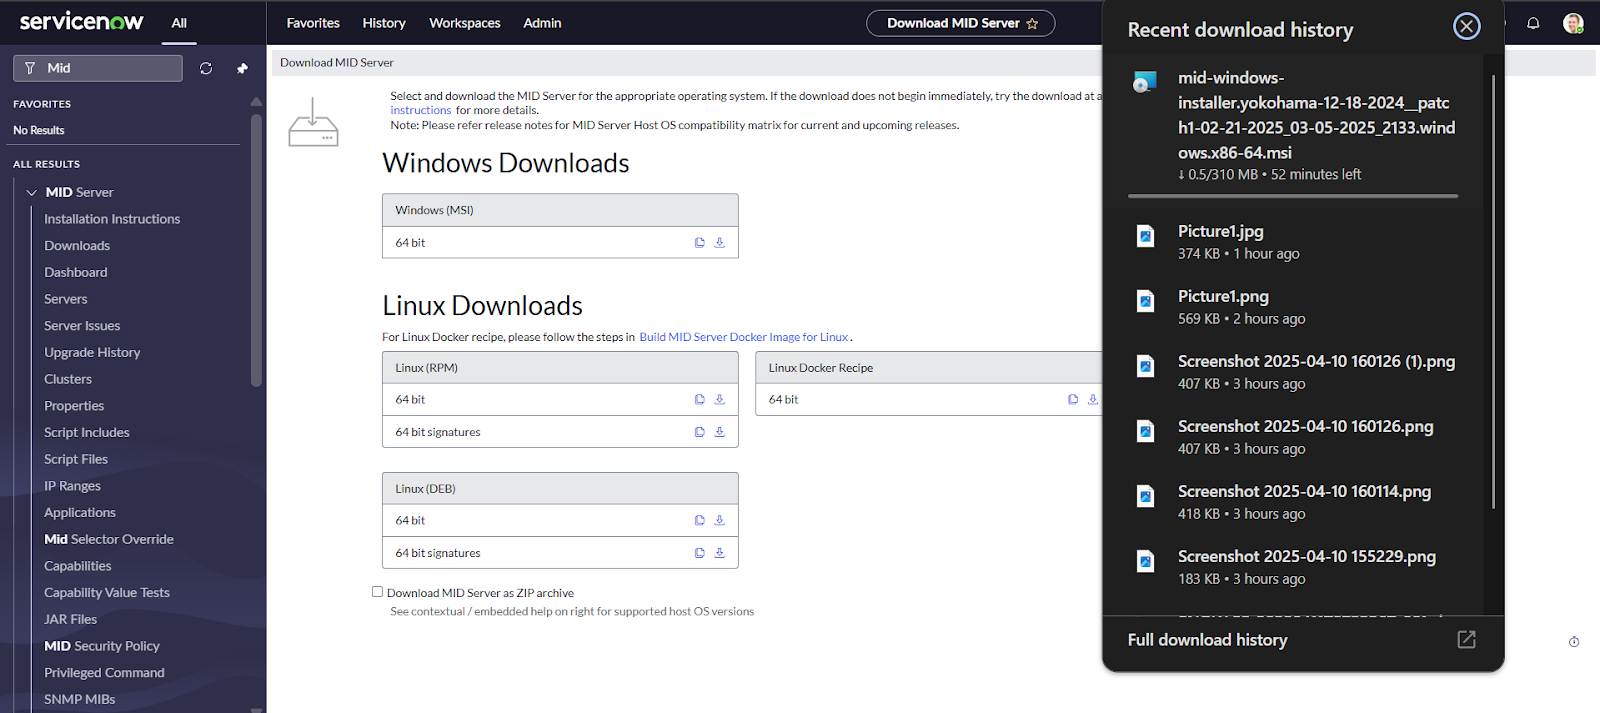
Go to the All tab, search for MID, and then click
Download as shown in the image below.

-
Download the MSI package of the MID Server based on your requirements. In this
case, download the Windows MSI package to set up your Windows Server as a
MID Server.
-
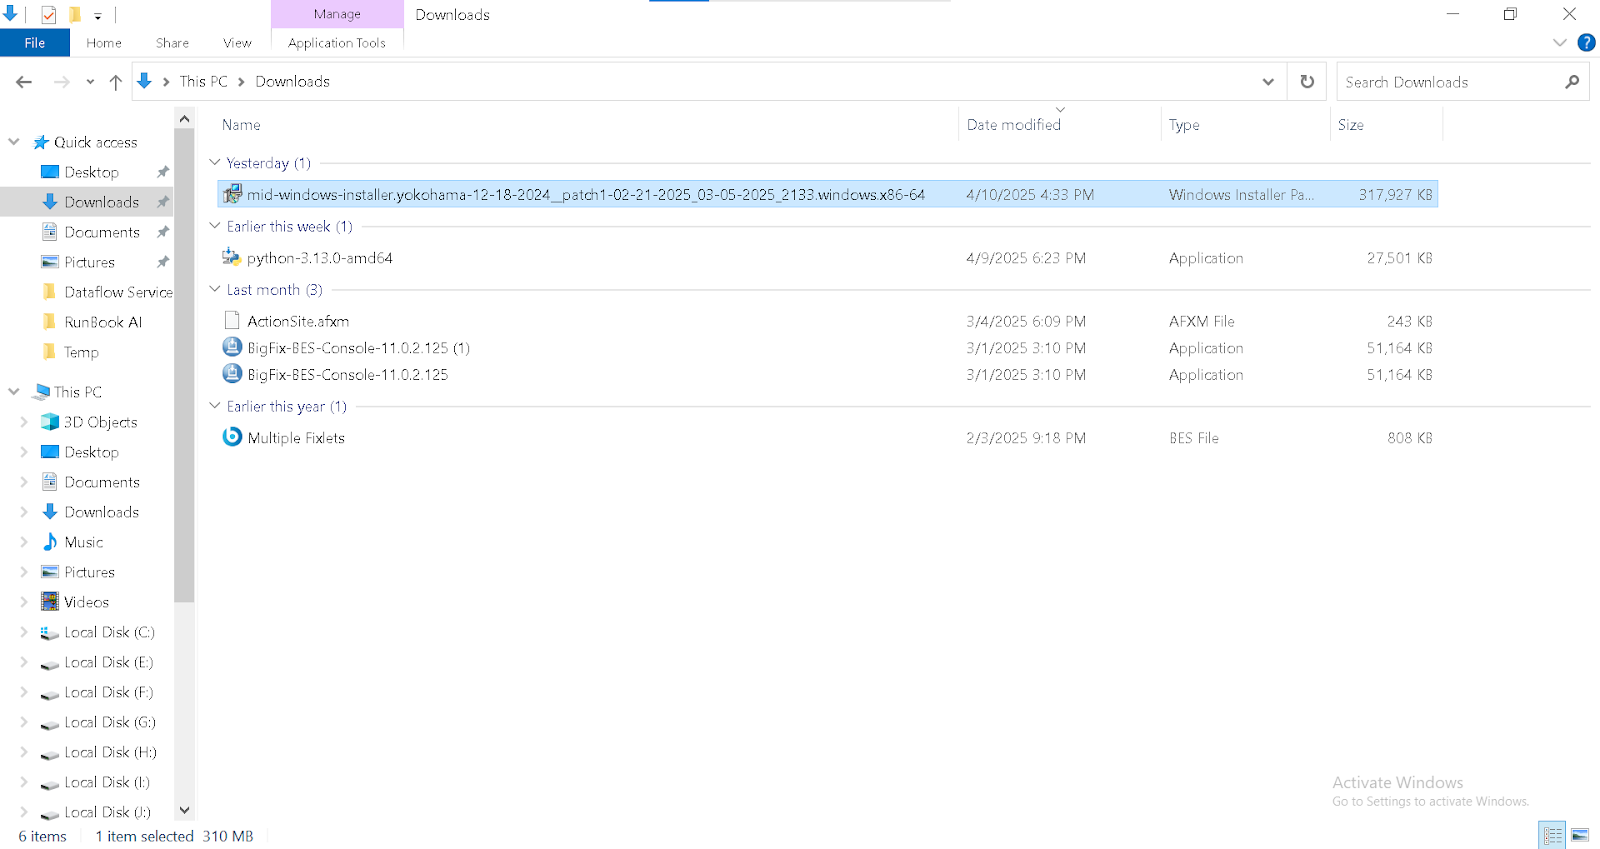
Install the software as Run as Administrator.
-
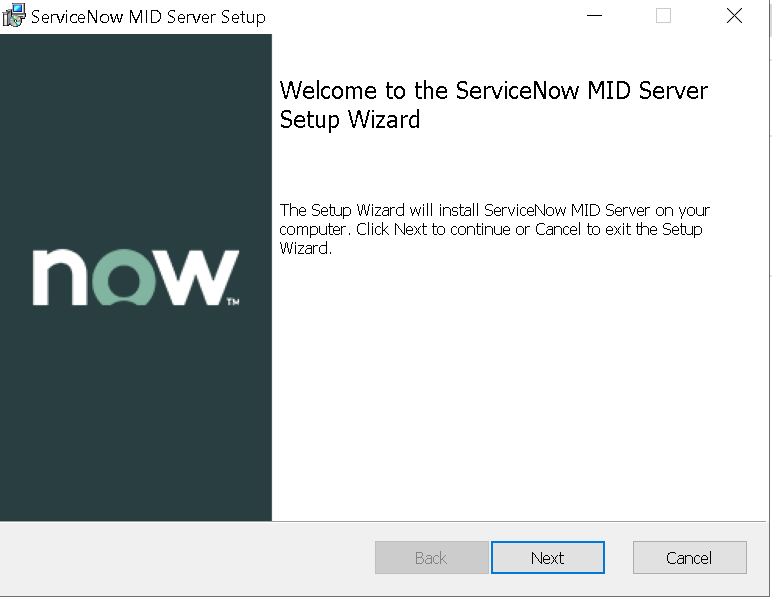
Configure the mid server:
- Click Next.
- Click I Accept the terms in the License Agreement
and then click Next.

-
Paste the ServiceNow Instance URL, and enter the username (
testmiduser) and the password you set earlier into the MID Server configuration when prompted during installation.Important: Make sure the credentials are entered correctly to ensure successful connectivity.Then click the Test Connection button.
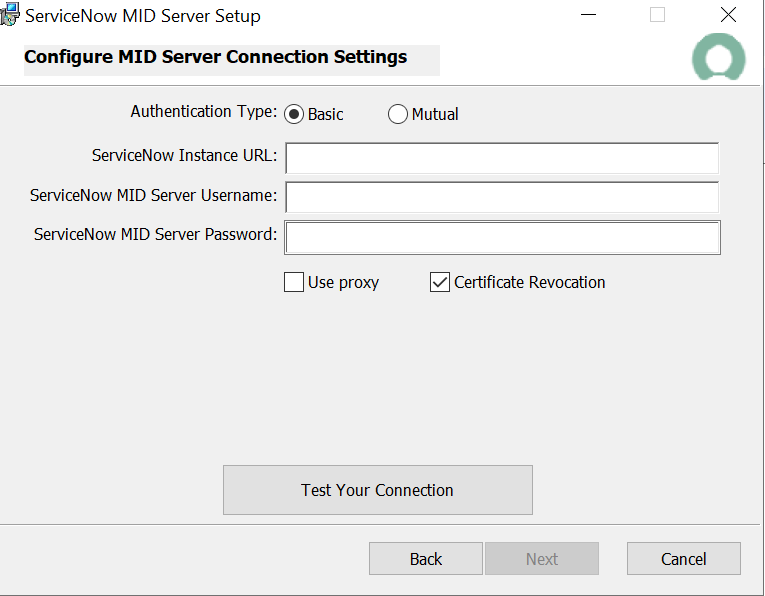
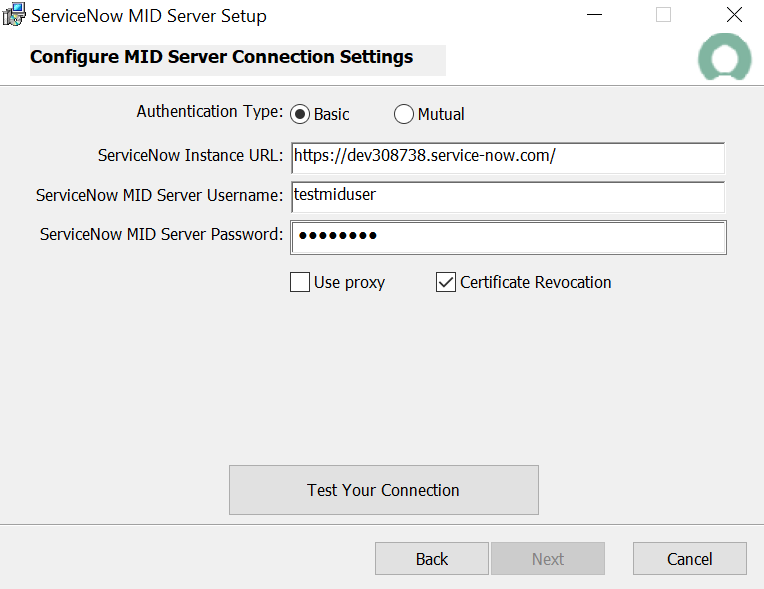
- Click Close and proceed to
Next.
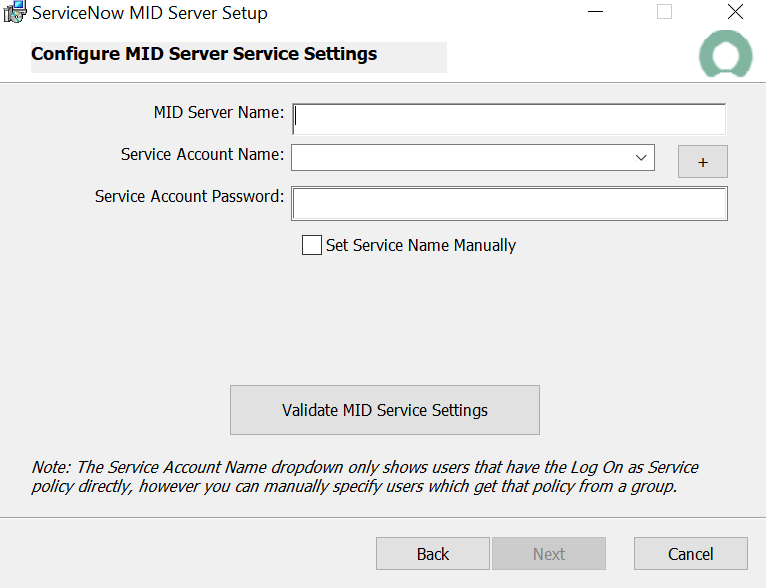
-
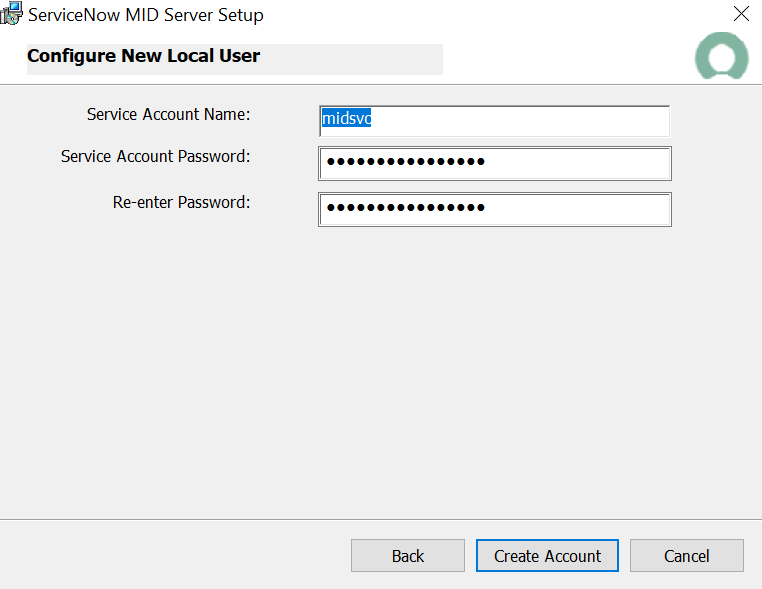
In the MID Server Name field, enter a name for your MID Server as per your requirements, then click the plus (+) icon button as shown in the image to create a service account. This account will be used by the service that the MID Server package installs automatically.
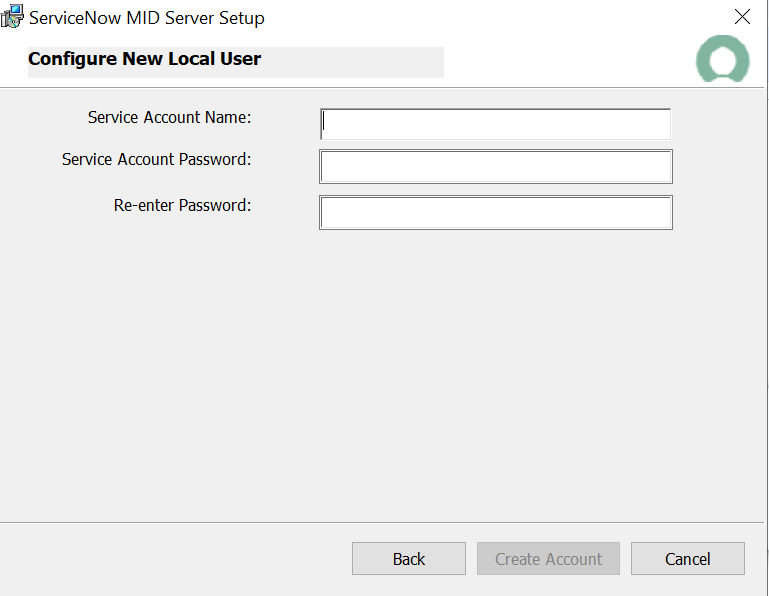
- In the Service Account Name field, enter a name for your service
account, set a password as per your requirements, and then click the
Create Account button.
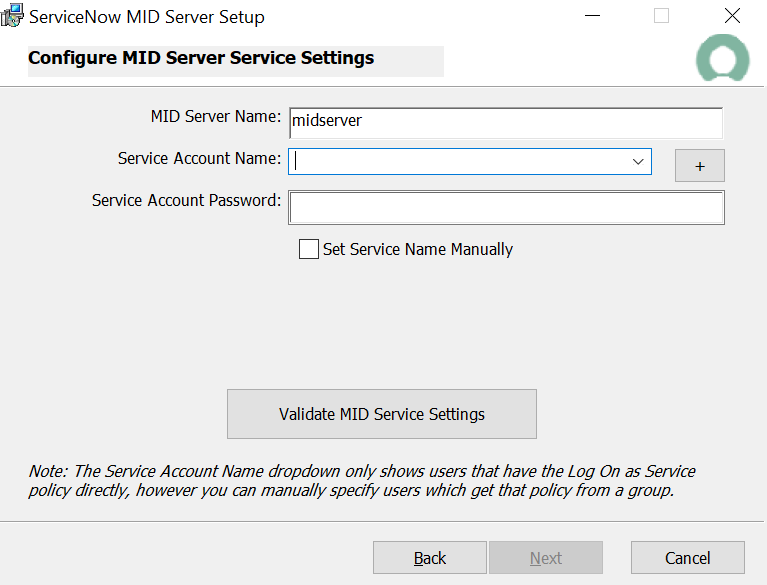
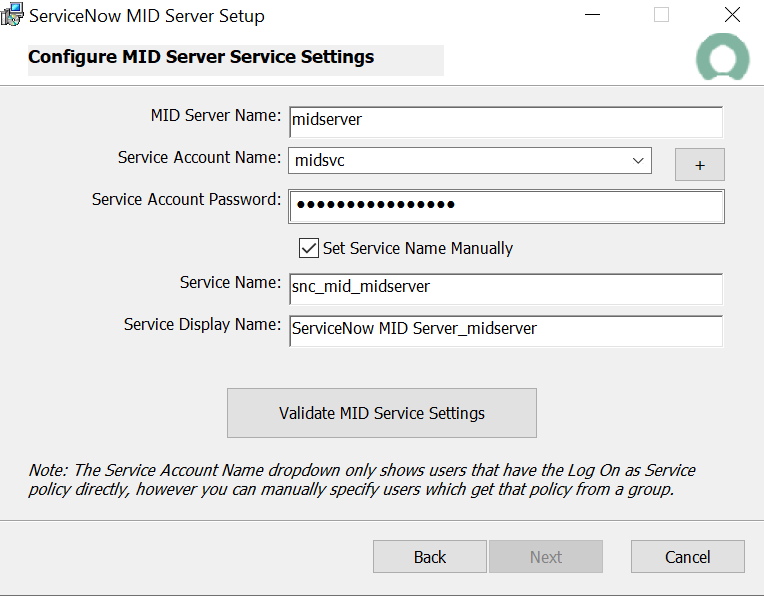
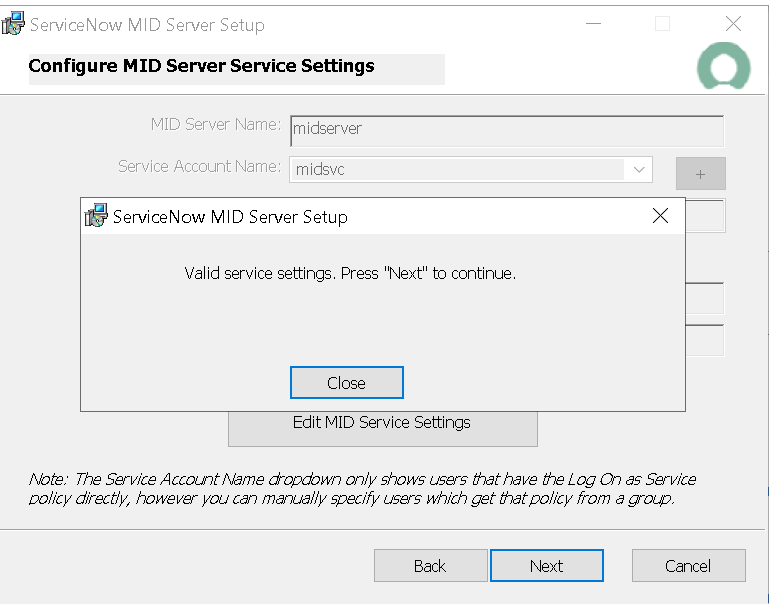
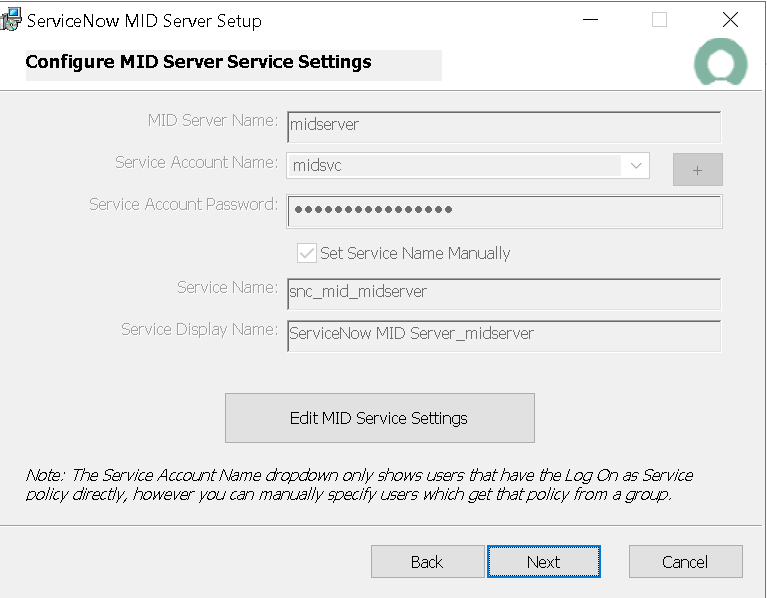
- After performing the above steps, fill in the Service Account
Name and Password, check the box
for Set Service Name Manually, then click Validate MID
Service Settings and proceed by clicking
Next.
-
For the installation of the MID Server, 36GB of disk space is required.
You can change the installation drive accordingly (as shown in the image below), then click Next to proceed.

-
Check the box Start MID Server after installation if you want the service to start automatically.Tip: If you prefer to start it manually later, leave the box unchecked based on your needs.Then, click Next to proceed.

-
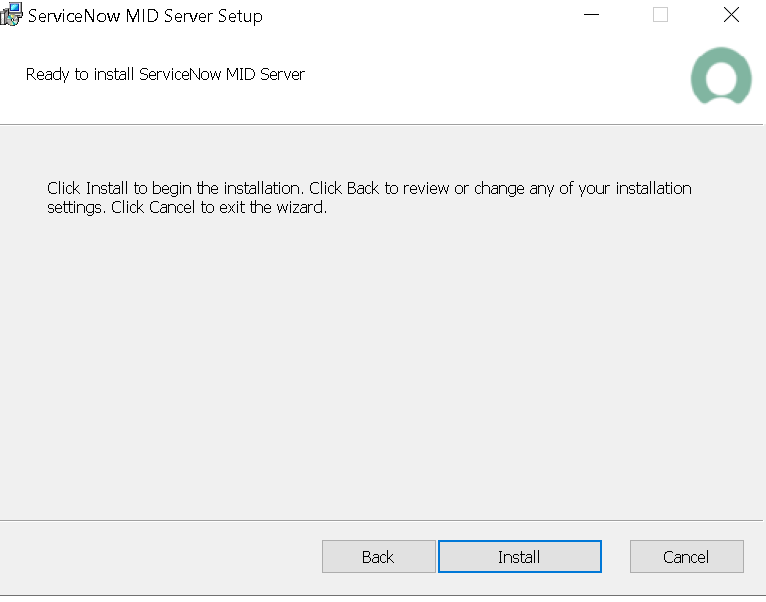
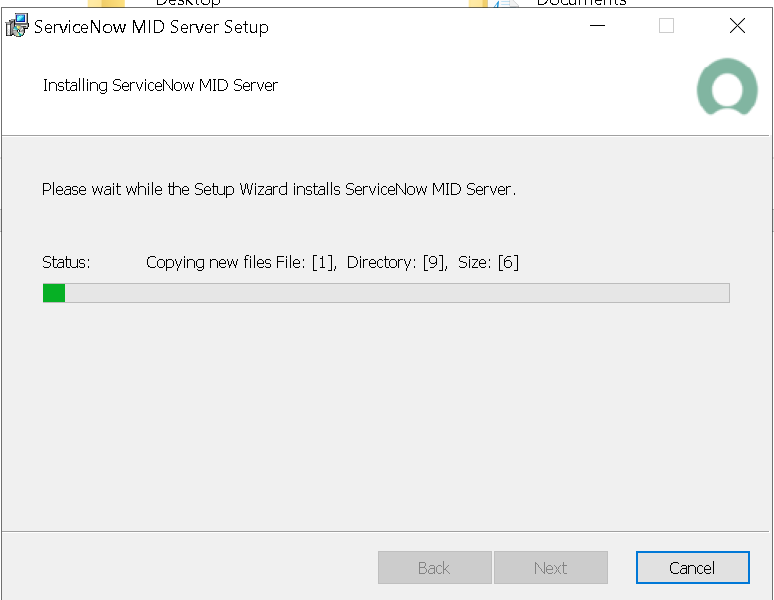
Click Install and wait for some time.
-
Click Finish to complete the installation - and with that, the MID Server setup is done!

- You can verify the MID Server service by opening
Services (
services.msc) on your system and checking that the ServiceNow MID Server is listed and running.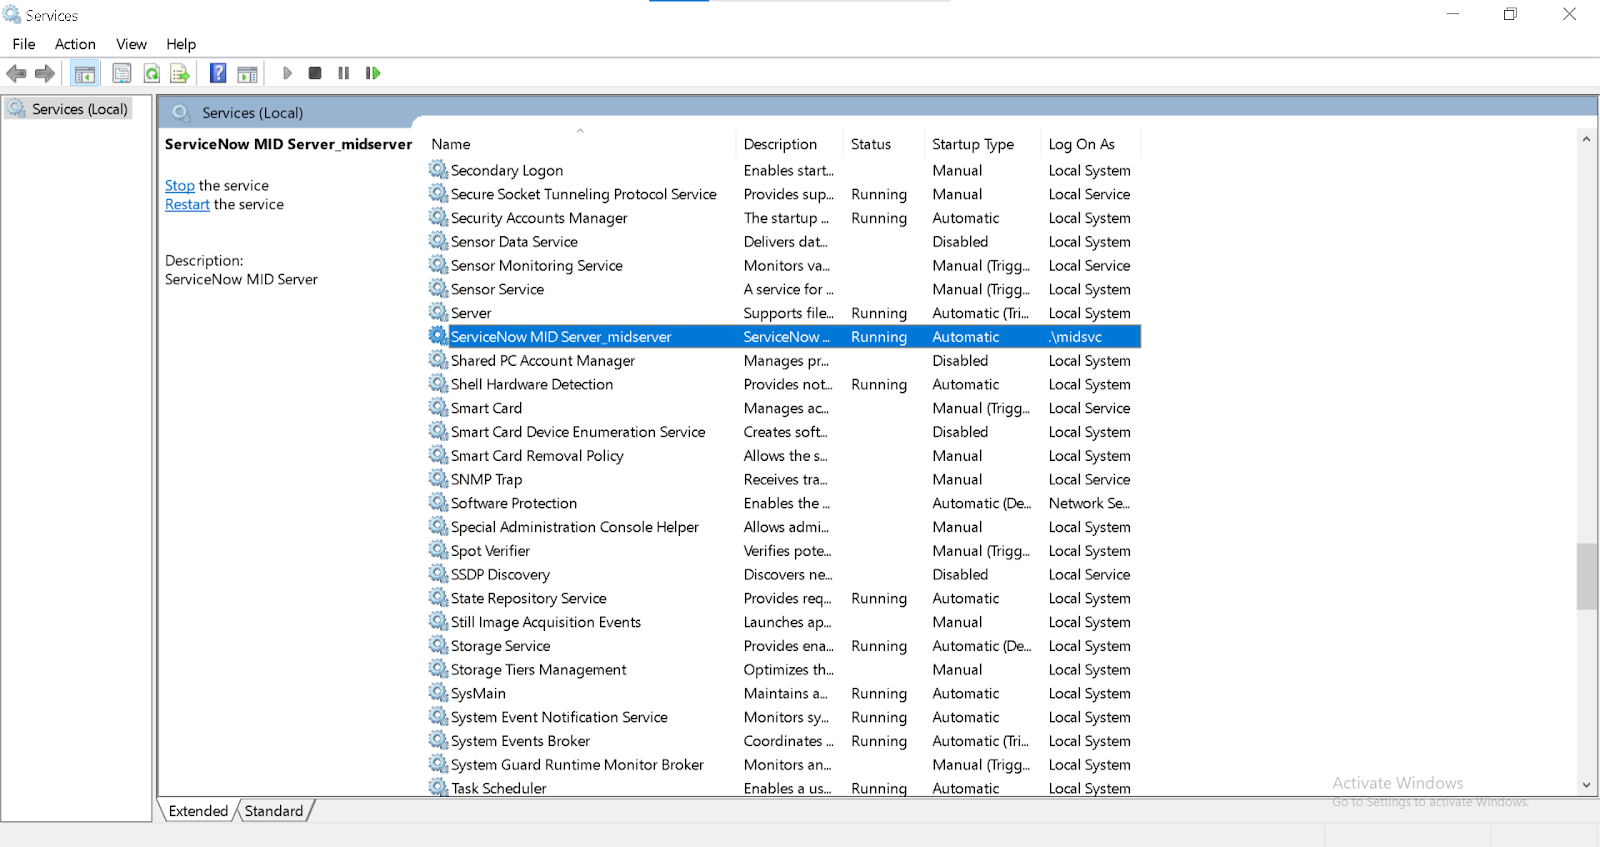
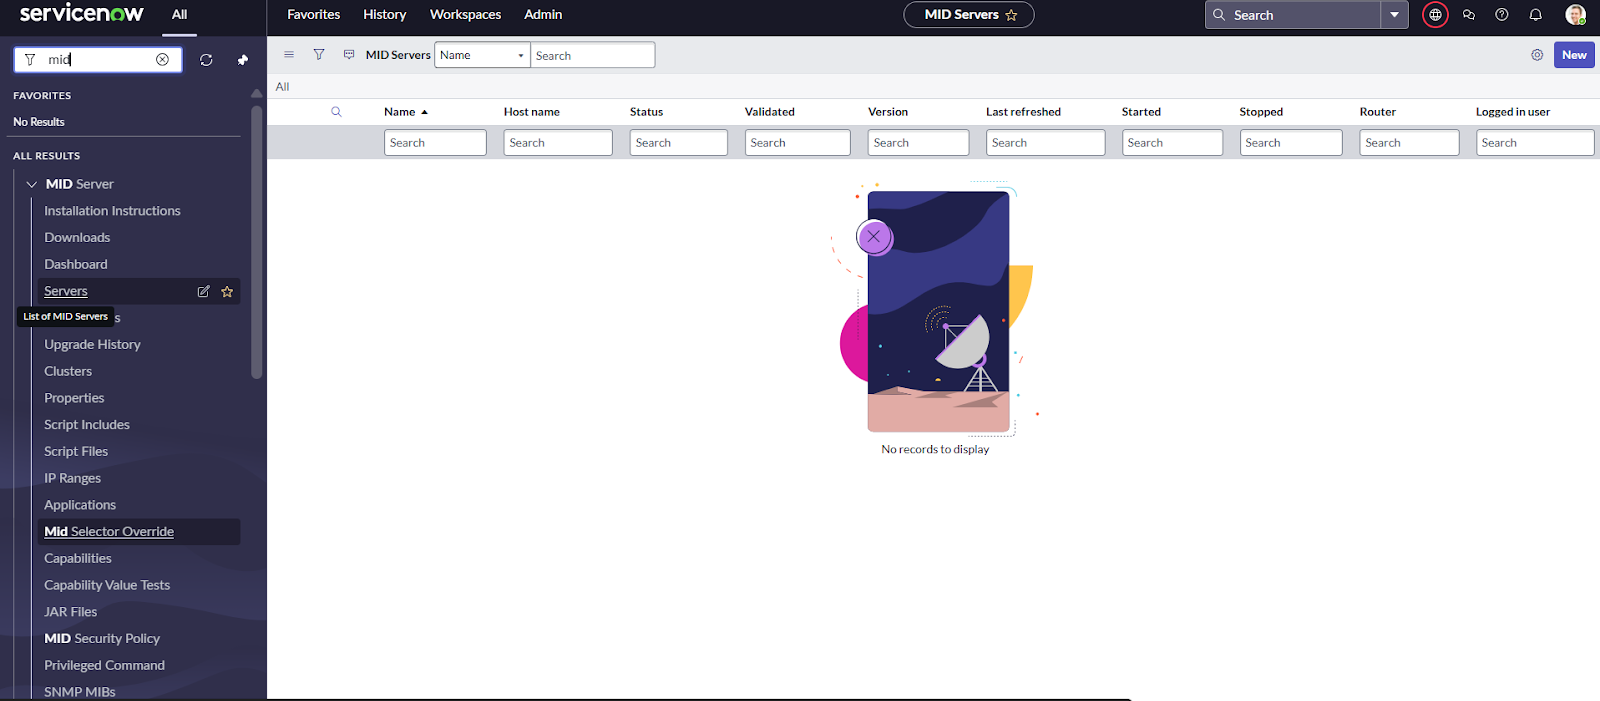
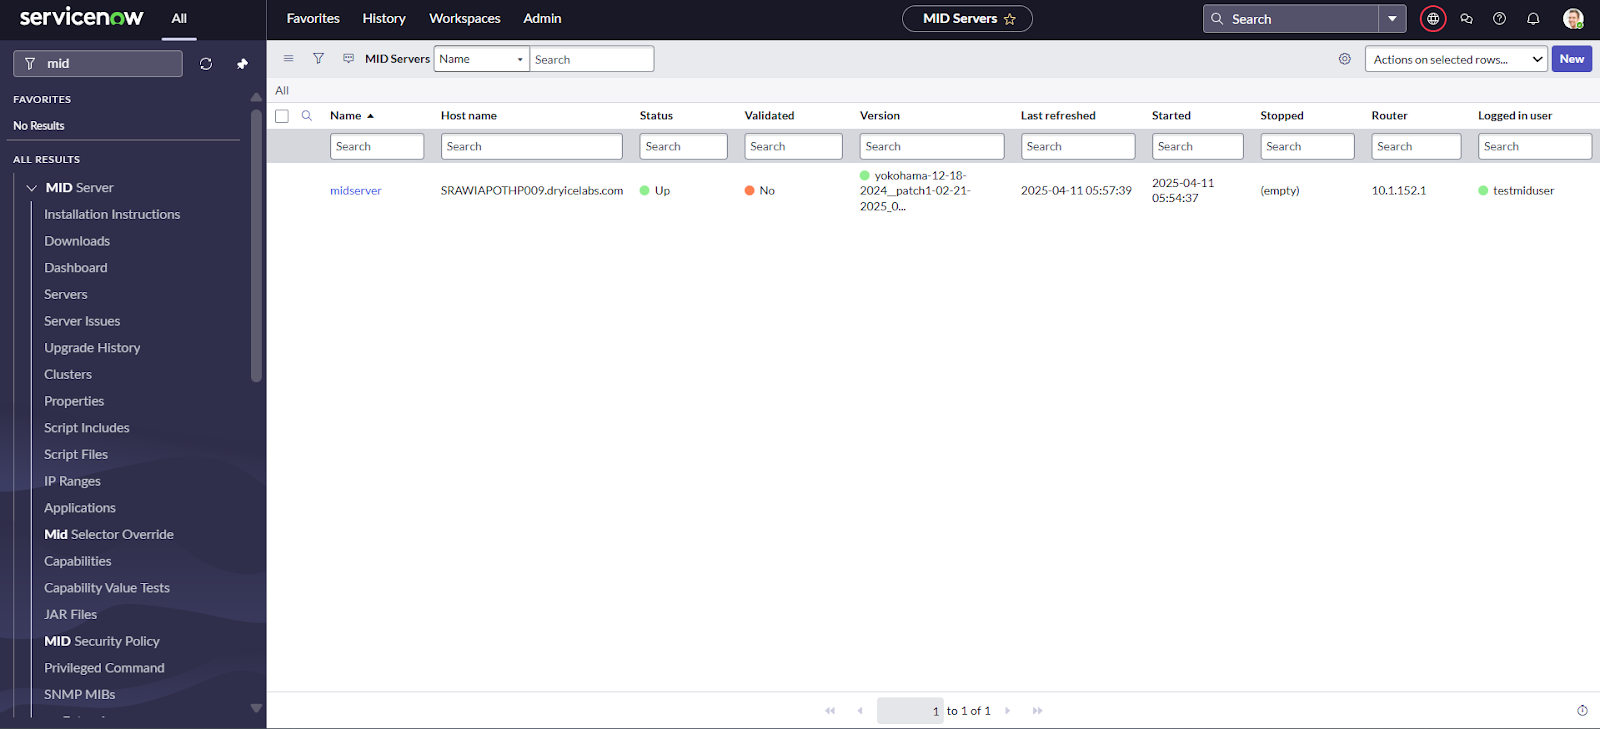
- In ServiceNow, go to the All
tab, search for MID, and click on the
Servers option to check if your MID Server is
listed and properly connected.
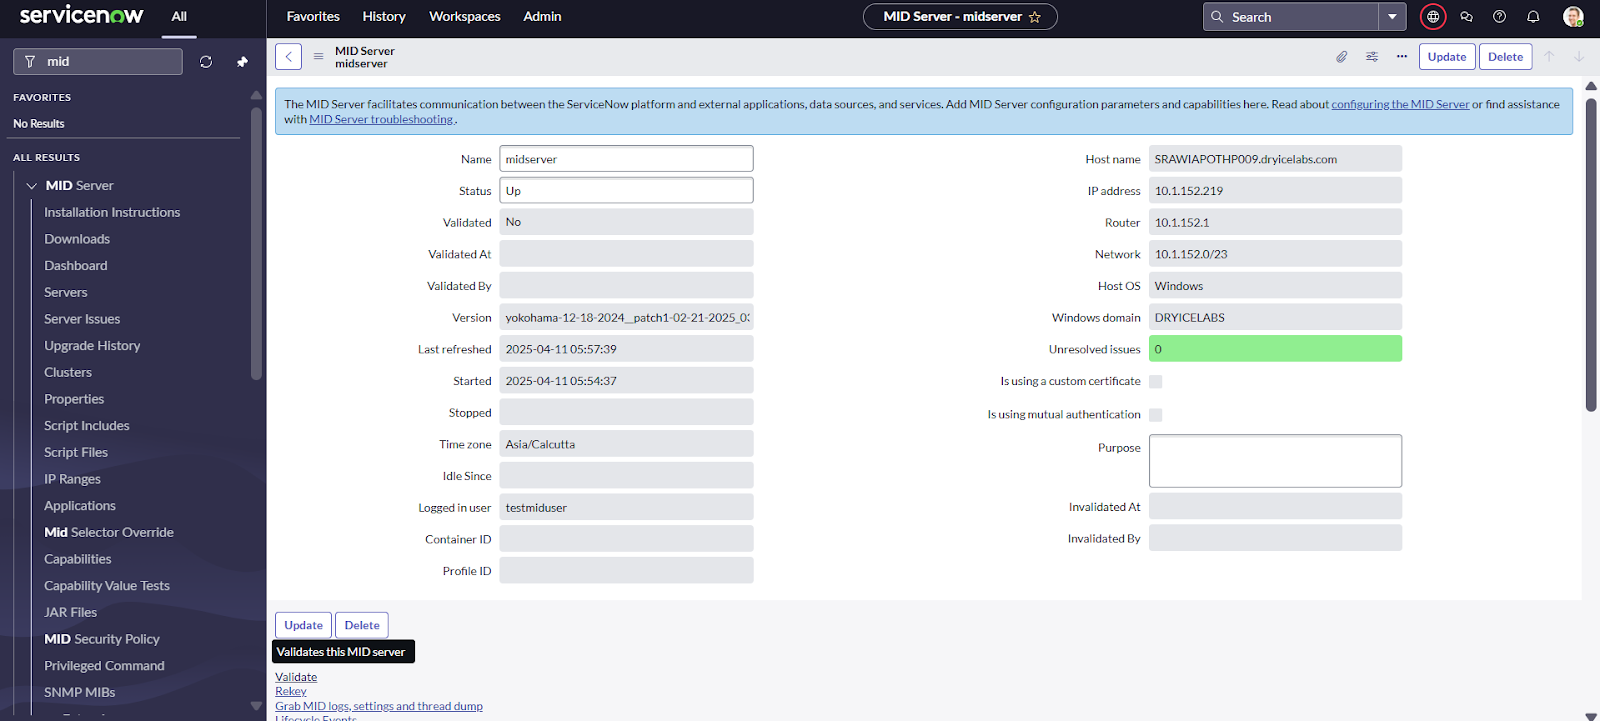
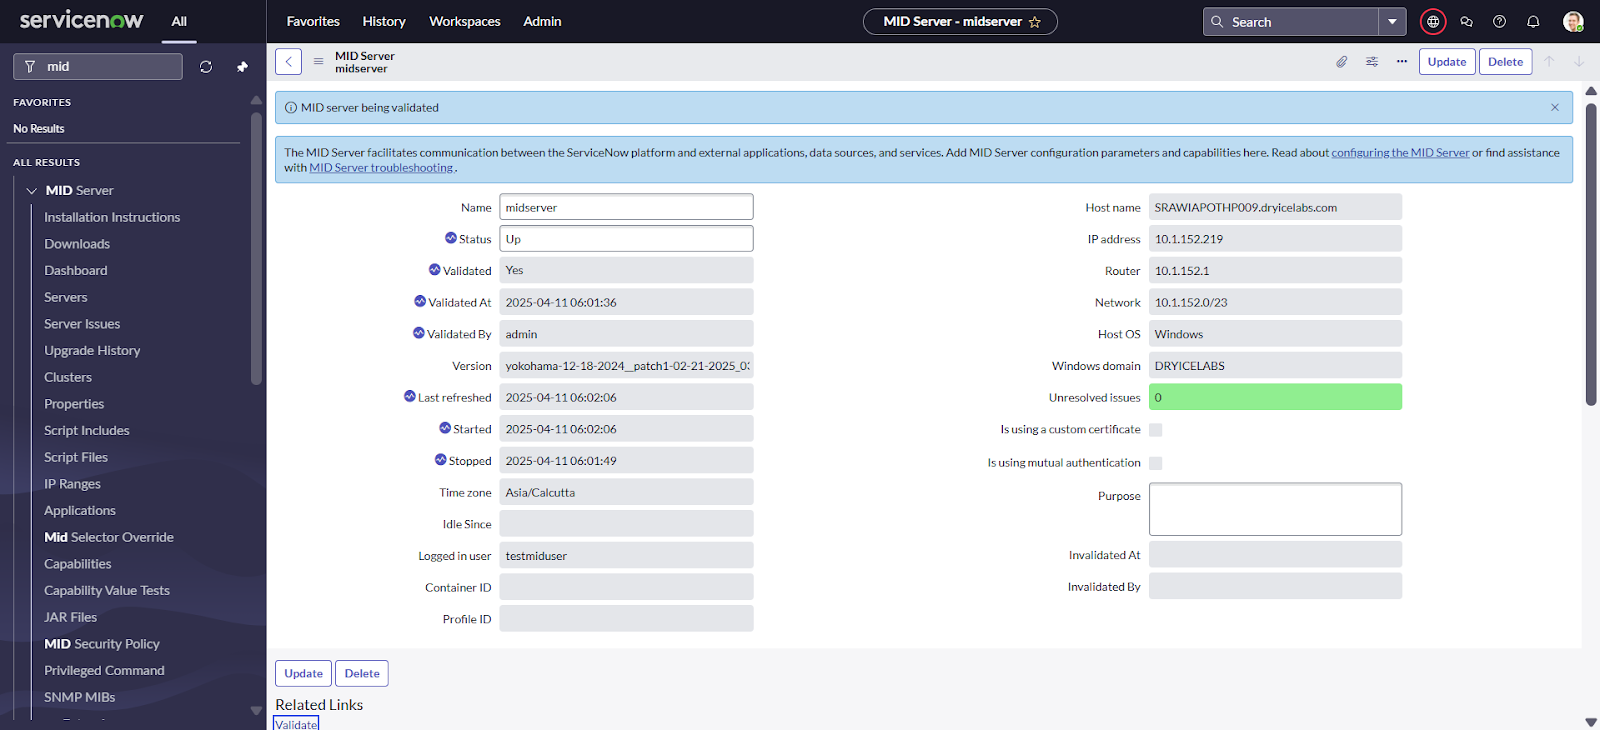
- As you can see, the Validated column shows
No. To change it to
Yes, click on the MID
Server entry, scroll down, and click
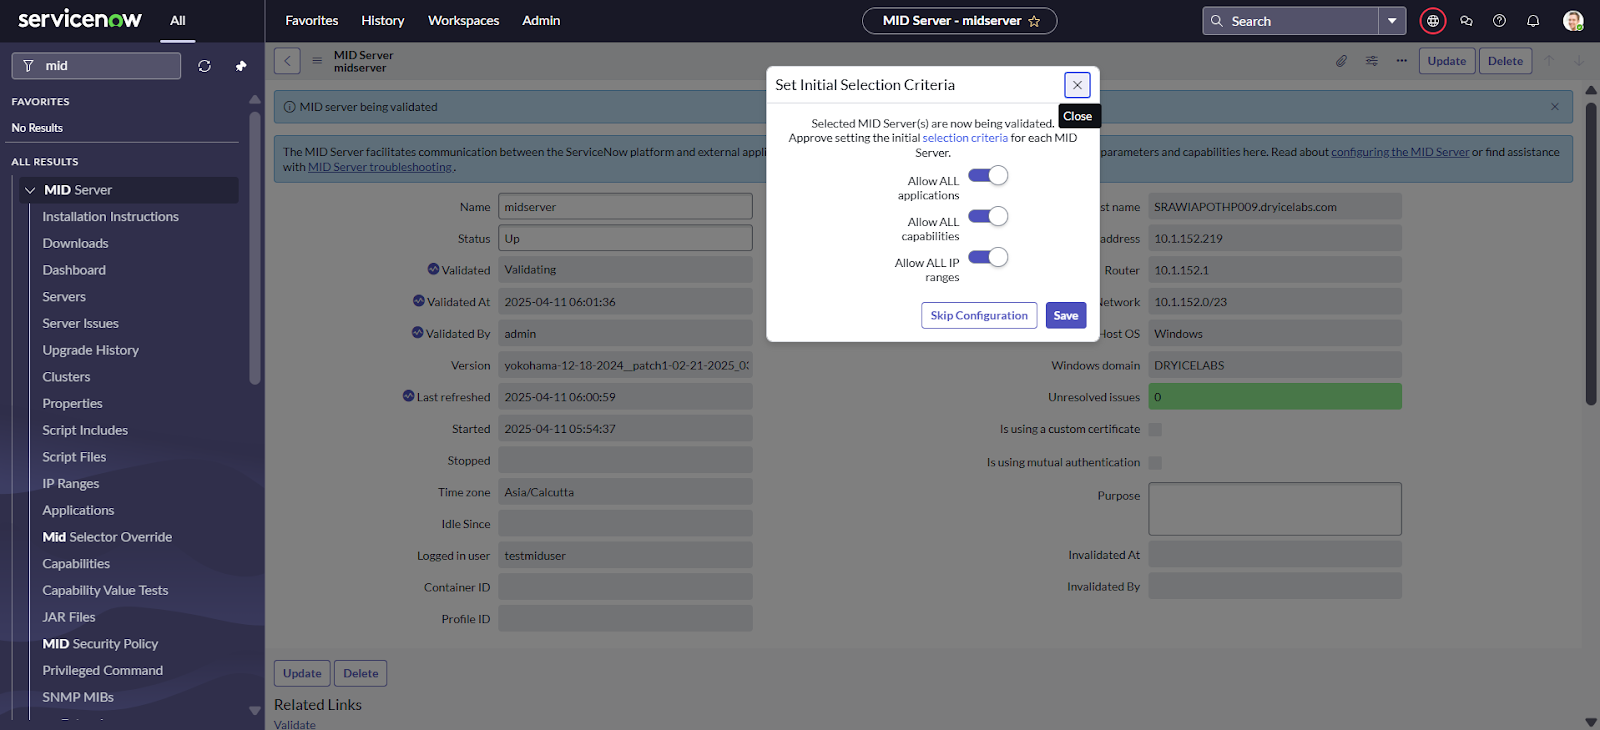
Validate. Wait a few moments for the
validation process to complete.
- Click Save.
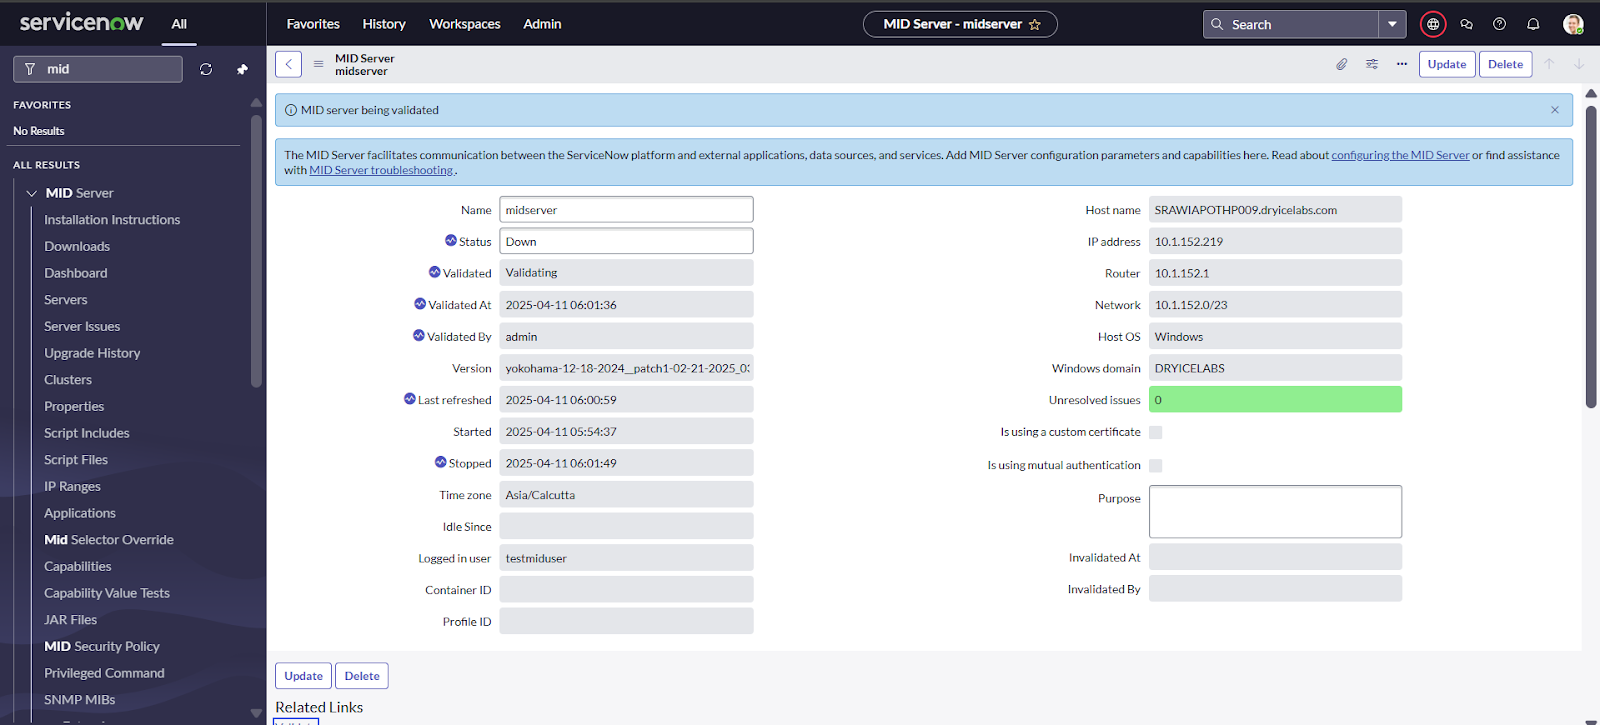
- As shown in the image below, our MID Server entry
has been successfully validated. You can now
proceed with testing your REST messages.
- Click Next.
