Installation of Patch Work Bench Application in ServiceNow
This topic provides step-by-step instructions to install the Patch Work Bench application in ServiceNow, including downloading and importing update sets, resolving errors, committing updates, and creating a user for the MID Server with appropriate roles and credentials.
About this task
Procedure
-
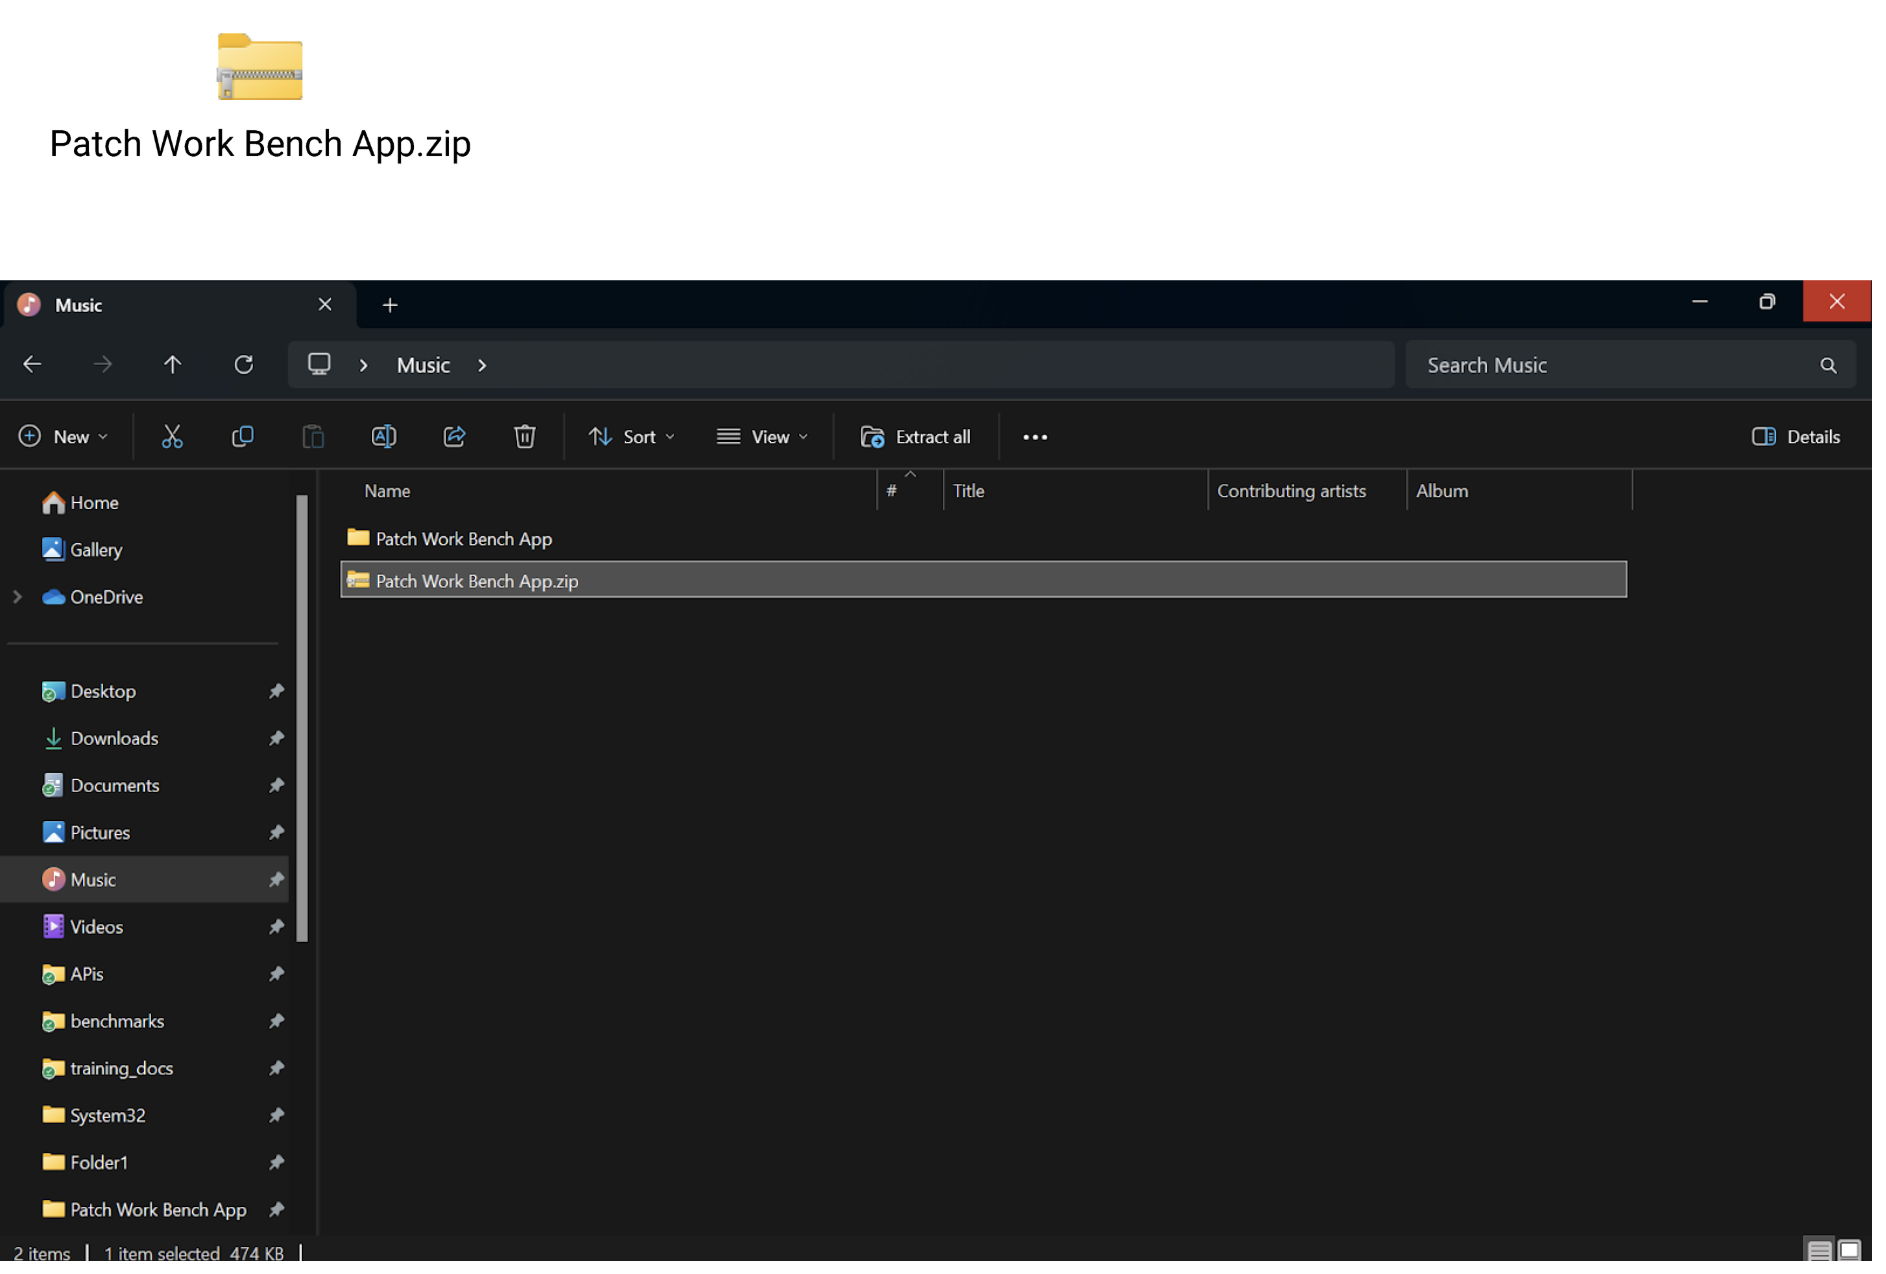
Download the Patch Work Bench zip file from the designated source and extract
its contents to the specified directory for further use.
-
Login to Service Now instance.

-
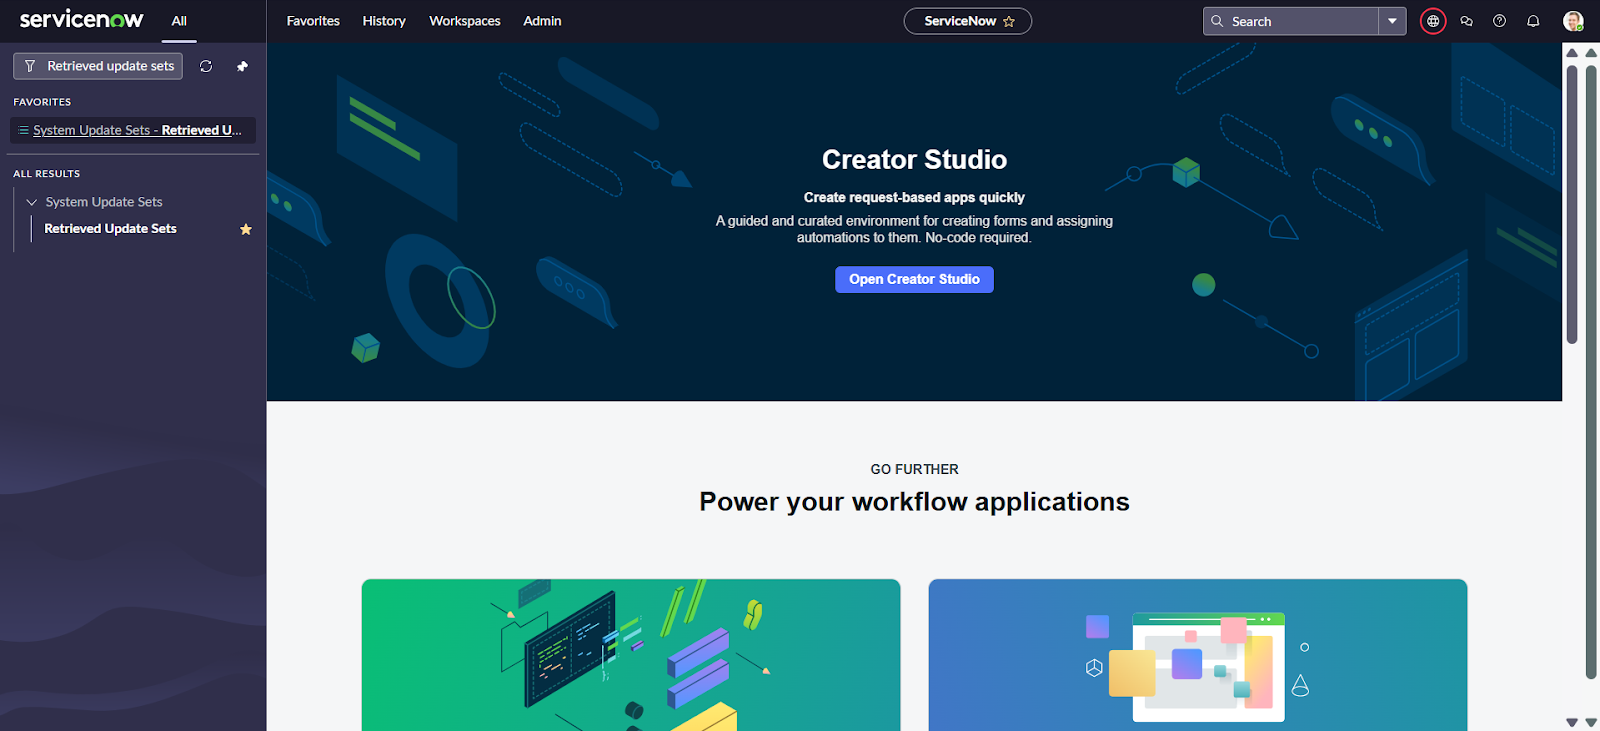
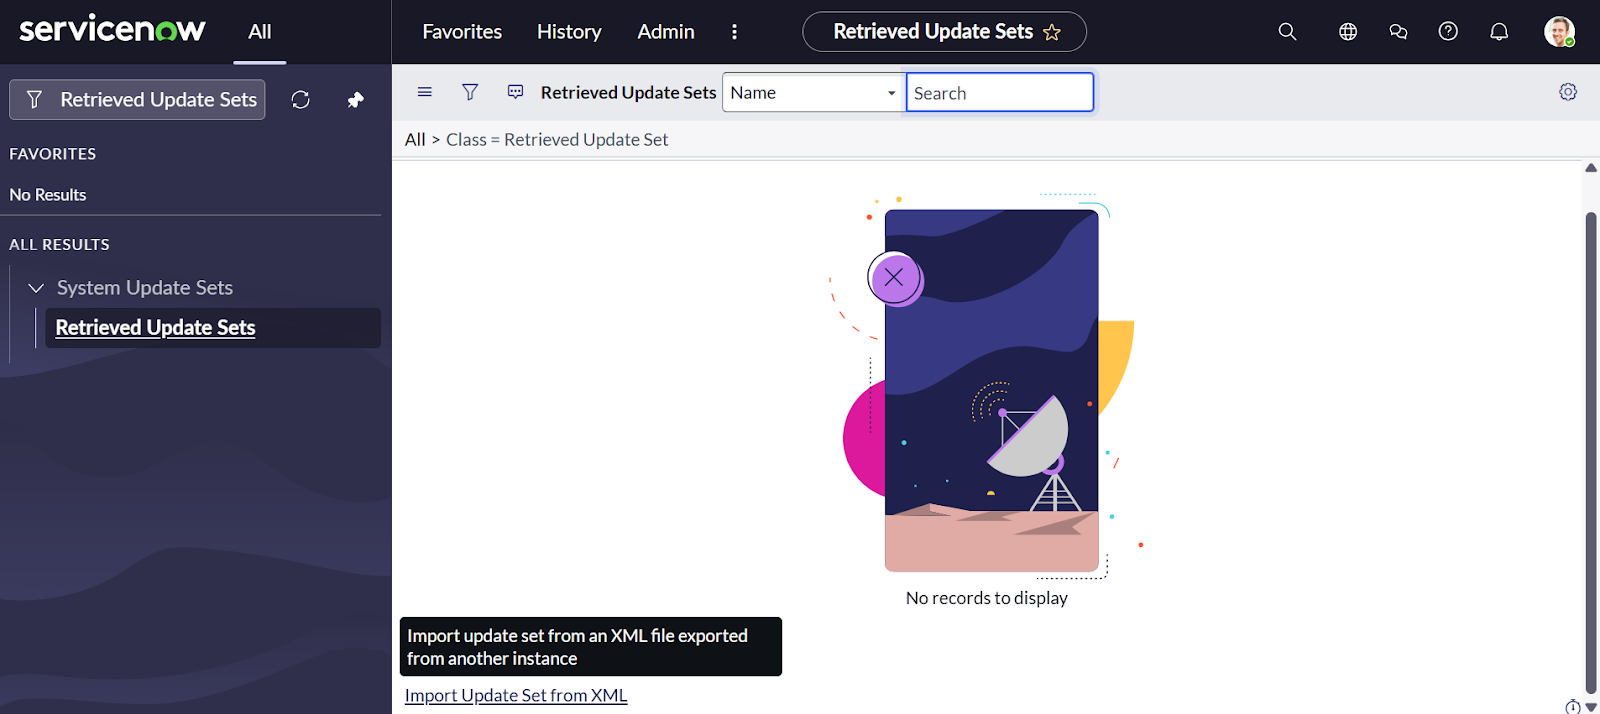
Go to the All tab, search for Retrieved Update
Sets, and click on it to open the list.
-
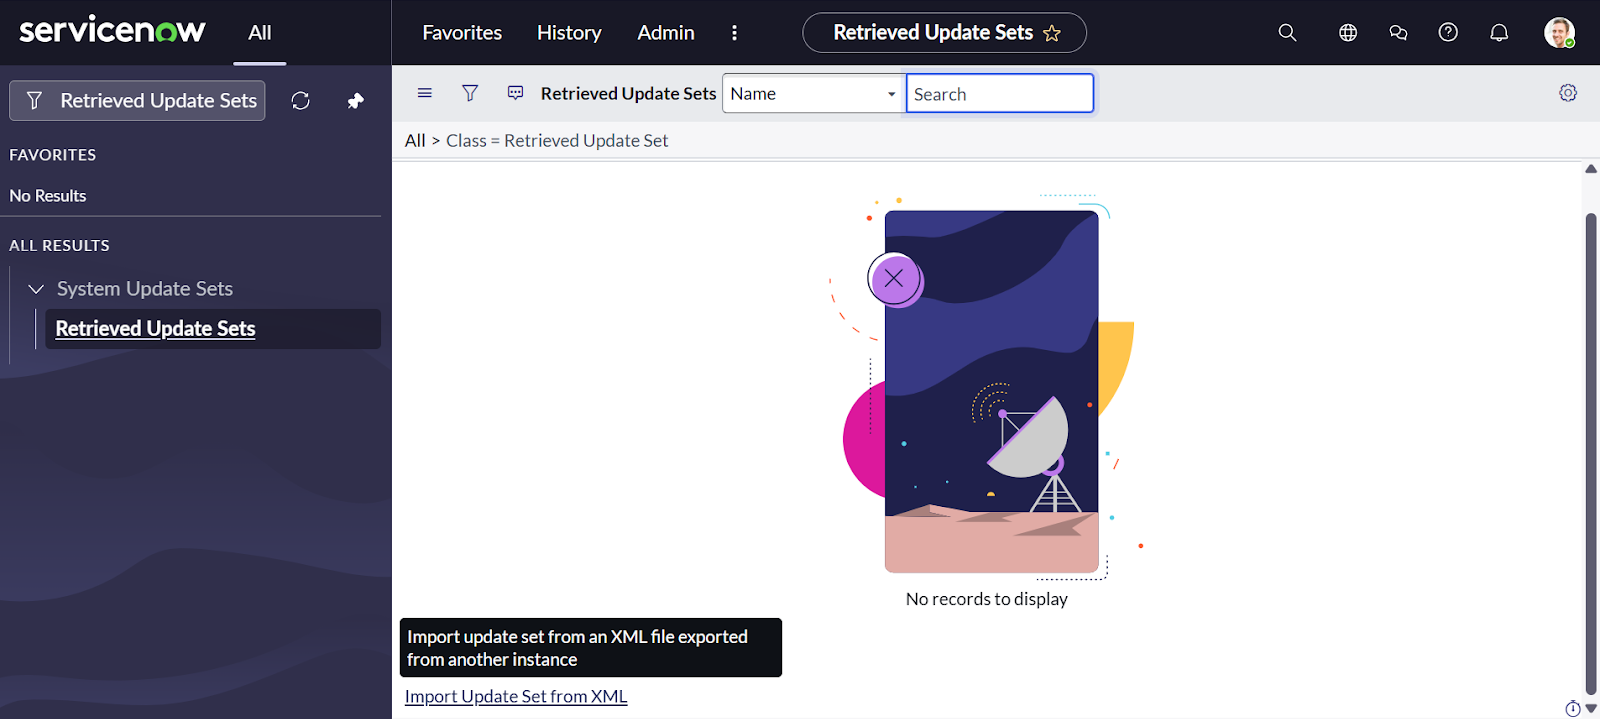
Scroll down and click Import Update Set from XML, then
upload the Patch Work Bench application XML file.
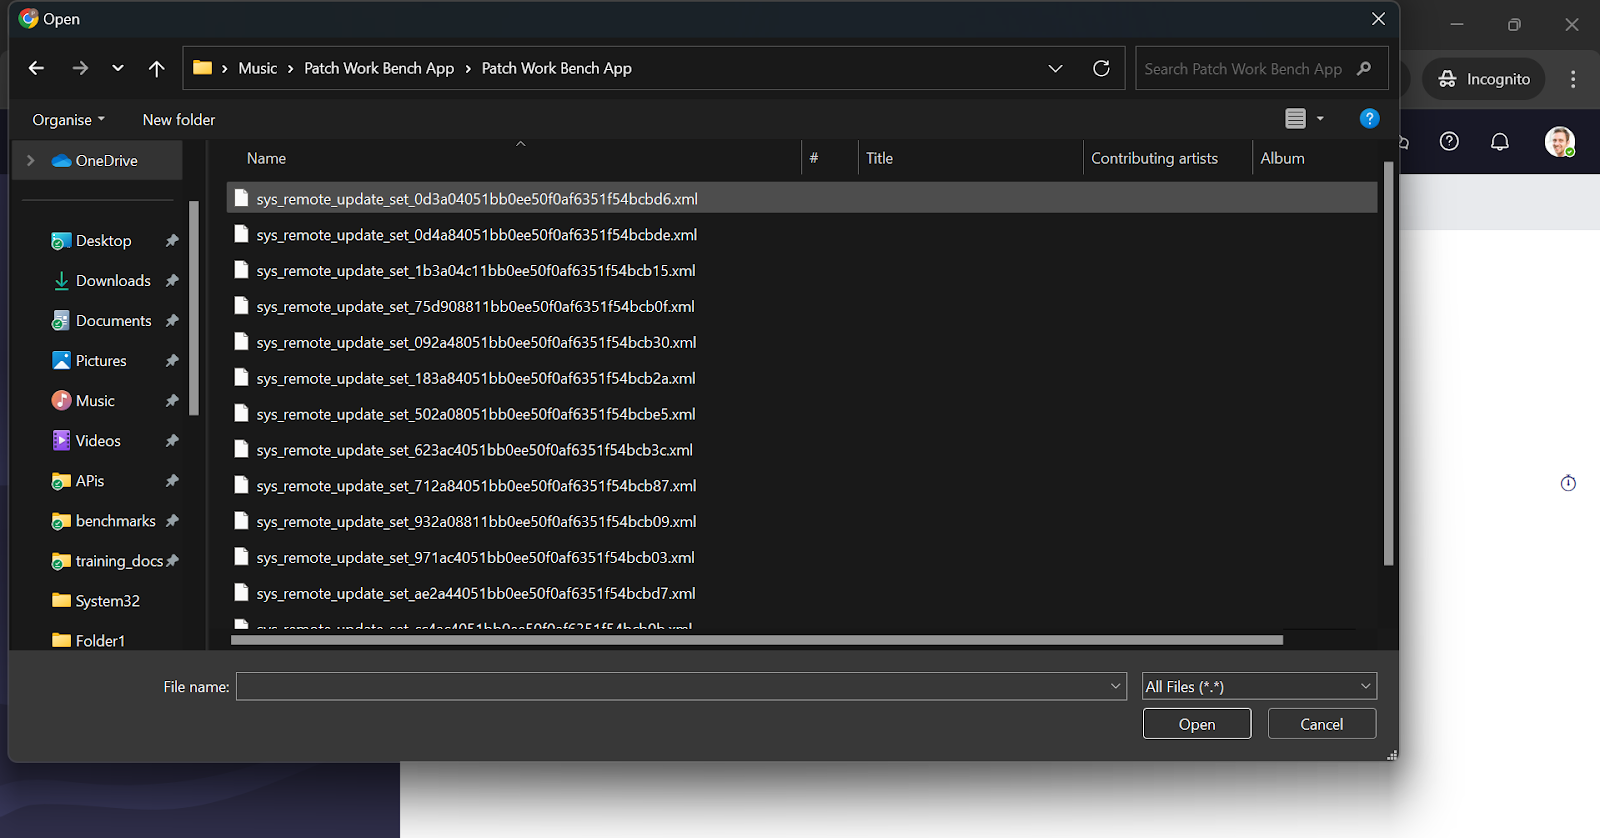
-
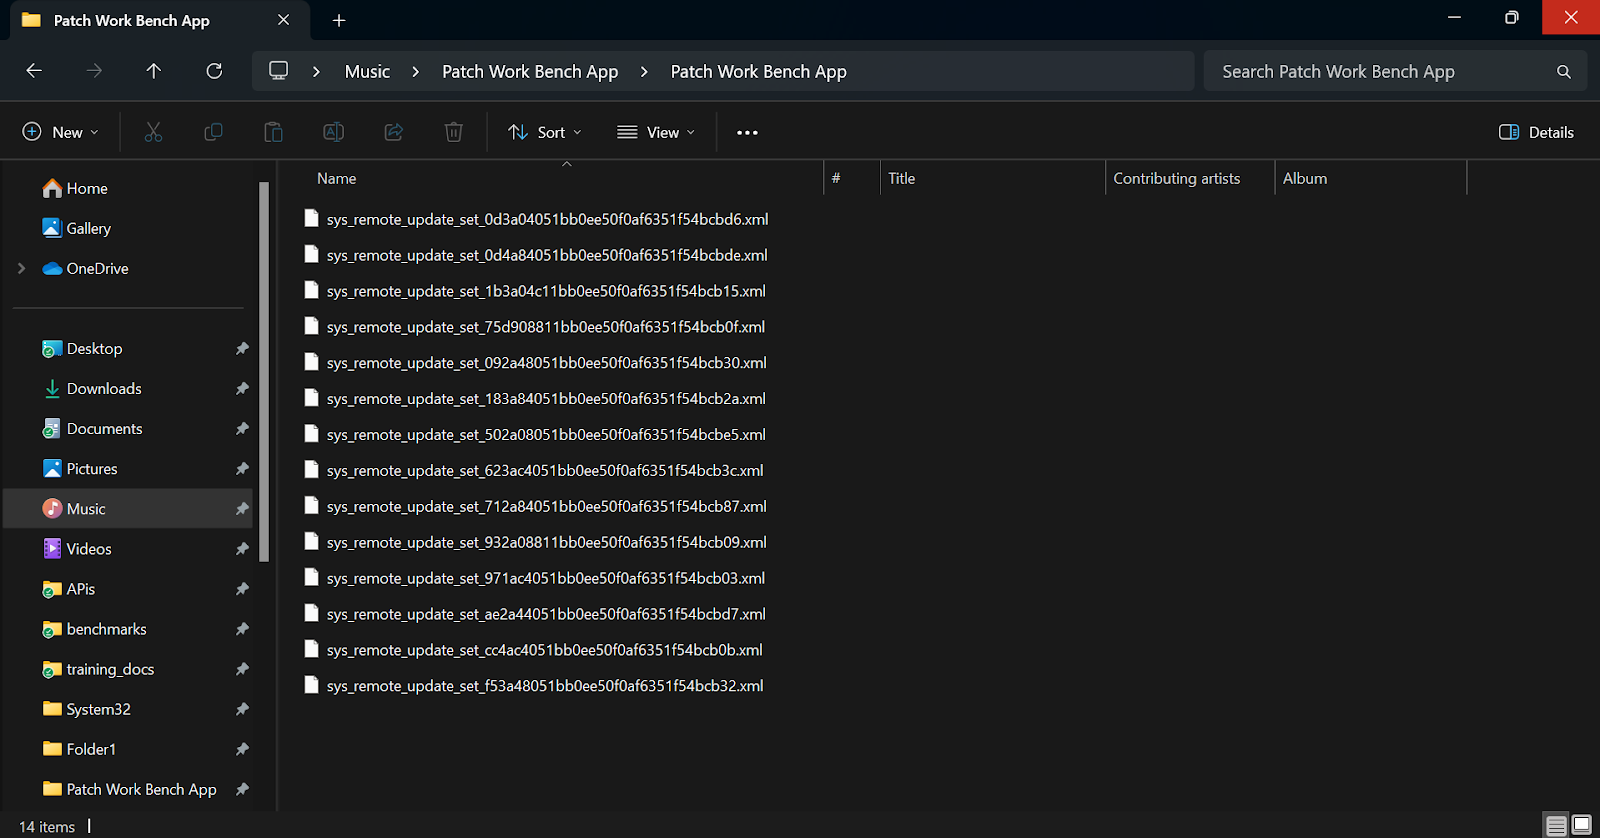
Successfully upload all the XML files to ensure the Patch Work
Bench application functions correctly.
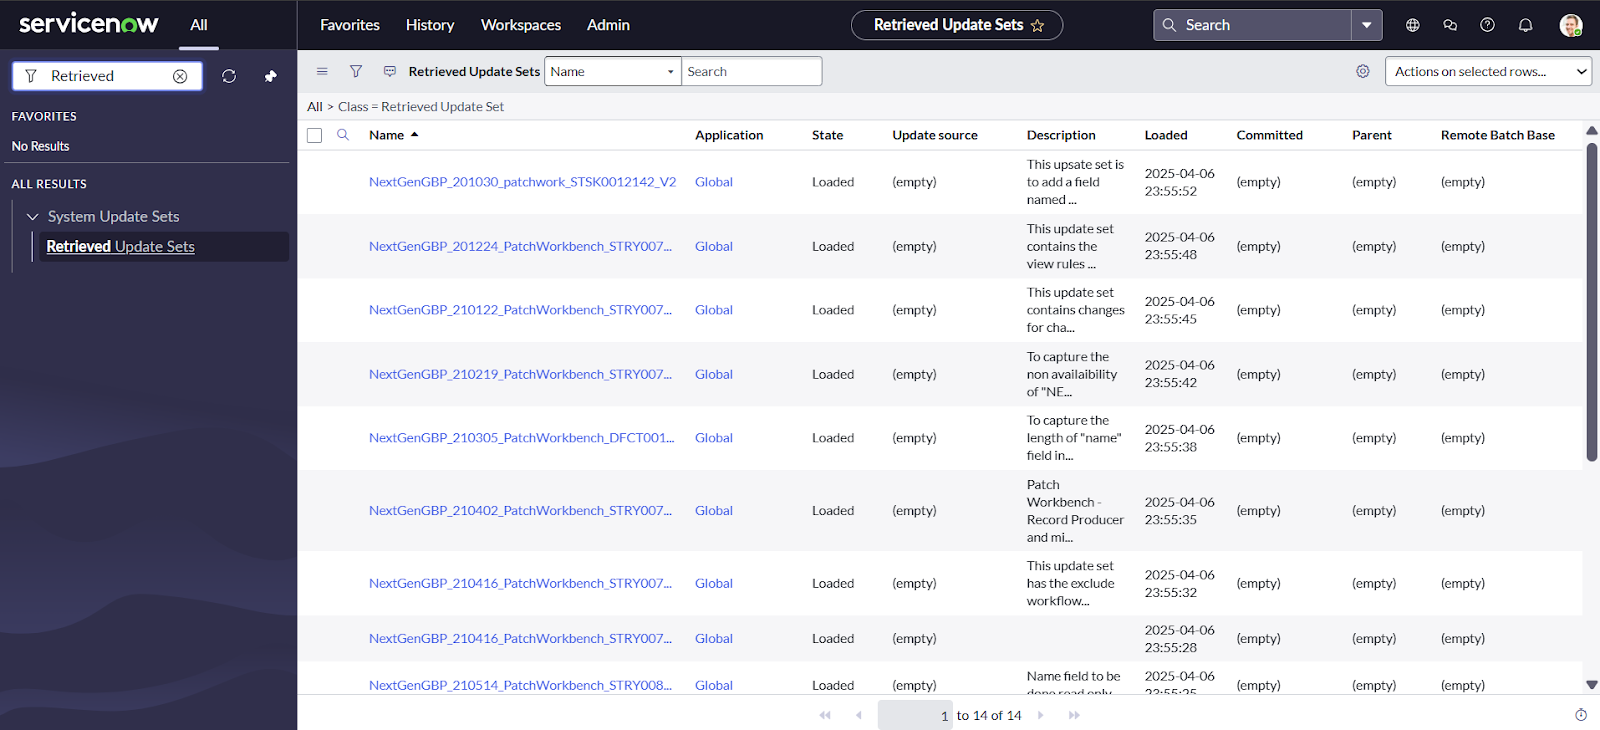
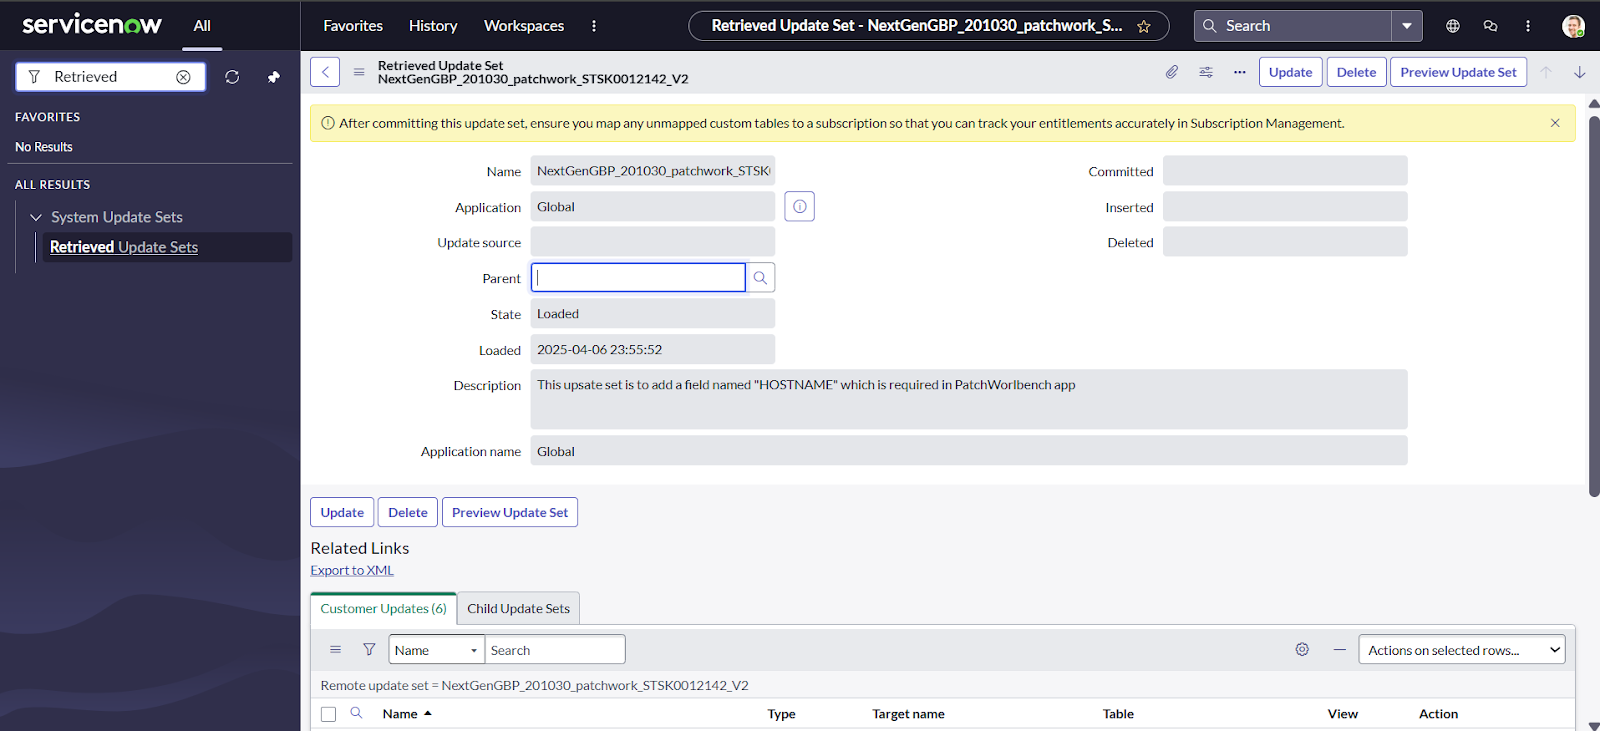
-
Open each uploaded update set in ServiceNow one by one, and for each set, click
Preview Update Set at the top right corner. Complete
this step for one set at a time.
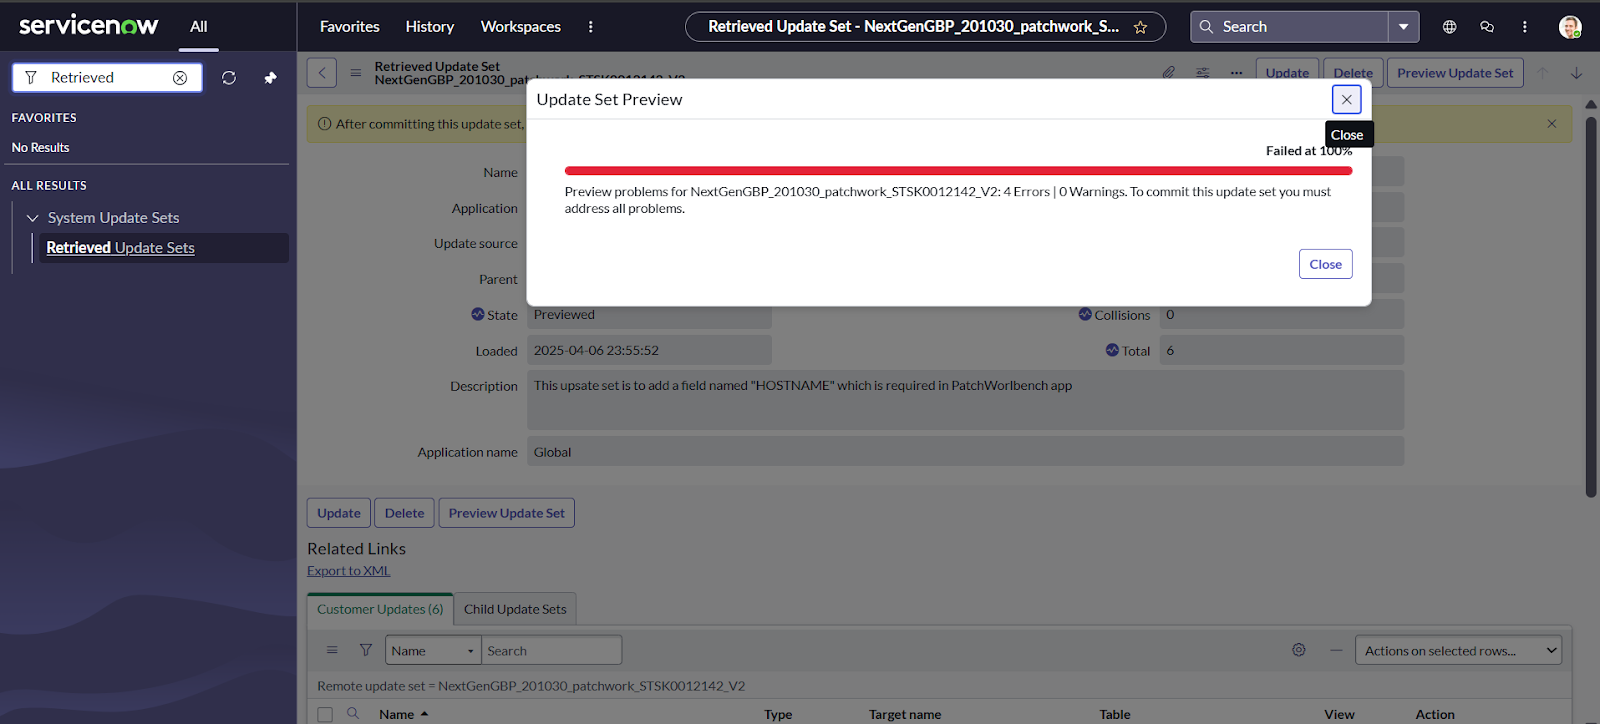 Trouble: After performing the above step, you might encounter an error (as shown in the image below) because this is the first-time installation and some required tables may not be found. To resolve this, please follow the steps below:
Select all the errors by checking the boxes in the Update Set Preview Problems field. Then, click Actions on Selected Rows in the right corner and choose Accept Remote Update. Repeat this step each time you encounter similar errors in other update sets.

-
After performing the above steps, click Commit Update
Set in the top right corner to apply the changes.
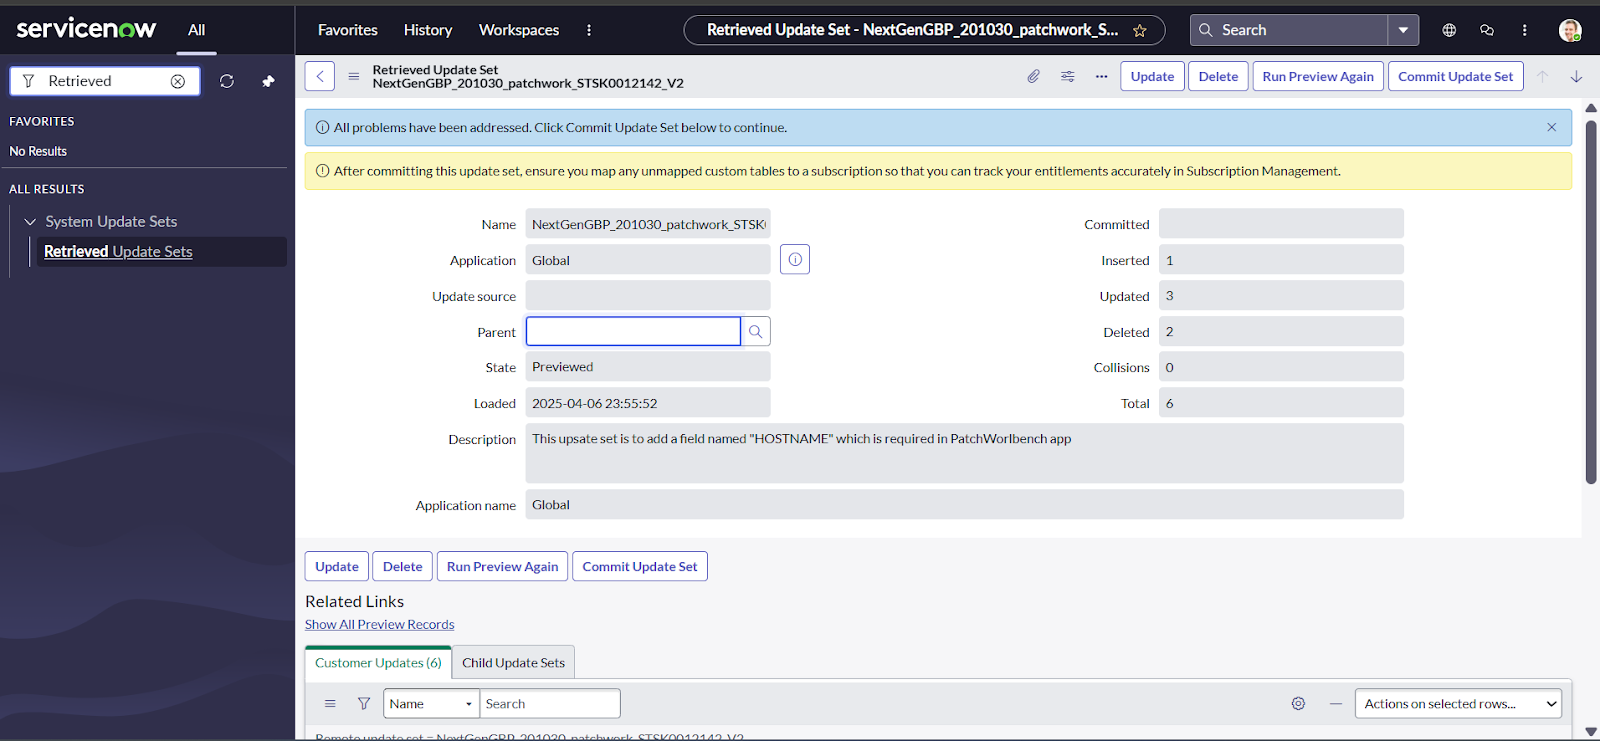
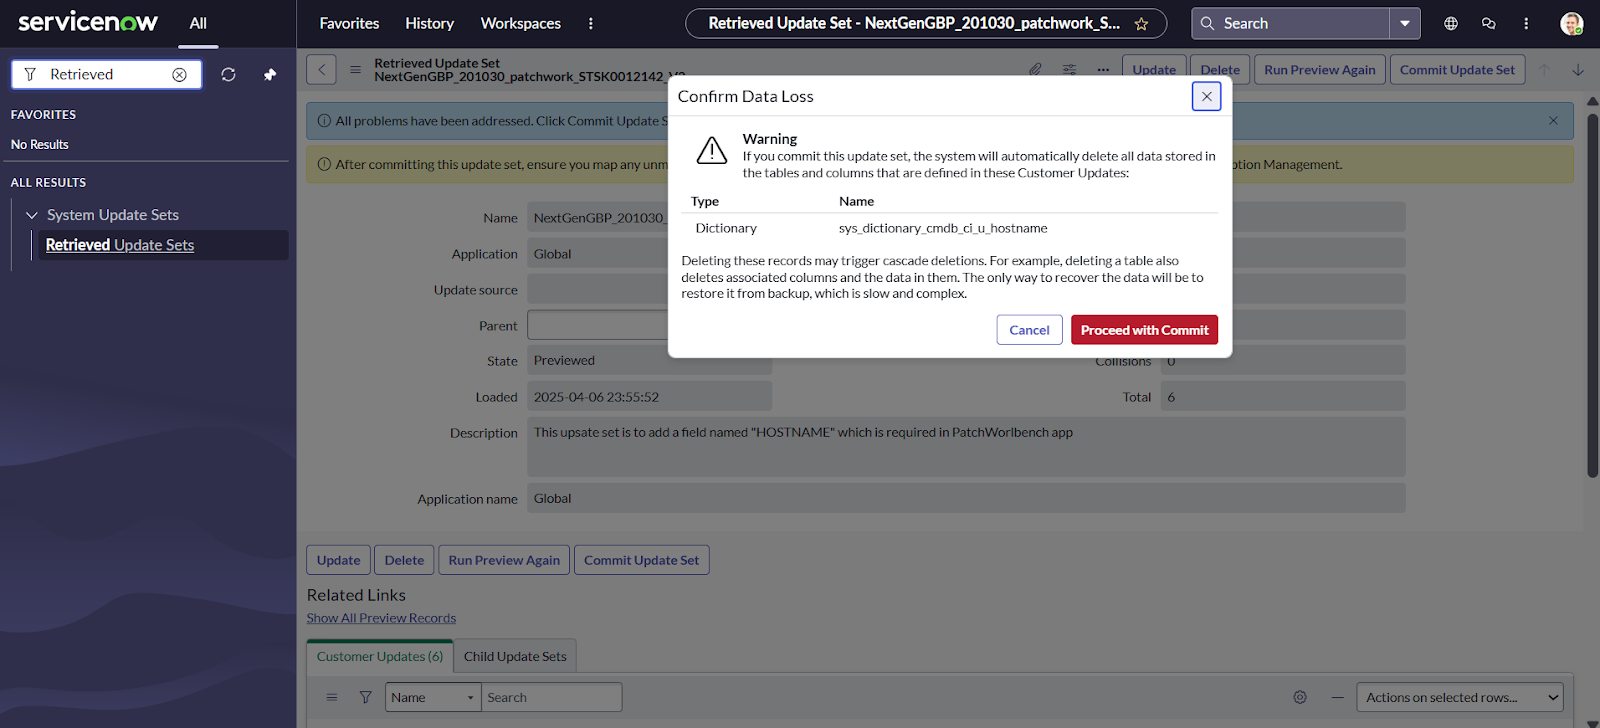
Click Proceed with Commit.

-
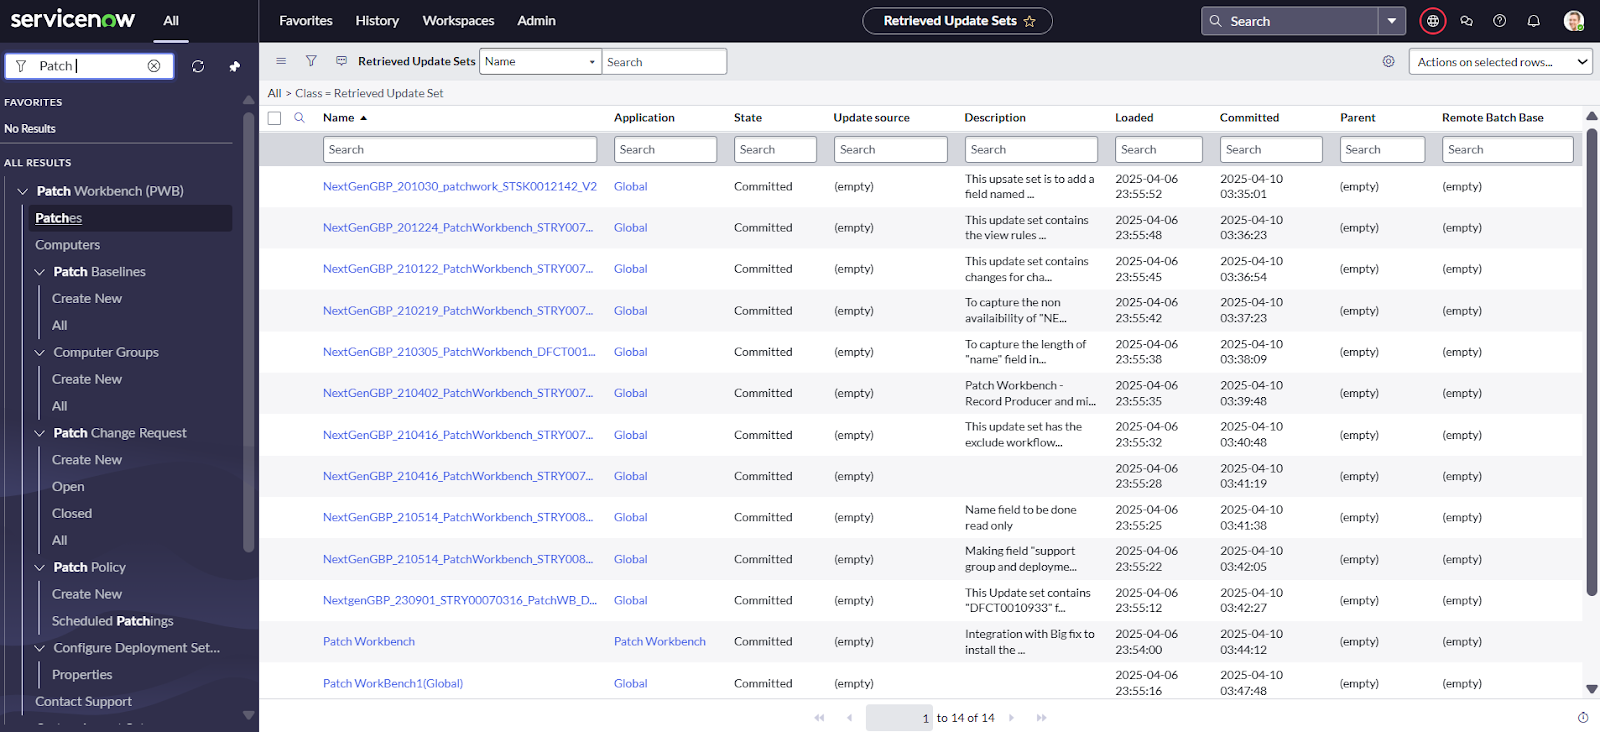
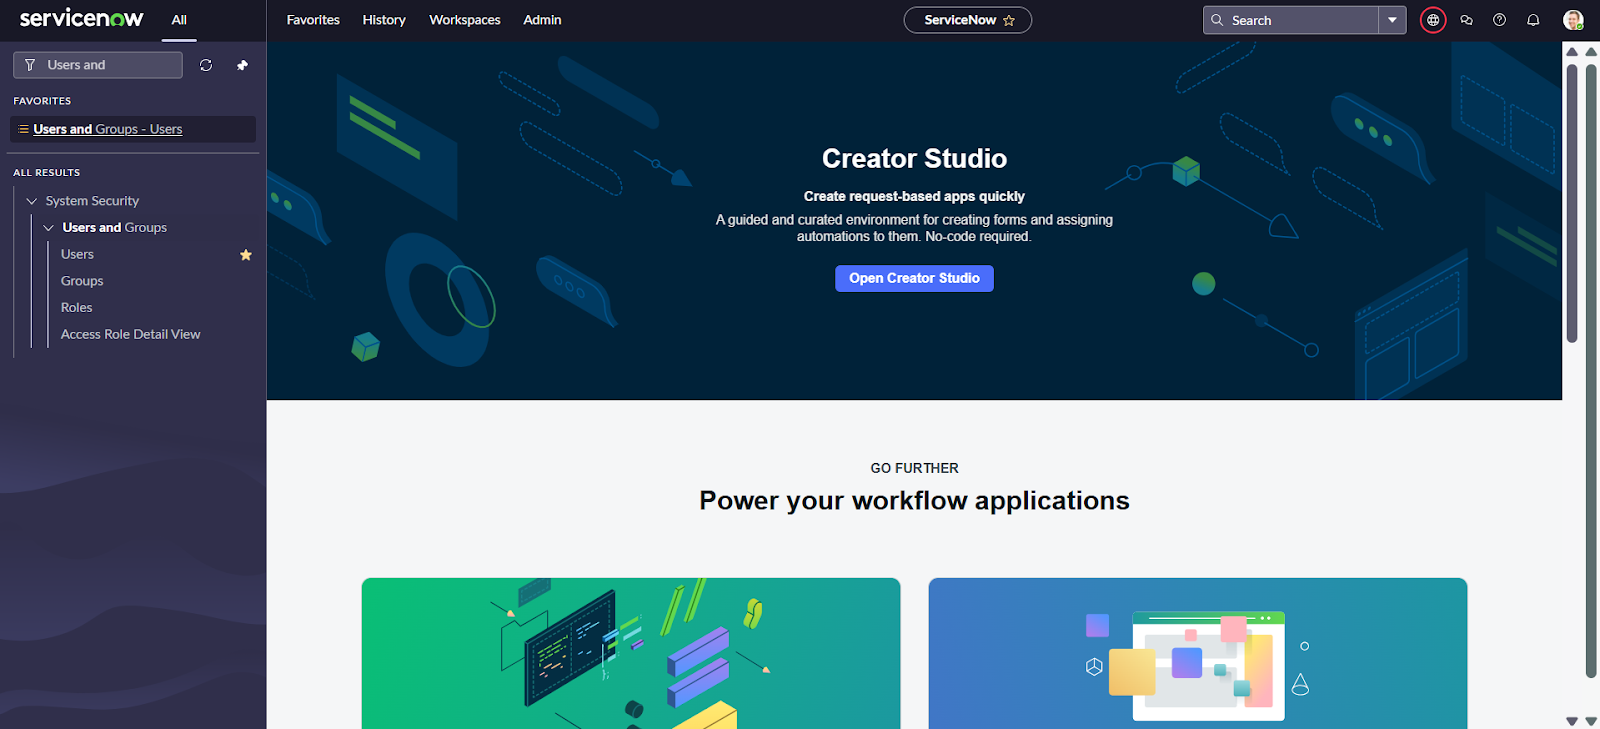
After successfully uploading and committing all the update sets from the Patch
Work Bench file, go to the All tab and search for Patch
Workbench as shown in the image below.
-
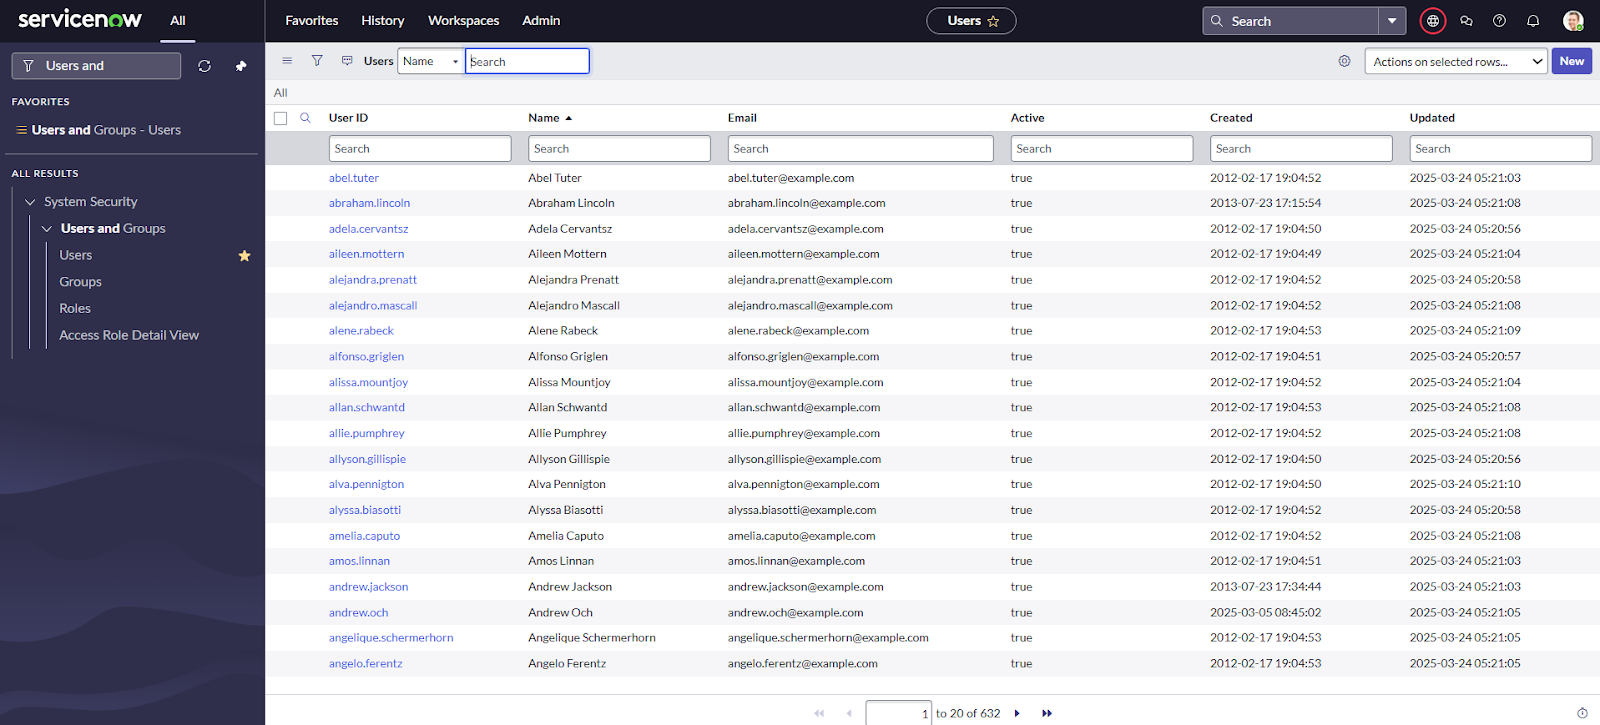
Create a new user for the MID Server by going to the All tab, then
navigate to Users and Groups > Users, and click
Users as shown in the image below.
-
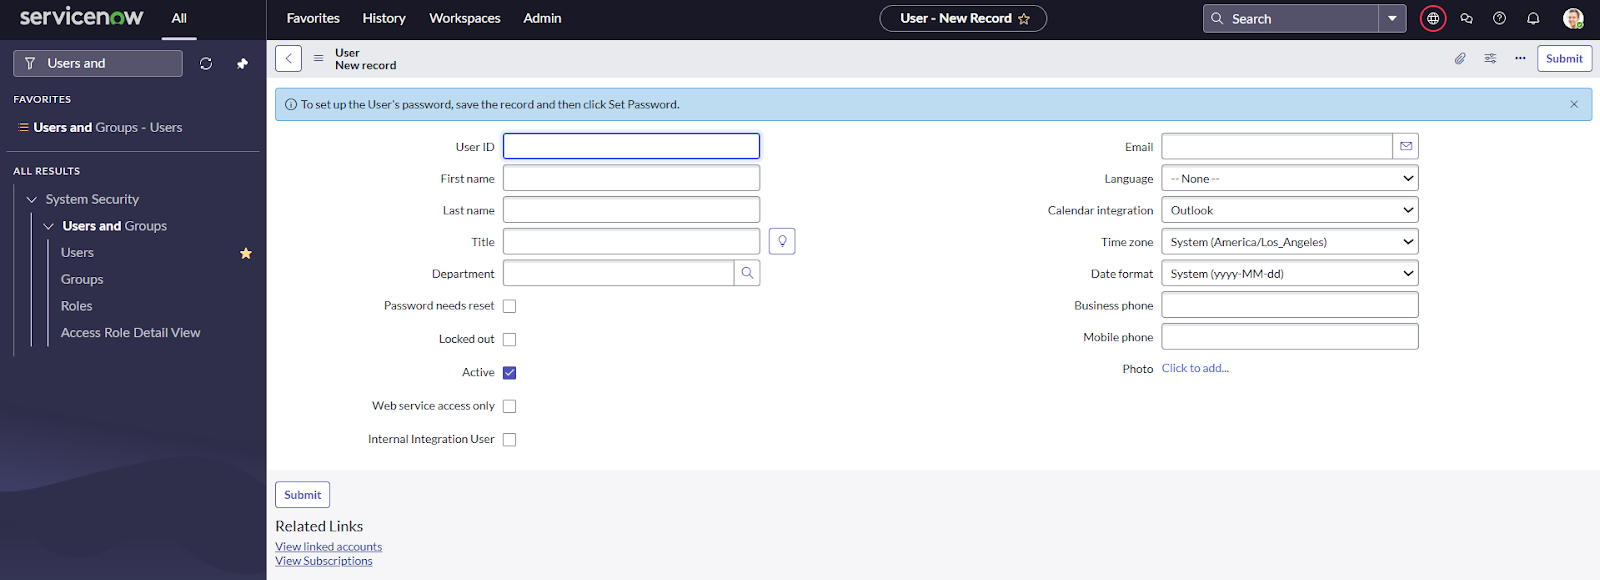
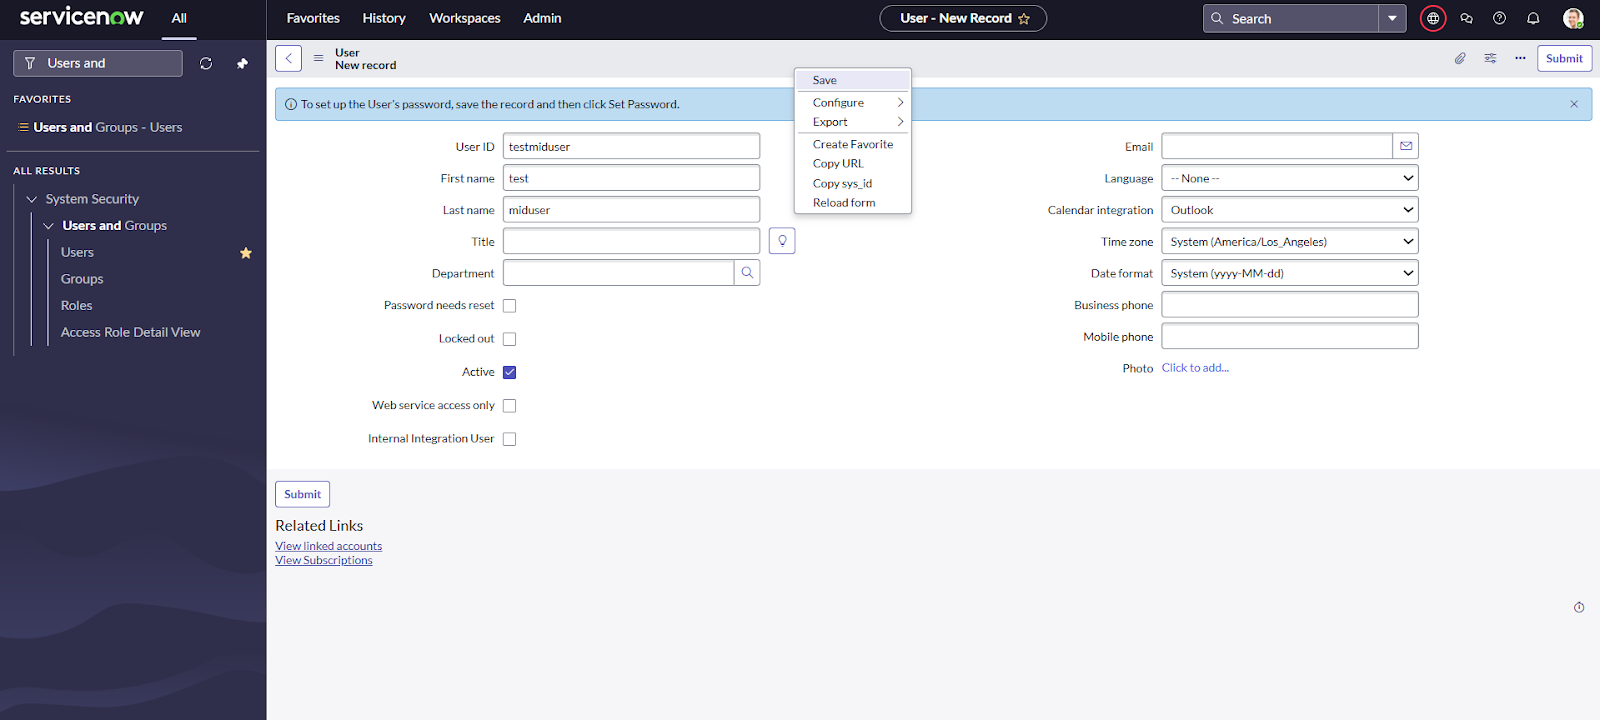
Click New in the top-right corner. Once the form loads
(as shown in the image below), fill in the user details as per your requirements
and click Save.
-
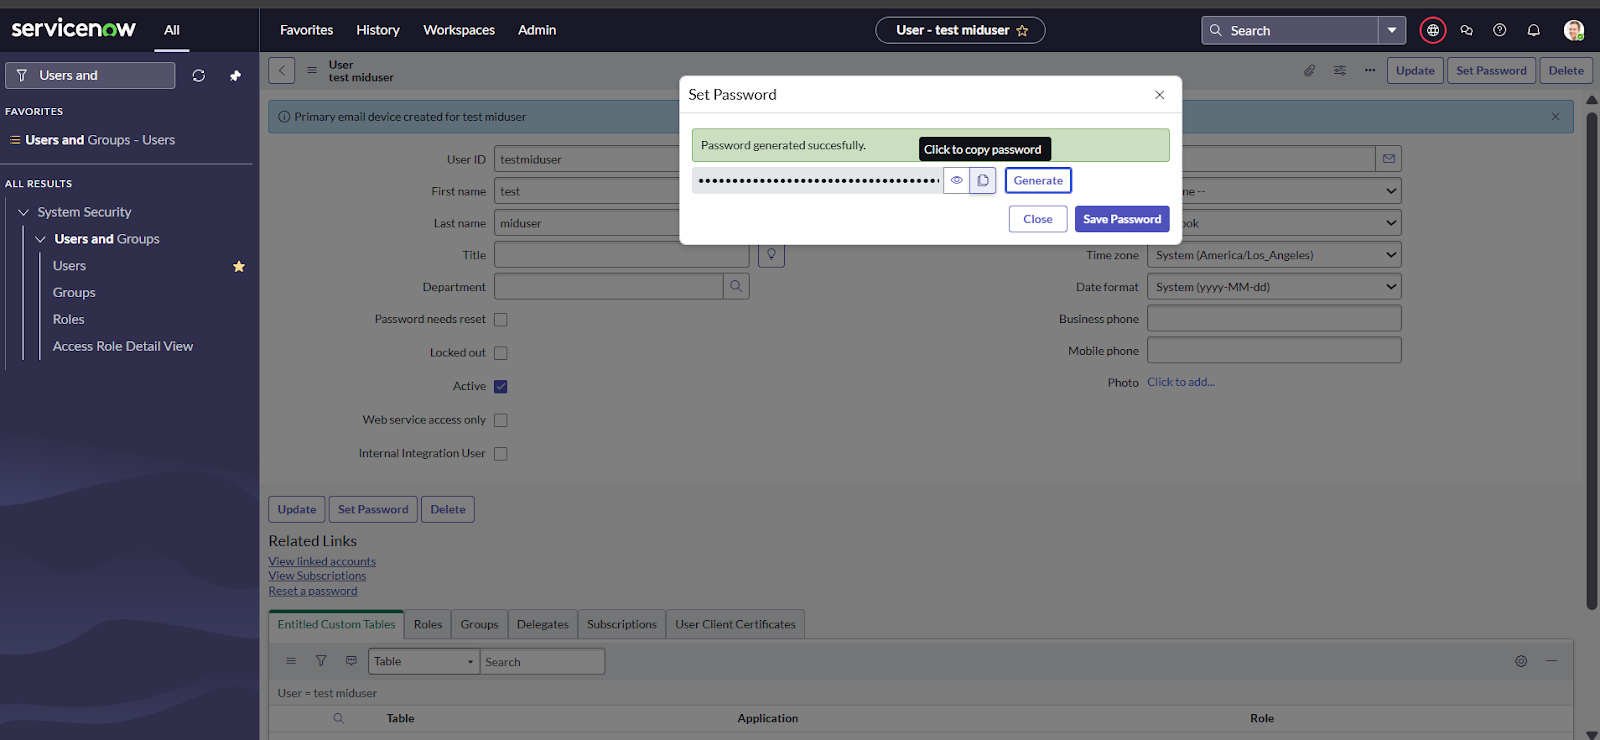
On the same page, click Set Password at the top right
corner, then click Generate Password. Copy the generated
password and click Save Password.
-
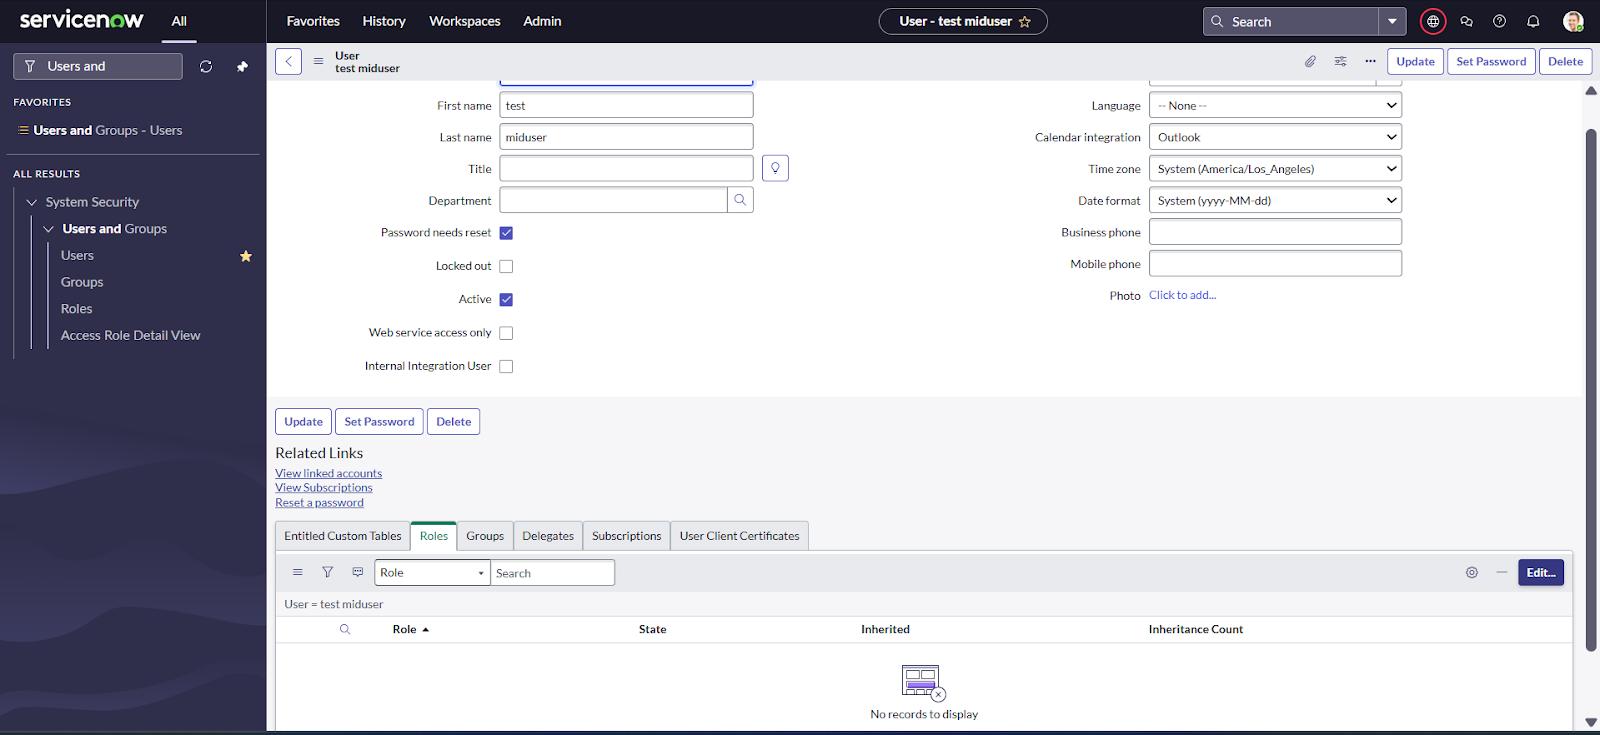
Scroll down on the same page, click Roles, and then
click the Edit button at the right corner to assign roles
to the user.
-
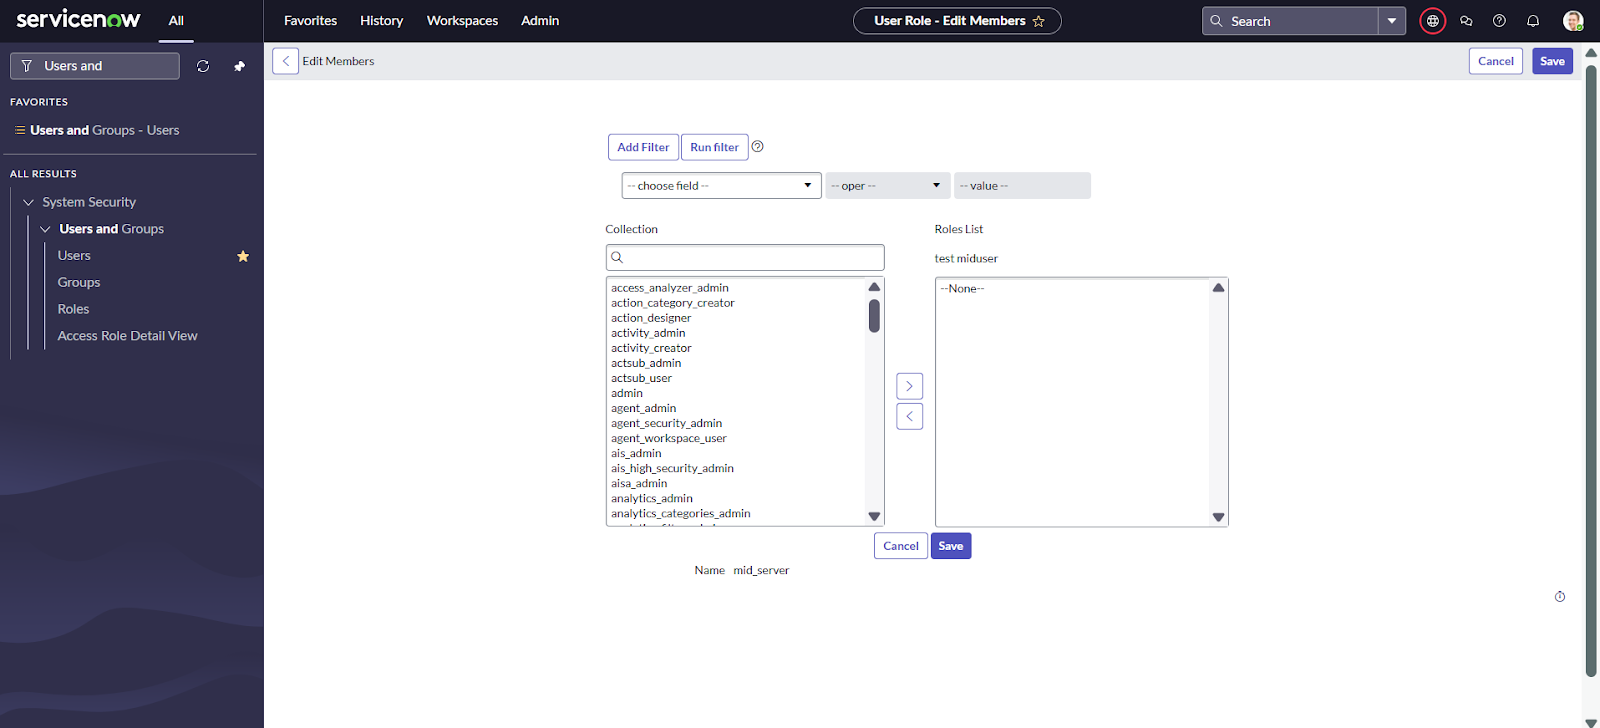
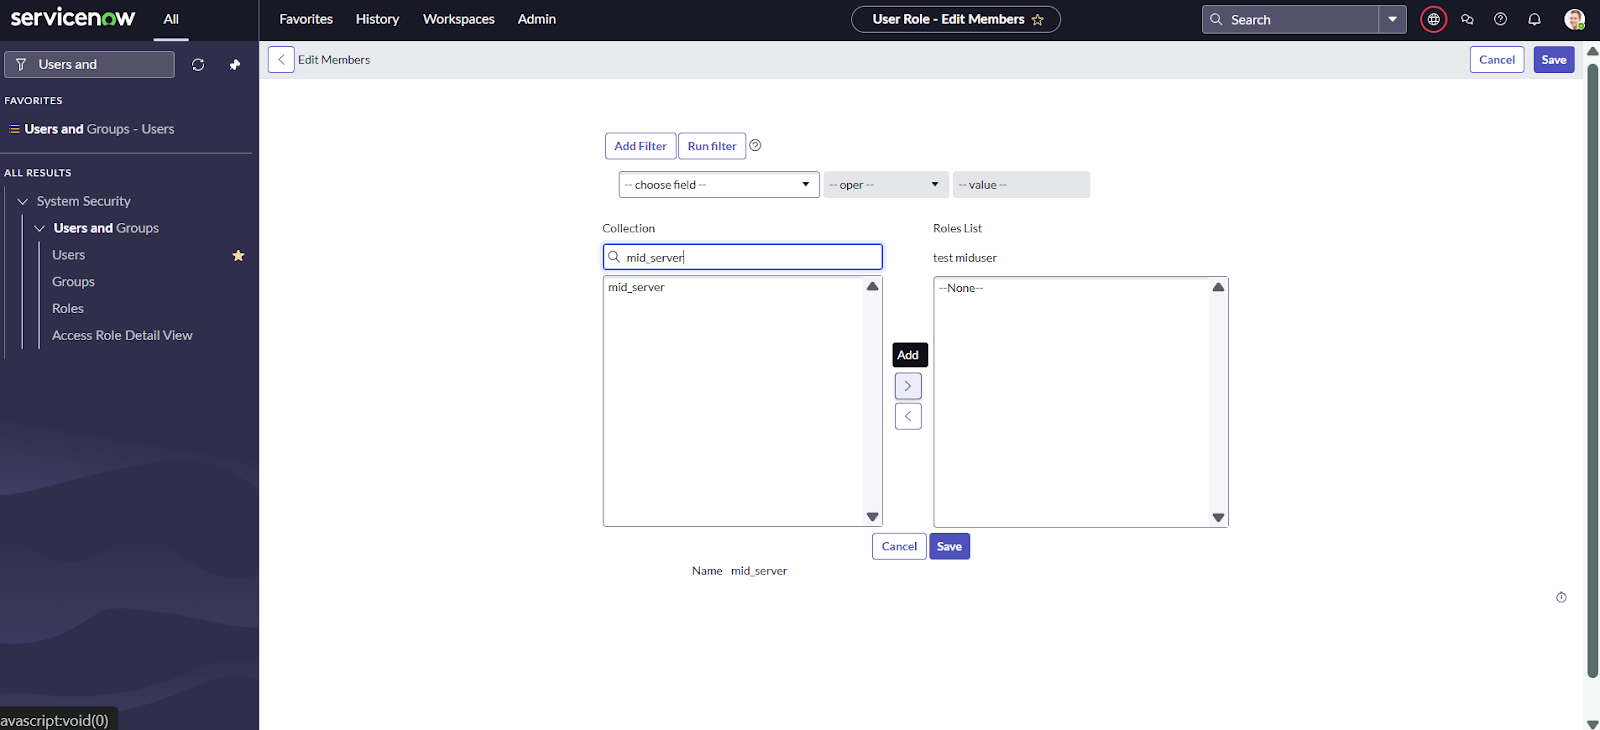
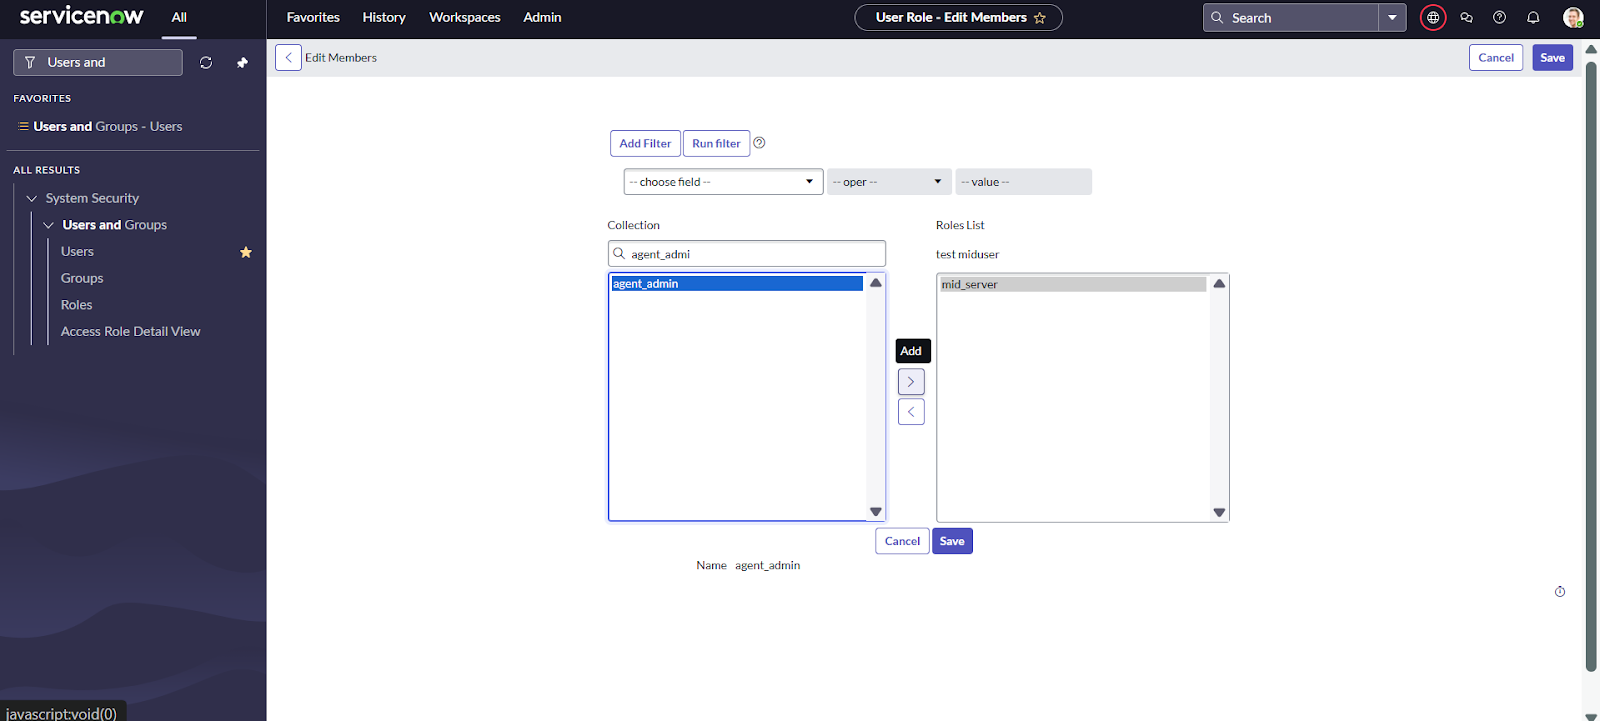
Search for mid_server and agent_admin roles in the search box,
select them, and move them to the right-side list as shown in the image below.
After that, click the Save button.

-
Log in using the newly created user account with the username you set and the generated password you copied earlier.

-
After logging in, you will be prompted to change the password. Set a new
password as per your preference and save both the username and new
password in a secure location — you will need them during the MID Server
installation.