Change Request Configuration
Learn how to configure and process a change request for patch deployment.
About this task
Procedure
-
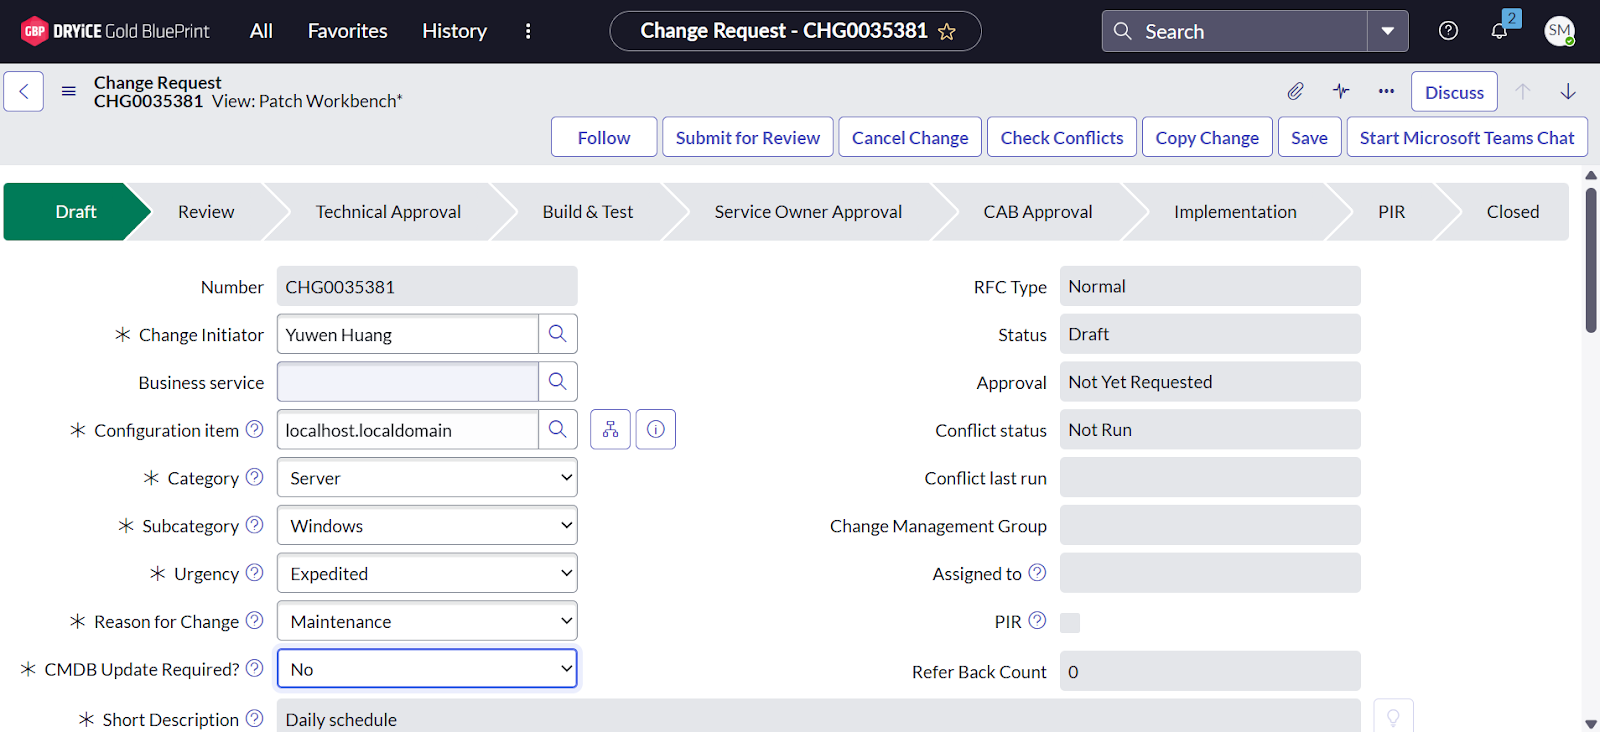
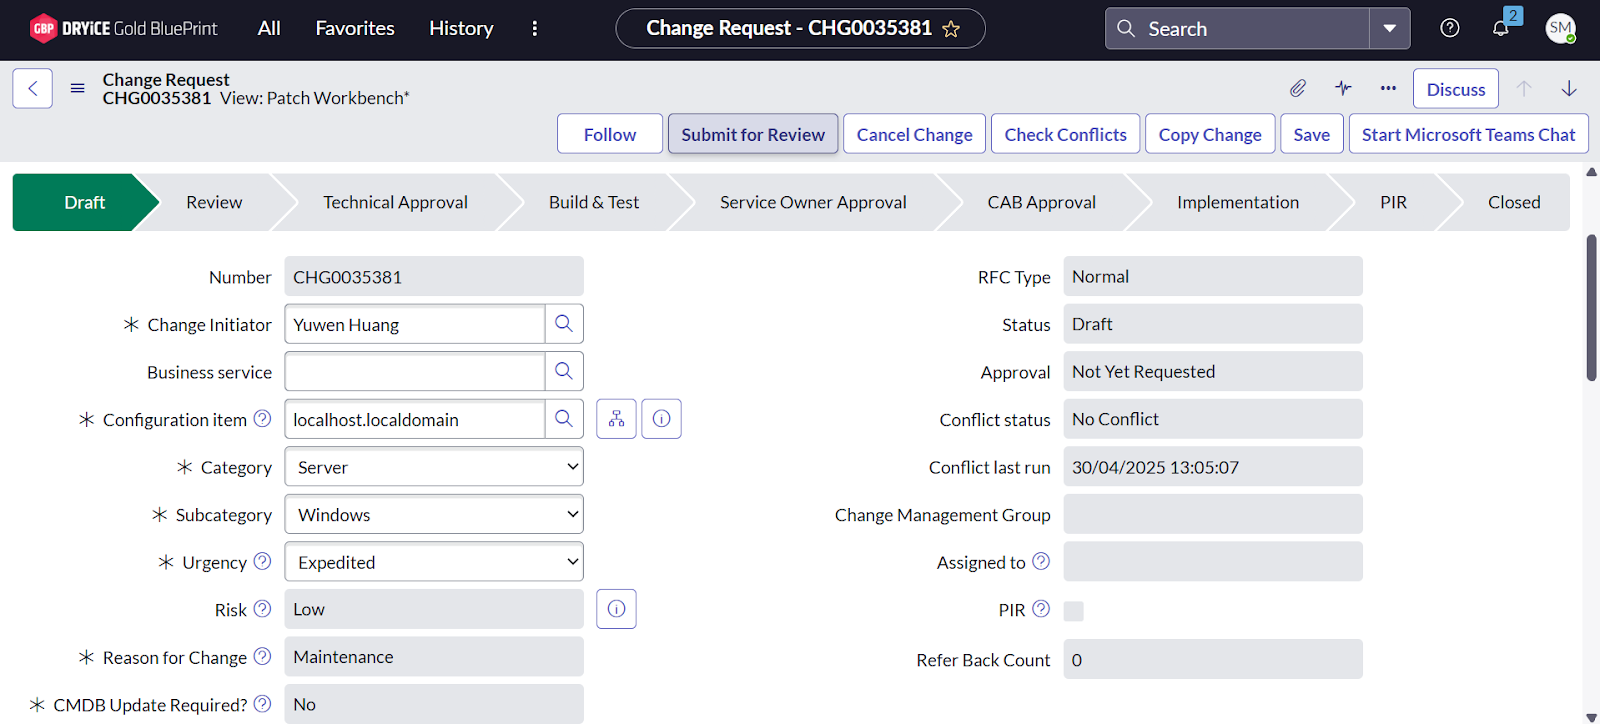
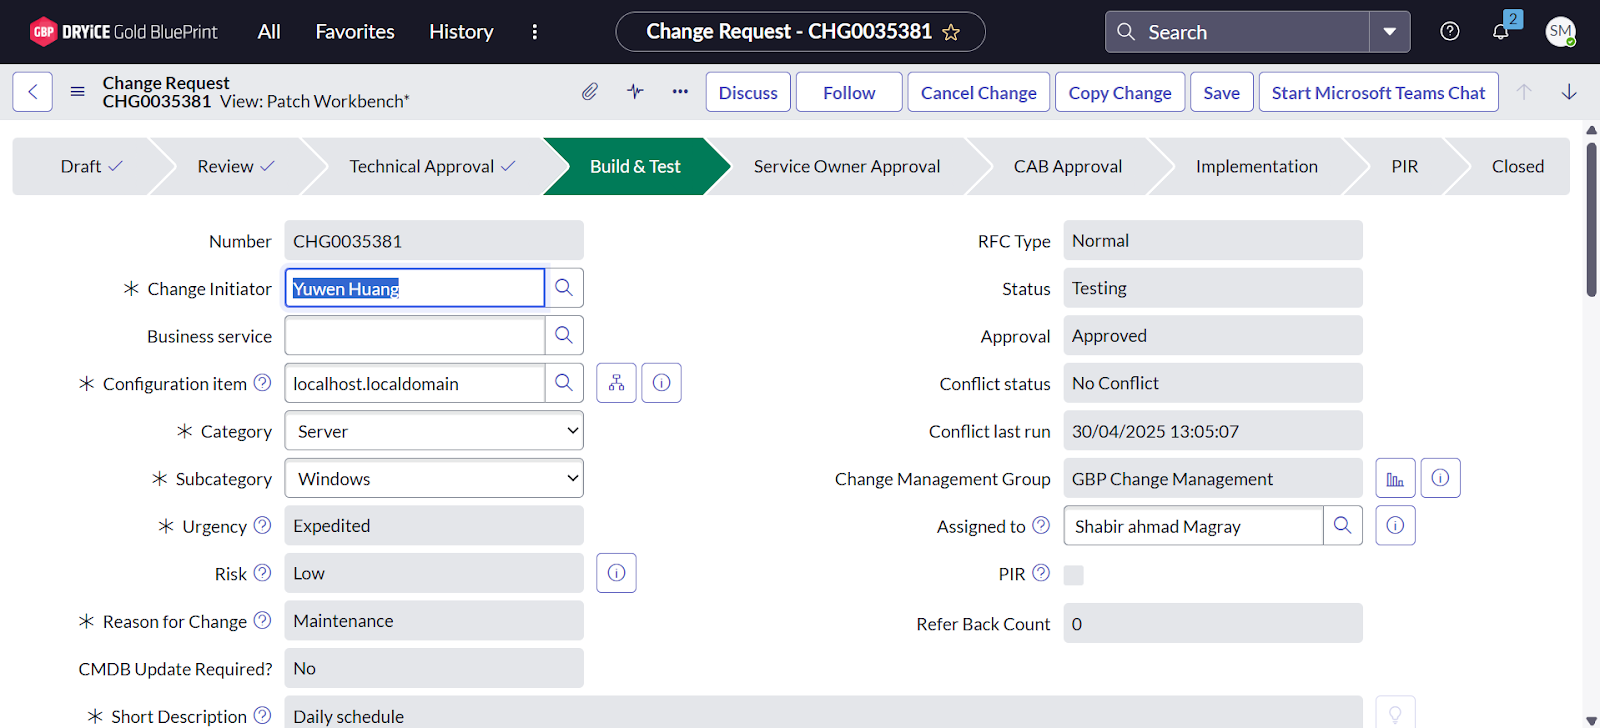
Click on the change that has been created and update the following fields:
- Set Category to
Server - Set Subcategory to
Windows - Set Urgency to
Expedited - Set Reason for Change to
Maintenance - Set CMD Update Required to
No
- Set Category to
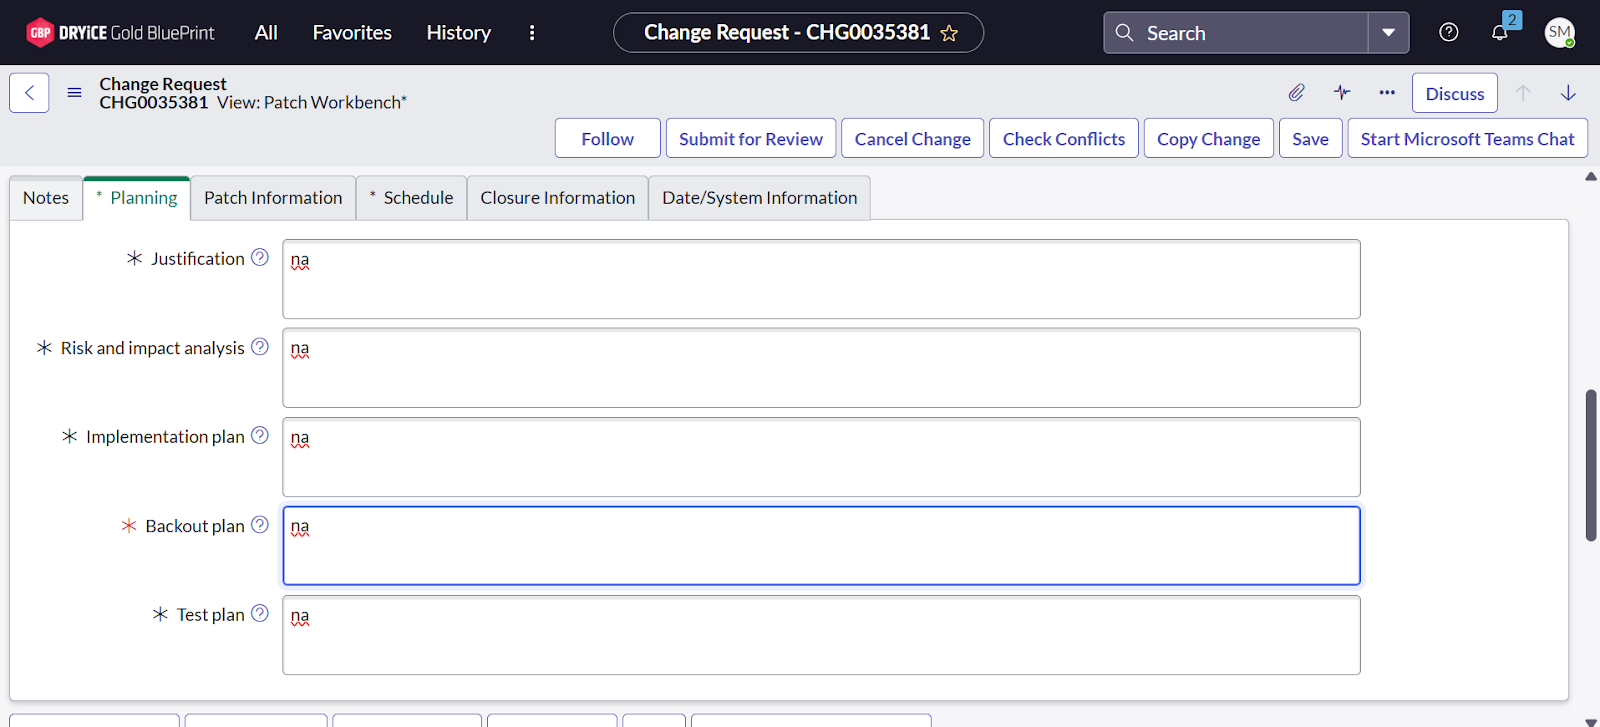
-
after completing the above step and fill in all the required
(* marked) fields under the
Planning section as per your requirements.
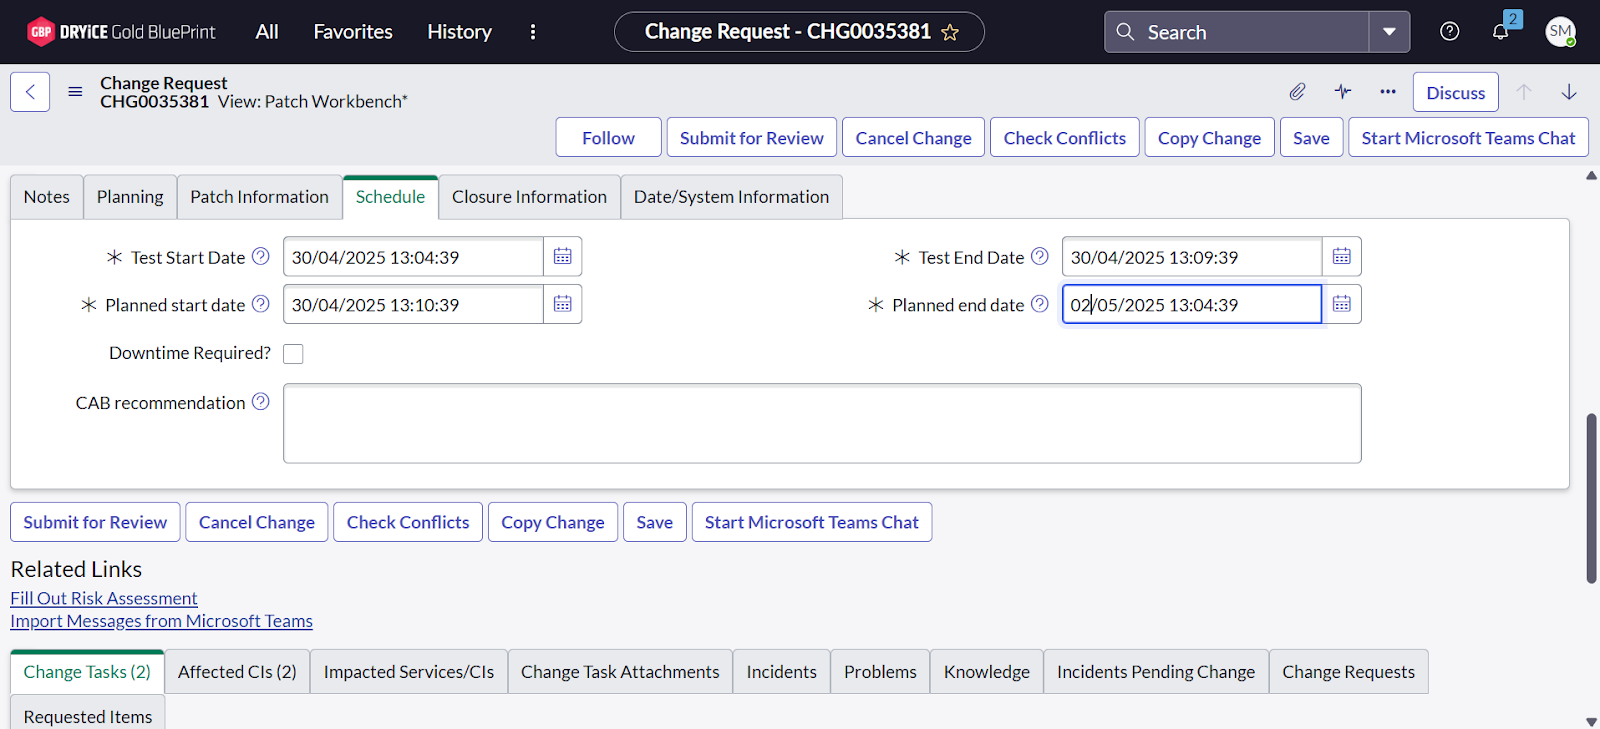
-
On the same page, after completing the previous step, field and fill in all the required (*
marked) fields according to your requirements, and then click
Save.
-
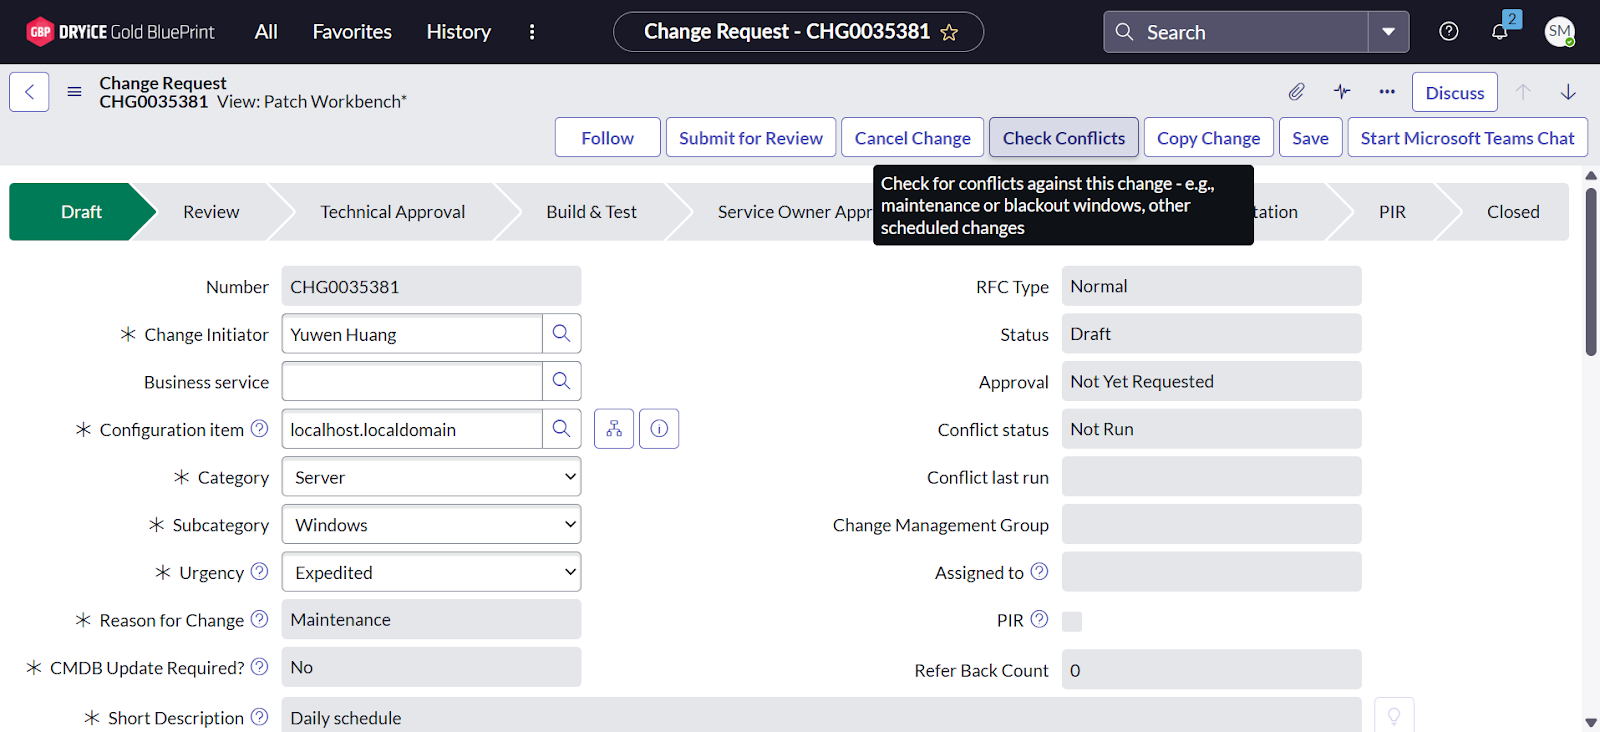
Click on the Check Conflicts button to identify any
potential scheduling or change conflicts.
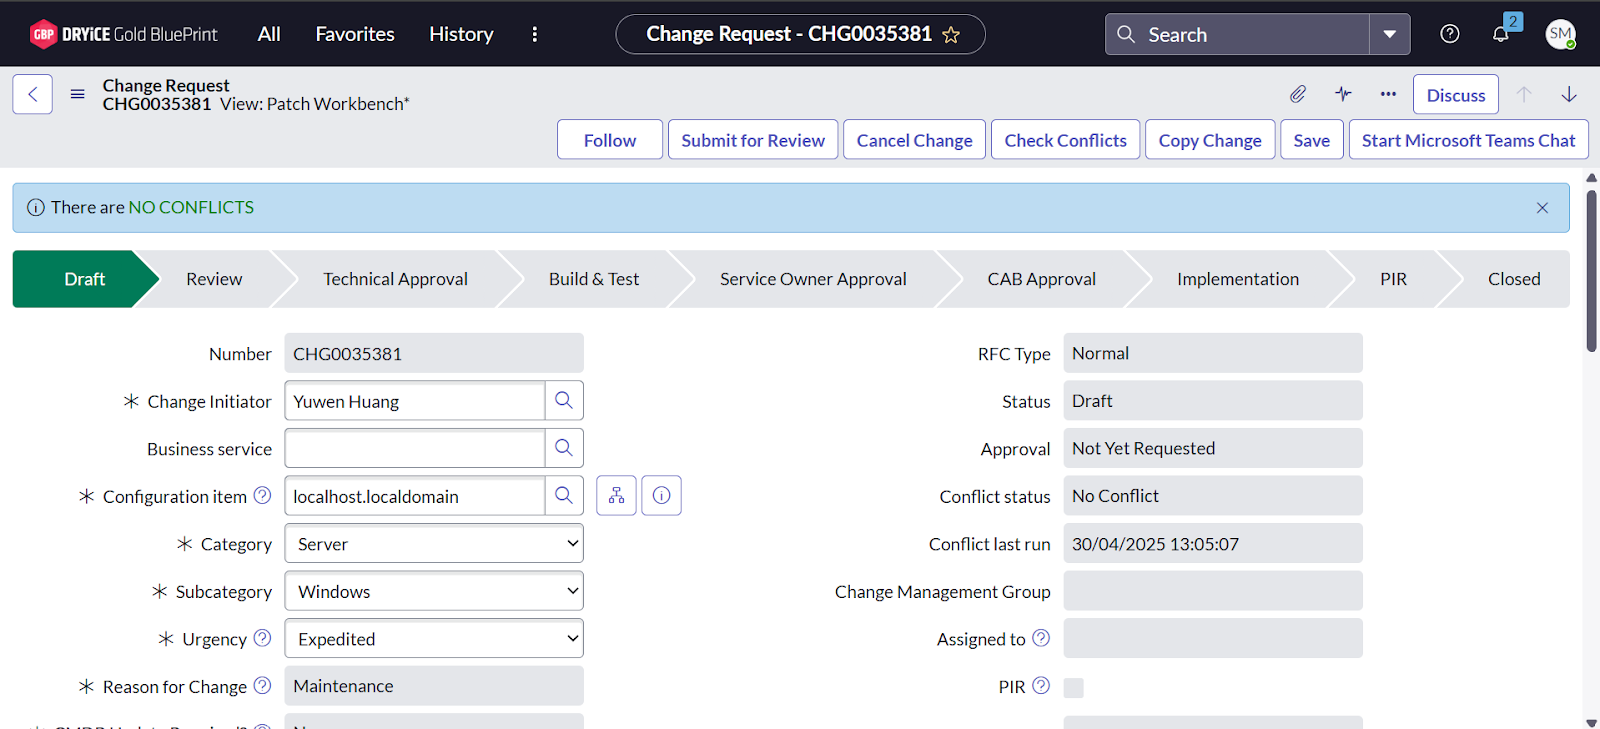
-
As a result, No Conflicts is found.
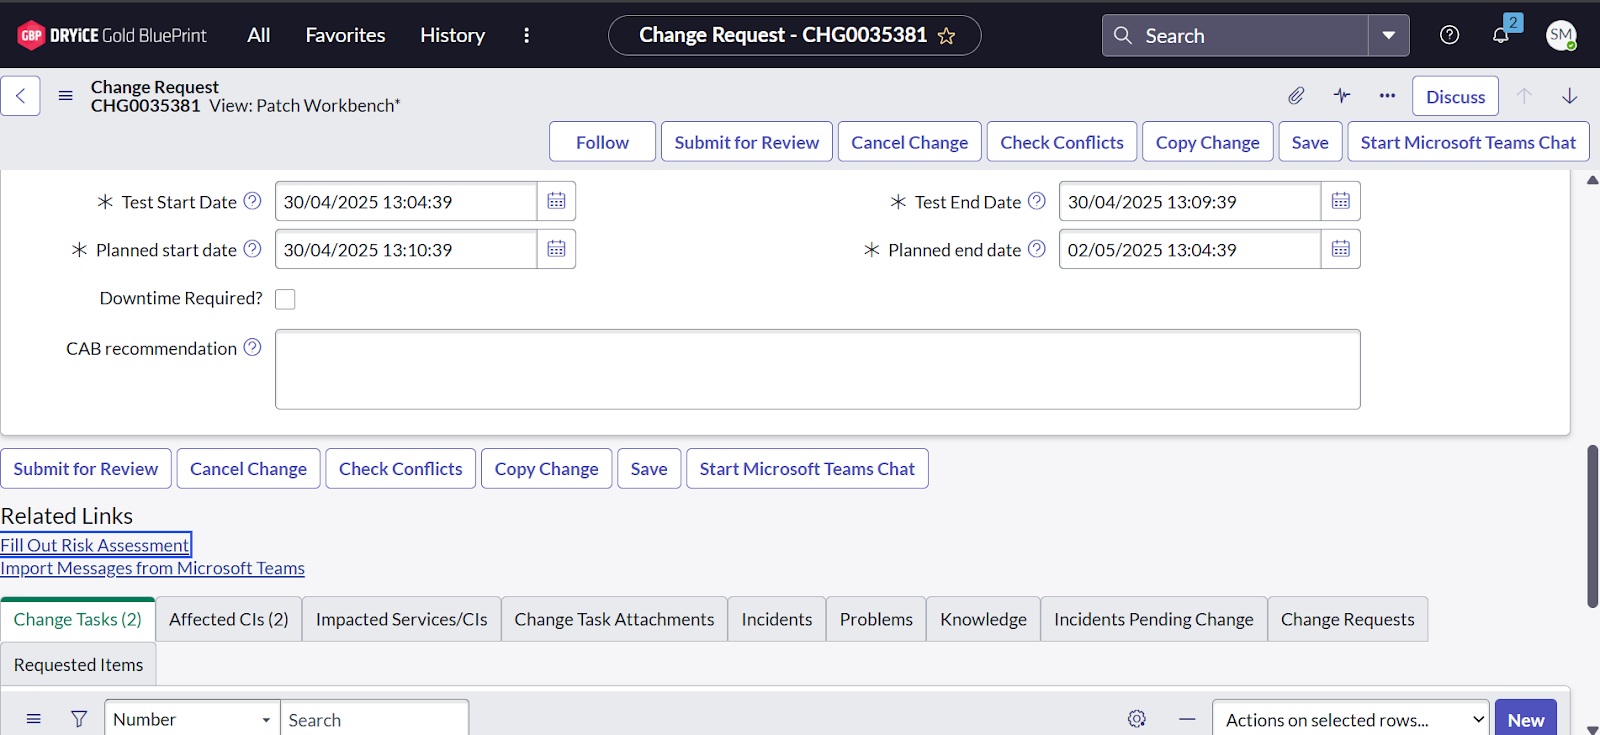
-
Click on the Fill Out Risk Assessment button as shown
in the image to complete the required risk evaluation for the change.
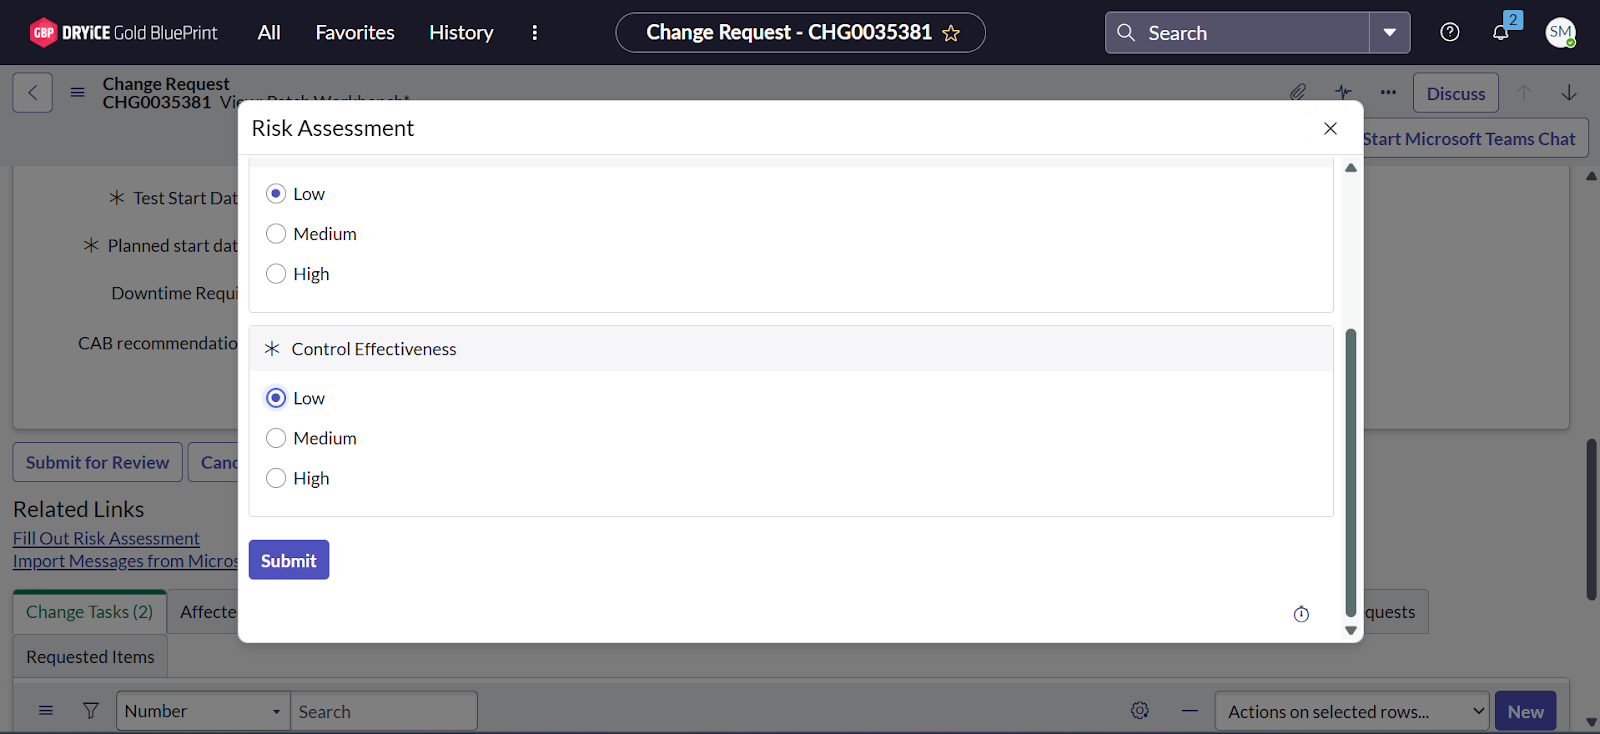
-
Click on the appropriate option shown in the image
below based on your specific requirements for the Risk
Assessment.
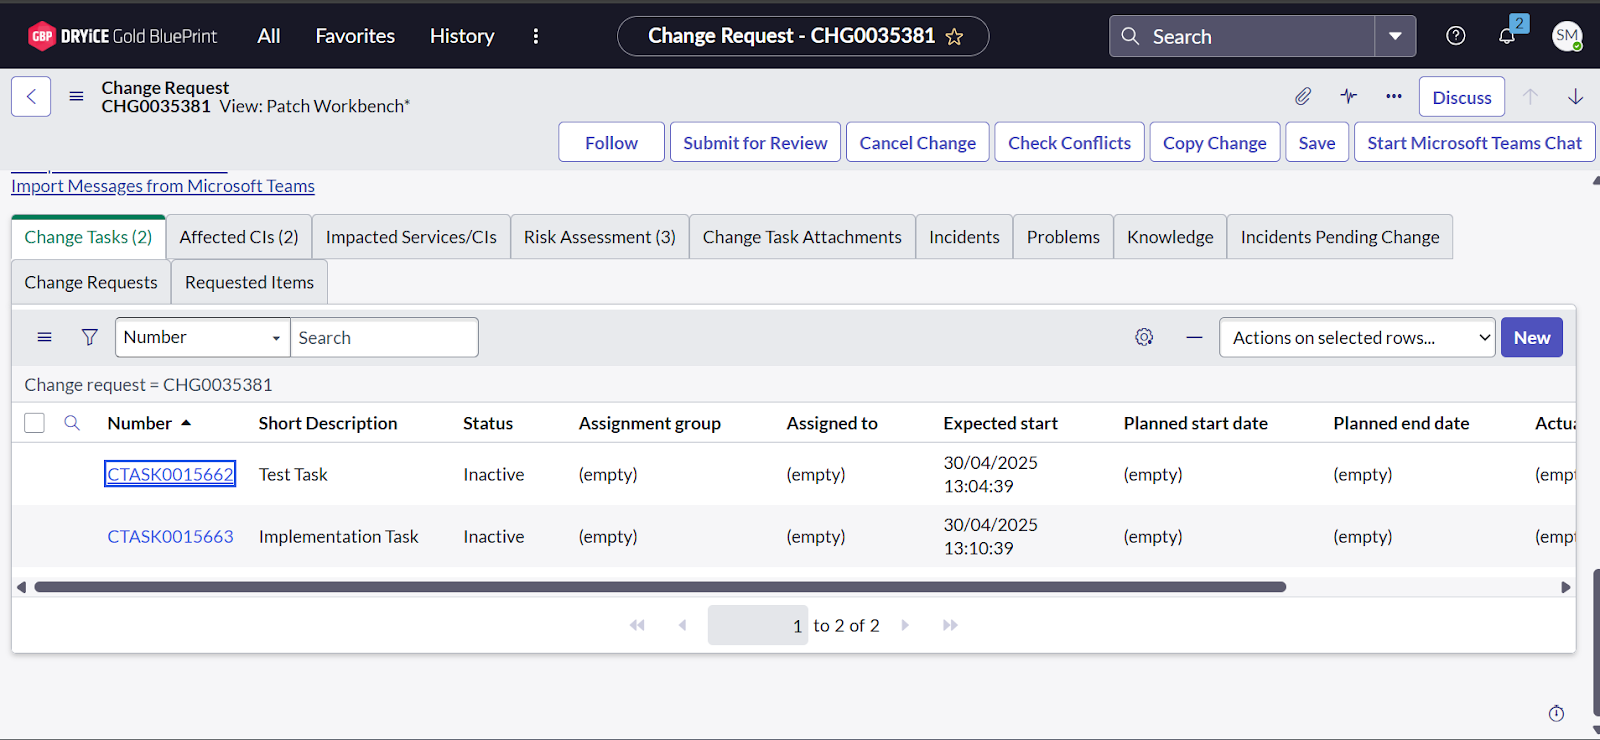
-
On the same page, scroll down and click on Change Task,
then open each Change Task in a new tab.
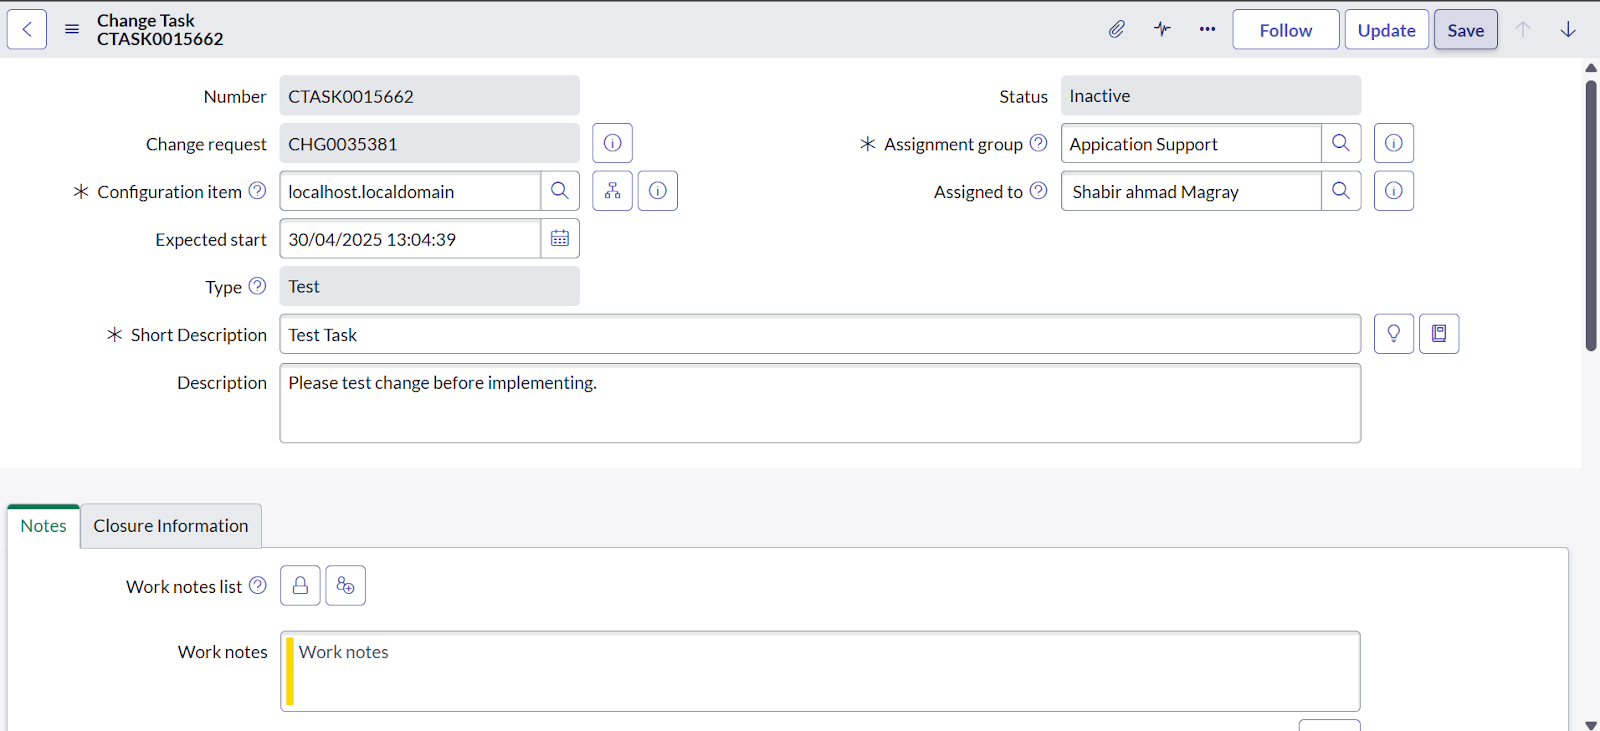
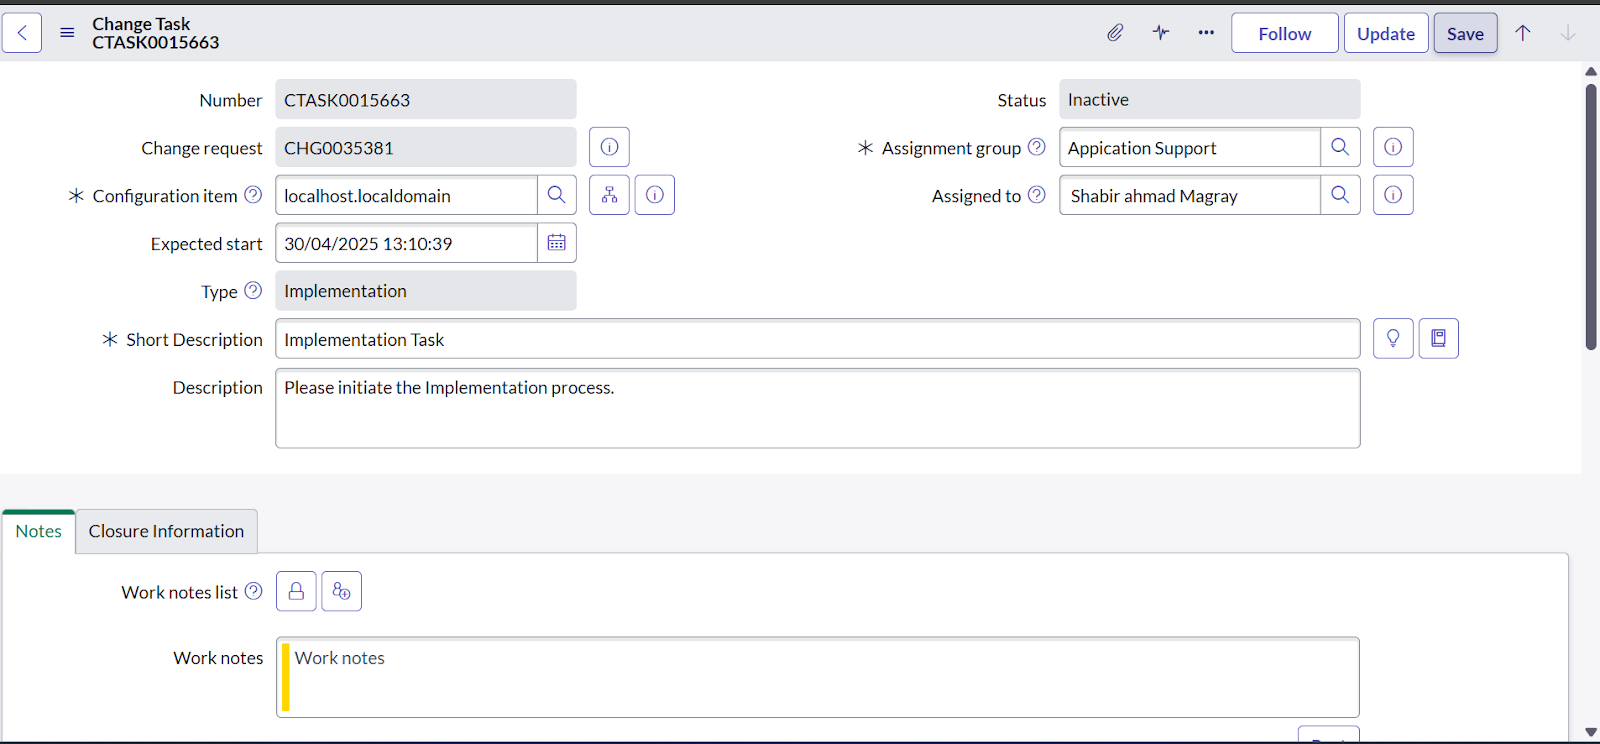
-
After opening the Change Task from the above step, add
the Assignment Group and Assigned
To fields, then click Save.
-
After completing all the above 9 steps, go to the Change
Request page and click Submit for
Review.
-
After performing step number
10, the Change Request will move to the Review stage.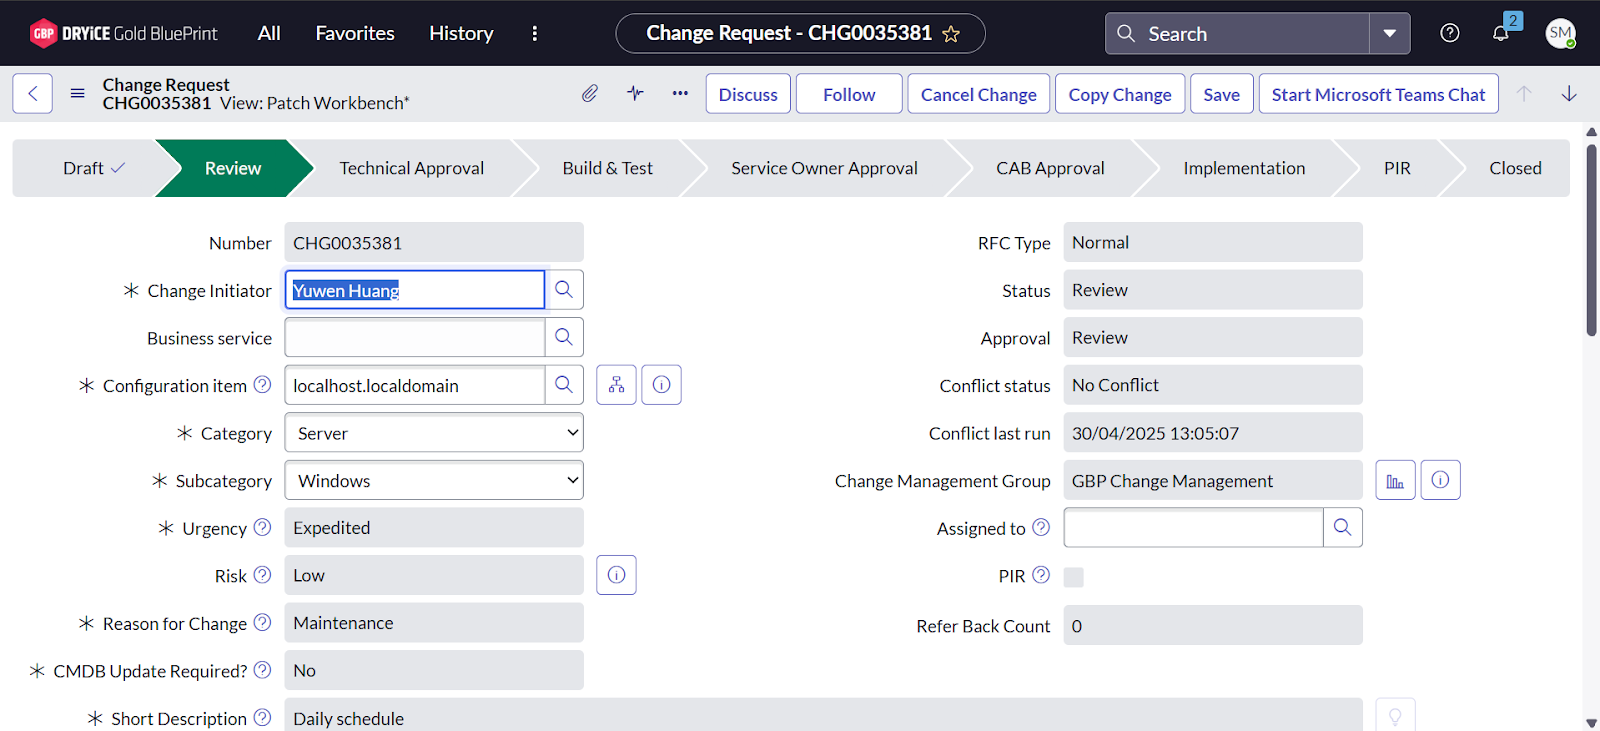
-
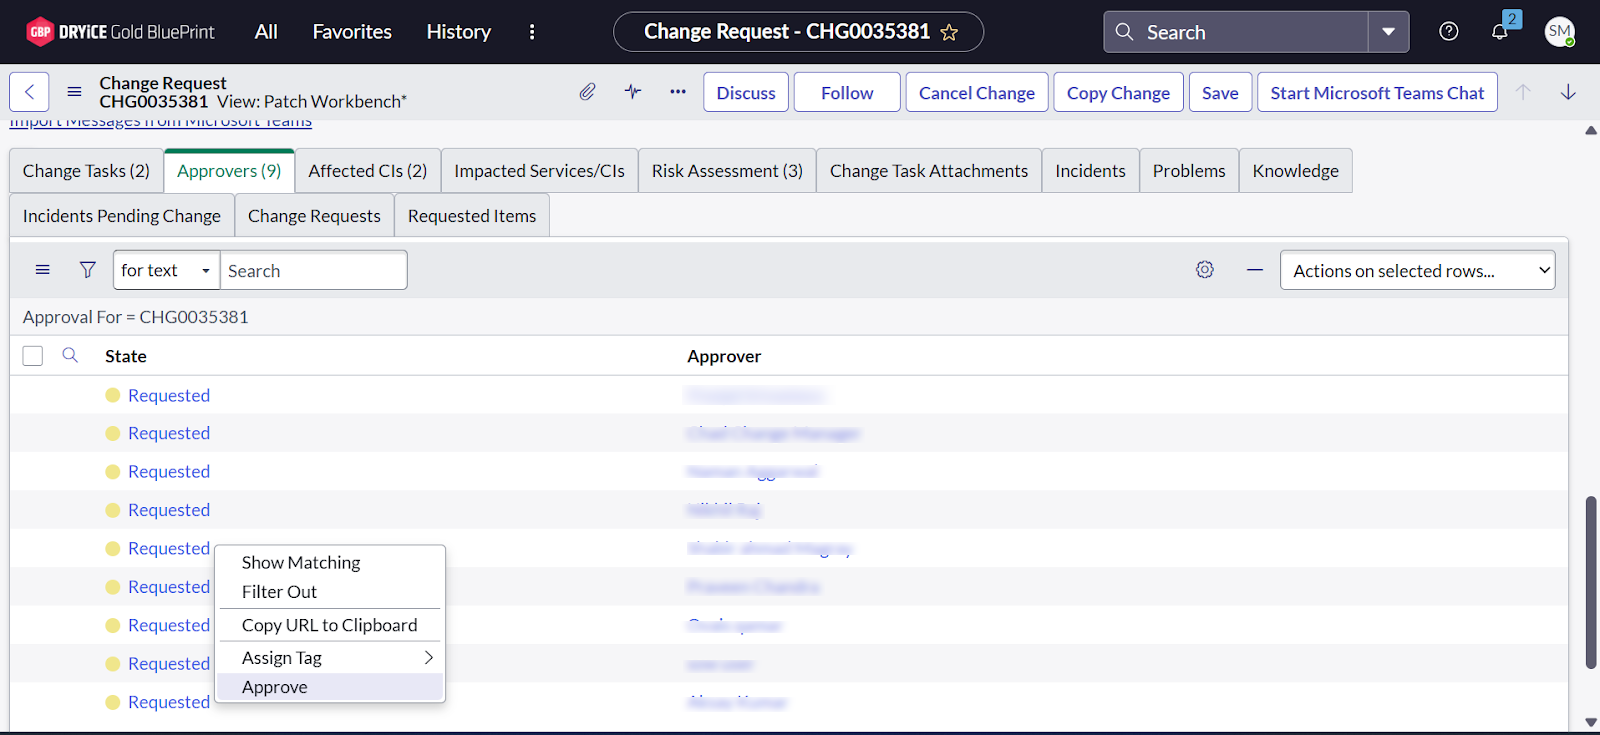
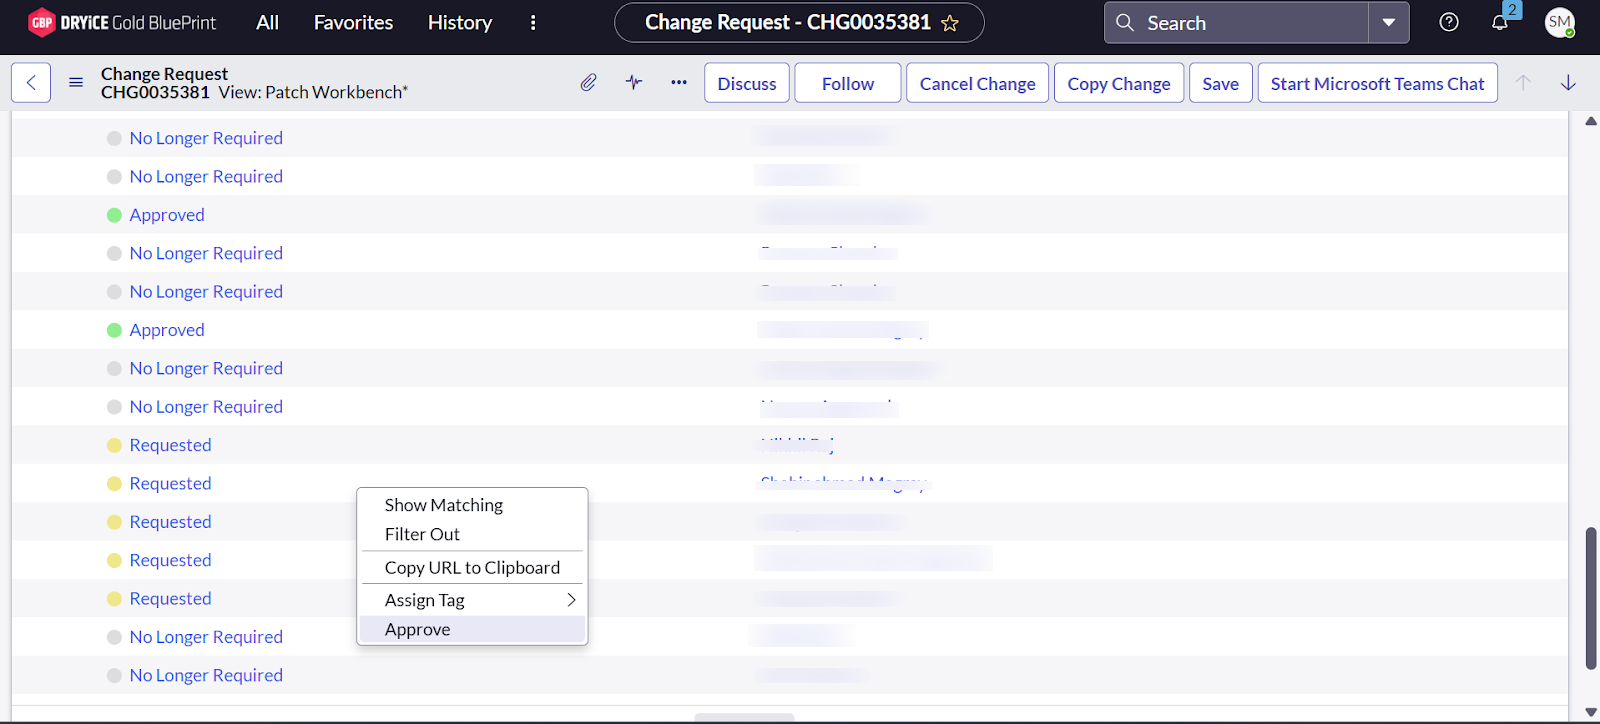
Scroll down on the same page and click Approvers to
approve the current stage, as shown in the image below.
-
After performing step number
12, the Change Request will move to the Technical Approval stage.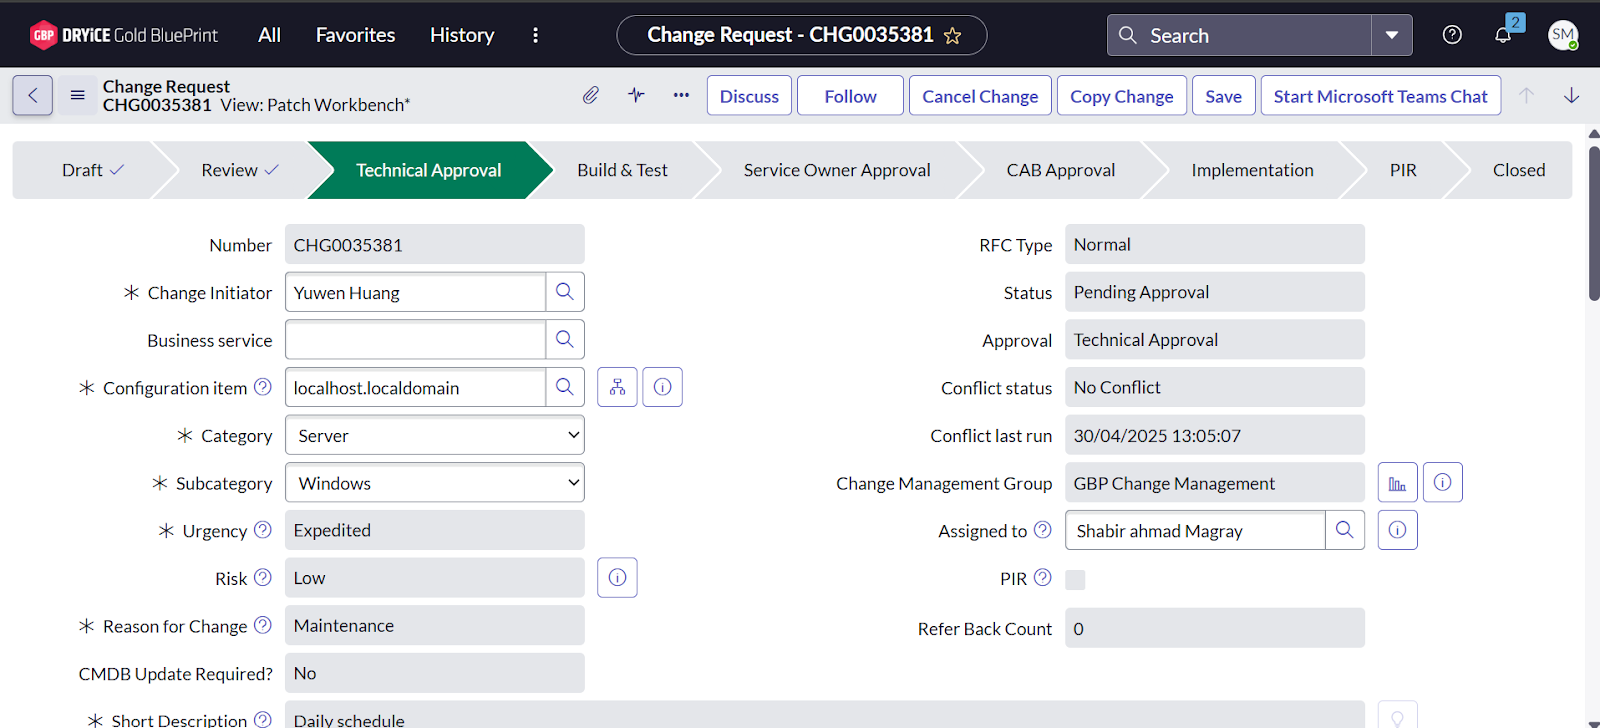
-
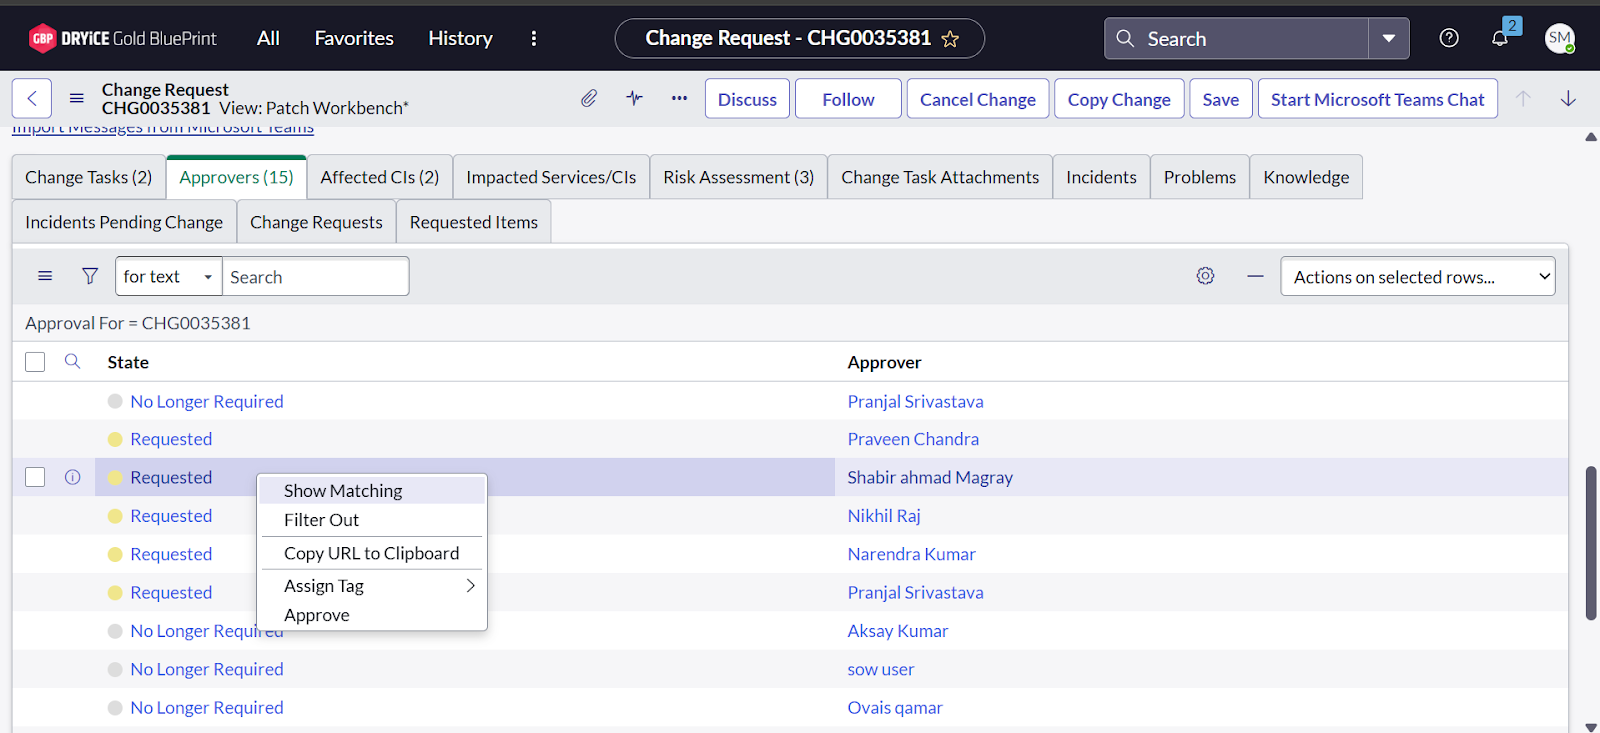
Scroll down on the same page and click Approvers to
approve the current stage, as shown in the image below.
-
After performing step number 14, the Change Request will
move to the Build and Test stage.
-
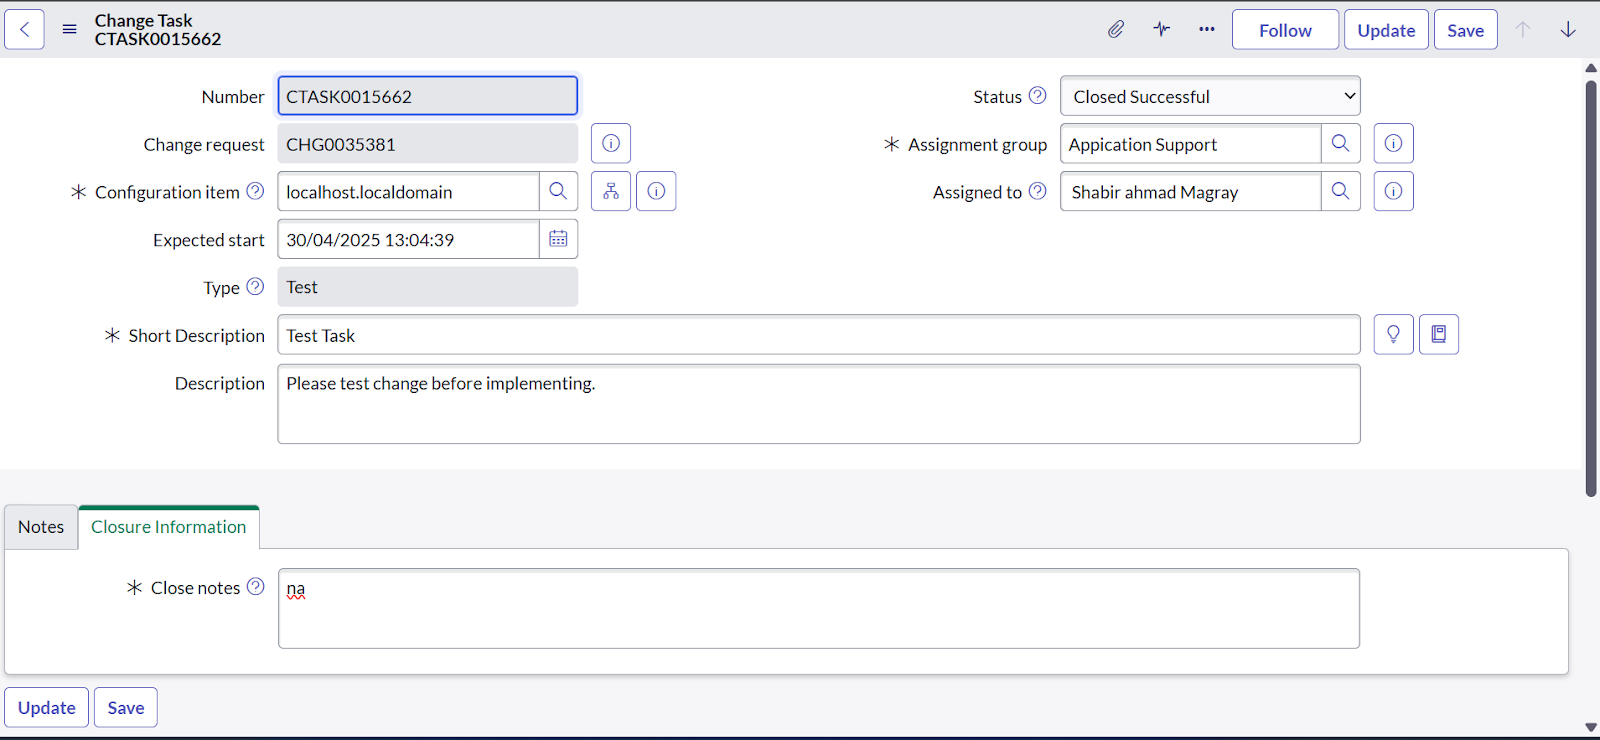
, then open the first Change Task that has
the Short Description as
Test Task.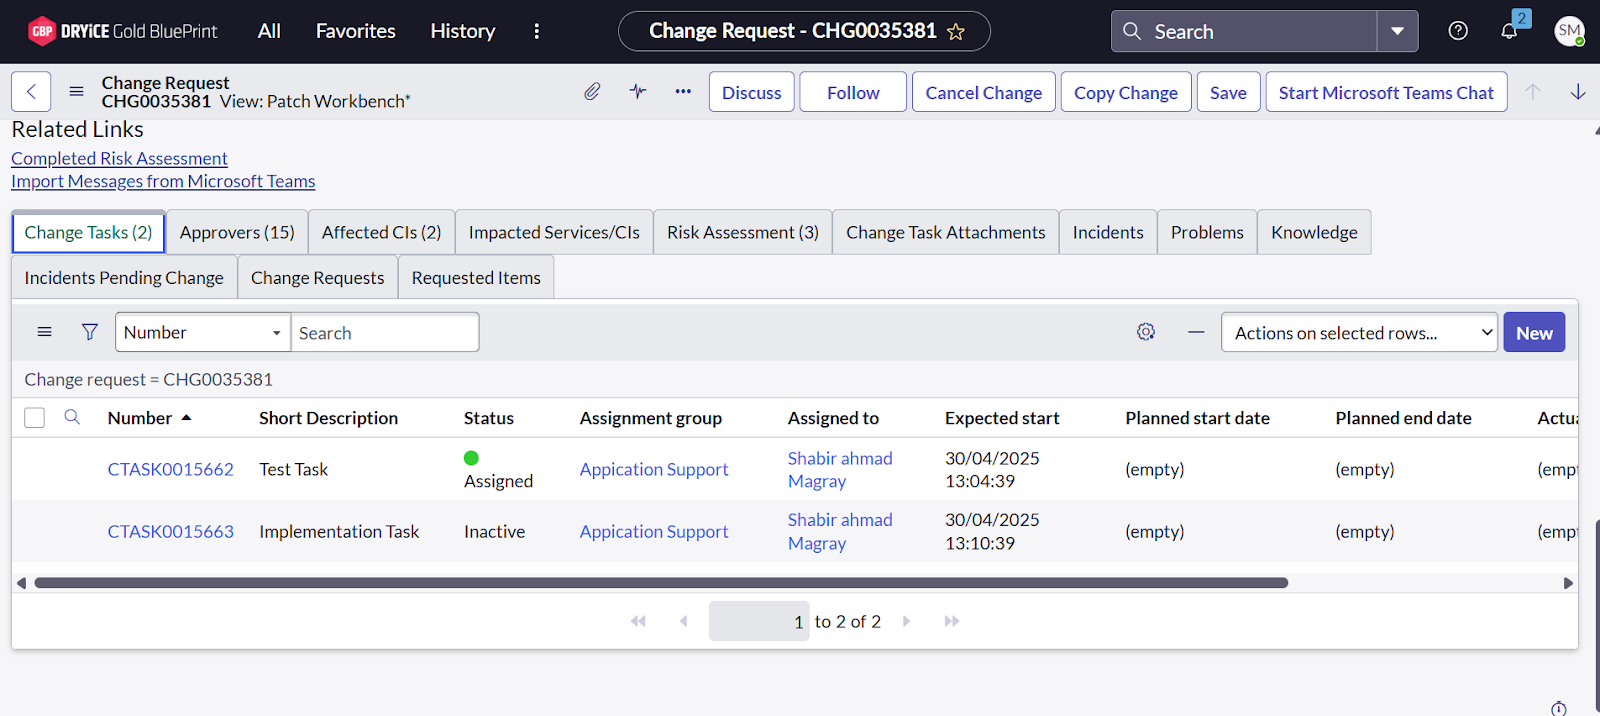
-
After opening the Change Task from the above step, perform the following
actions:
- Change the Status to Closed Successful.
- Click on Closure Information.
- Add the Close Notes as per your requirements.
- Click Save.
-
and refresh the web page. The Change Request will move to
'Service Owner Approval'.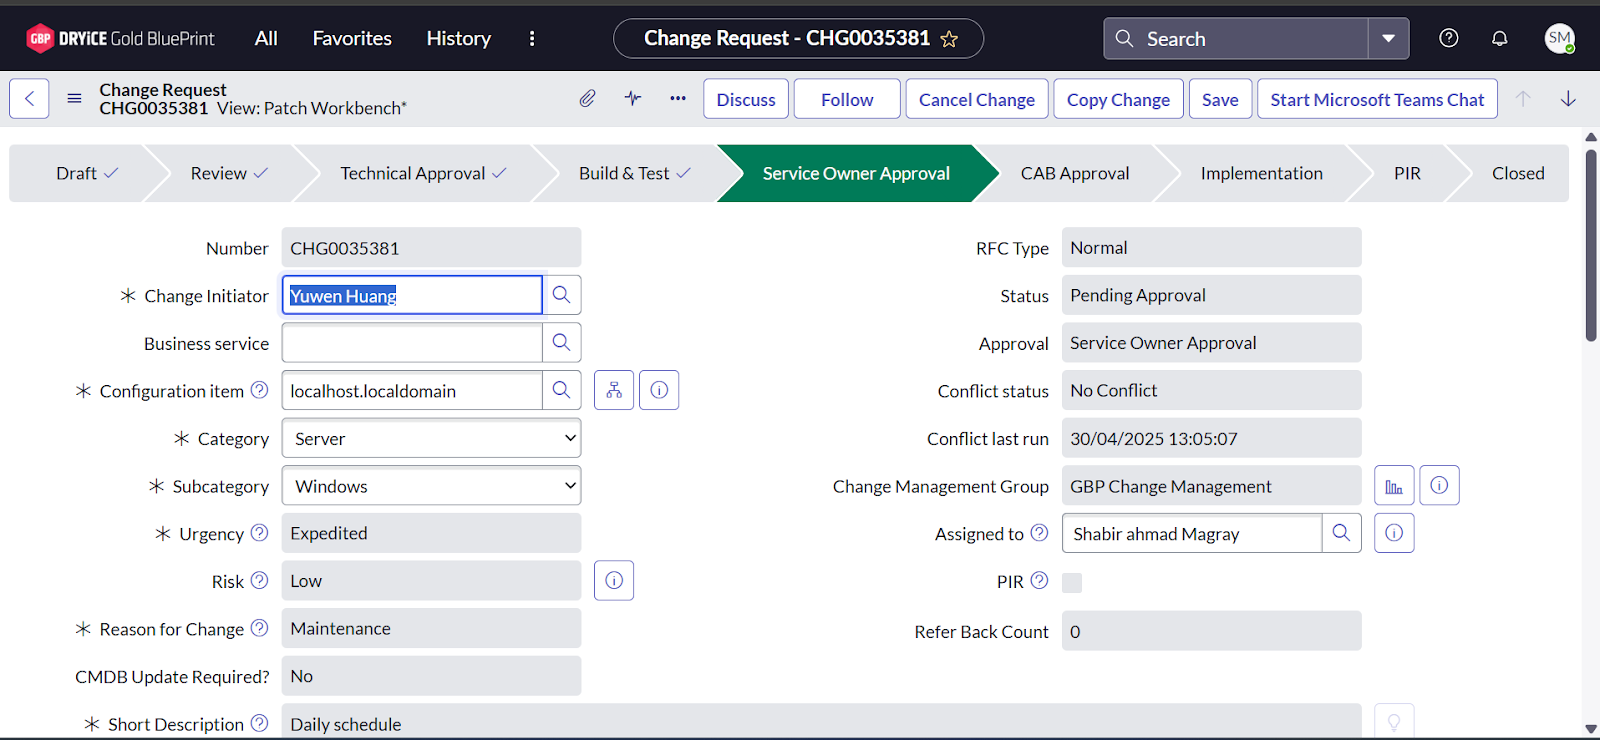
-
Scroll down on the same page and click Approvers to
approve the current stage, as shown in the image below.
-
After performing step number 19, the Change Request will
move to the CAB Approval stage.
-
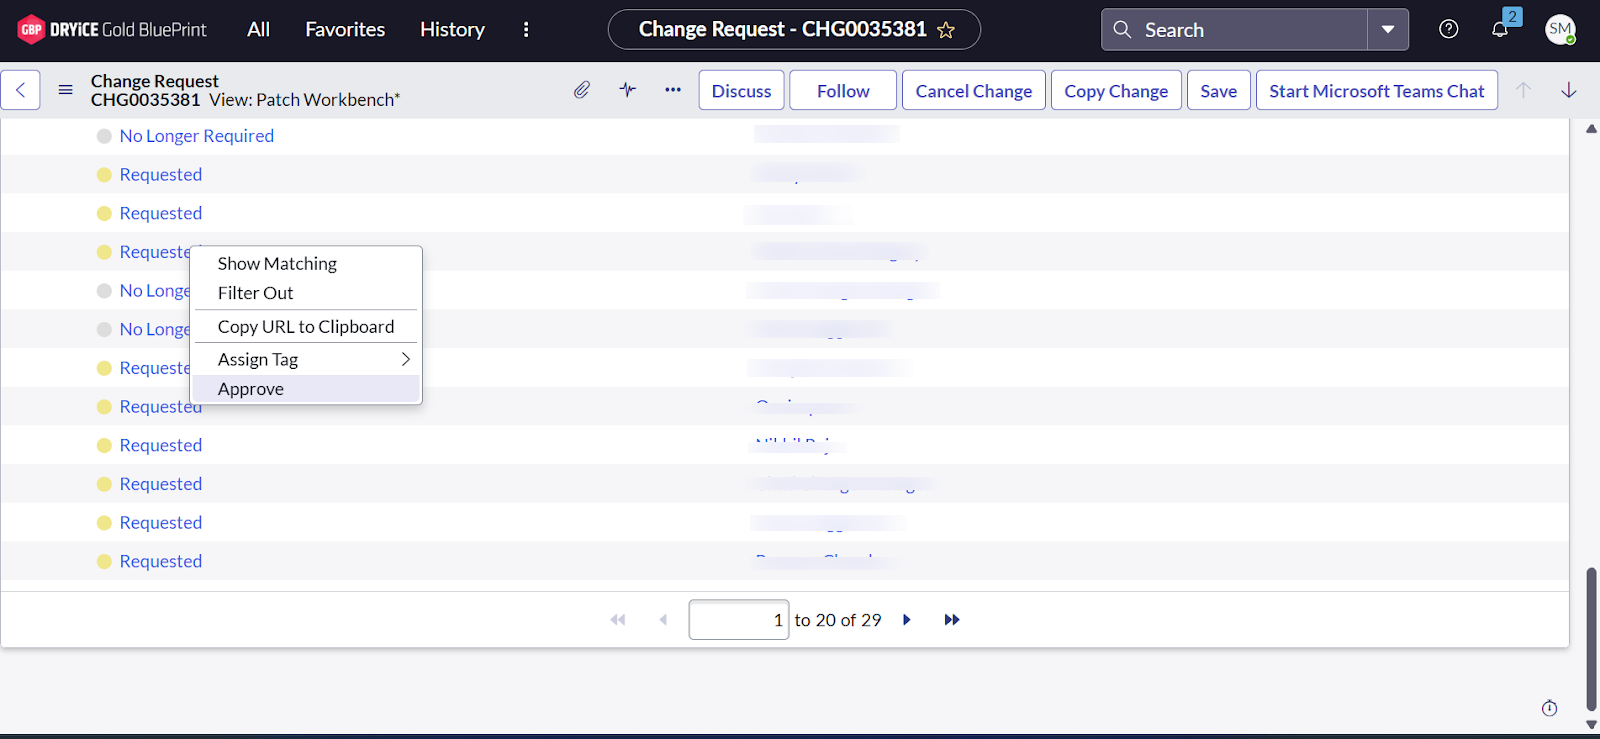
Scroll down on the same page and click Approvers to
approve the current stage, as shown in the image below.
-
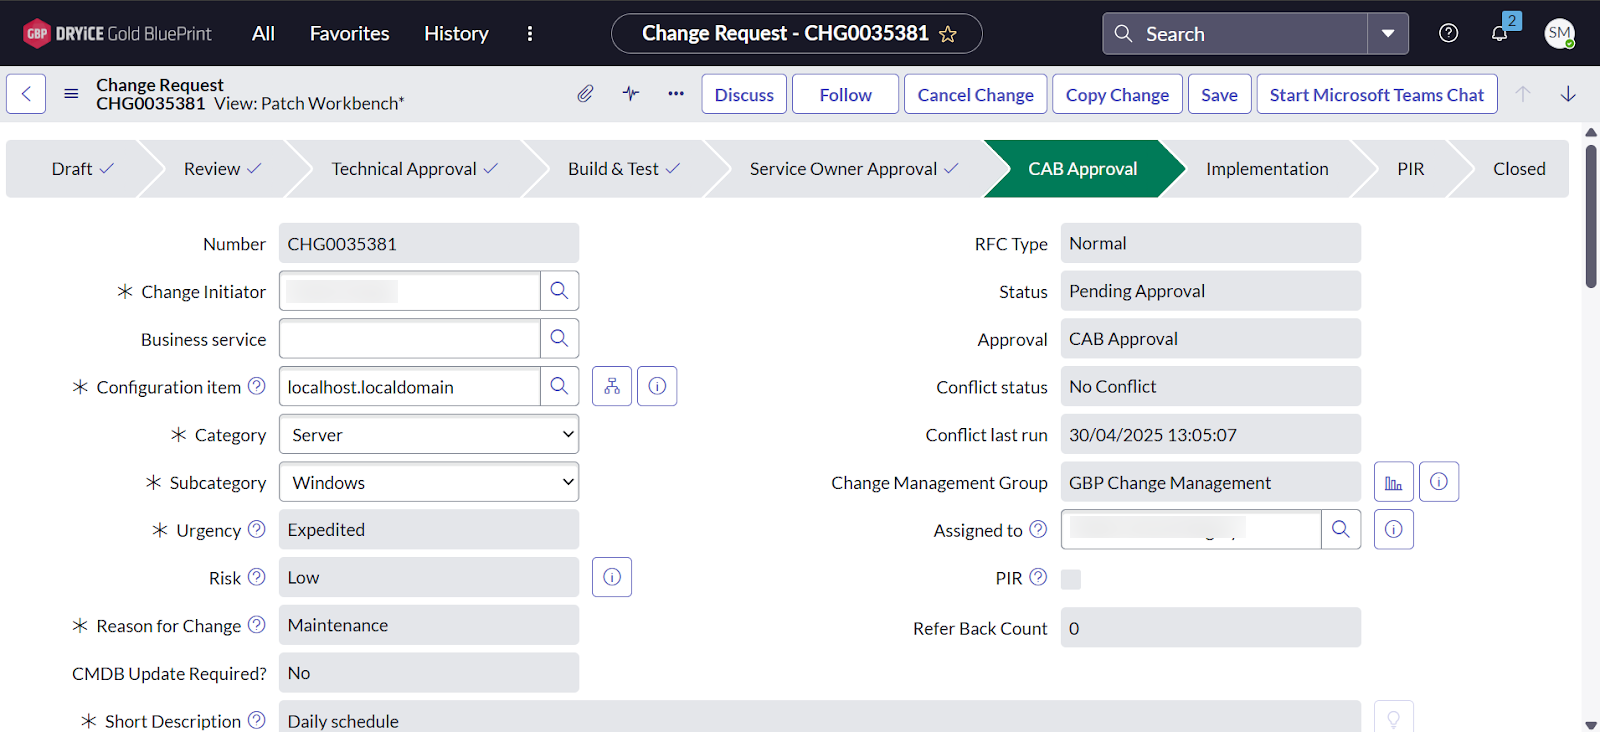
After performing step number 21, the Change Request will
move to the Implementation stage.
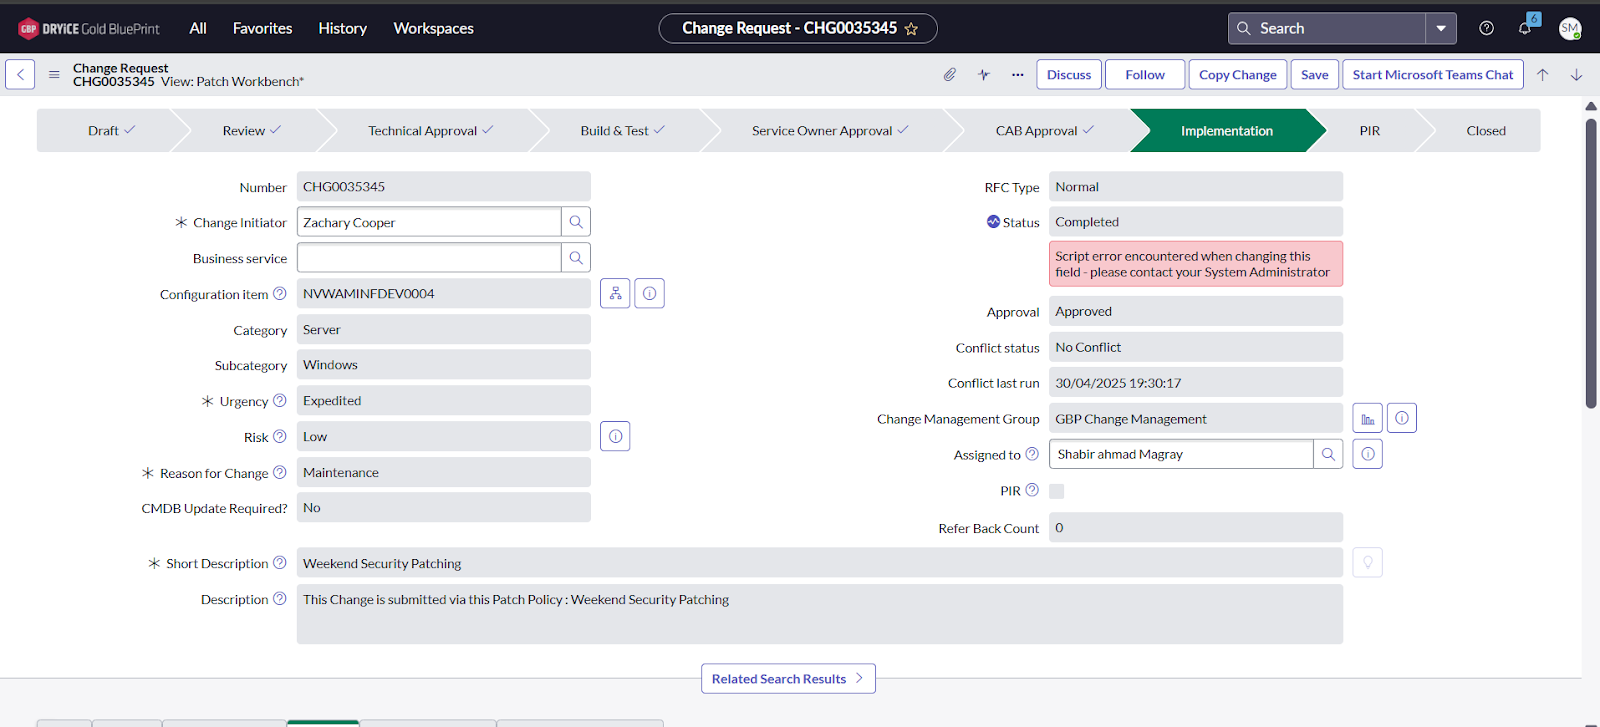
-
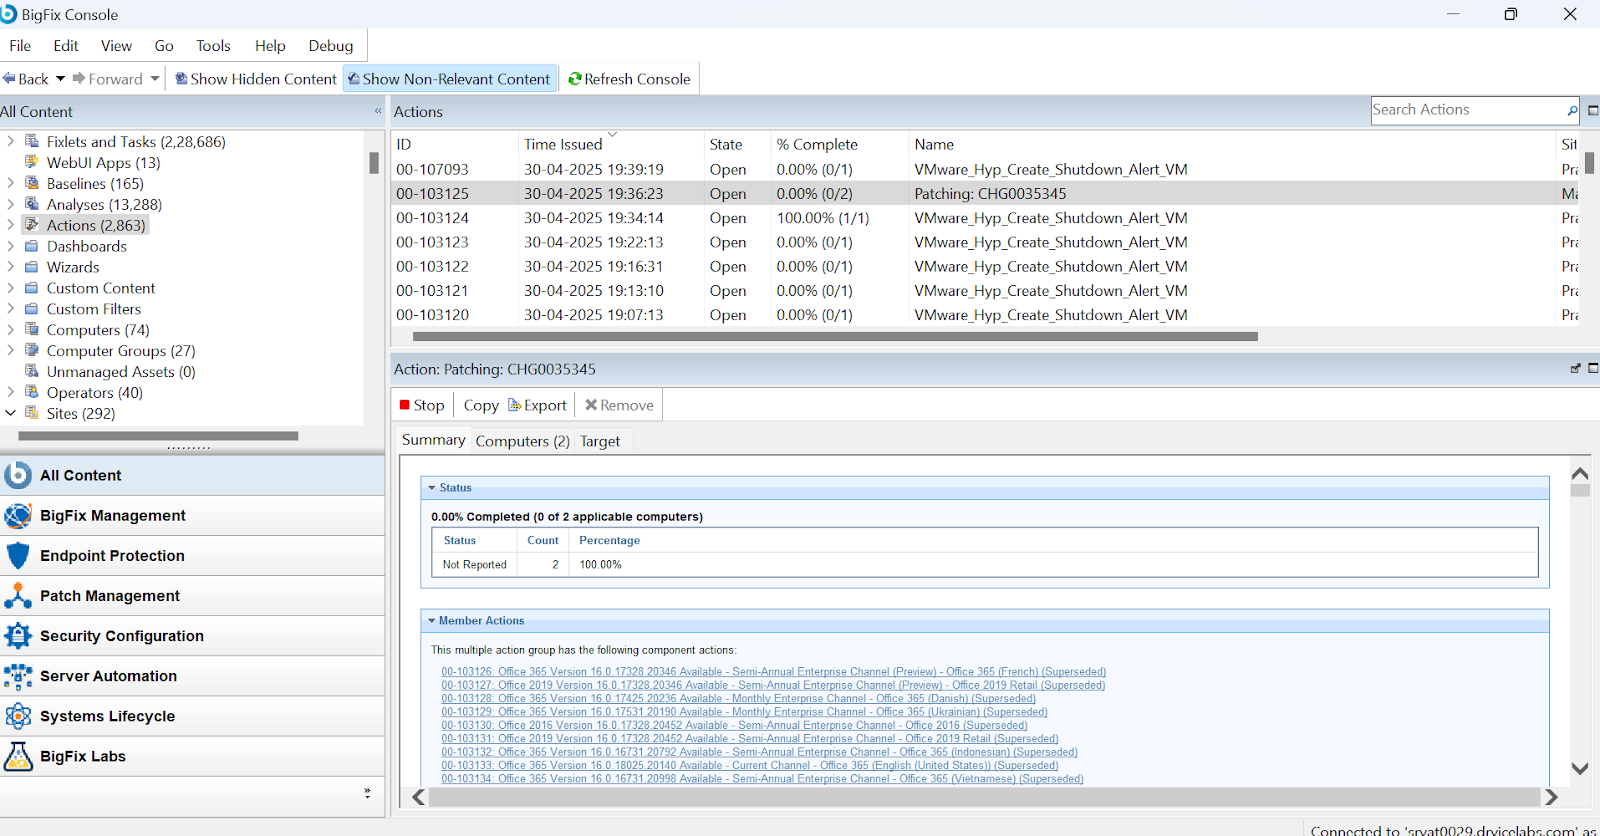
At the Implementation Stage, patches will begin deployment
on the selected computers, and it will appear in the BigFix
Actions tab as
"Patching: CHGNUMBER"with the list of patches displayed as shown below.