Import IQ/UM Files Process
To import a new single or multiple inquisitor (IQ) or usage monitor (UM) zipped (raw
data is not supported) z/OS datasets into a repository from your local workstation or
that have been transferred using the API service, follow these steps:
- On the home page, click the Import card title. Otherwise you can move
the cursor to the Import menu, click Perform Import Processing:
Figure 1. Perform Import Processing 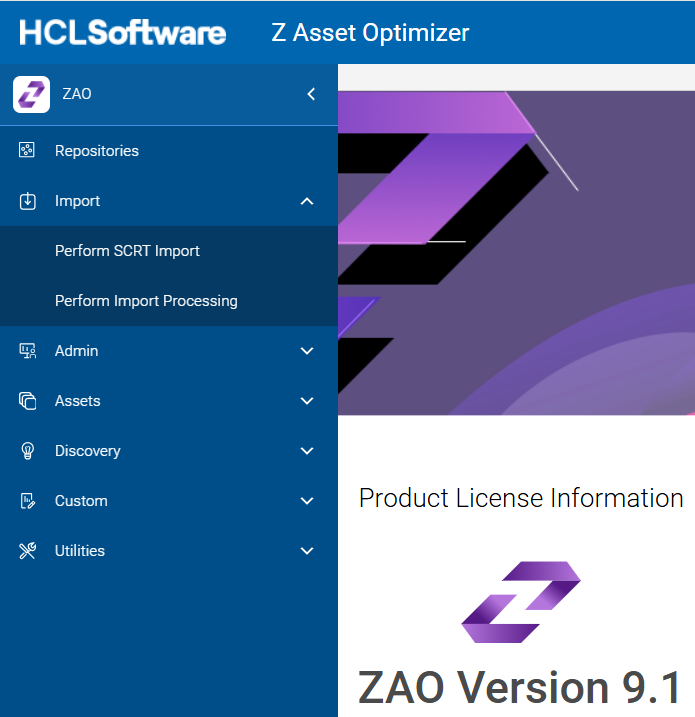
The Perform Import Processing page is displayed as follows:Figure 1. Perform Import Processing Page 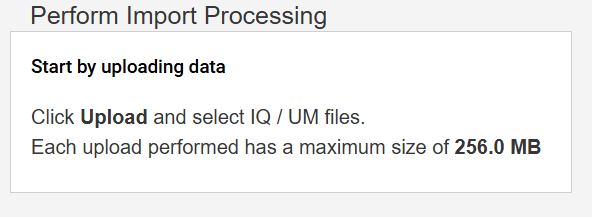
- To upload a zip file, click Upload and select one or multiple files that
have been previously downloaded to your workstation from z/OS, such as
IQ/UM zip files. If you transferred your IQ or UM datasets using the
API and are logged into the same user account that is used with the API
connection, they will appear on this page.
Note:While the upload is processing on your workstation, do not navigate away from the Upload page before the process is completed, to avoid terminating the Upload process. The total selected file(s) upload size must not be larger than 256 MB for each individual upload request.Note:The uploaded files list is displayed on the same page after uploading has been completed successfully.
- If you wish to delete a file, click the delete
 icon
next to the file.
icon
next to the file. - If you wish to delete all the files which were uploaded, click Delete All.
- To import the uploaded files into a database repository, click the Start Processing Uploaded Files button.
- If you upload files other than supported IQ/UM z/OS collector zip files, an
error message will appear as follows during the upload process:
Figure 3. Unsupported File Upload - Error Message 
- Select your target repository. To change from your default, click the drop-down
menu under Repository, and select the desired target repository from the
list of repositories.
Figure 4. Process Uploaded Files 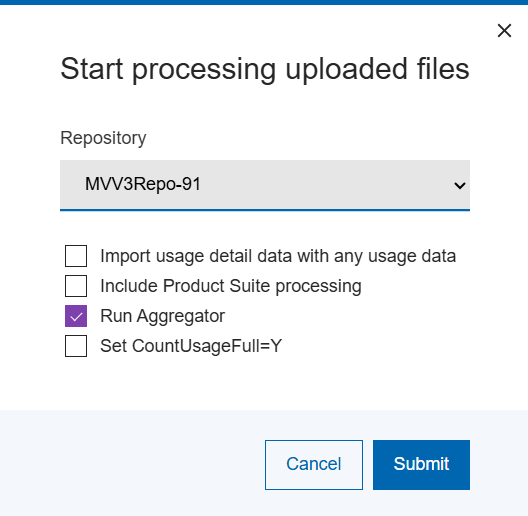
- If you leave the
 checkbox checked, the Aggregator will merge data from the repository
Discovery tables and add it to the repository Asset tables.
This option is only applicable if importing only Inquisitor (IQ)
collection files (from z/OS). If Usage Monitor (UM) collection files are
also uploaded for importing, Aggregator will automatically be executed
irrespective of this checkbox setting to ensure all usage data is merged
correctly into the appropriate repository tables.
checkbox checked, the Aggregator will merge data from the repository
Discovery tables and add it to the repository Asset tables.
This option is only applicable if importing only Inquisitor (IQ)
collection files (from z/OS). If Usage Monitor (UM) collection files are
also uploaded for importing, Aggregator will automatically be executed
irrespective of this checkbox setting to ensure all usage data is merged
correctly into the appropriate repository tables. - If you check the Set CountUsageFull=Y
 checkbox, aggregator execution is implied and usage count data aggregation will
be performed. It is recommended to set this option at least once for a
repository following a GKB update being performed.
checkbox, aggregator execution is implied and usage count data aggregation will
be performed. It is recommended to set this option at least once for a
repository following a GKB update being performed. - If the Include Product Suite processing checkbox is selected, any product suites matched in the import data will be added to the repository DB selected.
- If you check the Import usage detail data with any usage data checkbox,
during the usage import stage, any usage detail data found from usage monitor
(UM) files will also be loaded into the repository. You can use the Physical
Delete utility to delete any obsolete or unused usage detail data.
Note:Usage detail data can be huge. Ensure you have sufficient DASD, memory, and CPU resource capacity to load, store, and (if enabled) pre-process huge amounts of detail usage data. System stability, response, CPU utilization, paging, and DASD usage may increase substantially if you select this option depending upon the amount of usage data being imported.
- If you hover over each checkbox, a brief description about each option will be
shown, as follows:
Figure 5. Import Options Tooltip Content – Import Usage Detail Data 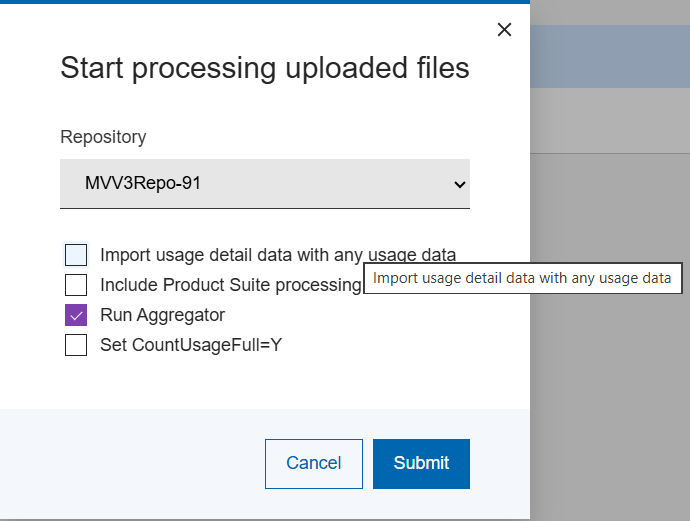
Figure 5. Import Options Tooltip Content – Run Aggregator 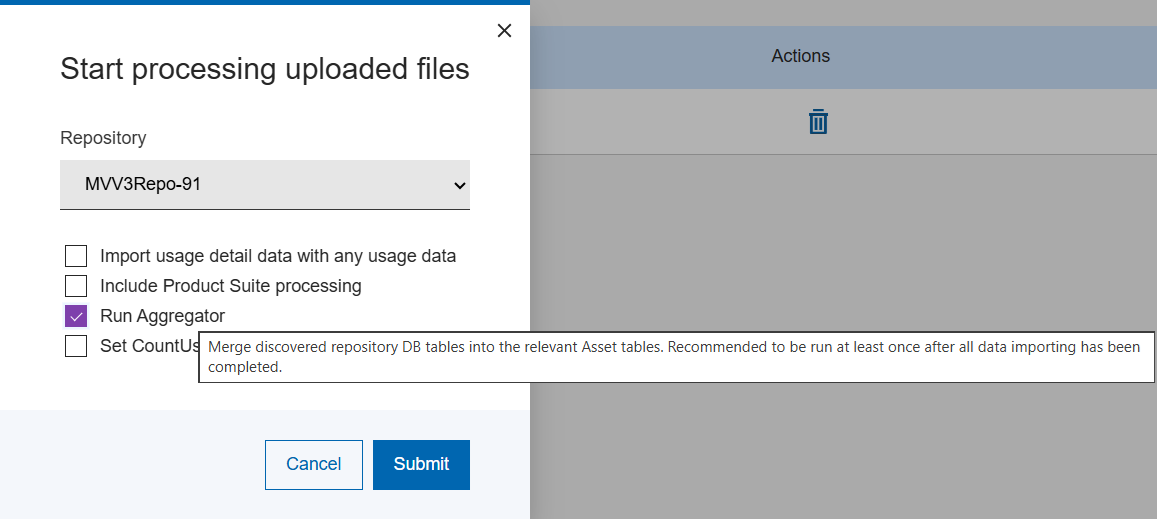
Figure 6. Import Options Tooltip Content - Count Usage Full 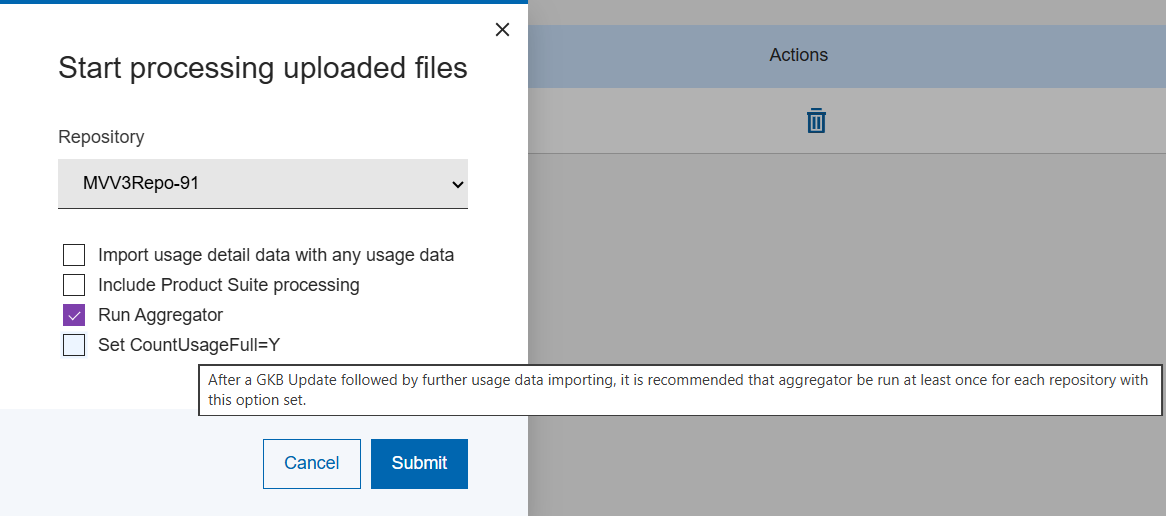
- Select Save. Once the Import process is initiated, the
progress will be displayed in the status page as displayed:
Figure 8. Import Processing Status Window 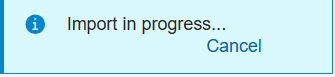
Note:Once started, the import processing step will begin and data will be added to the target repository database. During this time, the repository is busy and cannot be accessed until the process is completed. Once completed, access to the repository will be restored.A sample repository selection list showing a busy indicator as displayed:Figure 9. Repository Busy 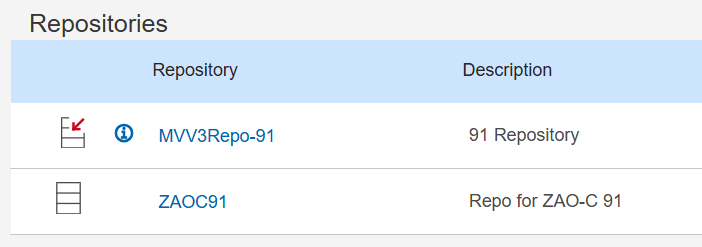
- If you wish to stop the import process before completion, click the Cancel button.
- In the pop-up window that follows, click STOP to confirm or
Cancel to not proceed.
Note:Canceling an import process will result in the repository database becoming unusable. A Repository ‘reset’ (losing all data) will be required to make the repository eligible again to receive import data.
Figure 10. Import Cancel Confirmation Message 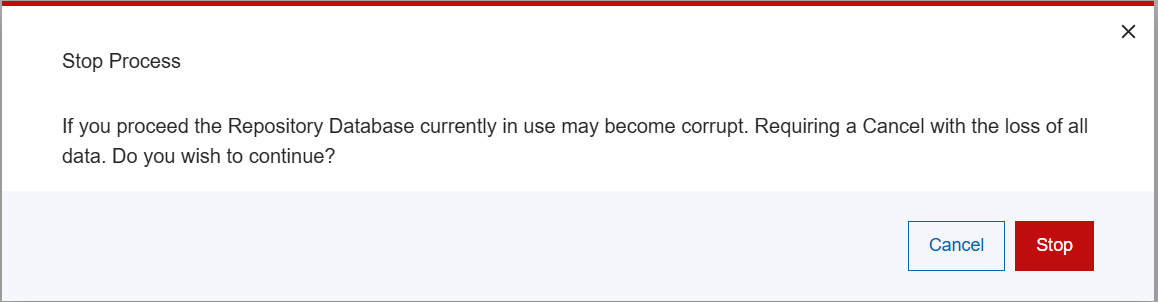 The importing process is canceled and the import Status page displays as follows:
Figure 11. Canceled Status Page 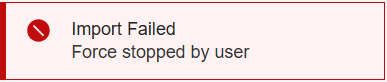
Note:When a successful import is complete, depending upon the kind of files you have uploaded, the respective log files will be displayed in the appropriate tabbed section.For instance, if you uploaded zip files related to Inquisitor, the log file name(s) are displayed in the (default) Inquisitor Import Logs tab. To view usage monitor or Aggregator log files, select the related tab to see the available log files as displayed:
Figure 12. Display Log Files 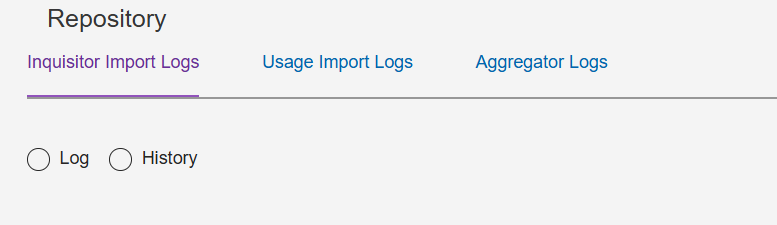
- Click on a log file to view the file or click on the download icon to save the file to your local system. The file is downloaded to your system only in standard text format.
- A GKB expired warning message may appear after the import processing is finished if the installed GKB database is out of date. To resolve the issue, contact your administrator to schedule a GKB update. Import processing completion is not impacted.
- To see all the previous logs, navigate to the Repository Page, select
the applicable repository to view the most recently available logs. Use the
History toggle to view older log files.
Figure 13. History Log Files 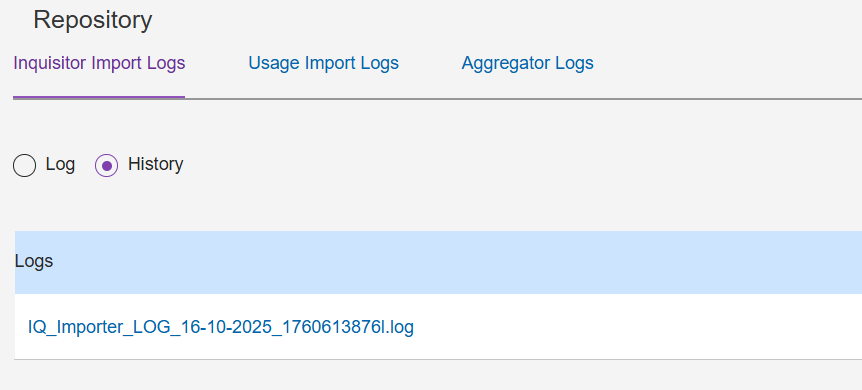
- If you wish to delete a single file, click the delete icon. If
you wish to delete all the archived log files of the viewed type, select
Delete All.
Figure 14. Delete All Archived Log Files 
- To go back to a previous screen, click on the respective tab.
- If you wish to go to the Home page, click the Homepage link at the top
left-hand side.
Depending on the data that was successfully imported, the available analysis reports can now be used to view the imported repository data.