SMTP
By Configuring Email in HCL BigFix CLM, mail notifications are sent to end-users.
To create and manage Email, HCL BigFix CLM Admin needs to follow the steps below.
- On the side menu bar, click Configuration, and then click SMTP.
Add Configuration
To add SMTP, admin needs to follow the following steps:
- Click +SMTP button.
Figure 1. Email Add Configuration 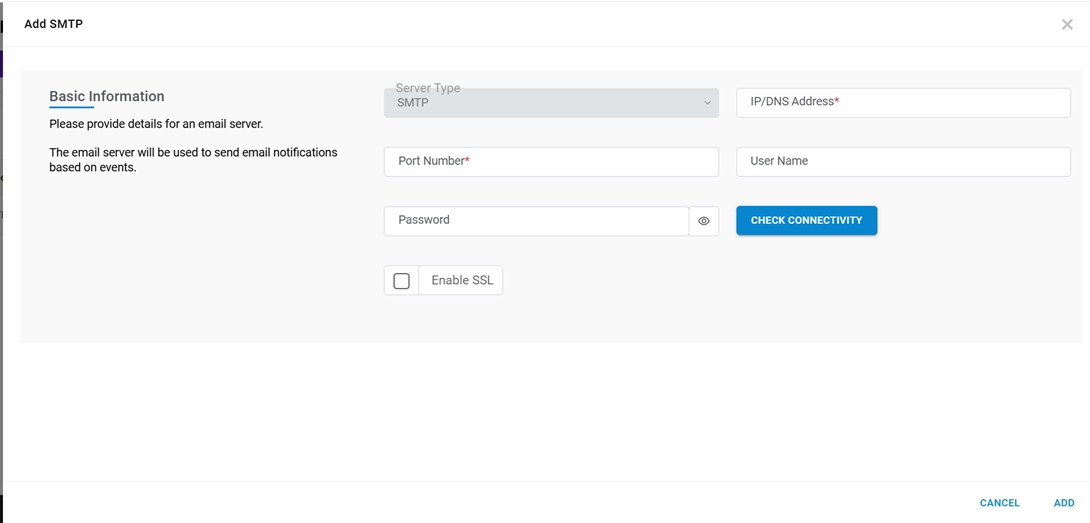
Refer to the table below to understand the fields mentioned in the above figure:
Table 1. SMTP Configuration Details Field Description Server Type The type of server that will be used for the Email configuration (SMTP Server) IP/ DNS Address IP or DNS address of the server Port Number The port that is required for the Email configuration Username and Password Credentials that have access to the Email From Email The mail id that will trigger the mails - Click Add. A success message appears.
Figure 2. Email Add Configuration (Cont.) 
The new Email configuration is created, and it appears in the list of email configuration on the View Configuration.
View Configuration
This section lists all the Email configurations that have been created by HCL BigFix CLM Admin.
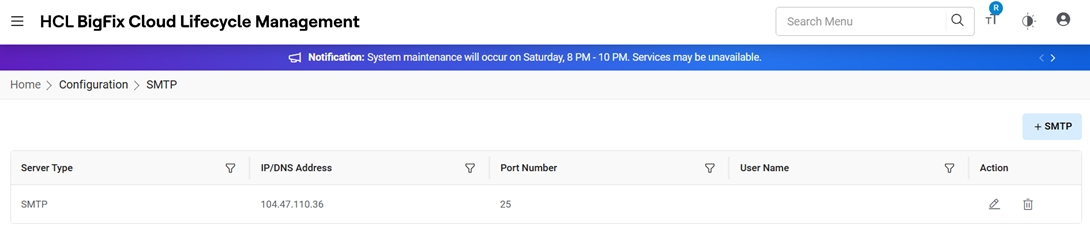
Refer to the table below to understand the fields mentioned in the above figure:
| Field | Description |
|---|---|
| Server Type | SMTP/POP3 Type server |
| IP/ DNS Address | Address of the server |
| Port Number | Port that has been assigned to the server |
| Username | Username of the admin |
| Action | Actions like View and Delete against the listed SMTP configurations |
- Edit: To edit the providers.
- Delete: To delete the providers.
Edit Configuration
To Edit the existing Email configurations, Admin needs to follow the below steps:
- Click the Edit icon corresponding to the Email configuration to be edited.
Figure 4. Edit Configuration 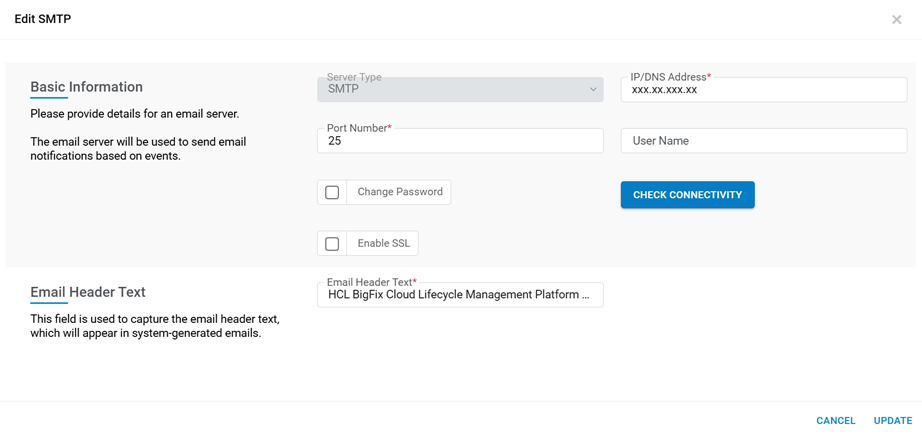
- Modify all fields.
- Click Update. A success message appears.
Figure 5. Edit Email Configuration (Cont.) 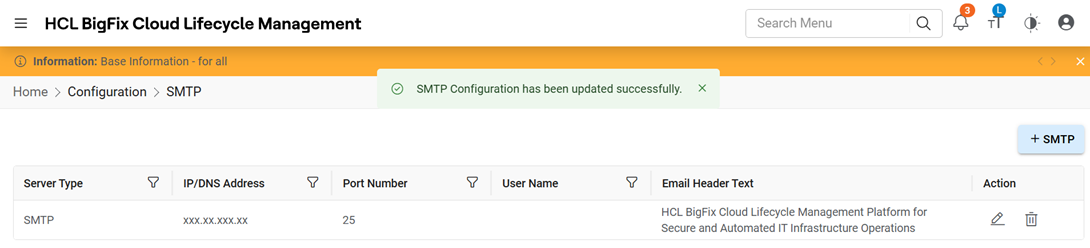
Delete Configuration
To Delete the existing Email configurations, Admin needs to follow the steps below:
- Click Delete against the listed Email configuration.
Figure 6. Delete Configuration 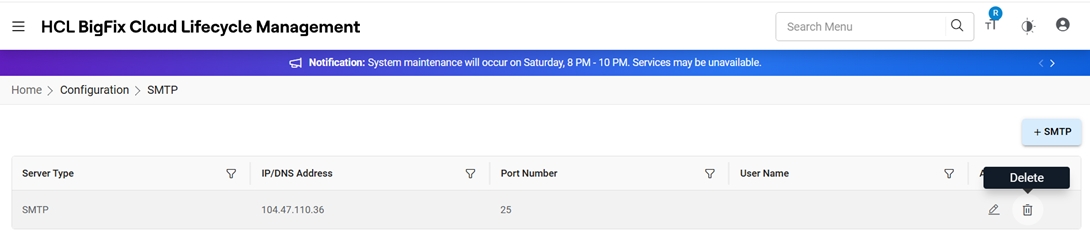
- When prompted for confirmation, click OK.
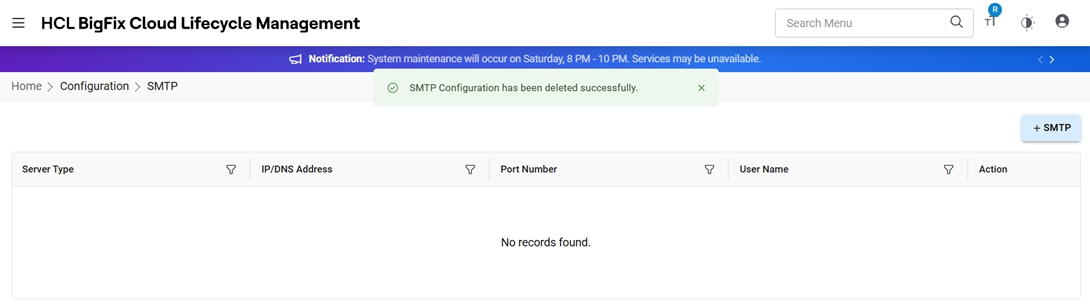
Figure 7. Delete Email Configuration (Cont.) 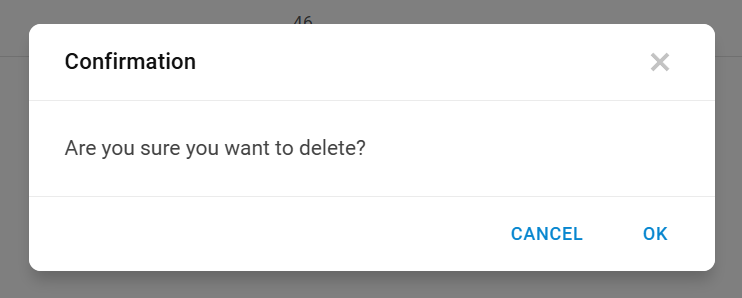
- A success message appears.
Figure 8. Delete Email Configuration (Cont.)