Through HCL BigFix CLM, it becomes easy for an Admin to manage
other cloud administrators as it allows the admin to create, edit,
view, and delete any other Admin users.
To create and manage other HCL BigFix CLM admin users, HCL
BigFix CLM Admin needs to follow the following steps.
On the side menu bar, click Administration,
then RBAC, and then click Admin
Users.
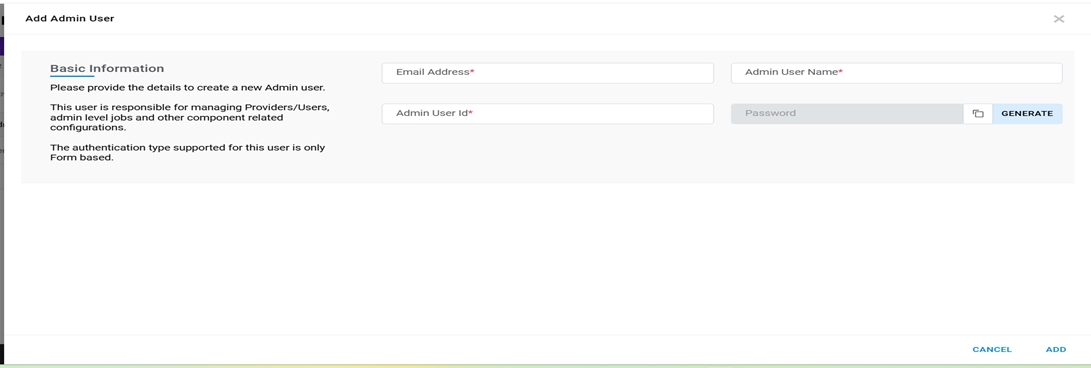
Add User
To add admin users, follow the steps below:
Click on Add User.Figure 1. Add User
Refer to the table below to understand the fields mentioned in the above figure
and fill in the details:
Table 1. Table 17 – Admin User Details
Field Name
Description
Admin User ID
Enter the employee id of the person who will become the Cloud Admin
Email Address
Enter the business email id of the person who will become the Cloud
Admin
Admin Username
Enter the desired username
Generate
Click and it generates alphanumeric passwords for the cloud admins
Password
Post clicking the Generate Password button, the password field gets auto
populated with a password generated by HCL BigFix CLM engine
Copy the password by clicking on Copy ().
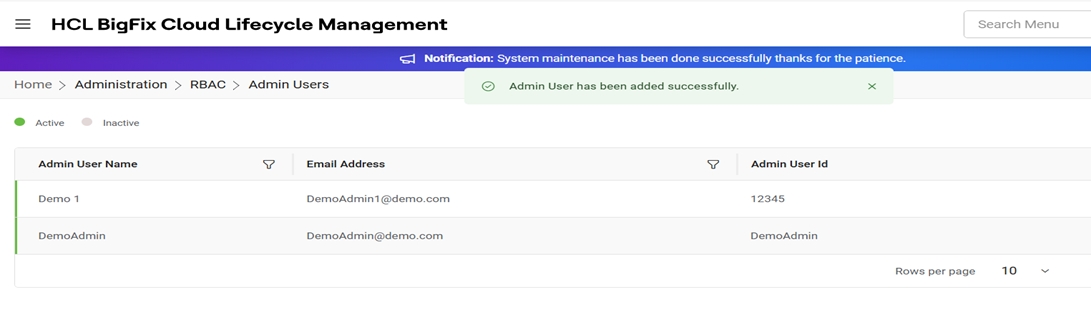
Click Add.
Note:
Only one user with Component Access is allowed in HCL
BigFix CLM.
A success message appears.Figure 2. Added User Confirmation
Note:
All fields marked with asterisk (*) are mandatory.
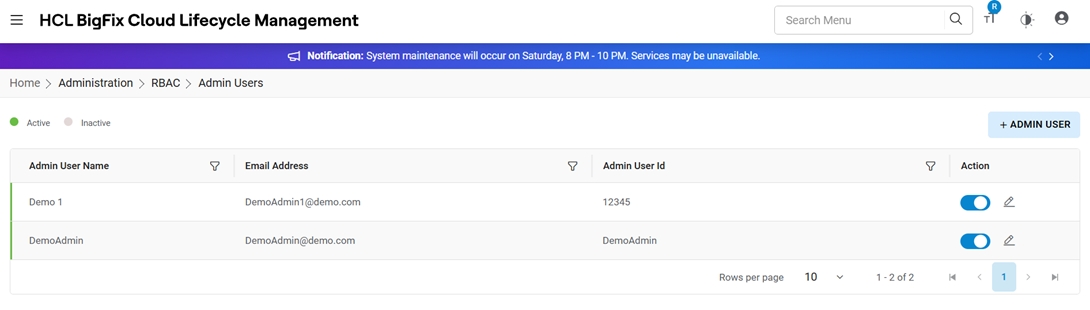
View Users
This section lists all the Cloud Admin users that have been created by HCL BigFix CLM
Admin.Figure 3. Details of Admin Users
It also comprises of the following actions:
Edit: To modify the details of existing cloud admin users.
Change status: To delete cloud admin users.
Edit User
To edit/ modify the details of Admin users, Admin needs to follow the following steps:
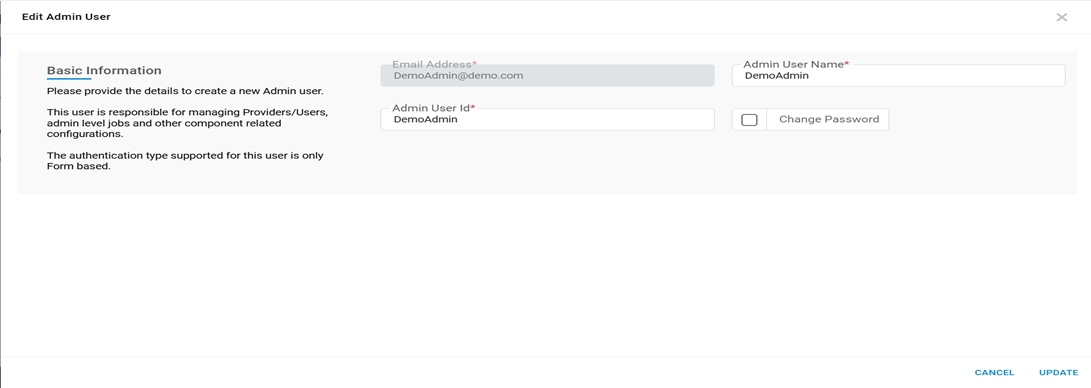
Click on theEdit button.Figure 4. Update Details of Admin Users
Modify the details and click Update.
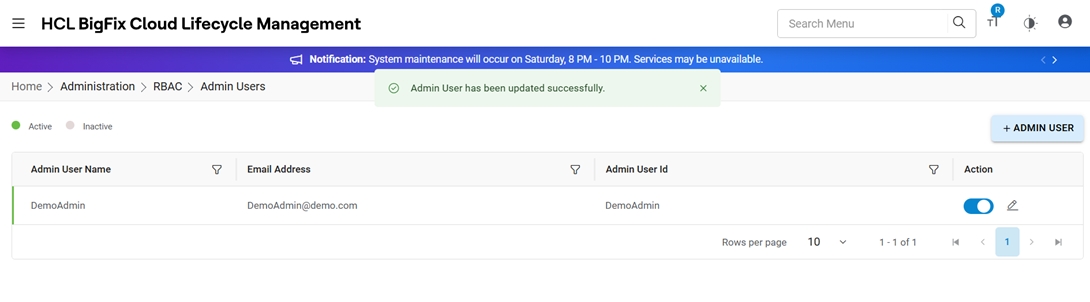
A success message appears on the screen.Figure 5. Update Details of Admin Users (Cont.)
Note:
All fields marked with asterisk (*) are mandatory.
Change Status
To change the Object Type status, admin needs to follow the steps below:
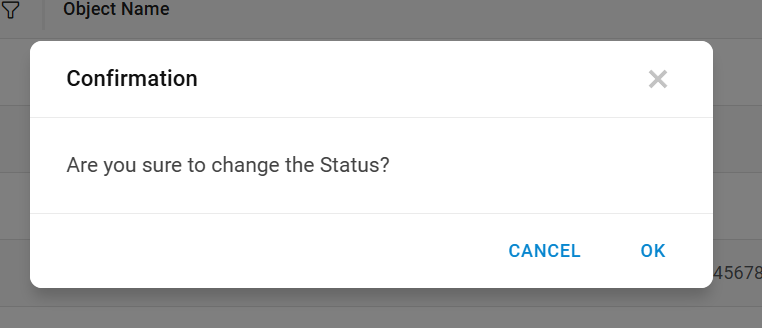
Click on Change Status against specific Admin Users row.Figure 6. Change Status
A Confirmation message appears.Figure 7. Confirmation Message
 ).
). Note:All fields marked with asterisk (*) are mandatory.