Solutions
The admin can develop automated solutions within the global admin panel, designed for running scripts in the client application. Every solution includes a CAB file, which encloses the script necessary for the solution's execution. These solutions require categorization and grouping into collections to distinguish which category and collection each solution belongs to.
The admin can perform the following actions for an individual solution to the users only when solutions are in Submitted state (Unpublished solution). To perform all these operations, the user must first unpublish the solution.
- Create Solution
- Edit Solution
- View Solution
- Delete Solution
- Message
- Translation
Create Solution
- To create a solution, click on Create New Solution on the
Solution page.
Figure 1. Solution Page 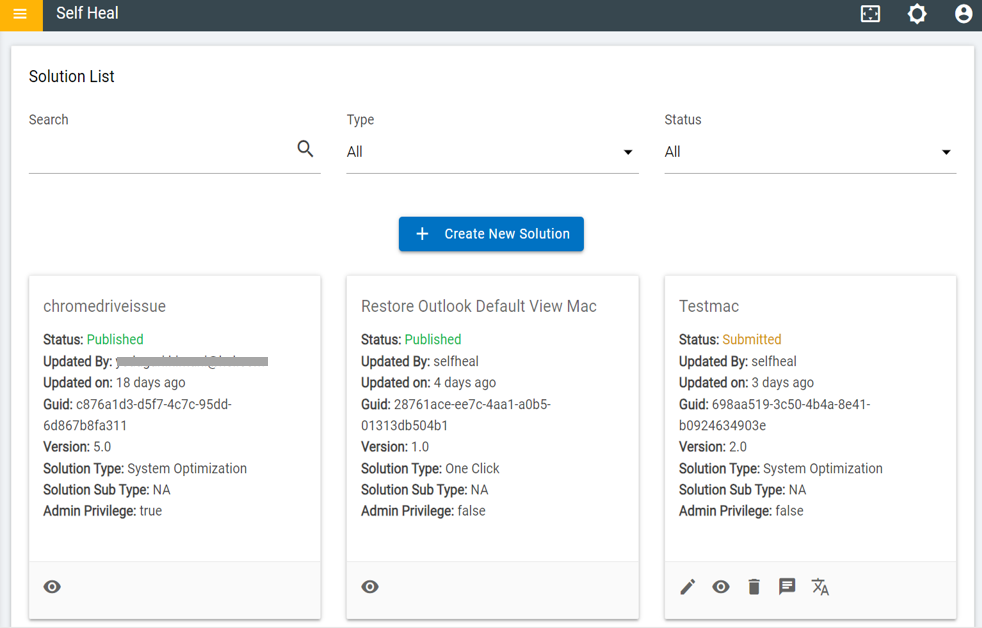
- The Following page appears:
Figure 2. Create New Solution 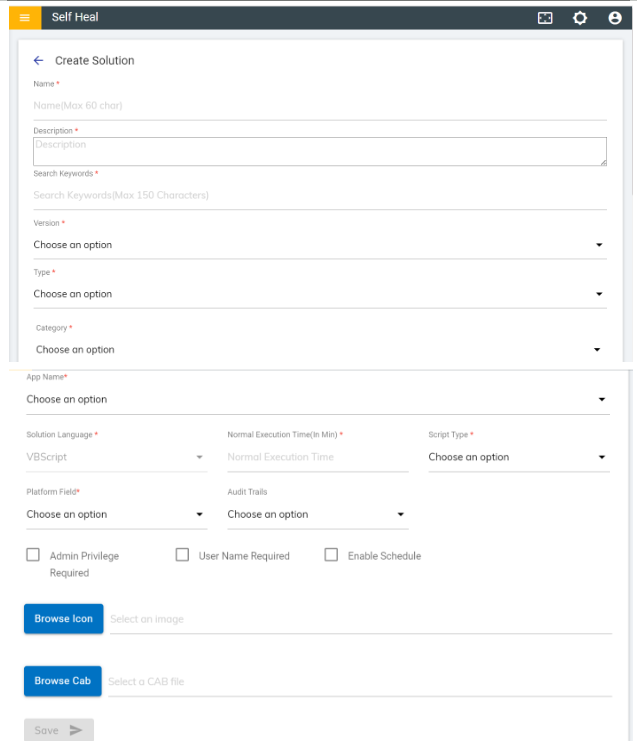
- Fill in the required fields and click Save button.
Figure 3. Populate the Fields 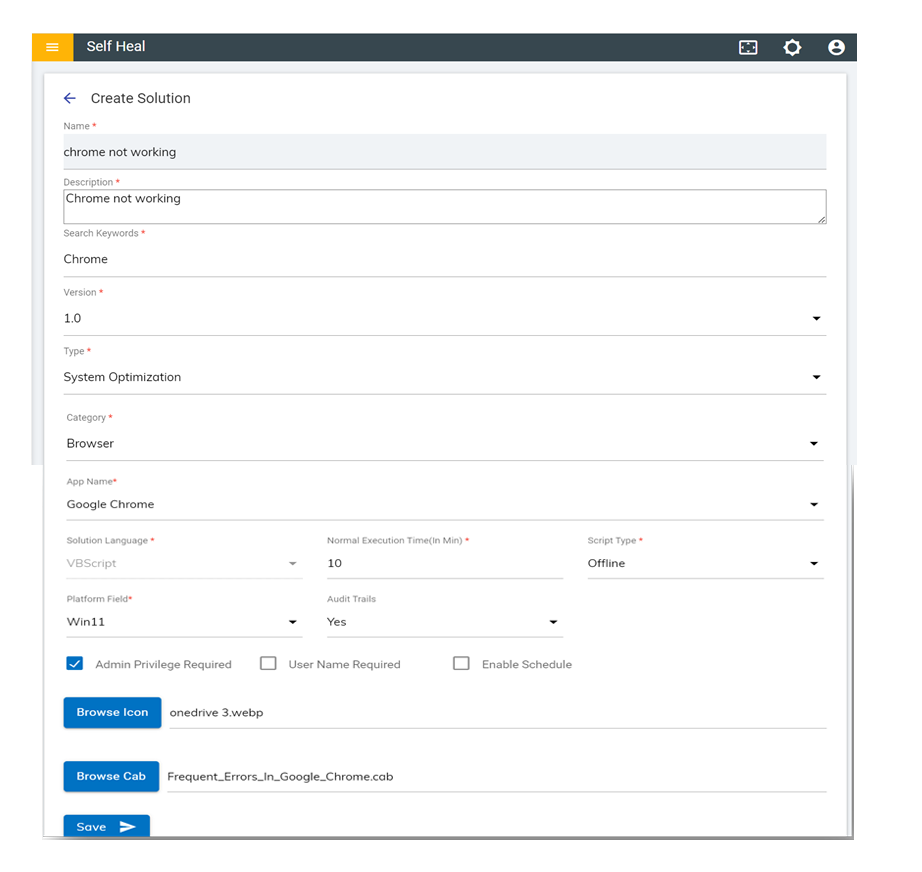
- Click Save. A success message appears, and a solution is created.
Figure 4. Success Message 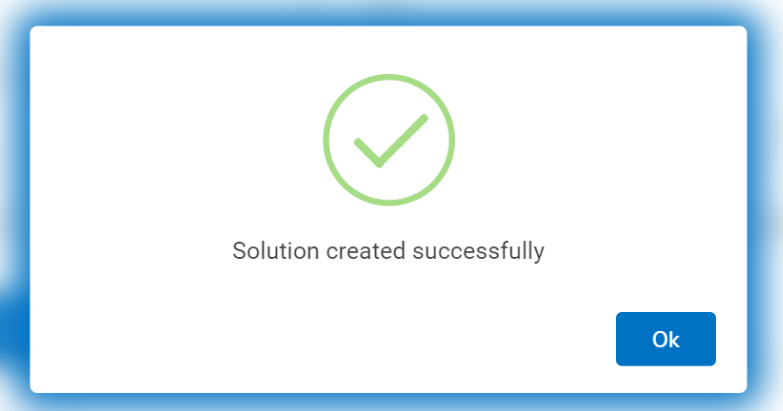
Edit Solution
- An admin can edit the details of a solution by using the edit icon in the
Solution page. click the edit icon which corresponds to the solution that he
wishes to modify.
Figure 5. Solution Page 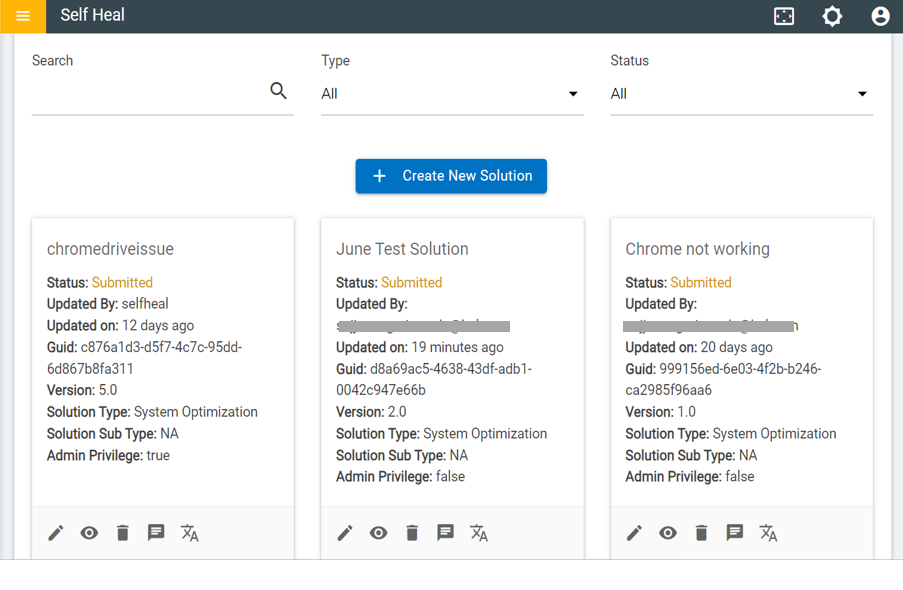
- The Edit Solution page appears.
Figure 6. Edit Solution 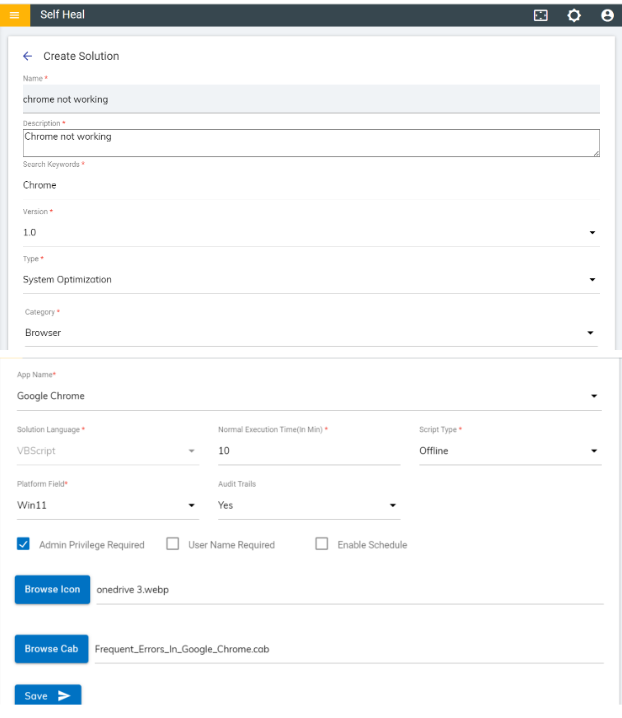
- Modify the details as required and click on Update. The details are
updated, and the following success message appears:
Figure 7. Success Message 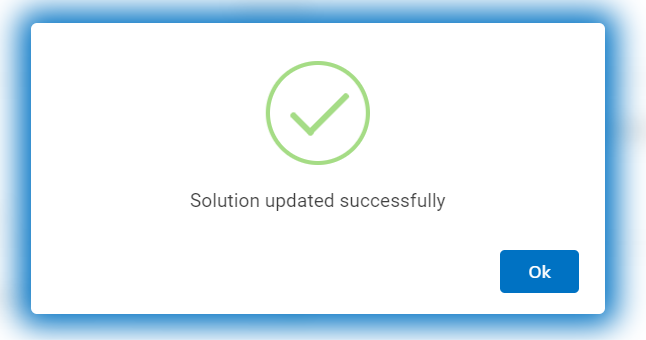
View Solution
- To view a solution, click the corresponding View icon placed on each solution
on the solution page.
Figure 8. Solution Page – View Icon 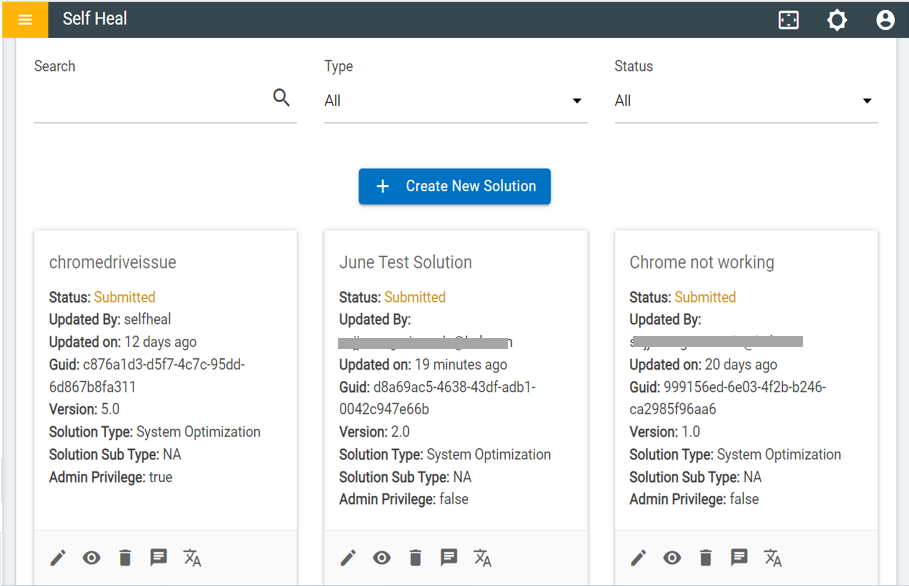
- This redirects the user to the View Solution page.
Figure 9. View Solution Page 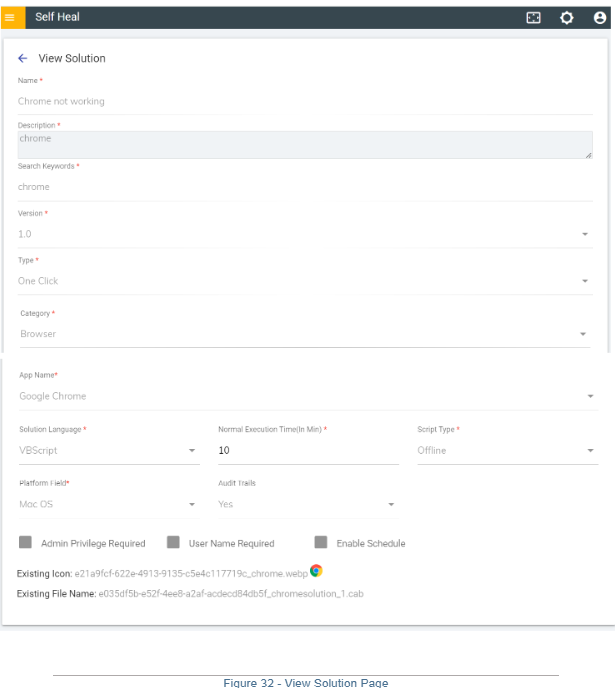
Delete Solution
- An admin can delete a solution using the delete icon on the Solution page.
- Click the delete icon which corresponds to the solution that he wishes to
delete.
Figure 10. Solution Page 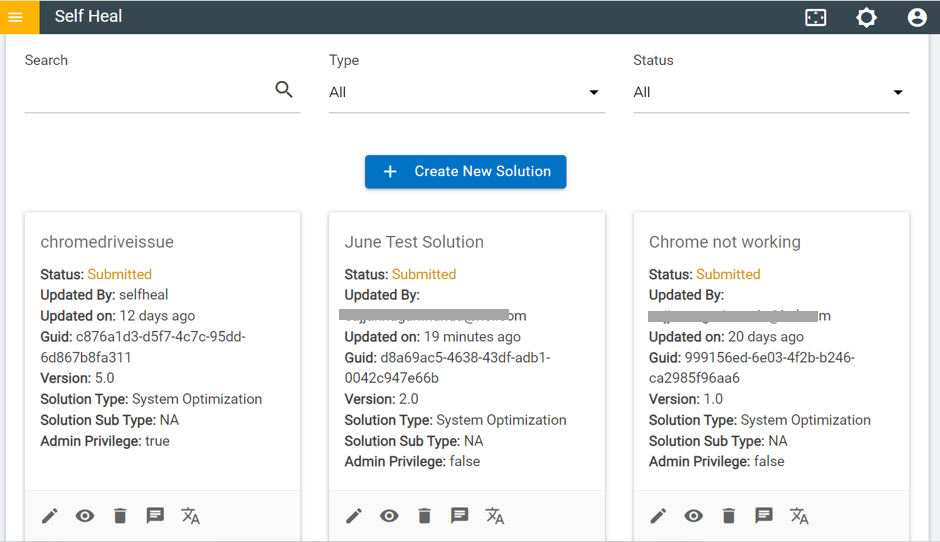
- A confirmation message confirms the deleted action. Click Ok to delete
or click Cancel to cancel the delete action.
Figure 11. Confirmation Message 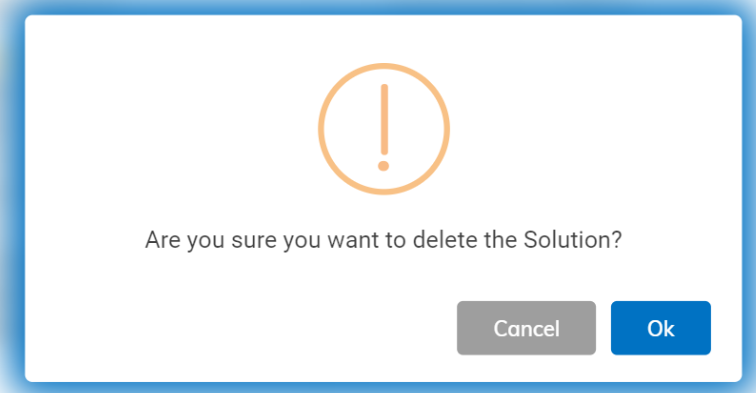
- A successful message appears:
Figure 12. Success Message 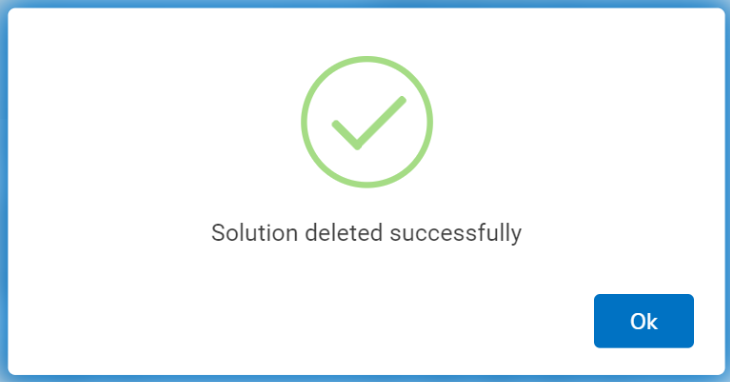
Message
The admin can manage the messages that are displayed in the client app using this module.
- To get into the message page click on the message icon
.png) placed in the solution page.
placed in the solution page. Figure 13. Solution Page 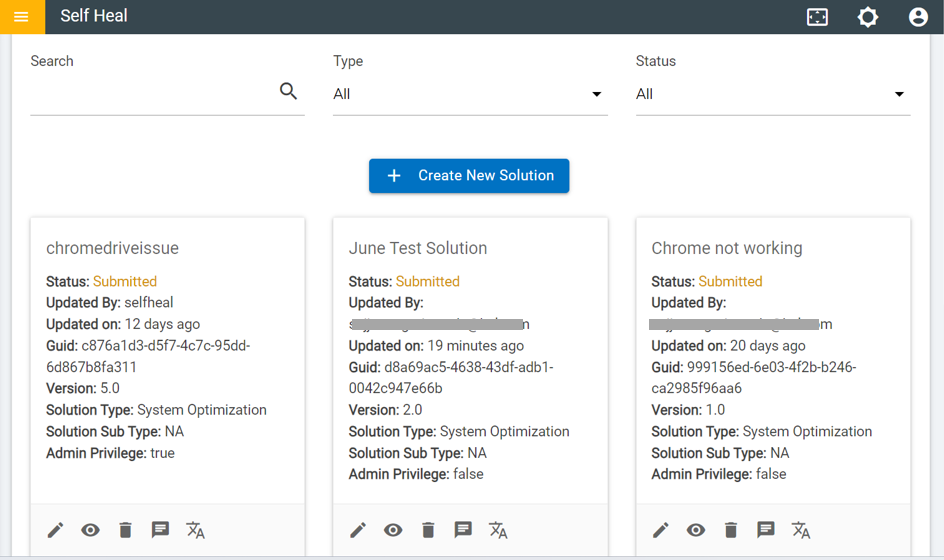
- The following page appears:
Figure 14. Solution Message 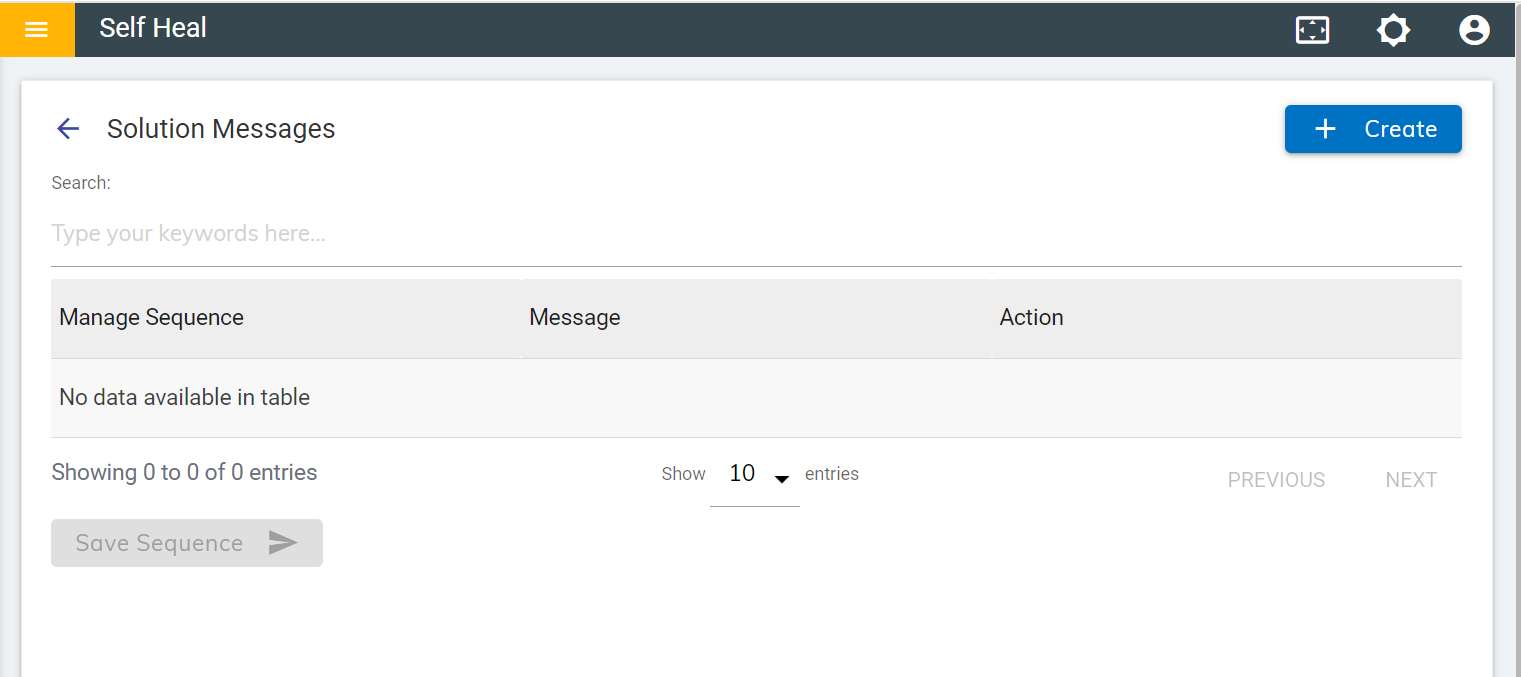
- Create a Message for a solution by clicking on the Create button, on the top right corner of the Message page.
- Populate the Message field with the desired message and click Save.
- The following page appears:
Figure 15. Create Solution Message .png)
- Click Ok to save or click Cancel to cancel the Message action.
Figure 16. Confirmation Message 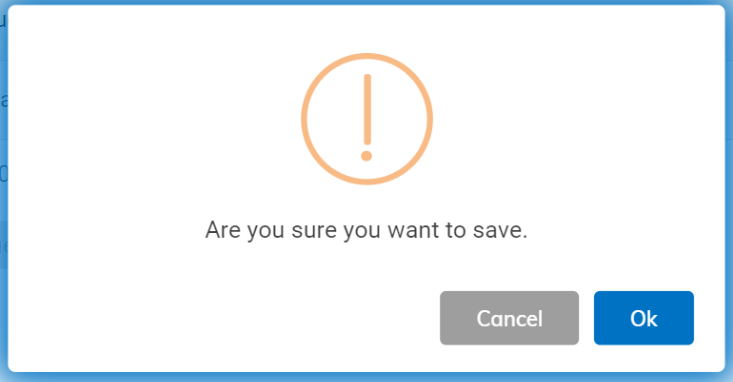
- A new message is added, and a success message appears:
Figure 17. Success Message 
- Users can edit a Solution Message by clicking on the edit icon associated with
a message on the Message page.
Figure 18. Edit Success Message 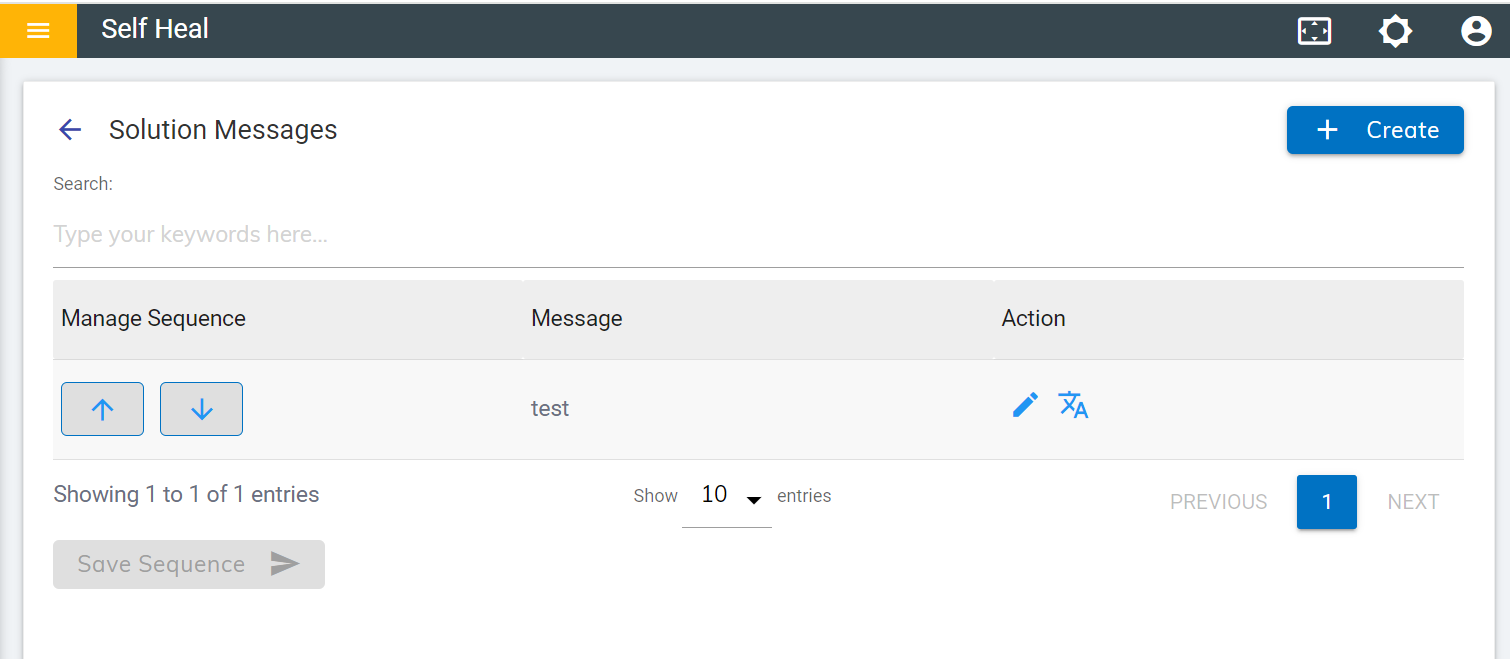
- The following screen appears where the user can update the message.
- Click Update to Update the message or click Cancel to cancel the
Message action.
Figure 19. Edit a Solution Message 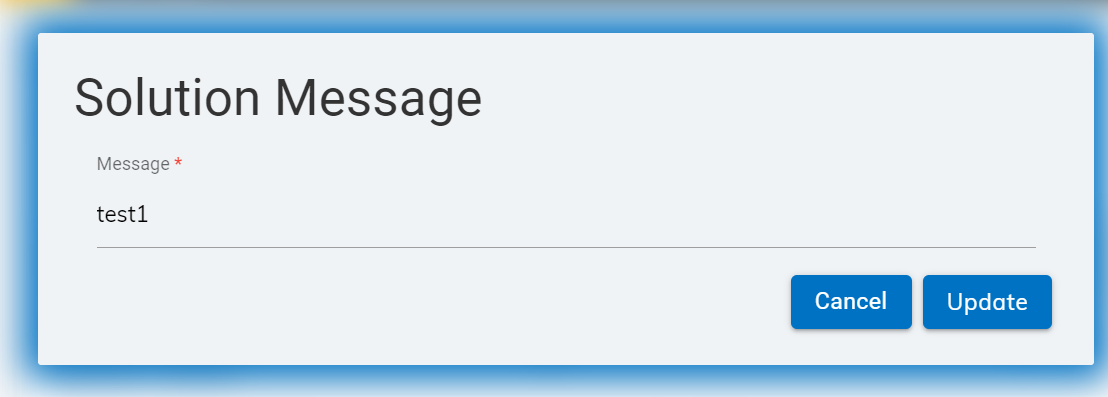
- Modify the message as required and click Update. The following success
message appears
Figure 20. Success Message 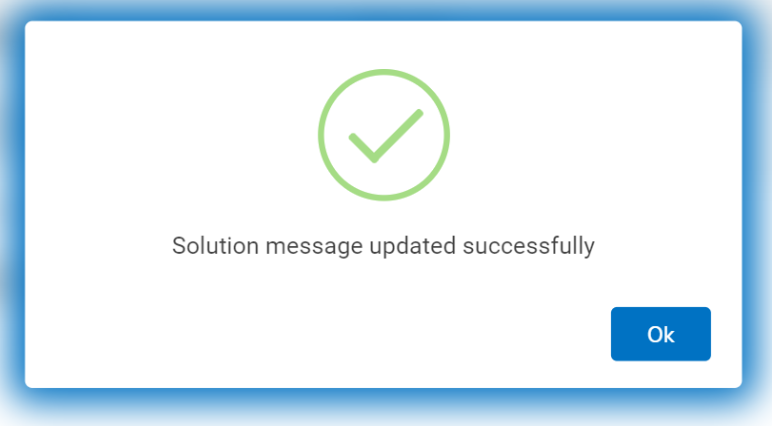
Translation
- Admin can translate the solution into different languages; these can be
reflected in client application.
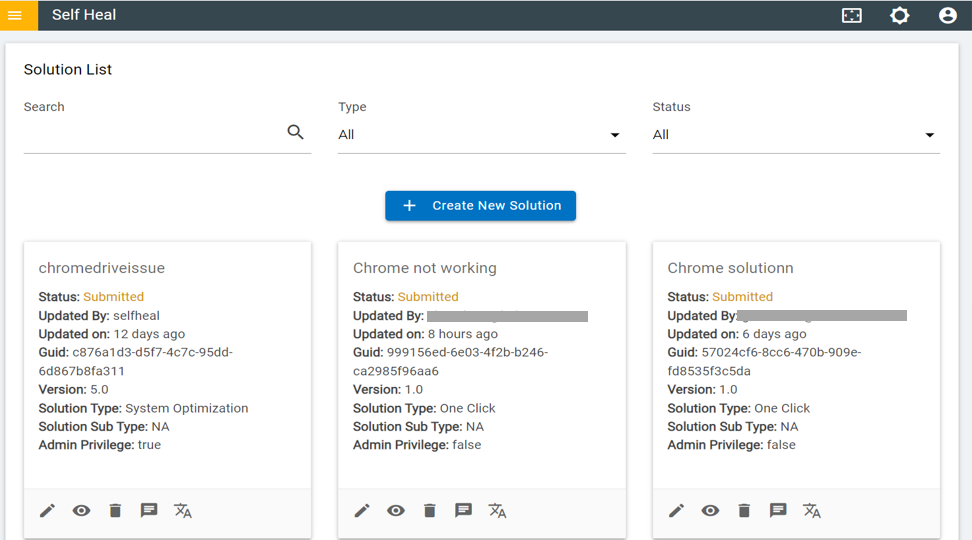
Figure 21. Solution Page - An admin can translate a solution by using the translation icon in the Solution page.
- Click the translations icon which corresponds to the solution that he wishes
to translate.
Figure 22. Language Translation 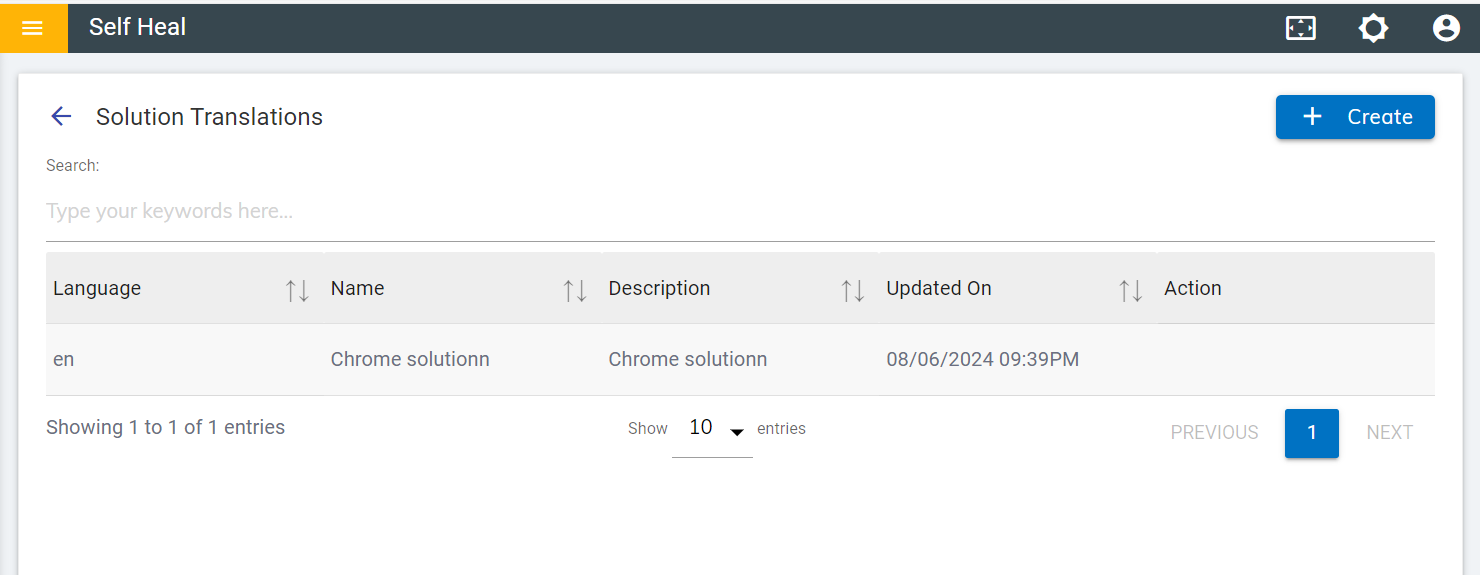
- Create a translation for a solution by clicking on the Create button, on the top right corner of the Solution Translations page.
- The following page appears:
Figure 23. Create Translation 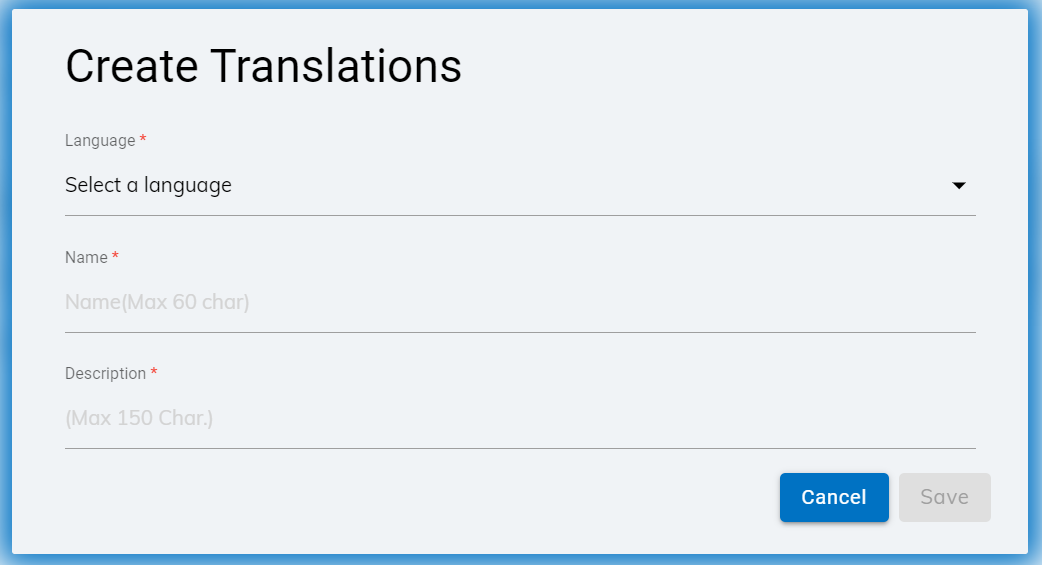
- Fil in the required fields and click on save.
Figure 24. Translation for a Specific Language 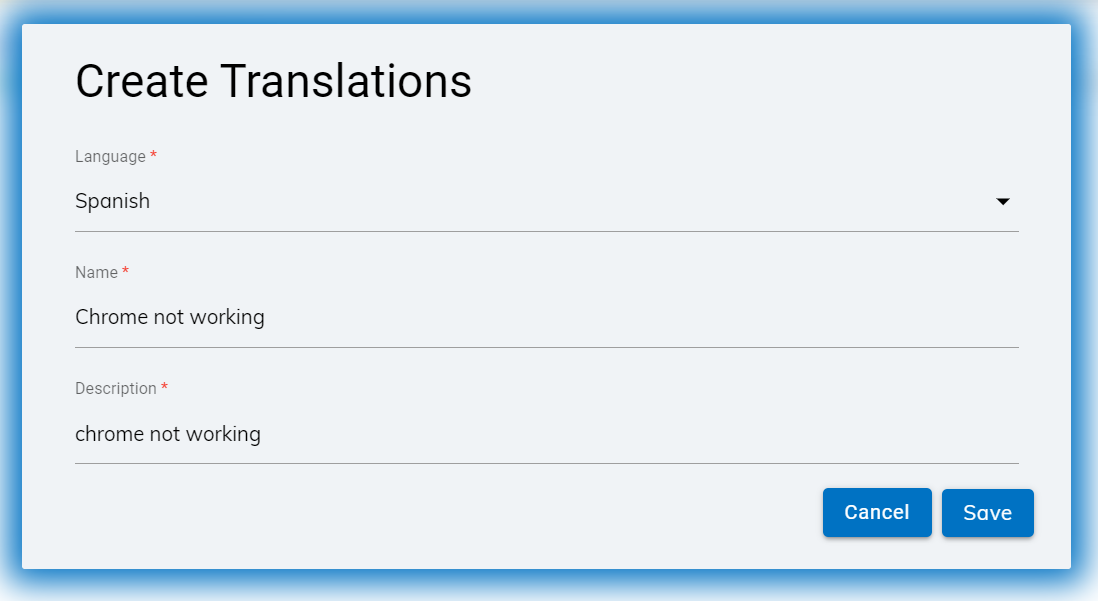
- Click "OK" to save or "Cancel" to abort the translation.
Figure 25. Confirmation Message 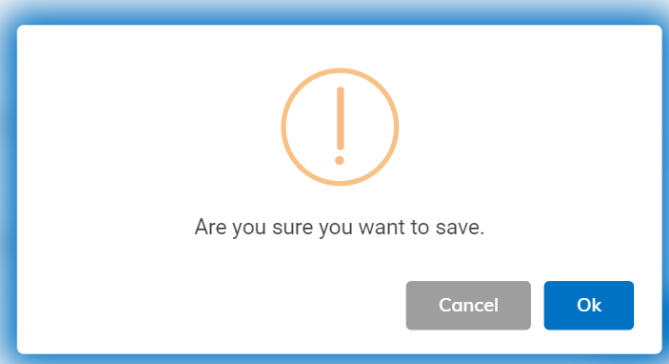
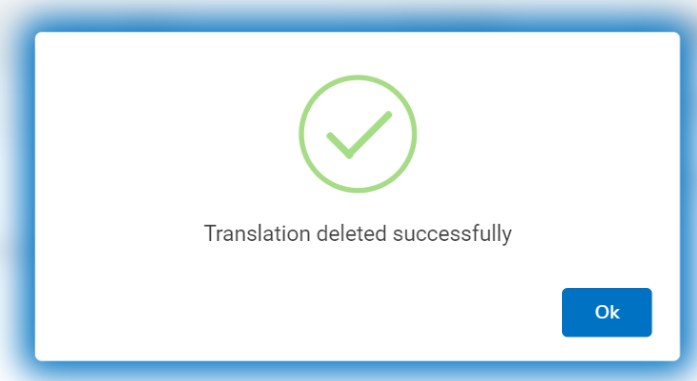
- Click Ok Translation Successful Message will appear.
Figure 26. Success Message 
Figure 27. Success Translation 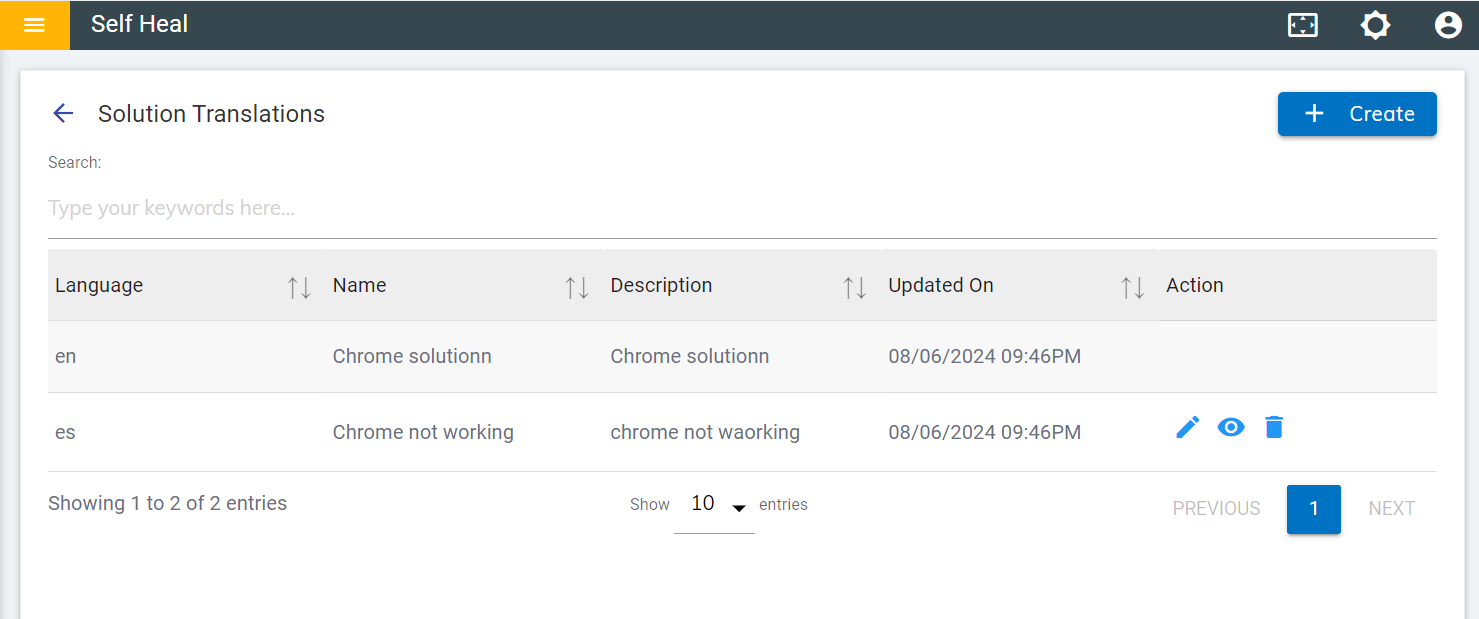
- To edit the solution translation, click on the edit icon in Solution
Translation Page, Modify the Changes and click on the Update button.
Figure 28. Edit Translation 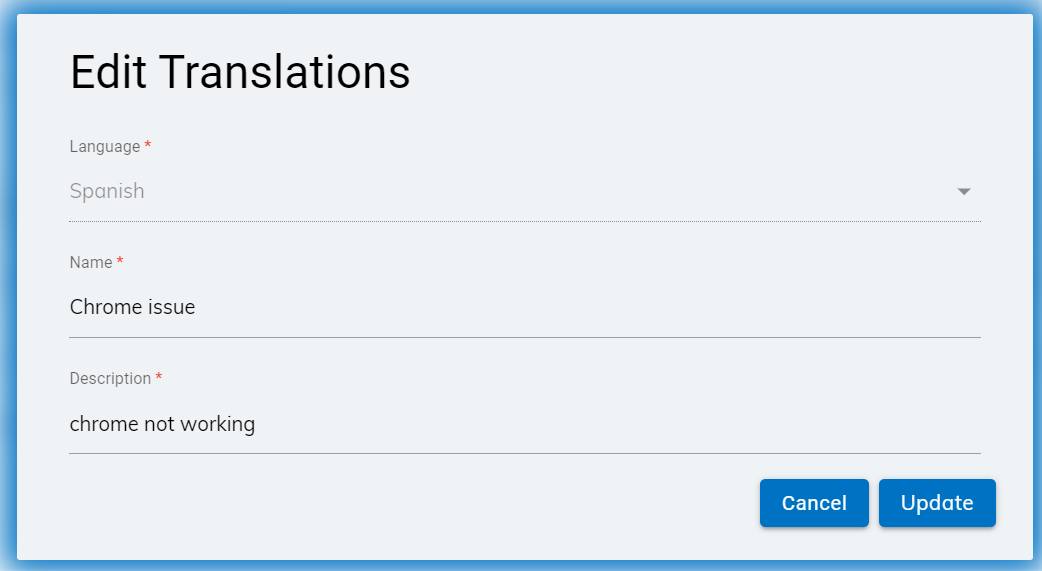
Figure 29. Success Message 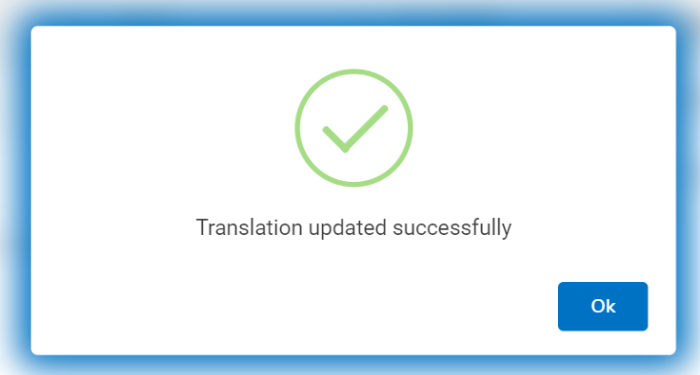
- To View the translation, click on the view icon in solution Translation page.
Figure 30. View icon on Translation page 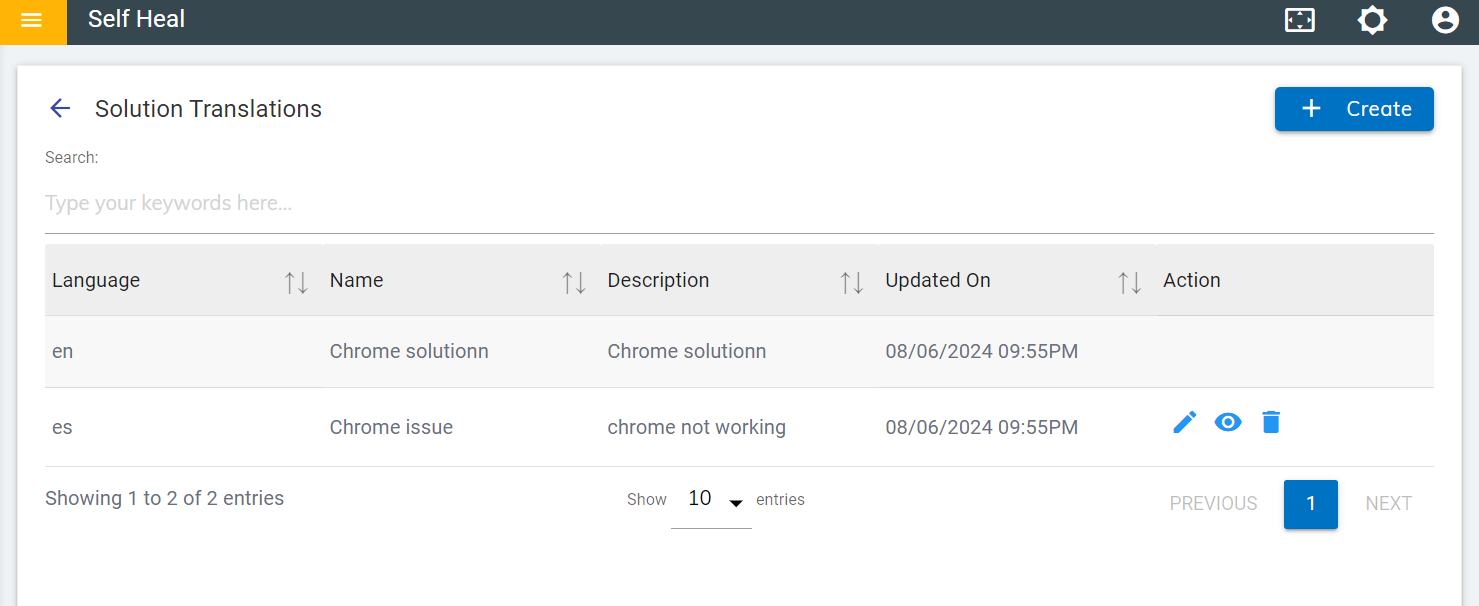
Figure 31. View Translation 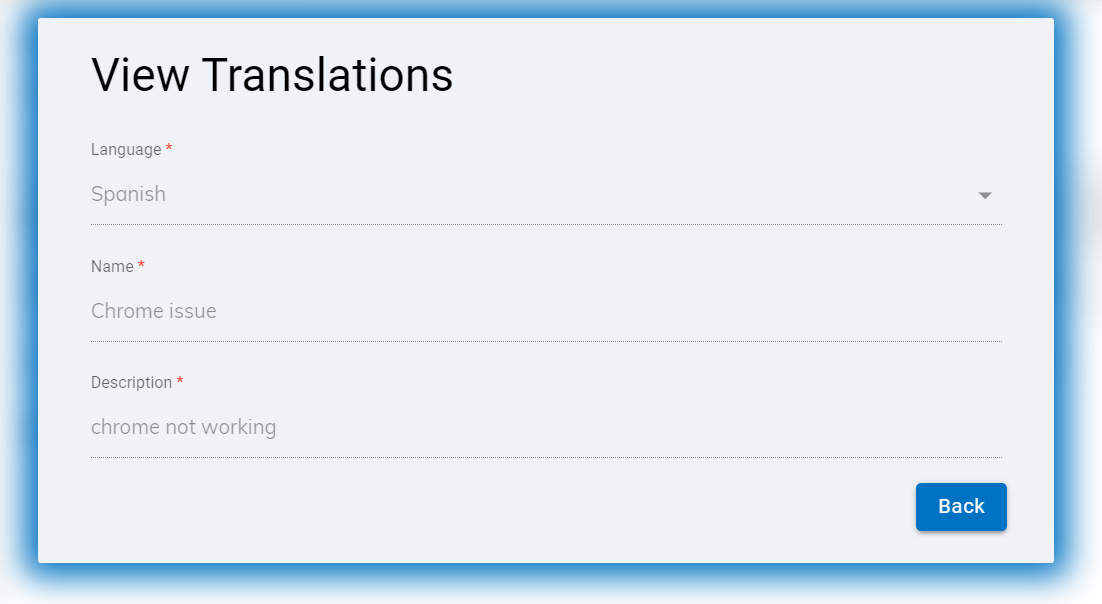
- Click the Back to return to the home page. After clicking Back, the following
page will appear:
Figure 32. Home Page of Solution Translation 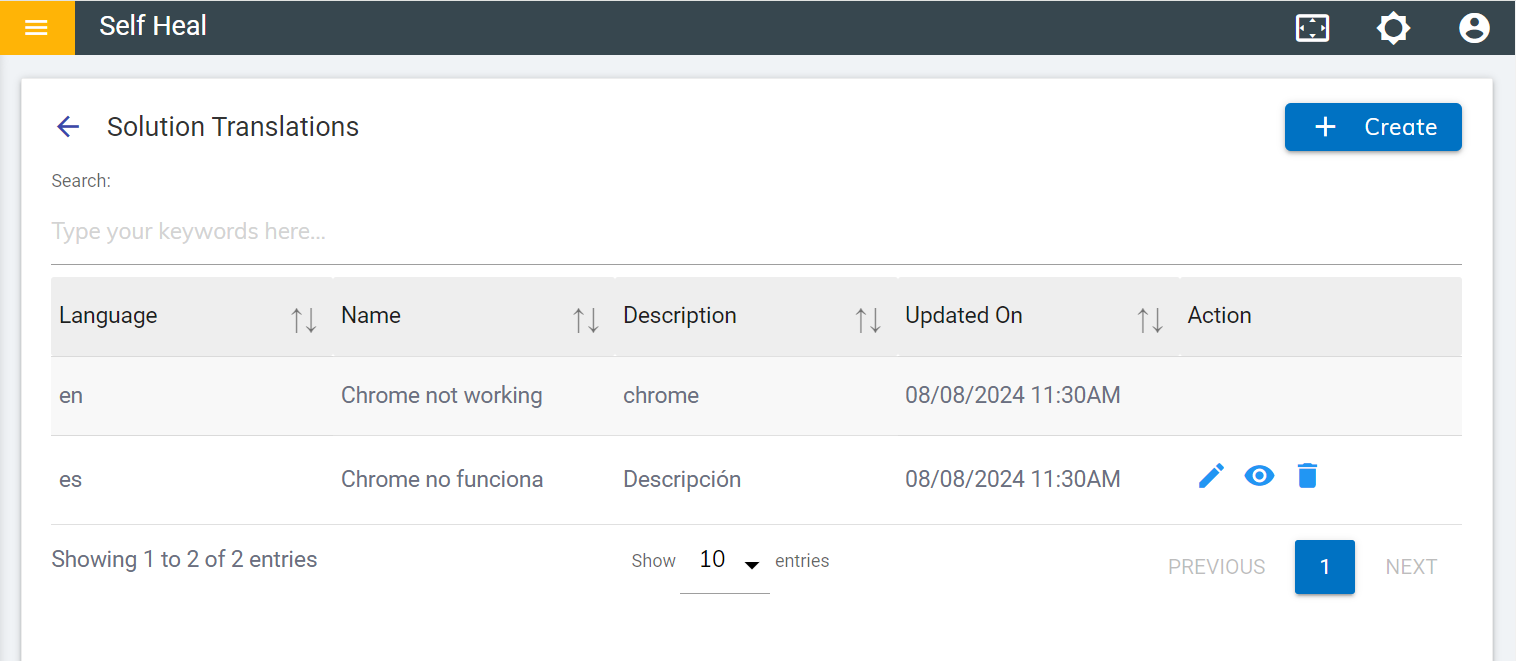
- To Delete the Translation, click on the delete icon in Solution Translation
Page.
Figure 33. Delete icon on Solution Translation .png)
Figure 34. Confirmation Message 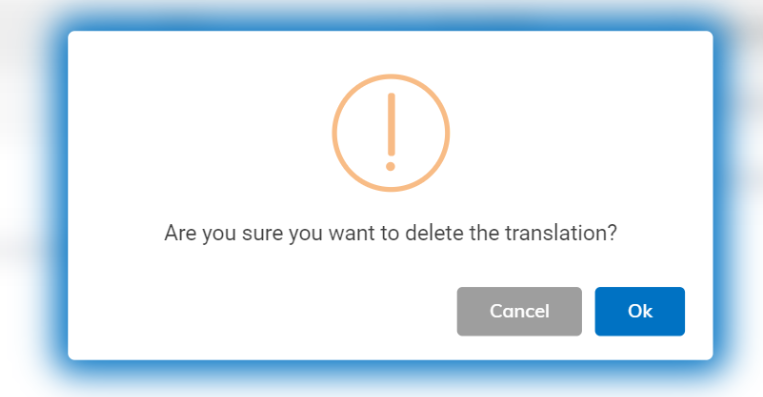
Figure 35. Success message