Create Scheduler
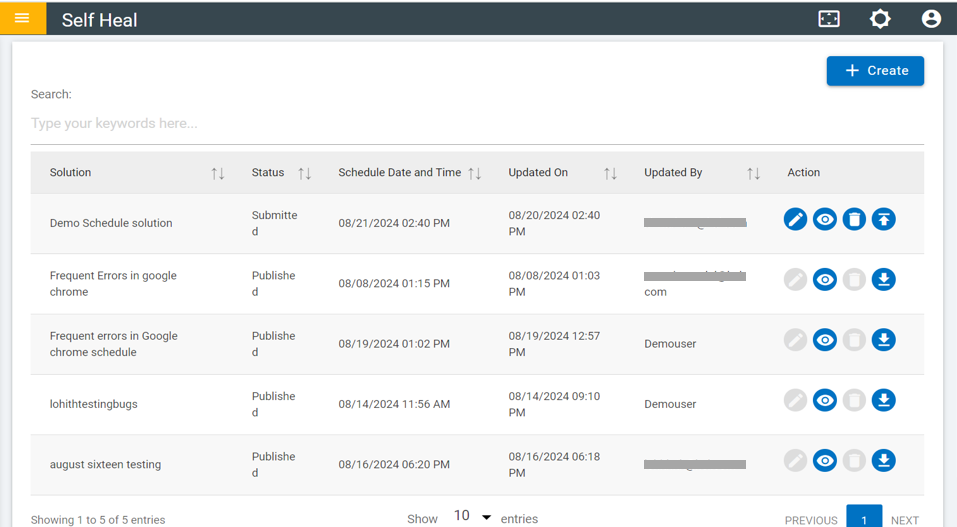
- To create a scheduler, click the "Create" button on the scheduler page.
Figure 1. Scheduler Page 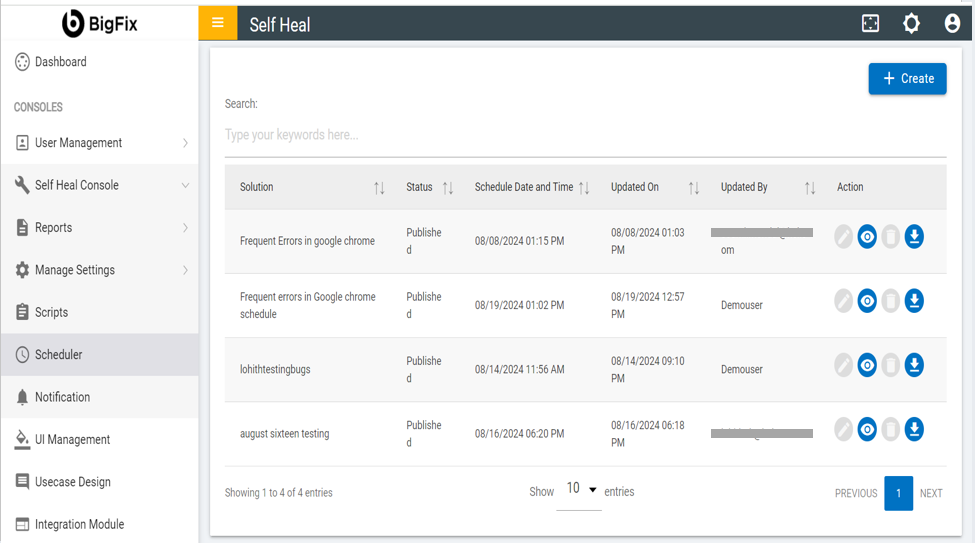
- Fill in the required fields and click “Save”.
Figure 2. Create Scheduler 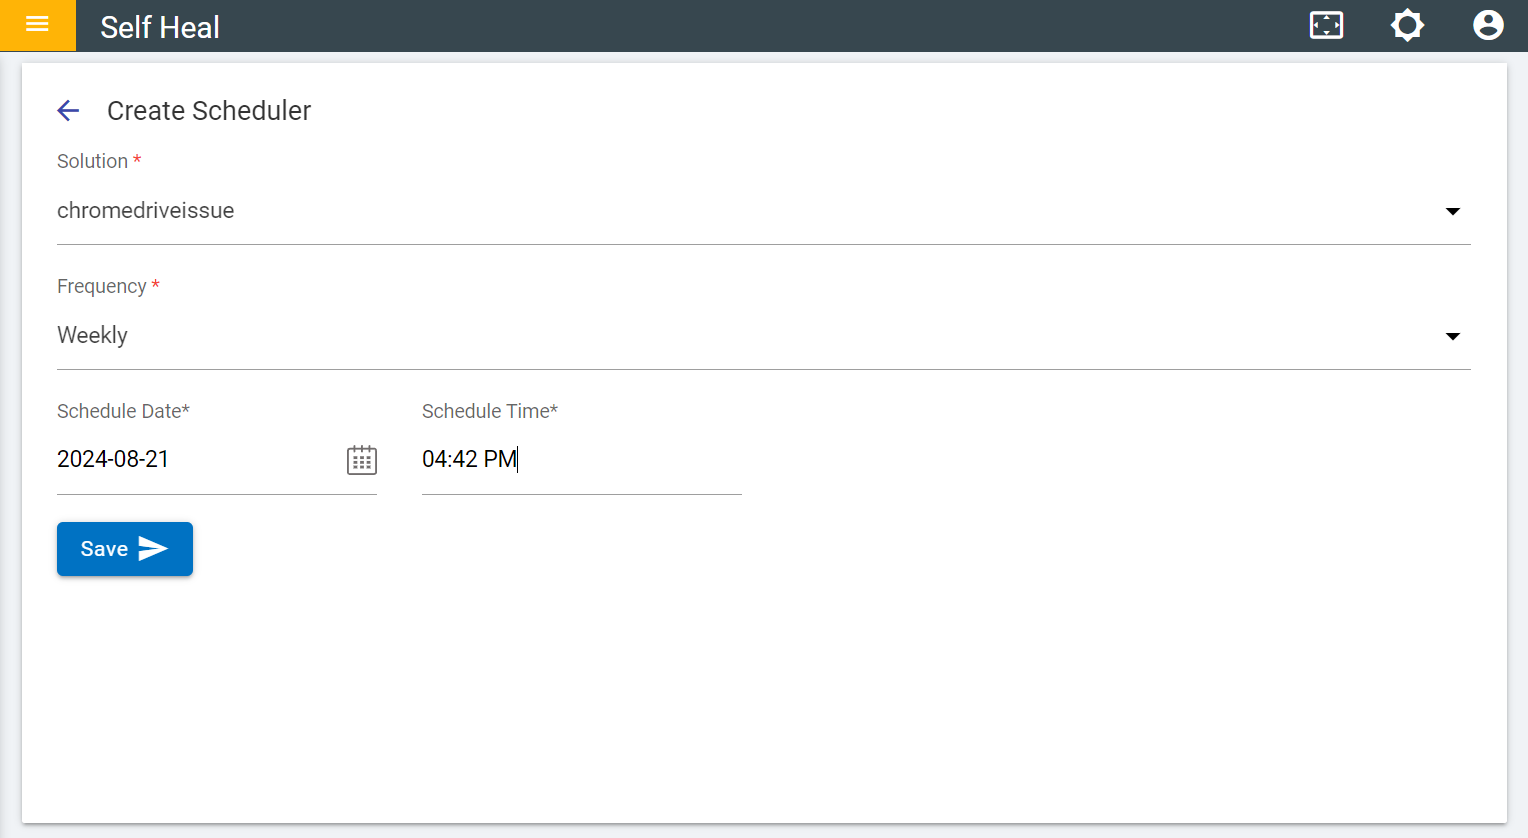
- After clicking "Save," a message will appear confirming that the schedule
solution was created successfully.
Figure 3. Successful Message 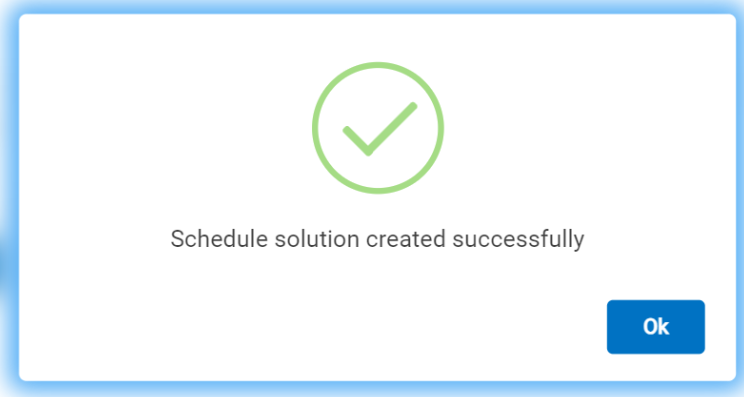
- Click "OK," and the solution will be added to the list of solutions on the
scheduler page. These solutions have already been published and will be visible on the
client’s side during sync.
Figure 4. The solution has been added to the list of solutions