Voice Chat
This feature allows users to chat with BigFix AEX through Voice. This integration needs to be enabled by user through Global Admin Console of BigFix AEX. Below are the steps through which provide walkthrough for enabling integration.
- Log into Global admin and navigate to Tenants page under Provider tab.
Figure 1. Global Admin Console 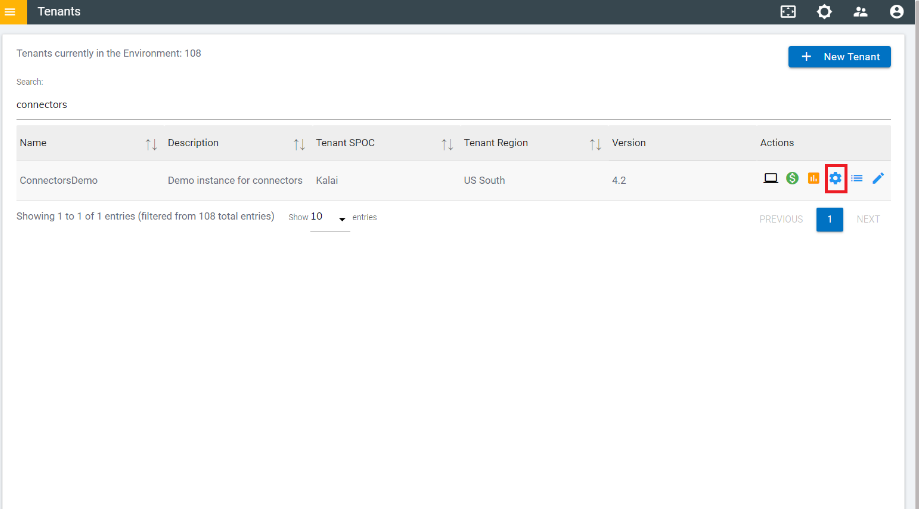
- Click on the Configure button available in Actions column.
- It will open tenant’s configuration page, click on Open link on “Choose
Integrations” card.
Figure 2. Tenant’s Configuration Page 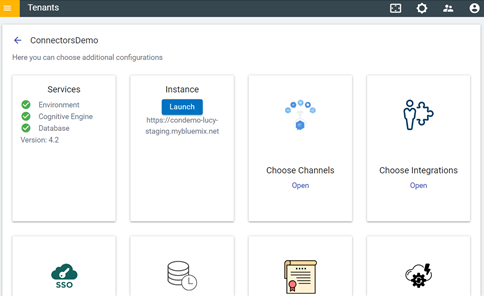
- Click on Open “Speech to text” connector.
Figure 3. Integration with ‘Speech to text’ Connector 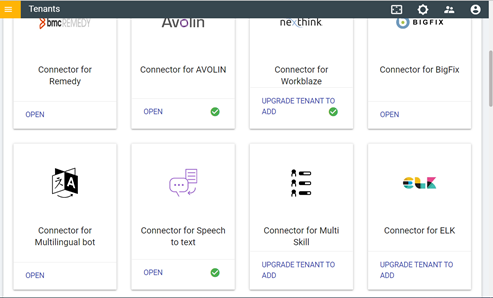
- By default, Browser speech to text is enabled. This option allows users to use
voice chat capability if browser supports.
Figure 4. Integration with ‘Speech to text’ connector (Cont.) 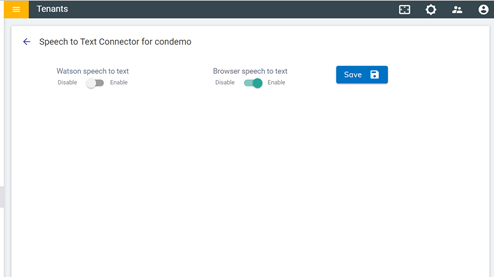
-
Watson Speech to Text is one more option provided by BigFix AEX. If admin wants to
use Watson Speech to Text rather than Browser speech, enable this option and click save
button to enable the integration.
Figure 5. Enabling Watson Speech to Text 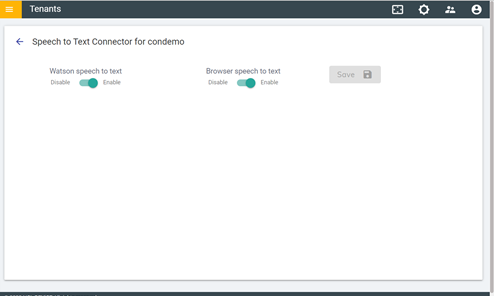
Figure 6. ‘Speech to Text’ Integration Successful 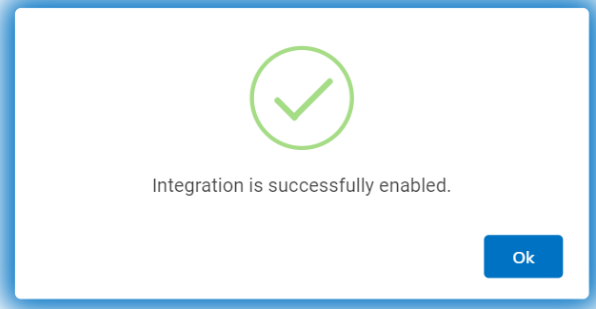
- Once Integration is enabled, admin can launch tenant from configuration page.
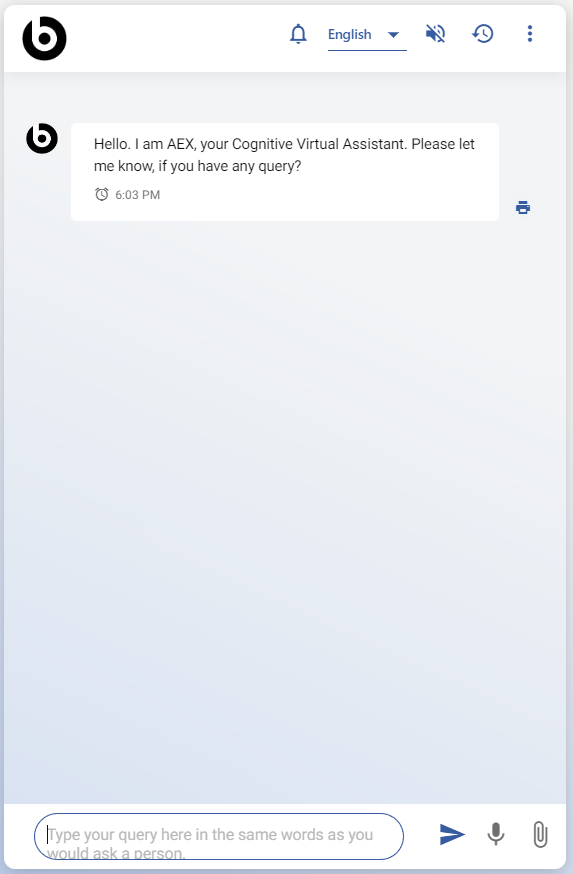
- In the tenant chat console, user will get extra mic button (in case, if Watson speech to
Text is enabled) which uses Watson speech to text API in Chrome browser. User can hold this
button and query from BigFix AEX about their issue.
Figure 7. Tenant Chat Console with Mic Buttons