Integrating your new page into your store
In this final lesson, you add a link to your new page from the left sidebar of the Apparel department page by using a Links widget. The link gives shoppers a way to browse to your new page from a relevant department page. In the Links widget, you add links to two other existing content pages in the Aurora starter store.
About this task
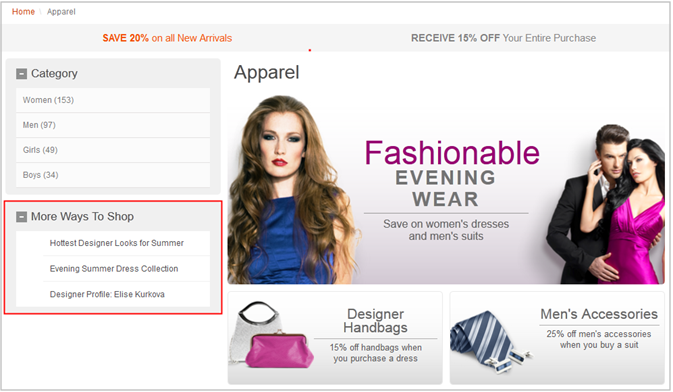
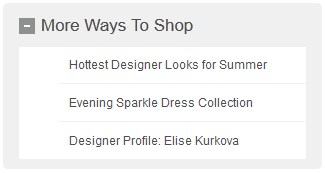
The follow screen capture shows the Links widget that you add to the Apparel department page. The
link titled Hottest Designer Looks for Summer
is the link to your new content page:
To learn more about the Links widget, read the following topic:
In the Aurora starter store, the following six department pages all use the same layout: Apparel, Electronics, Health, Home Furnishings, Groceries, and NewspapersAndMagazines. However, the three links that you add to the Links widget are applicable only to the Apparel department. Therefore, you make a copy of the existing layout for the six department pages. You use the copy to create a new layout that is only for the Apparel department page. You add the Links widget to the new layout.
Procedure
-
In the explorer view, click the Layouts folder.
The list of layouts for the store is displayed.
-
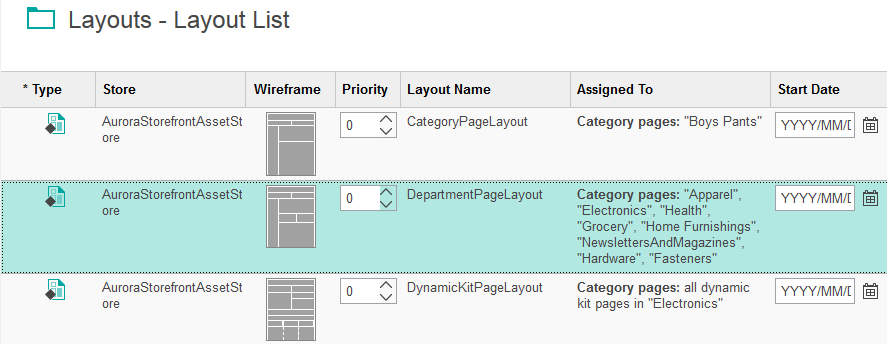
Find and select the row that contains a layout that is named DepartmentPageLayout.
Notice the following things:
- In the Priority column, this layout has a priority of 0, which is the lowest priority.
- In the Assigned To column, this layout is assigned to six categories, one of which is Apparel:
In the next step, you will make a copy of the DepartmentPageLayout layout. You use the copy as a new layout that is assigned only to the Apparel department page. In the new layout, you include the Links widget.
-
In the toolbar, click
 Copy.
Copy.
-
In the toolbar, click
 Paste.
A new layout opens with the name
Paste.
A new layout opens with the nameCopy of DepartmentPageLayout
. This copy is identical to the original, including the page assignments and widgets. - In the Layout name field, change the name to ApparelPageLayout.
-
In the Priority field, change the priority to 1.

Remember that the original DepartmentPageLayout layout has a priority of 0. By assigning a higher priority to this new layout, it overrides the original layout on the storefront. -
Set the start date to May 1 and the end date to May
31.
Ensure that this period corresponds to the schedule that you assigned to the layout for your content page, including the same year.
-
In the Pages table, right-click the row for the
Electronics page, and then click Delete. Also, delete
the Health, Grocery, Home
Furnishings, and NewslettersAndMagazines pages.
As a result, this layout is now assigned only to the Apparel department page.

-
Click the Design Layout tab.
In the Wireframe image, notice that the layout has a left sidebar, which is slot 5.
-
In the Layout slots and widgets table, click the
Slot column header to sort the widgets by the slot to which they are
assigned.
If the column does not sort on the first try, click the Slot column header a second time.
Notice that in slot 5, there are already two widgets: Facet Navigation and Category Navigation: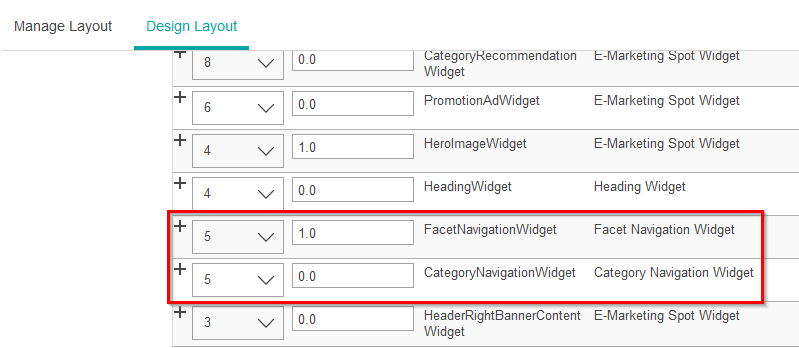
Now add the Links widget to slot 5.
- In the Wireframe image, click slot 5.
- In the Filter by field, type Links.
-
Click the Links widget, and then click OK.
The properties view for the Links widget is displayed.
-
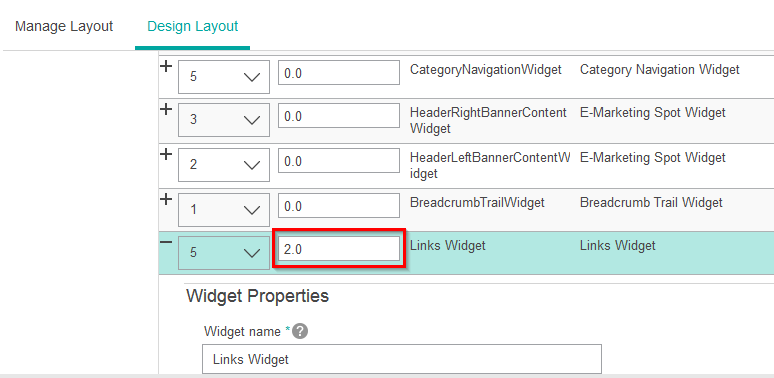
In the Sequence column for the Links widget, change
0.0 to 2.0. This change ensures that the Links widget
is displayed beneath the Category Navigation and Facet Navigation widgets in the left sidebar.
- In the Widget name field, type Links for Apparel layout.
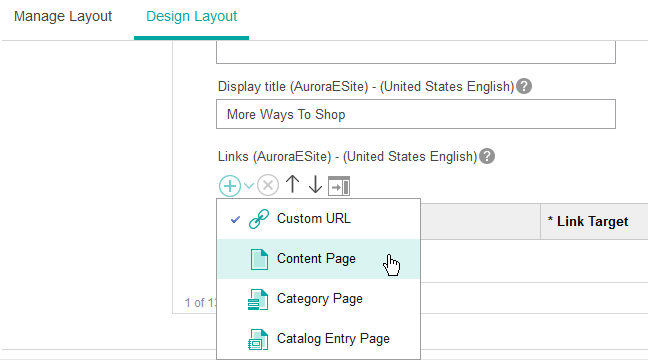
- In the Display title field, type More Ways To Shop.
-
In the Links widget, add a link to your new content page:
-
Above the Links table, click the arrow to the
right of
 Add Link. Then, select Content
Page:
Add Link. Then, select Content
Page:
-
Above the Links table, click the arrow to the
right of
-
Add a second link to the Links widget:
-
Above the Links table, click the arrow to the
right of
Add Link. Then, select Content
Page:
-
Above the Links table, click the arrow to the
right of
-
Add a third link to the Links widget:
-
Above the Links table, click the arrow to the
right of
Add Link. Then, select Content
Page:
-
Above the Links table, click the arrow to the
right of
- Click Save and Preview.
-
In the Apparel page, in the left sidebar, the new Links widget is displayed.
-
In the Links widget, click
Hottest Designer Looks for Summer
, which is the link to your page.Your content page with its layout is displayed.
Results
This lesson concludes the tutorial.