Custom PLA
A Custom PLA is a user-defined PLA report that help organizations maintain a proactive patching strategy while ensuring compliance and security are tailored to their specific needs.
Custom PLAs provide:
- Flexibility: Allows organizations to define patching policies based on their security and compliance needs.
- Granular Control: Enables selection of patches based on CVE, category, vendor, and severity.
- Targeted Deployment: Ensures patches are applied only to relevant devices by using specific rules.
- Optimized Compliance Management: Custom time frames for patch application ensure alignment with internal policies.
Creating custom PLA
To create a new custom PLA, complete these steps:
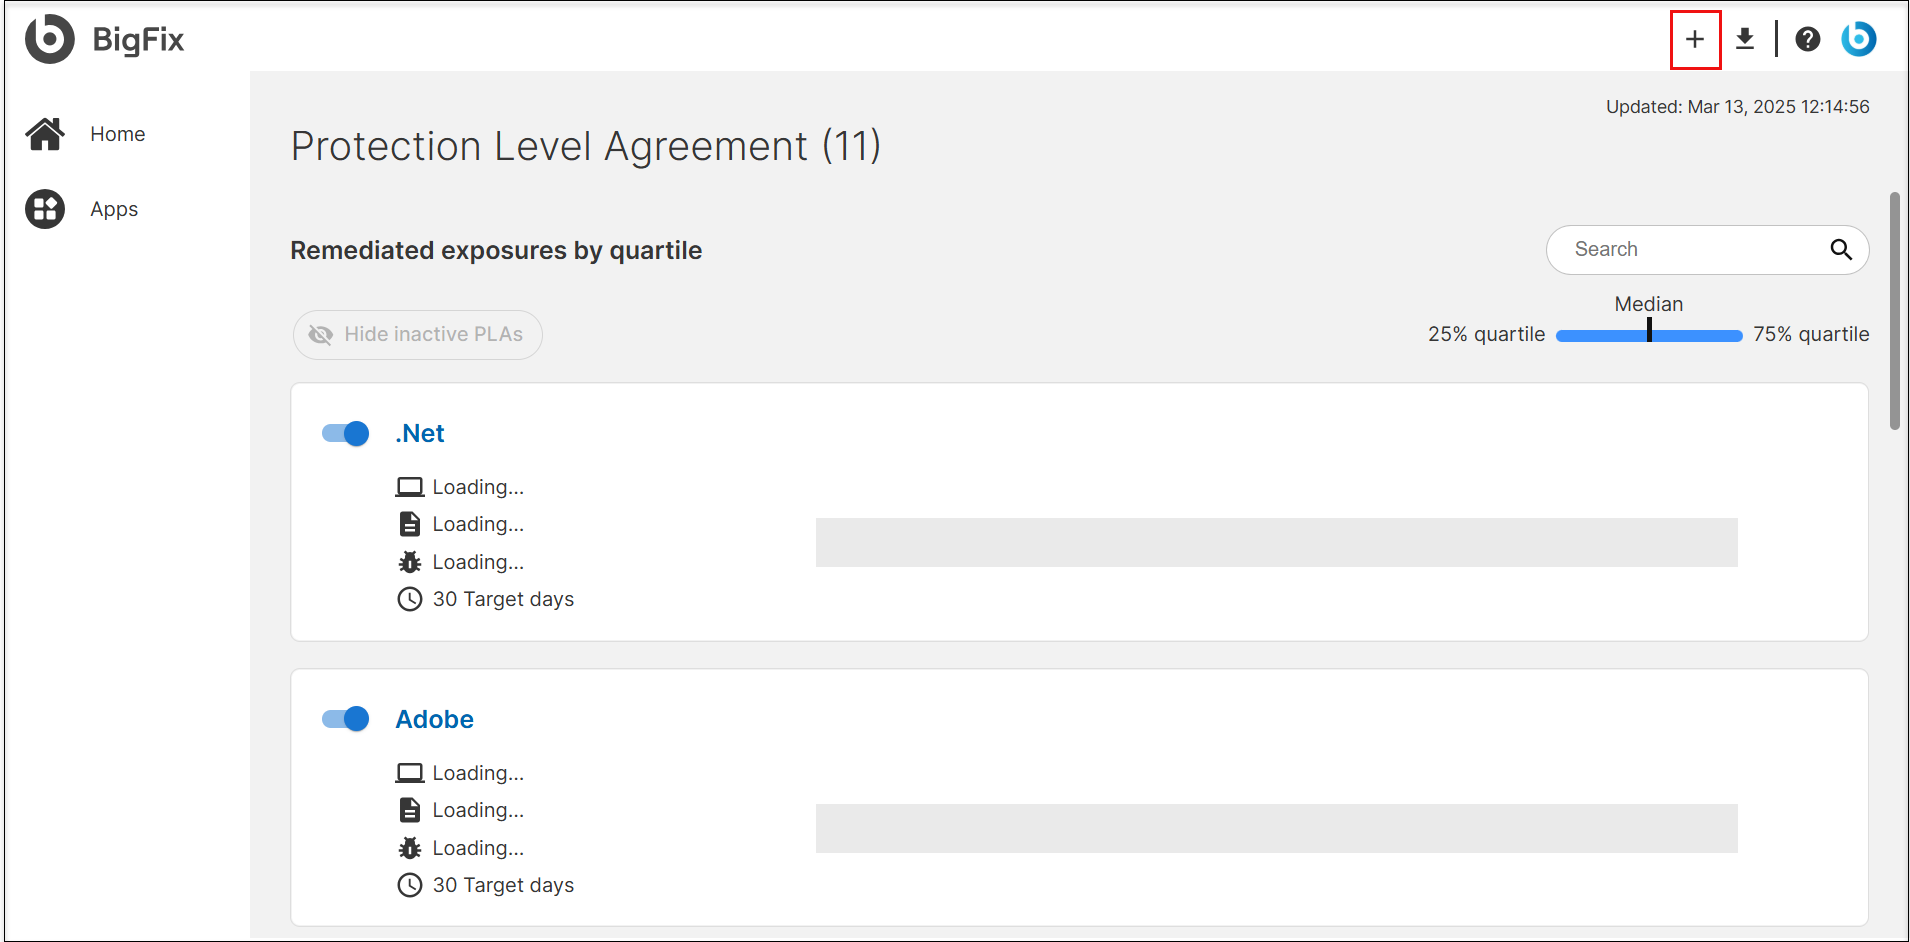
- On the Protection Level Agreement page, click Add New
PLA to create a new custom PLA.
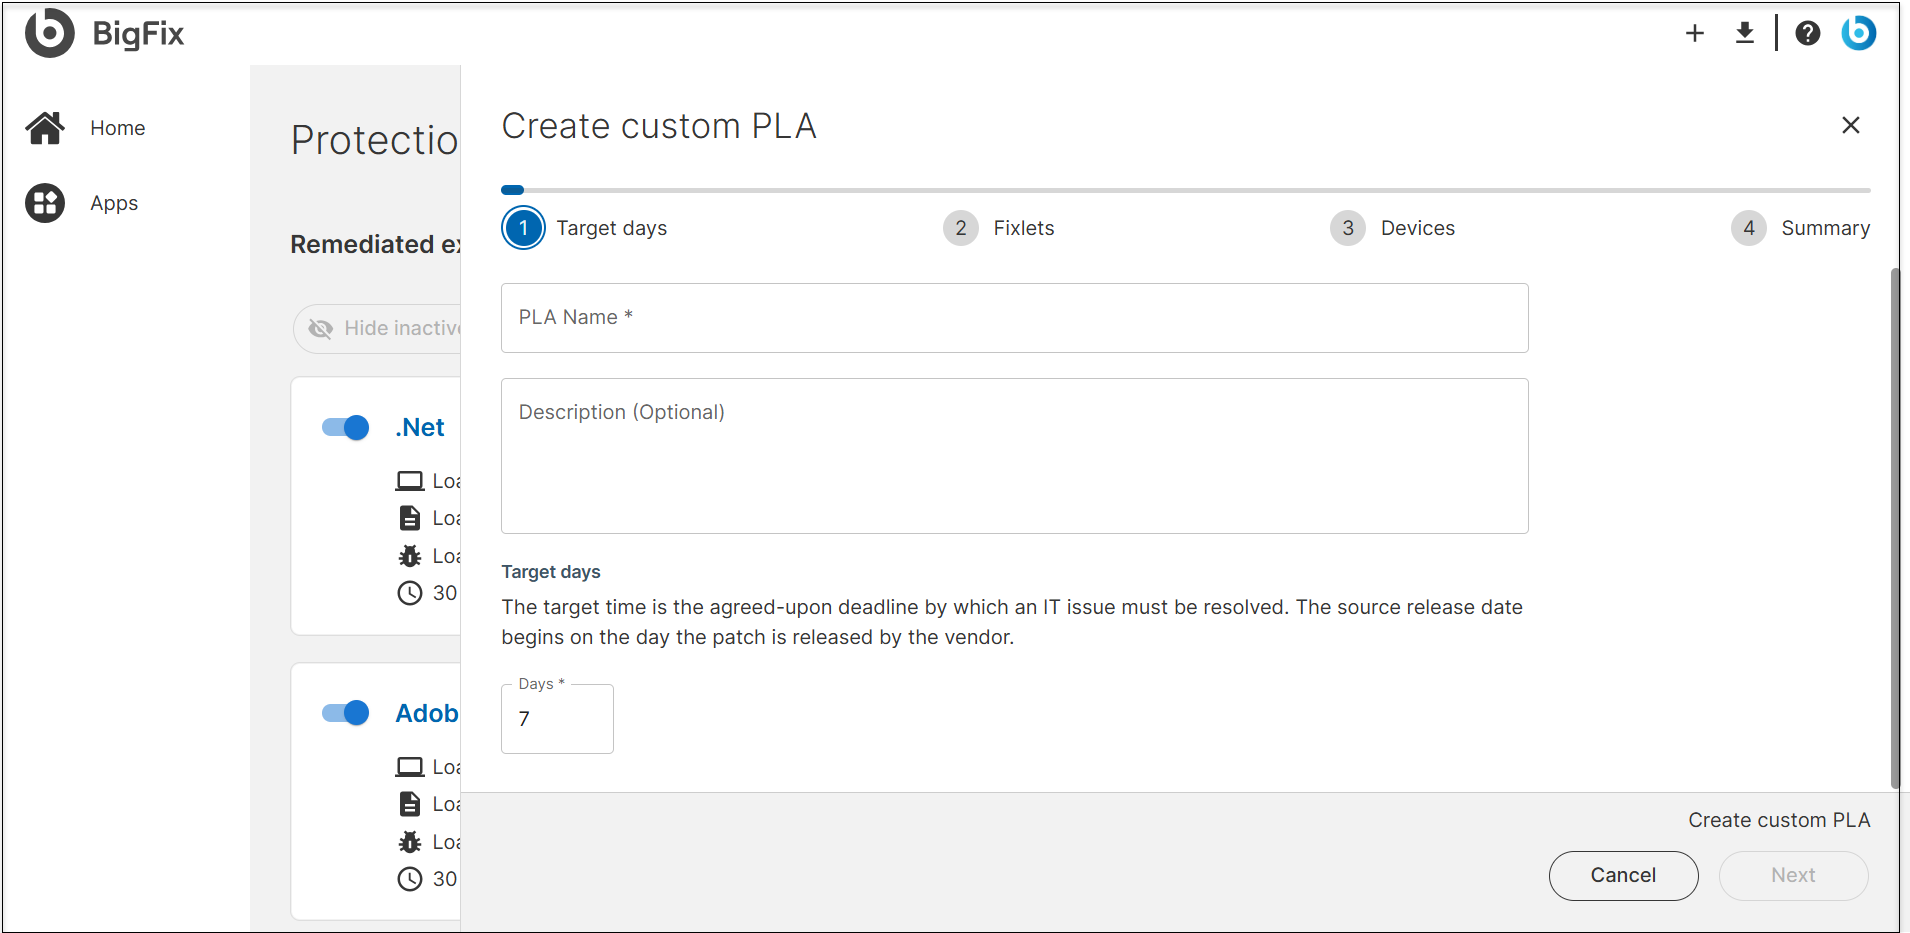
- The Create Custom PLA wizard appears. Complete the
following steps:
- Enter a name and description for the PLA.
- Specify the target days.
- Click Next.
- Define the Fixlets Criteria:
- Select an Operating System
- You can group Fixlets that match conditions based on the following
parameters:
- Property: Fixlet attributes like CVE, category, Name, Severity, and Source.
- Operator: Criteria such as in and not in.
- Value: The specific value for the condition.
- Single condition: Allows you to define parameters for one condition.
- Multiple condition (AND): Allows you to define multiple conditions and filters Fixlets that match all the defined conditions. You can add multiple conditions, to ensure that they reflect the criteria relevant to your deployment needs.
- Multiple condition (OR): Allows you to define multiple conditions and filters Fixlets that match at least one condition that qualify.
- Preview selected Fixlets to ensure the correct ones are selected.
- Click Next.
- Define target devices
- Filter target devices using rule-based conditions through
Filter by Query or Filter by
device list.
- Filter by Query:
- Define device filters by selecting attributes, conditions, and values to determine which devices need to be included.
- Review the filtered target devices under Preview of dynamically applicable targeted devices.
- Filter by device list:
- You can manually enter one or more device names, device IDs, FQDNs, or IP addresses to select as targets.
- Click
 to review the filtered target devices.
- Filter by Query:
- Click Next.
- Filter target devices using rule-based conditions through
Filter by Query or Filter by
device list.
- Review the PLA Name, Description, Fixlet Criteria, Devices Criteria and modify if needed before finalizing.
- Click Create to create the custom PLA.
- A success message is displayed. Click Done.
The custom PLA will be stored on the server and listed on the Protection Level Agreement page. Custom PLAs are not activated by default. Activate the PLA as needed.
Editing Custom PLA
Important:
You can edit only custom PLAs.
System-defined PLAs cannot be edited.
- From the Protection Level Agreement page, click on a custom PLA that you want to edit.
- Deactivate custom PLA: If the custom PLA is activate, you must deactivate before making changes.
- Click Edit.
- Modify PLA Details: You can update description of the PLA, target days,
Fixlet selection, and target device selection as needed.Note:You cannot rename a custom PLA. To use a different name, create a new custom PLA
- Review: Carefully review the Summary, then click . The changes will be reflected on the Protection Level Agreement page.
- Reactivate PLA: Once edits are complete, reactivate the PLA to enforce the updated PLA.
Deleting Custom PLA
Important:
You can delete only custom PLAs.
System-defined PLAs cannot be deleted.
- From the Protection Level Agreement page, click on a custom PLA that you want to delete.
- From the details page on the right side, click
Delete.CAUTION:The action cannot be undone. All associated data will be permanently deleted.
- Click Delete to confirm. The custom PLA will be permanently deleted.