
Scan a repository
Static analysis and Software Composition Analysis (SCA) scans can be configured and scheduled to pull source code directly from a GitHub, GitLab, or Bitbucket repository. When triaging findings, users can view the relevant source code directly in the repository. Findings can be filtered by filename or path. AppScan on Cloud supports scanning one repository per scan.
- Use the Create scan wizard to configure your scan. Select .
- At the Repository connection tab, select the SCM
provider:
- GitHub
- GitHub.com
- GitHub Enterprise
- GitLab
- GitLab Self-Managed
- GitLab SaaS (Cloud)
- Bitbucket
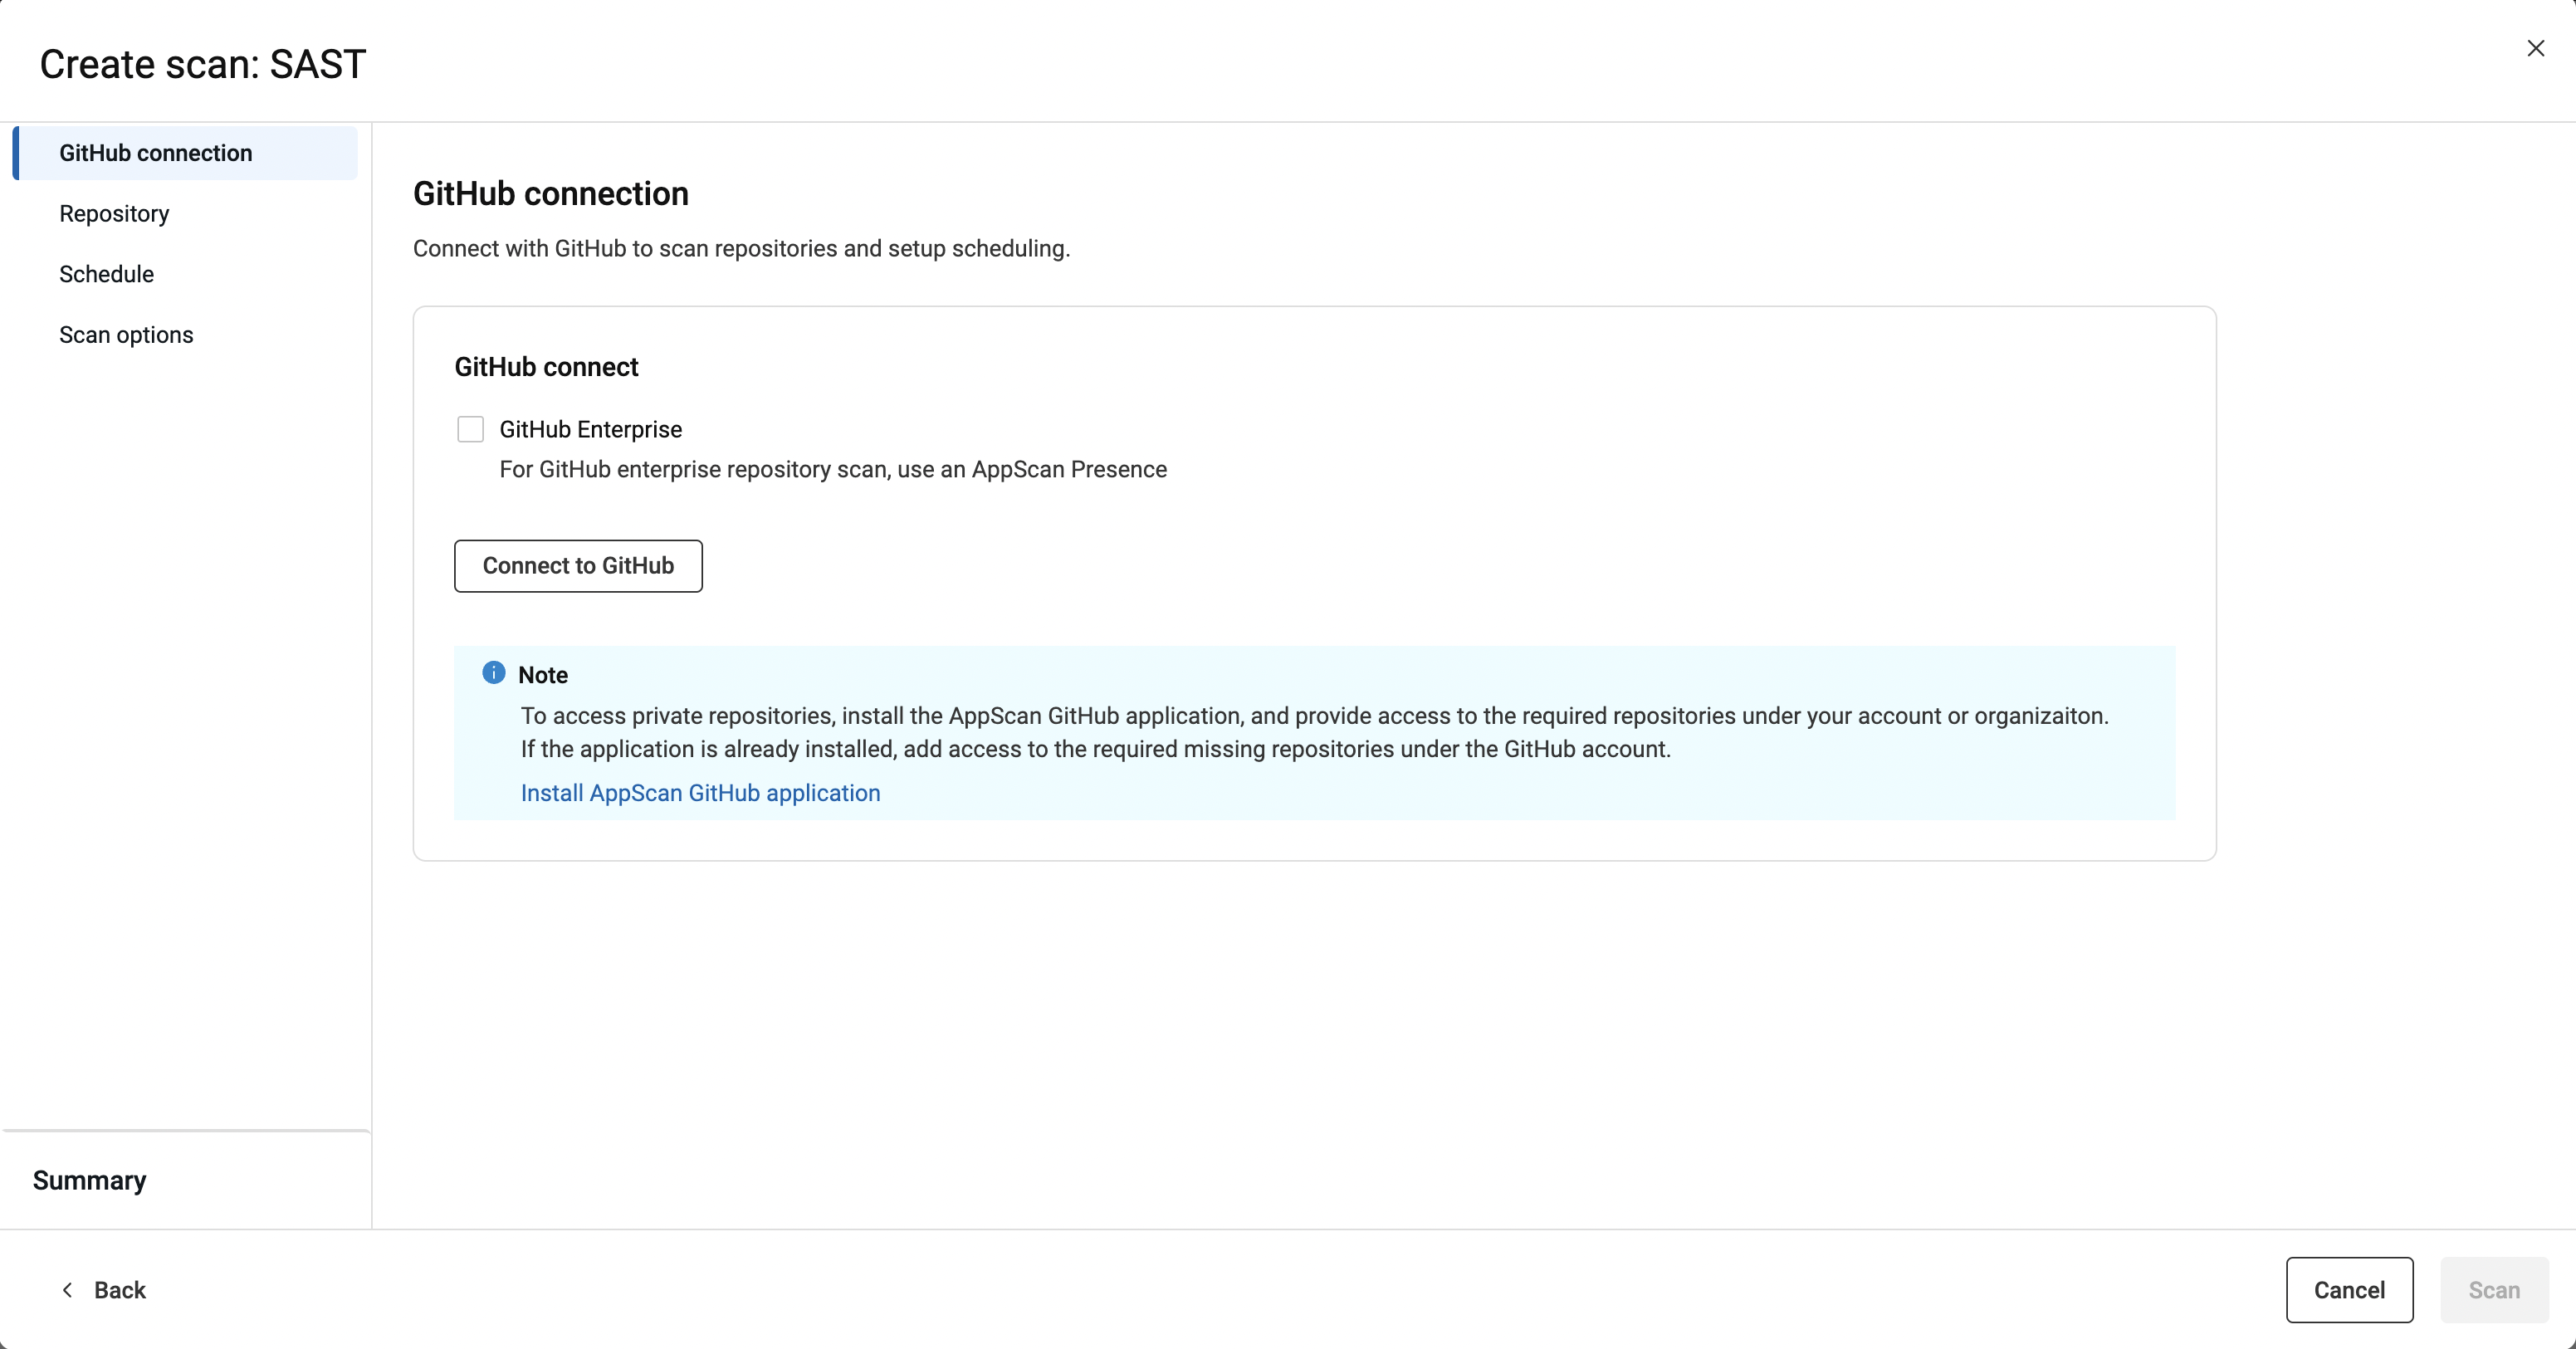
- GitHub
- If you selected GitHub.com click Connect to login to
GitHub.AppScan on Cloud opens a new browser window to complete the GitHub.com connection.Note:If you see the message, "Cannot connect to Git repository," try to reauthorize by clicking Connect again.
Once authorized, available repositories are listed on the Repository tab. Authorization is required only once.
- If you selected GitHub Enterprise, GitLab Self-Managed, GitLab SaaS (Cloud), or
Bitbucket, select an appropriate enabled AppScan Presence from the drop-down list and
click Authorize Presence.
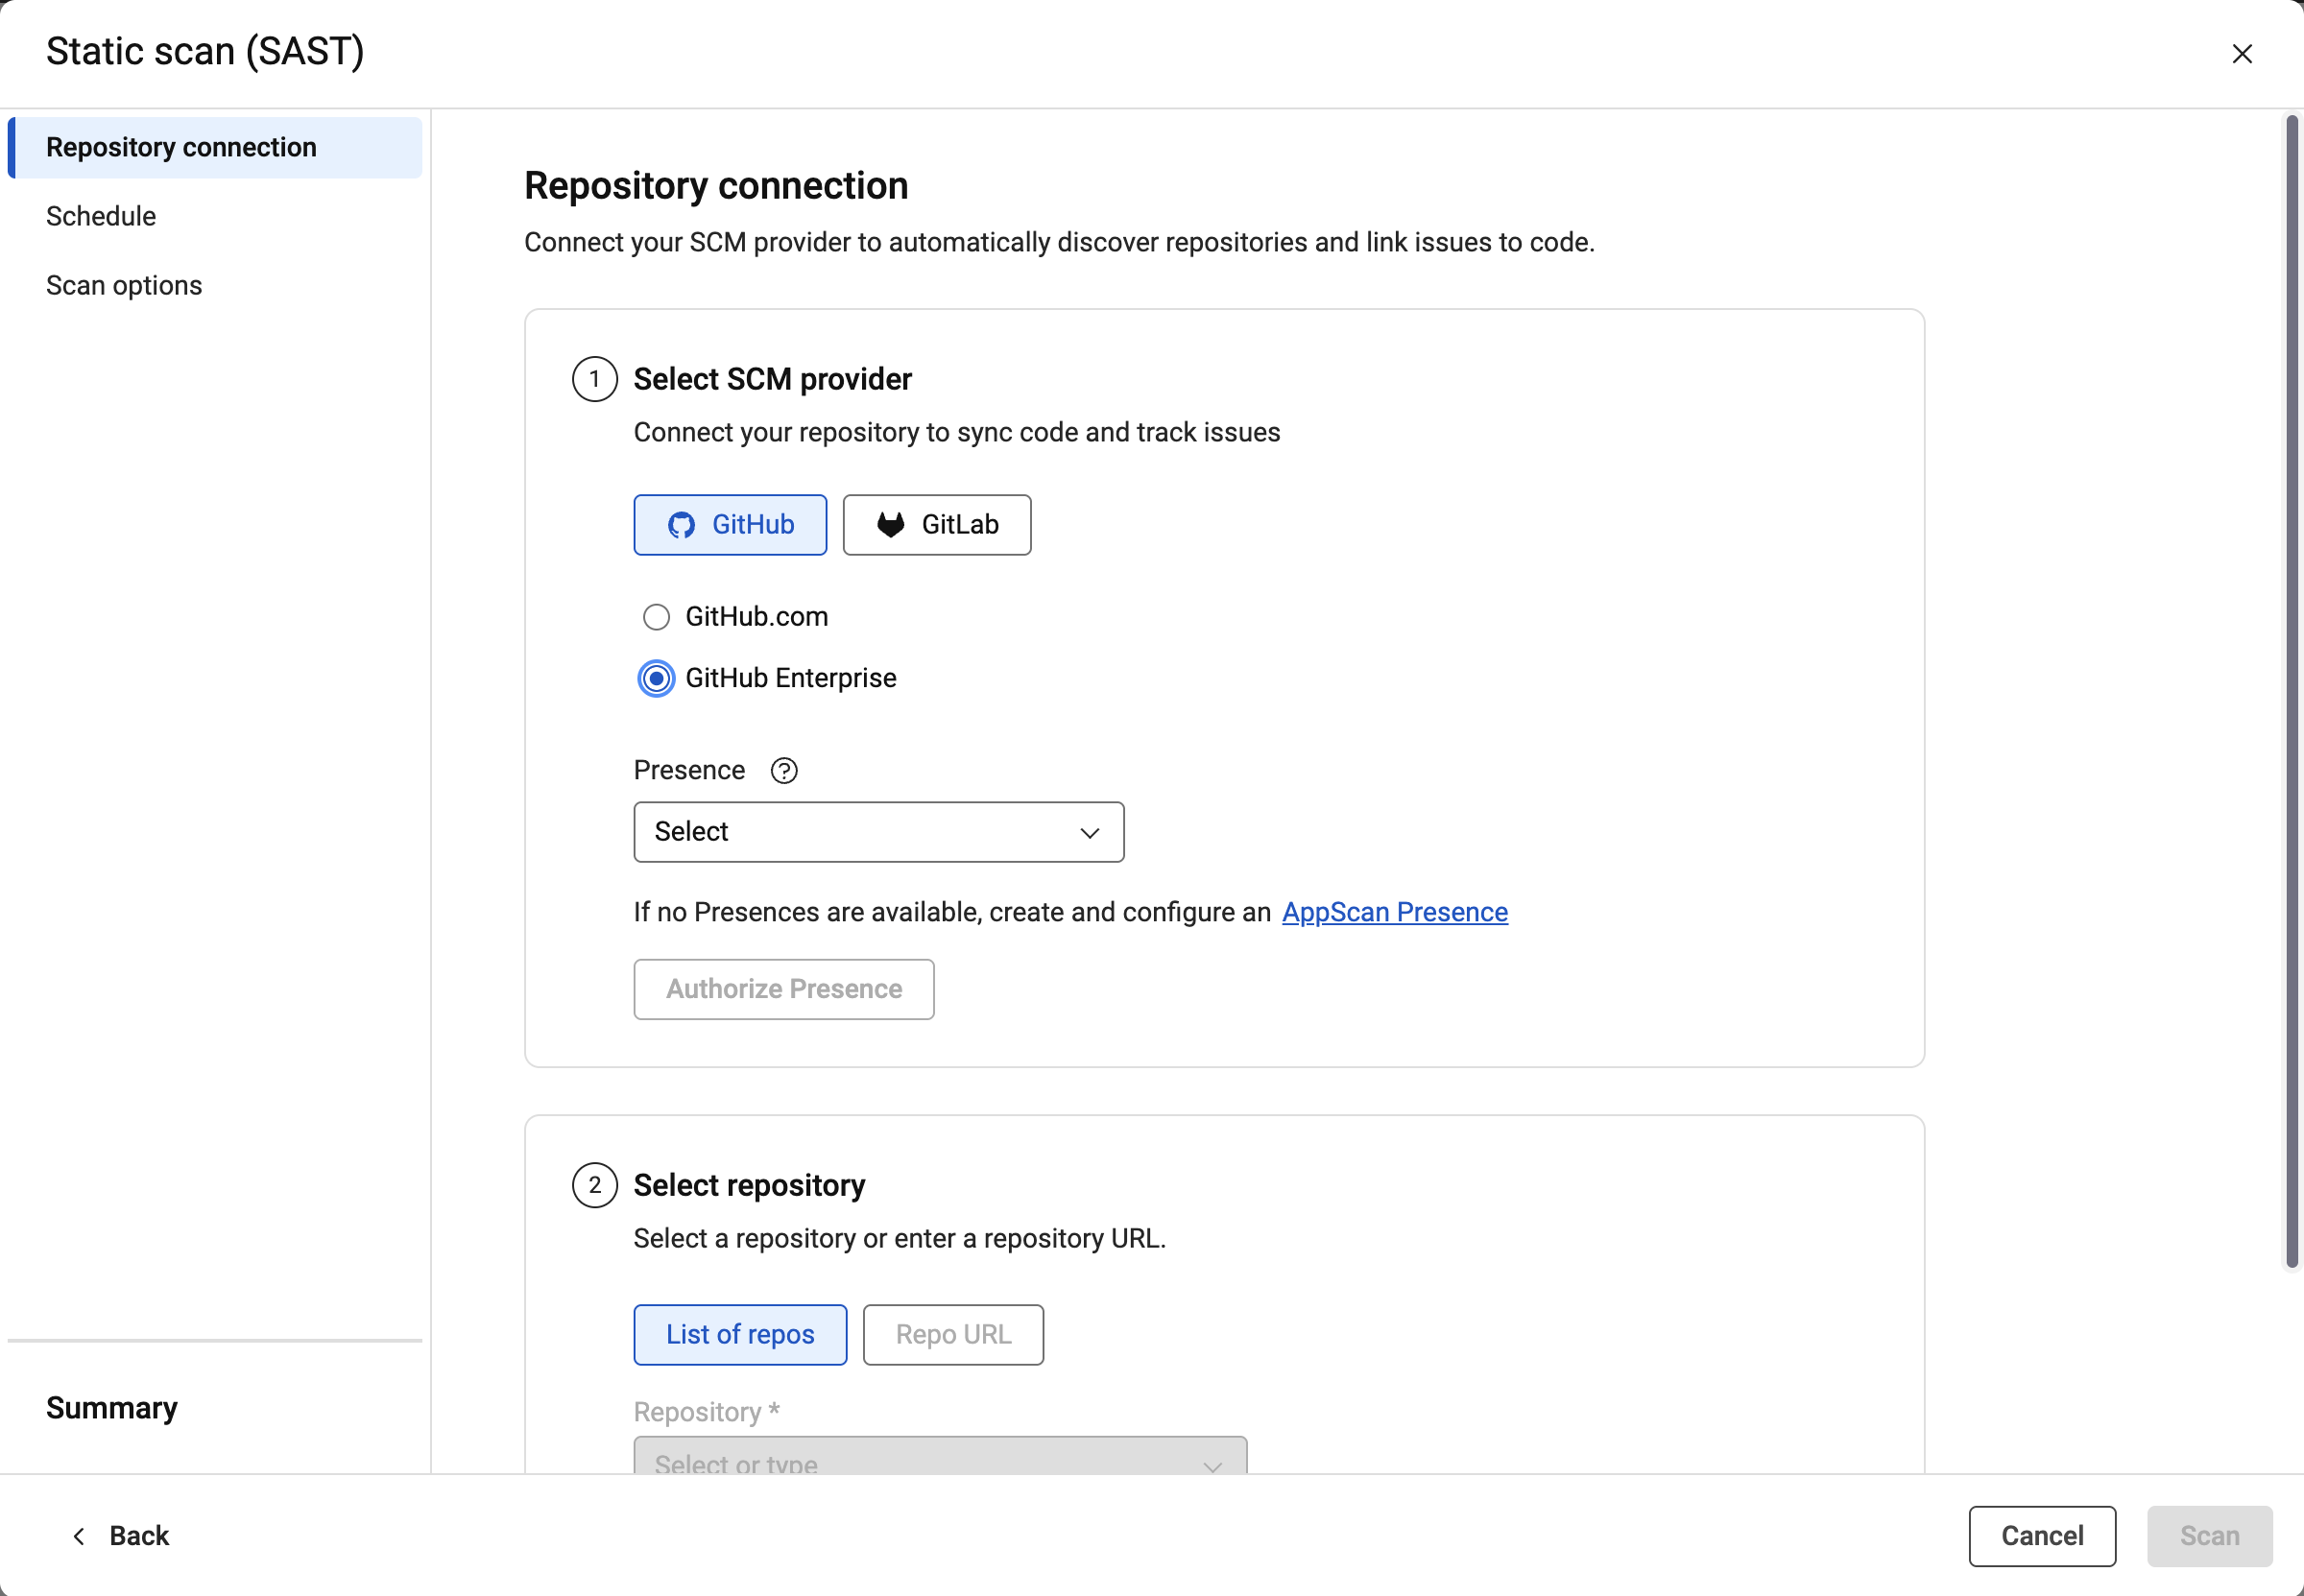 Note:If you see the message "No Presences available," no Presences are configured for the application. Either set up a Presence (see, Setting up an AppScan Presence to scan a GitHub repository or Setting up an AppScan Presence to scan a GitLab repository) or use a public GitHub.com or GitLab SaaS path without a Presence.
For more information on scanning using an AppScan Presence, see Scan a repository using an AppScan Presence.
- At the Select repository tab, specify the repository and
branch to scan either from a list of available repositories, or provide the
repository URL.
When choosing a repository from the list of available repositories, choose the parent first, then the branch.
When specifying repositories by URL, include the full path. For example,https://github.com/HCL-TECH-SOFTWARE/AltoroJ.Note:If a repository is not visible in the list:- It may be private. See Scanning private GitHub repositories.
- The GitHub app is not installed. See Setting up an AppScan Presence to scan a GitHub repository.
- The GitLab token lacks the
read_repositoryscope. See Setting up an AppScan Presence to scan a GitLab repository.
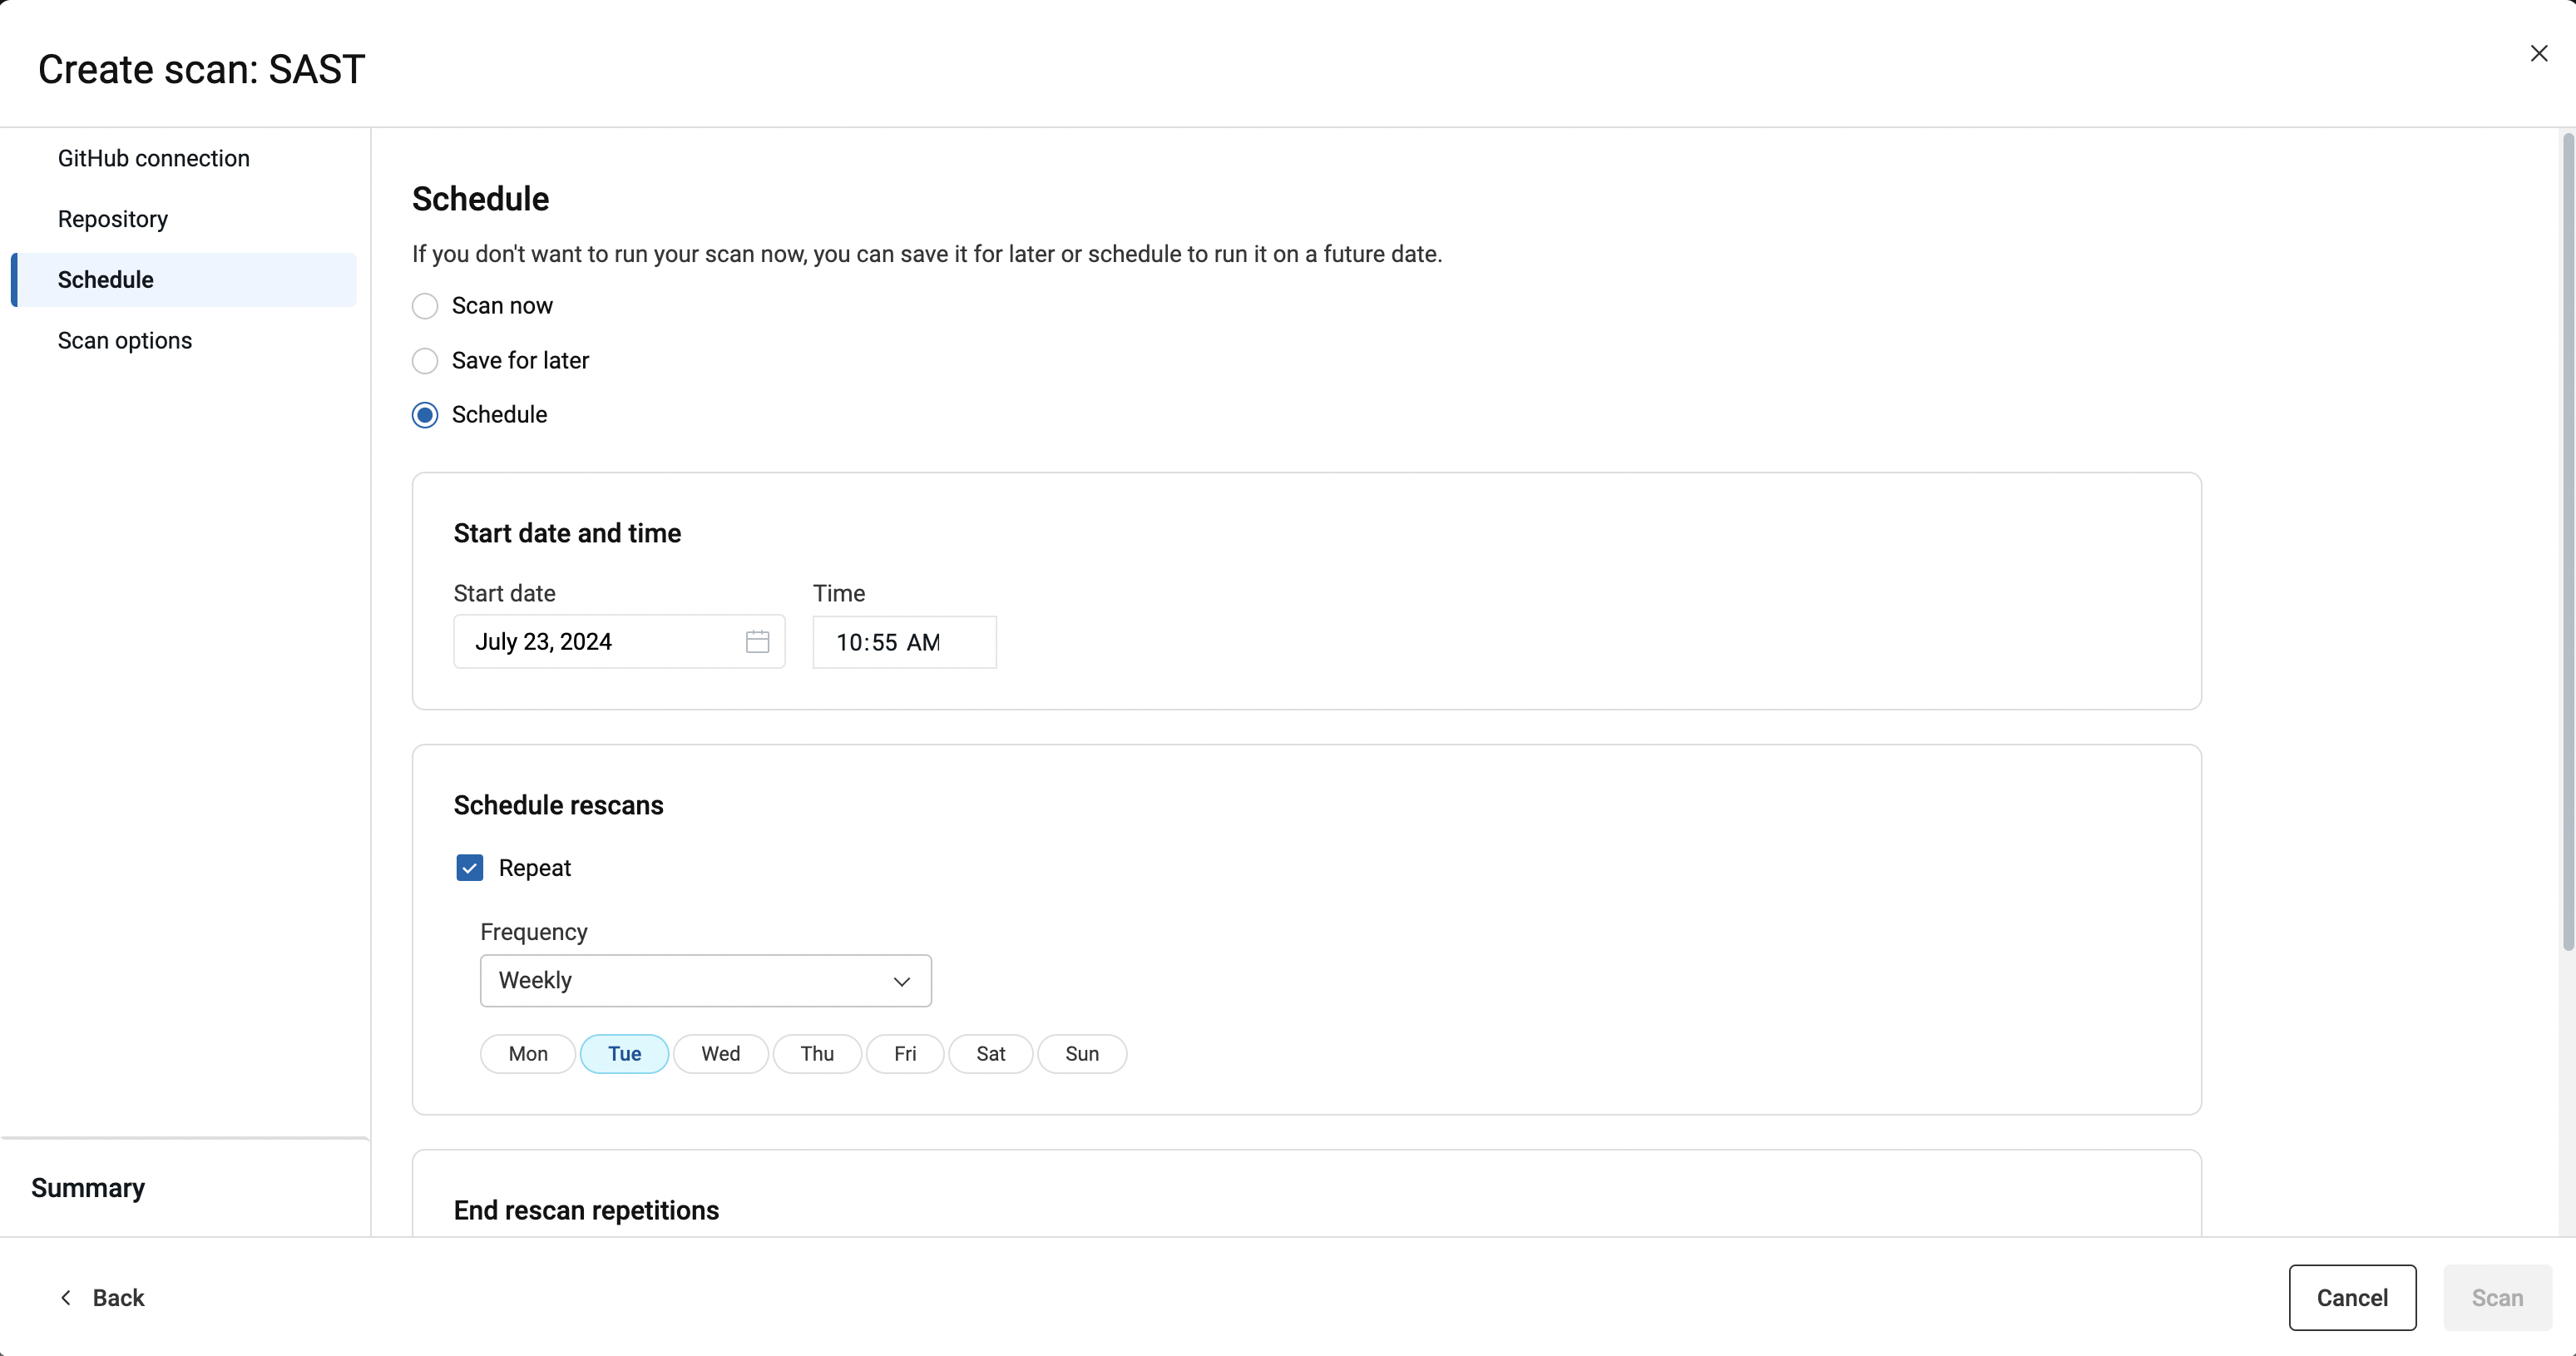
- From the Schedule tab, specify that the scan should run
immediately, save the scan configuration to use later, or schedule recurrent scanning:
- Scan now
The scan runs as soon as you click the Scan button. If the maximum number of concurrent scans are running at this time, the scan will be added to a queue, and will start when it reaches the head of the queue.
- Save for later
The configuration for your scan is ready to run and added to the Scans page with the status "Configuration saved." Saved configurations cannot be edited.
- Schedule
- Indicate start date and time for the scan.
- If you want the scan to repeat on a schedule, specify frequency (daily, weekly, monthly) and further details.
- Indicate when rescans should stop.
- Scan now
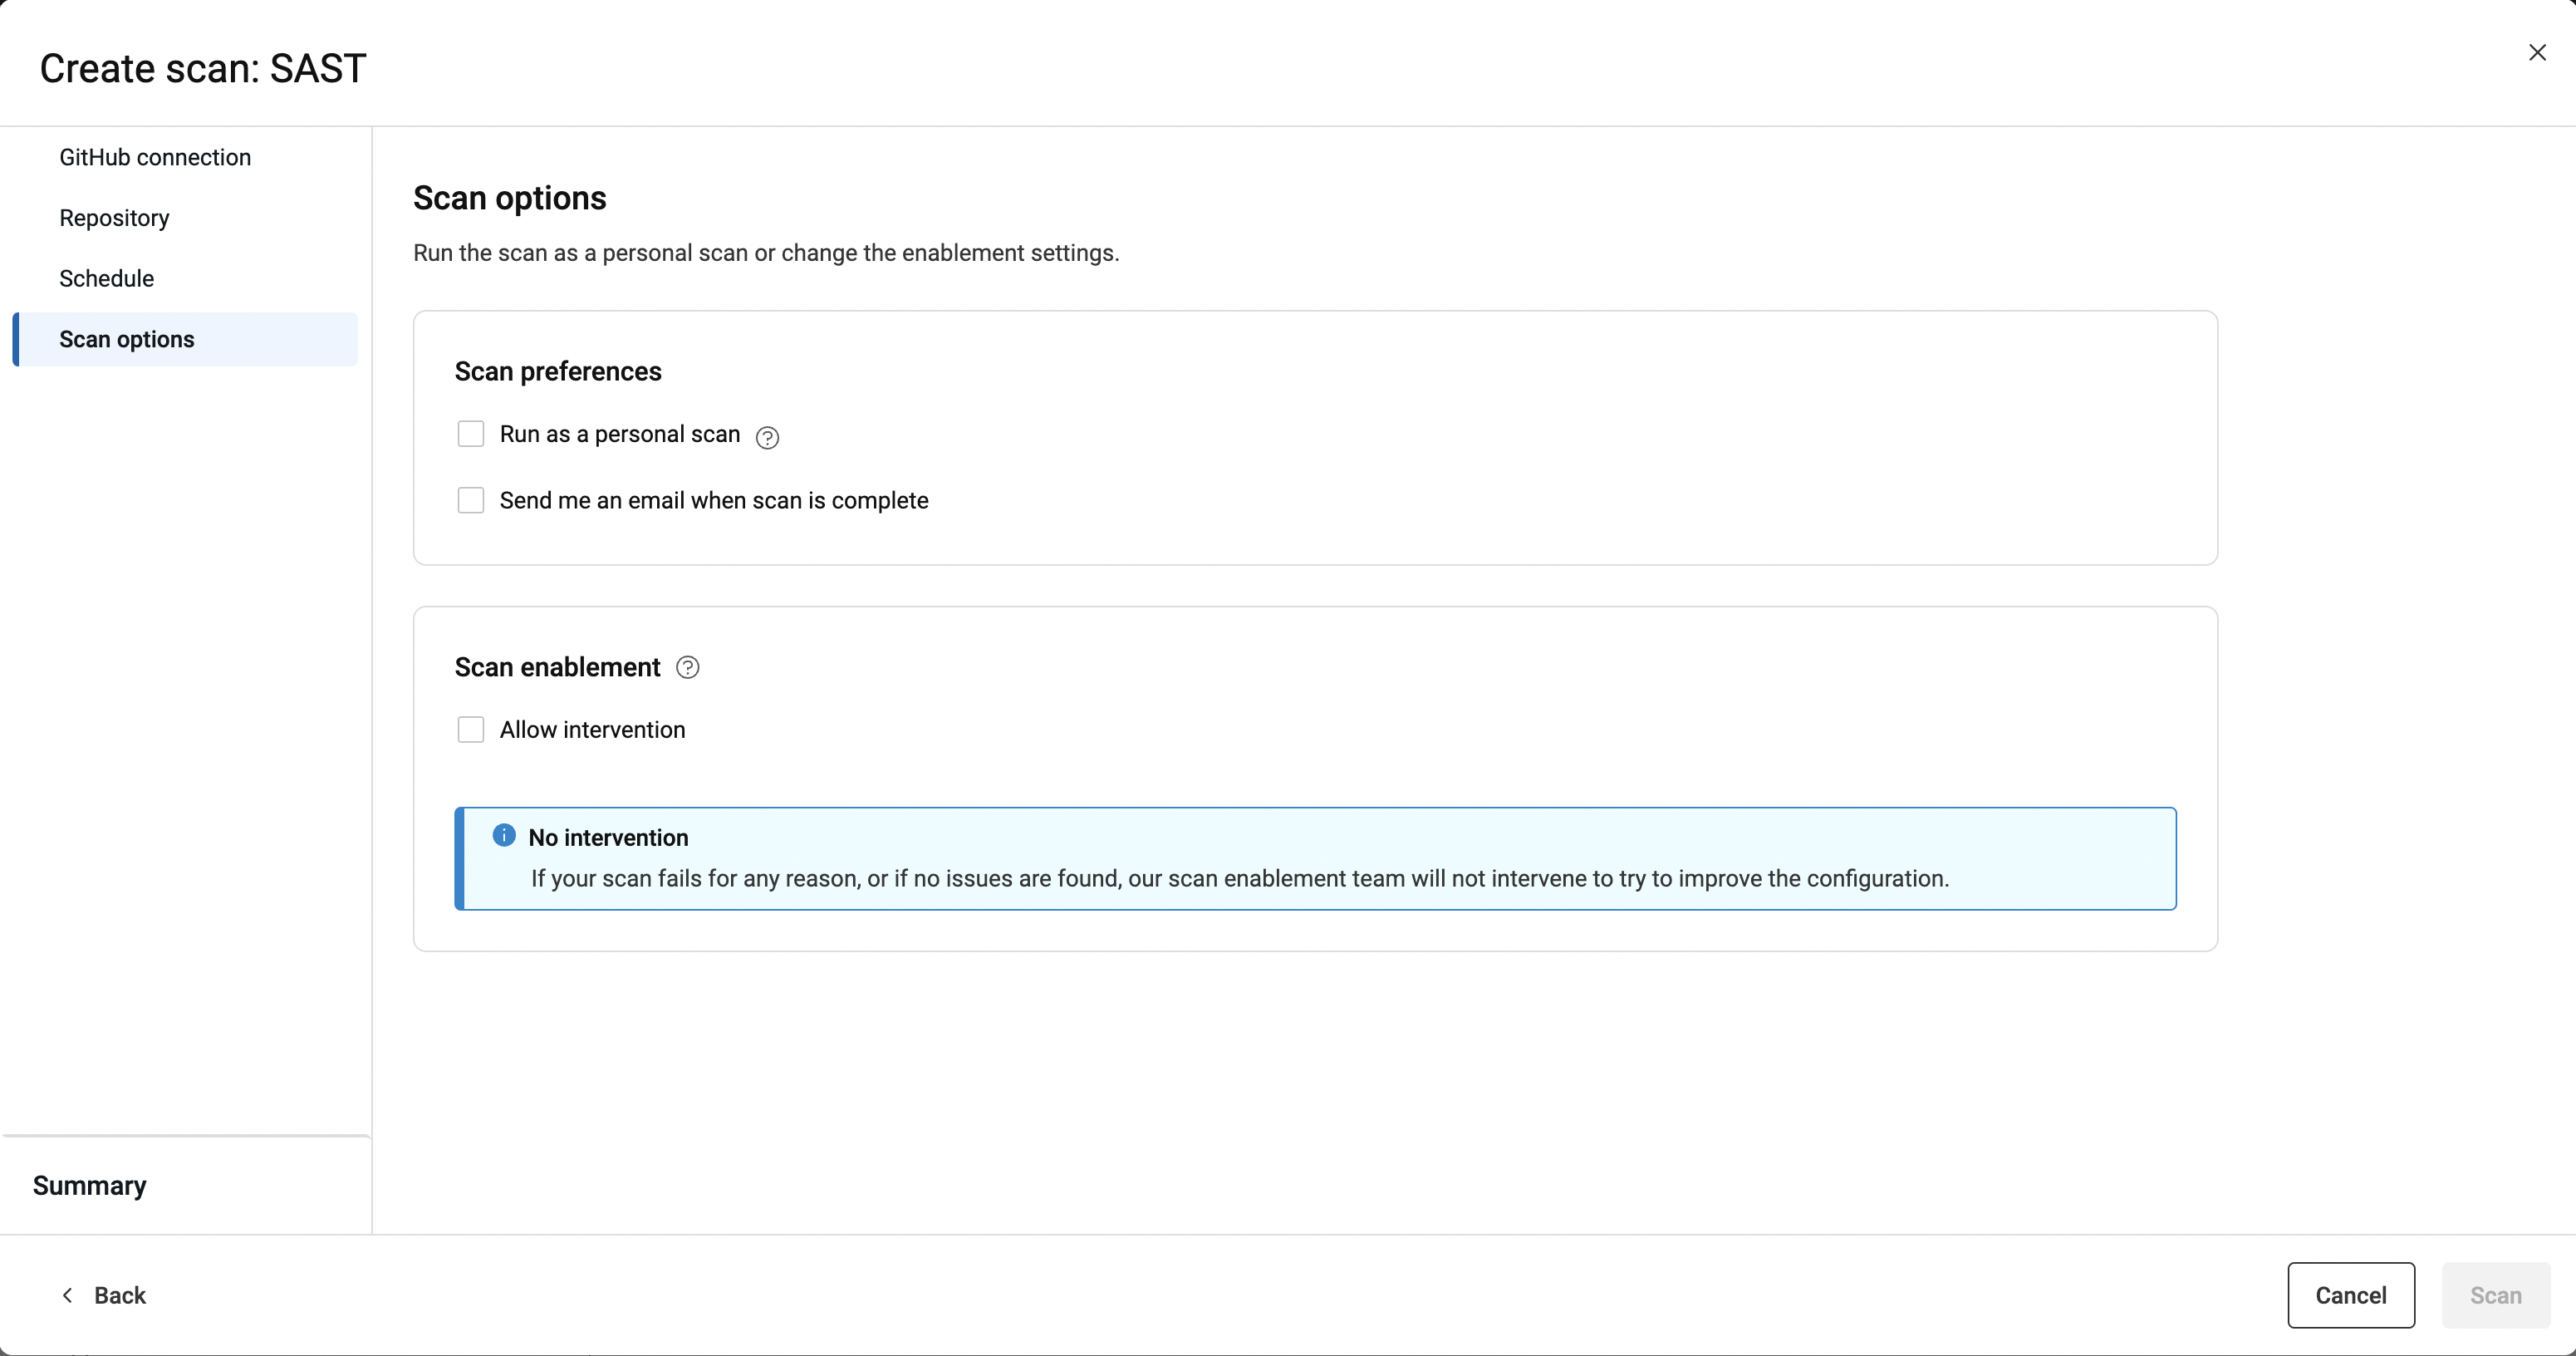
- Indicate additional scan preferences on the Scan options
tab:
- Opt to run your scan as a personal scan. Security issues from personal scans are not added to the issues for the application as a whole.
- Choose to receive an email notification when the scan completes.
- Allow intervention by our scan enablement team.
- At the Summary tab, edit the default name that was given
to the scan, if desired, and review scan choices.
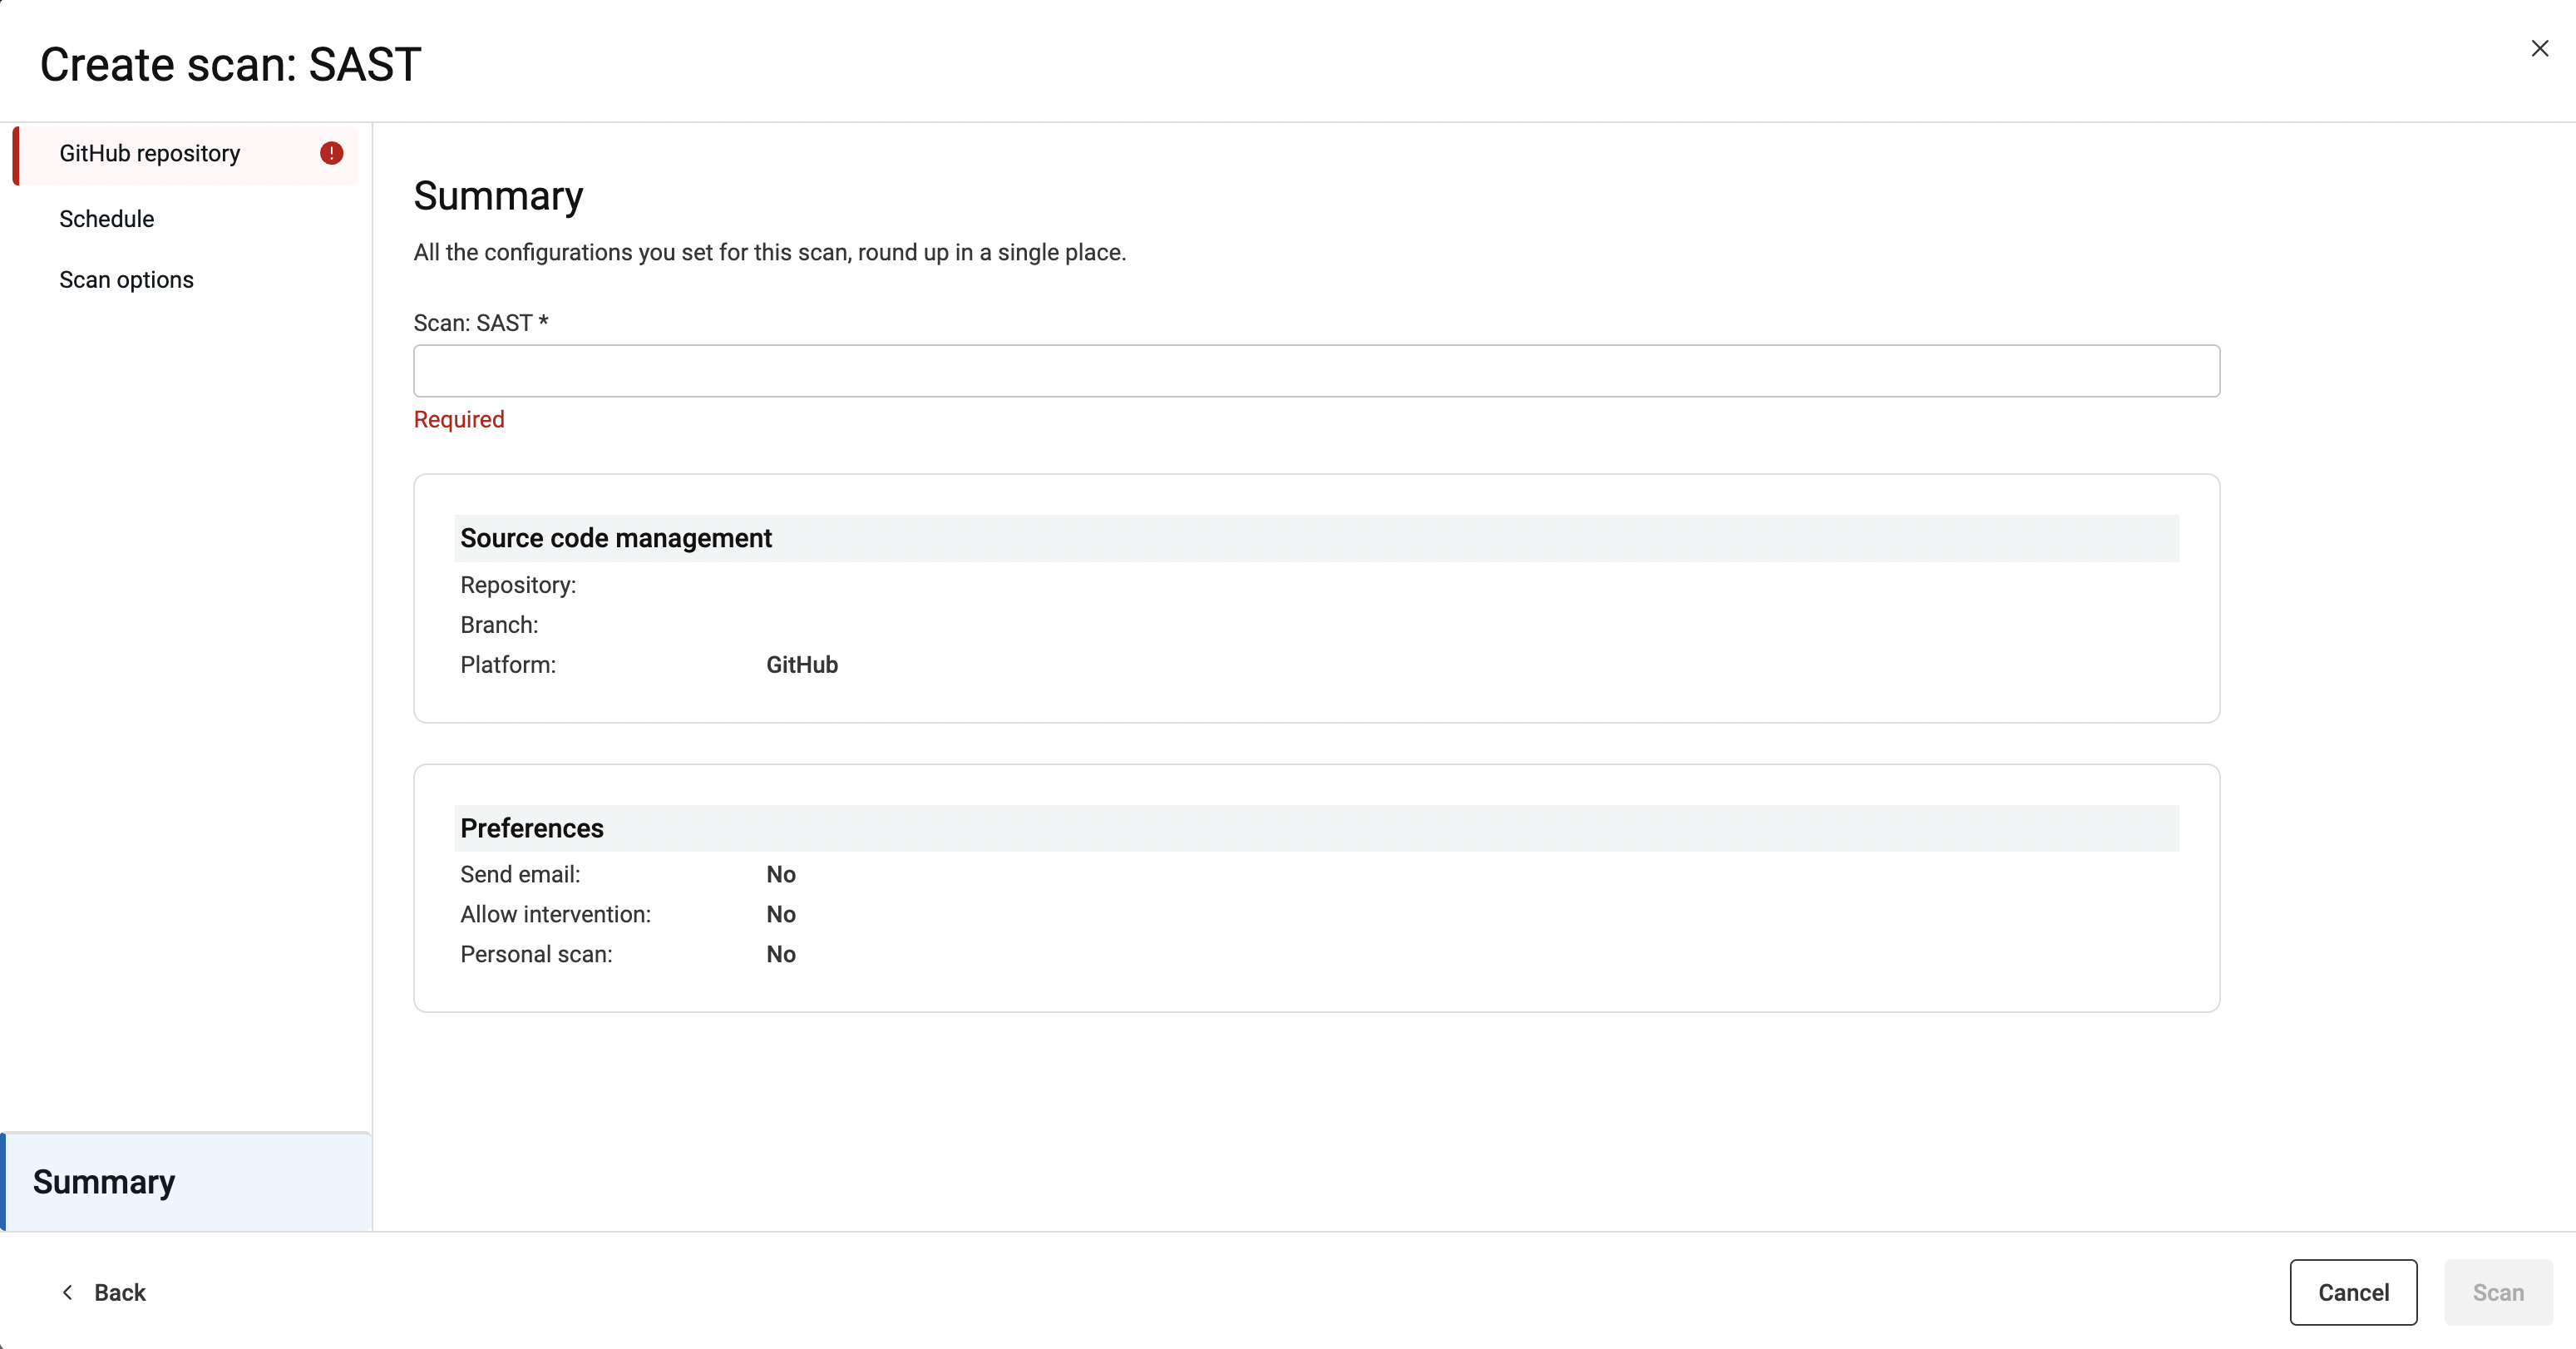
- Click Scan when ready to scan.