Configure a scan in AppScan on Cloud
Configure a static analysis scan.
Procedure
To configure a scan:
-
Identify what you will scan:
-
A repository:
Identify a GitHub or GitLab repository to scan, and verify that you have appropriate access to it. AppScan on Cloud requires read access to repositories to perform security scans on them. AppScan on Cloud supports scanning one repository per scan.To scan a private repository, install the HCL AppScan on Cloud GitHub application on the GitHub account or organization that owns the repository to scan. See Installing a GitHub App from a third party.To scan a GitHub Enterprise repository, or a GitLab repository (either self-managed or cloud-based), you must configure an AppScan Presence. See Setting up an AppScan Presence to scan a GitHub repository or Setting up an AppScan Presence to scan a GitLab repository.Note:Repository scanning is not available for Trial users. For more information on AppScan on Cloud accounts, see Creating an AppScan on Cloud account
-
An IRX file:
- To generate an IRX file by using the CLI, follow the instructions in Generating an IRX file by using the command line interface (CLI). You can scan all supported languages from the CLI.
- To generate an IRX file using AppScan Go!, follow the instructions in Configuring a scan using AppScan Go!.
- To generate an IRX file for a Maven project, follow the instructions in Running static analysis for a Maven project. Maven supports Java and Android projects only.
-
A source code file:
To scan a source code file, identify the appropriate
.zip,.war,.jar, or.earfile.Note:Source code files that are not.war,.jar, or.earfiles must be compressed into a.zipfile. If a.zipincludes.gitmetadata (a GitHub repository), AppScan on Cloud supports one repository (.gitfile) per scan. -
In an integrated development envirinment:
To scan in IntelliJ IDEA or Visual Studio, follow the instructions in Scanning in integrated development environments. In IntelliJ IDEA, you can scan Java projects - and in Visual Studio, you can scan .NET (C#, ASP.NET, VB.NET).
Note:When you scan code or generate an IRX file, you might receive a message about updating to the latest Static Analyzer Command Line Utility. See Command Line Utility (CLI) support. -
A repository:
-
If you will be scanning an IRX file, download and set up either:
- A supported plugin.
Complete information about supported plugins is listed on the AppScan on Cloud Plugins & APIs page and the Integrations documentation page.
- AppScan Go!, the client utility graphical user interface.
- The Static Analyzer Command Line Utility, as described in Setting up the Static Analyzer Command Line Utility.
- A supported plugin.
- If you have not yet done so, Create an application for your scans.
-
Use the Create scan wizard to start configuring your
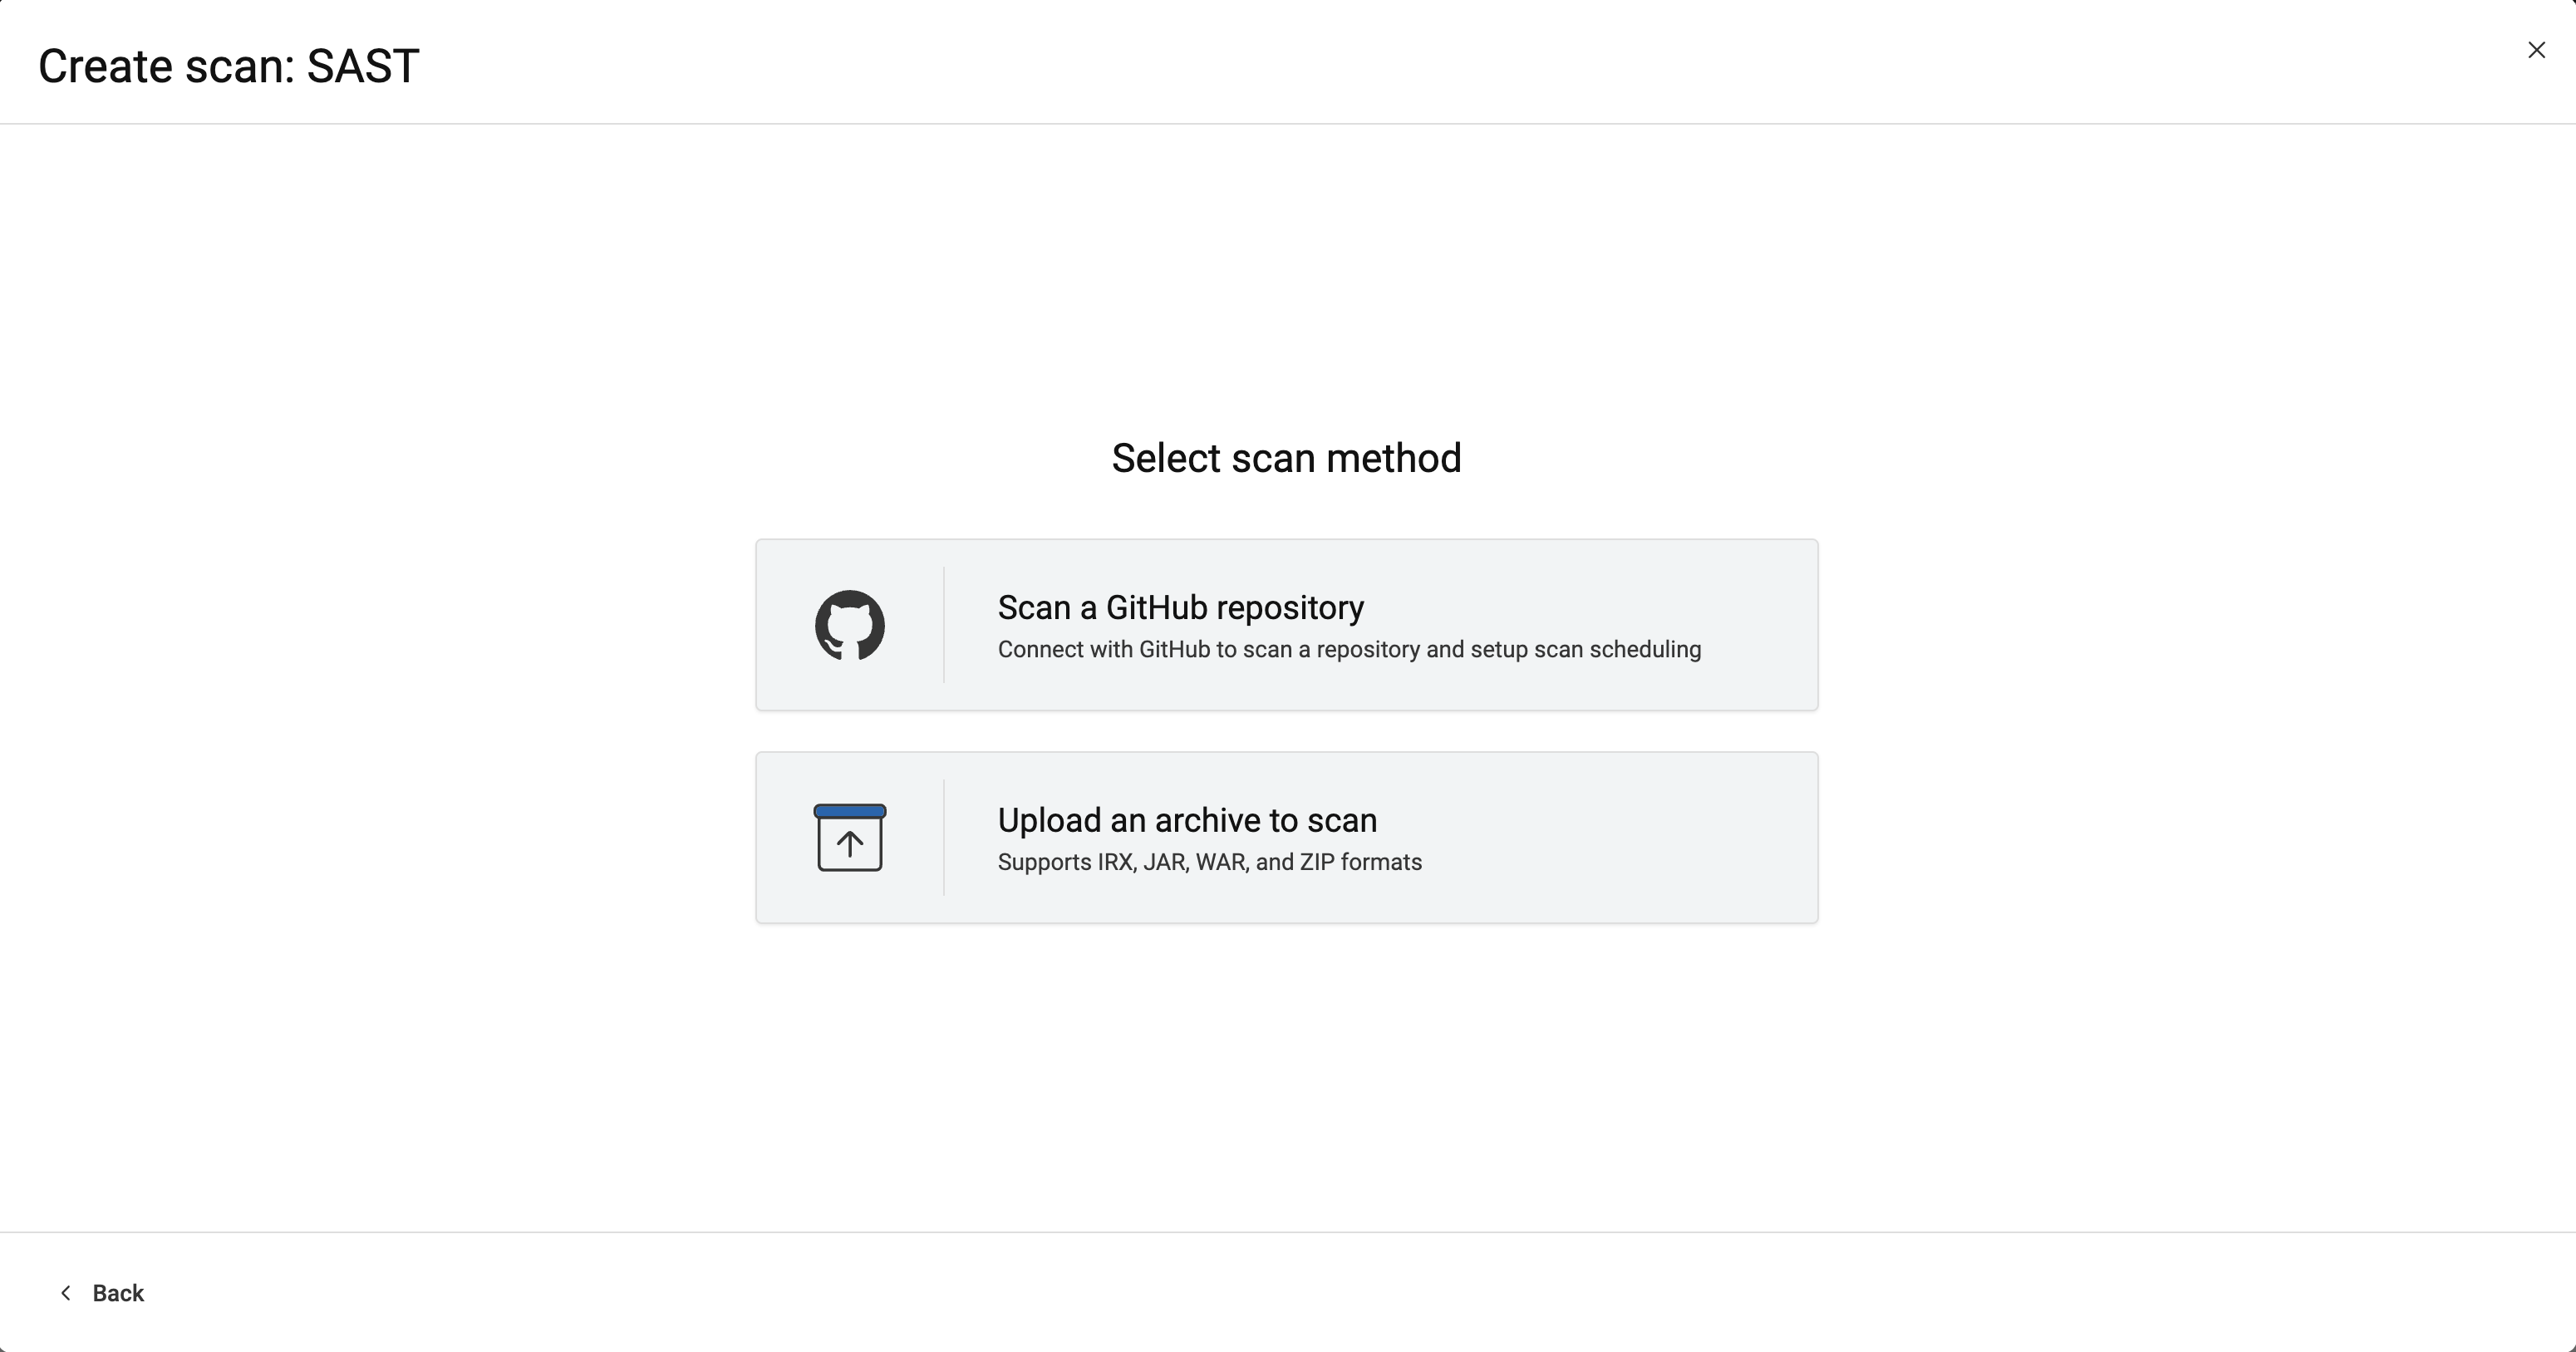
scan. Select Applications > <Application> > Create scan > SAST Static Analysis: Create scan.
- Choose Scan a respository to scan a GitHub, GitLab, or Bitbucket repository.
- Choose Upload an archive to scan to scan an IRX or source code file.