This section describes the installation of iAutomate after all
components and admin configuration is completed.
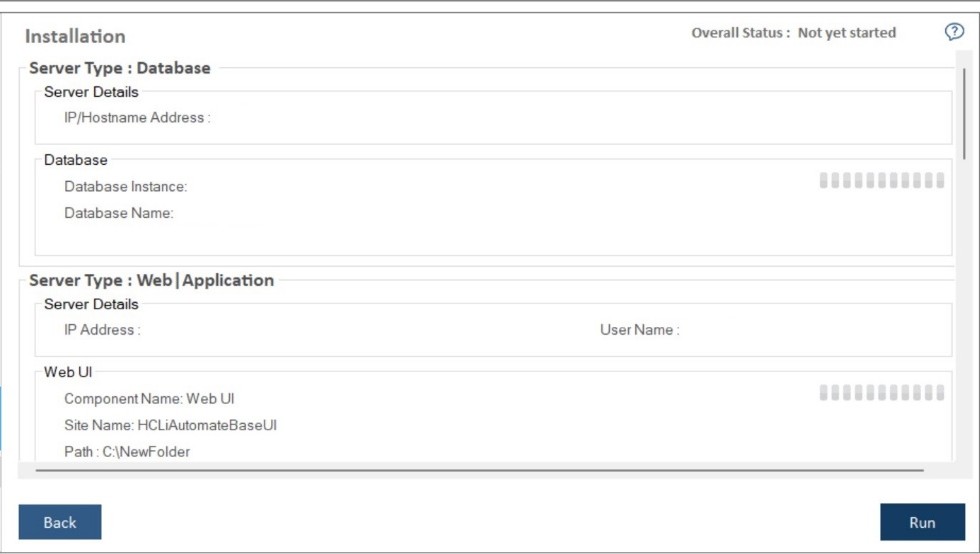
Before proceeding with the Installation, review the information on the
Installation page and, if required, click Back to make any changes.
Click Run to start the installation.Figure 1. Installation
The progress bar displays the installation progress.
Figure 2. Installation ProgressFigure 3. Installation Progress (In case of failure)
Note:
In case of installation failure, error messages for the
corresponding component appear on the screen. Click Rollback button to uninstall
the components and re-run the Installer after resolving the issues. To perform the
cleanup, delete all the folders manually on the server installation path provided earlier.
Contact the product team administrator for further assistance.
After successful installation, the Launch Application button appears. Click
Exit to exit the installer.Figure 4. Installation Successful
Click Launch Application to start iAutomate.Figure 5. Message on Launching iAutomate
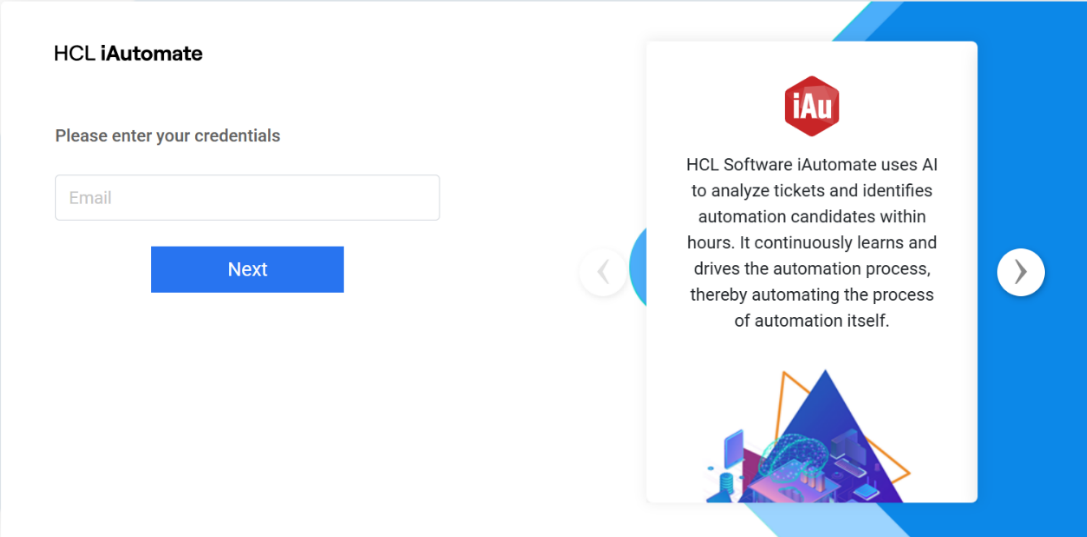
Click OK to navigate to the iAutomate Login PageFigure 6. iAutomate Login Page.
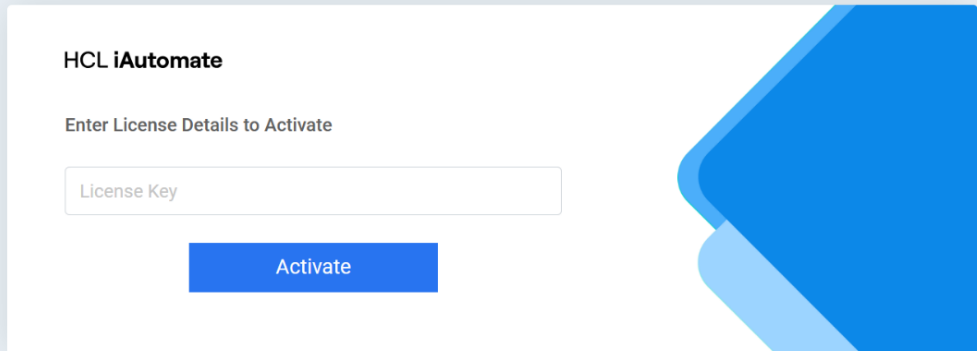
After login page is opened, its asks for License key.Figure 7. iAutomate Login Page (Cont.)
Click on ‘Click Here’ hyperlink to enter the license key.Figure 8. iAutomate Login Page (Cont.) License Key
Submit the license key and login again by clicking on the Click Here link.Figure 9. iAutomate Login Page (Cont.) License Key
Note:
After Upgrade, kindly check all configurations (Credentials) on
screens (Mange Runbook Tool, Data Source details, Manage SMTP, Mange Proxy, Component Key
Value Configuration etc.) are visible, if not kindly enter again and click on save/update
button.

 Note:In case of installation failure, error messages for the corresponding component appear on the screen. Click Rollback button to uninstall the components and re-run the Installer after resolving the issues. To perform the cleanup, delete all the folders manually on the server installation path provided earlier. Contact the product team administrator for further assistance.
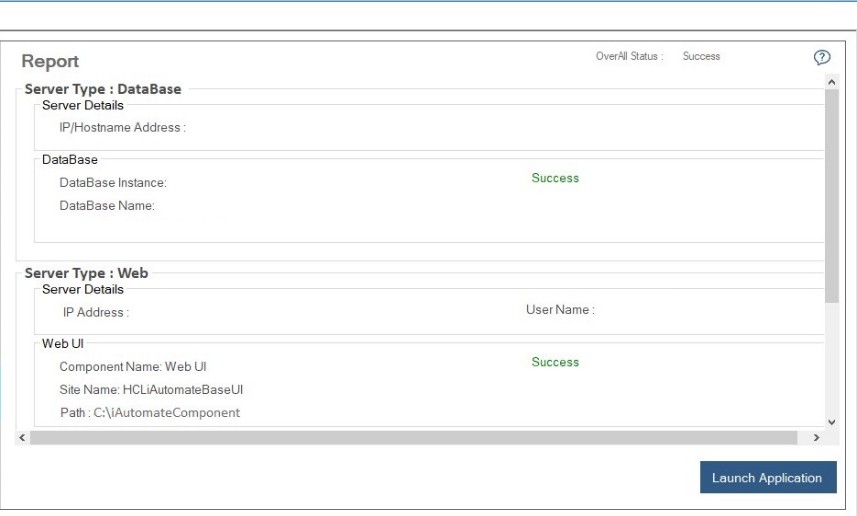
.png)

.jpg)