Scheduler broadcast capability
A scheduled event is an event that schedules the time for which user wants to execute the event.
- To access Workflow Console, URL is - https://tenant-url/admin/workflows
- After opening the console, you can find the list of all workflows.
Figure 1. Workflow Console 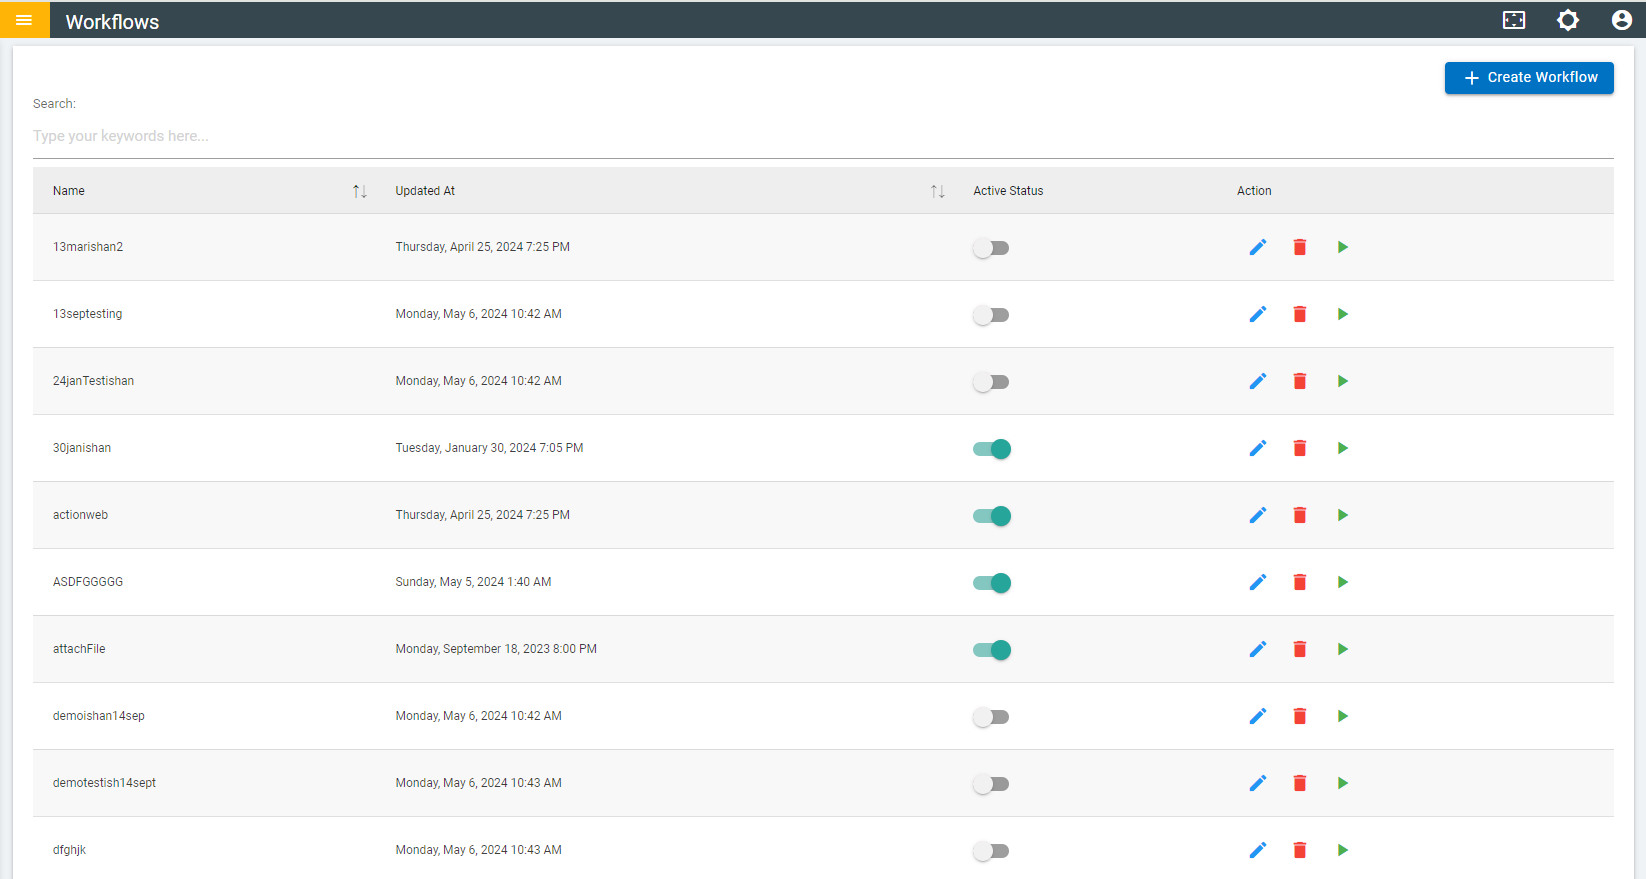
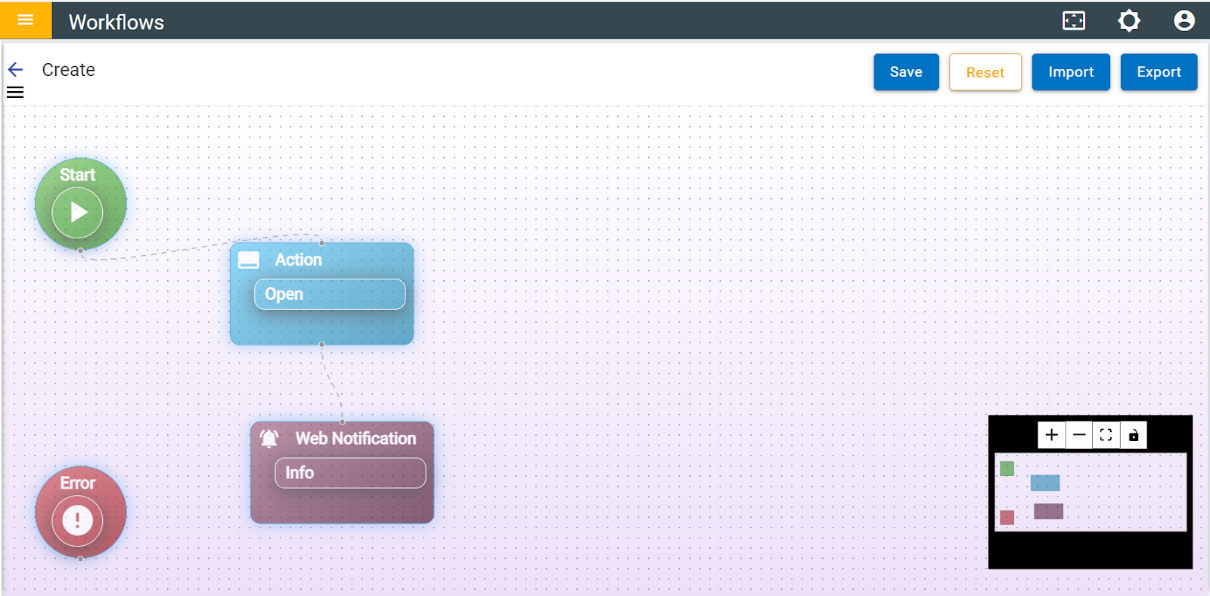
- In the Workflow List page, there is “Create” button in the top right side of the screen and clicking on it opens a new page where you can create a new flow.
- There is a Start node in the drop area by default. Click on the edit icon of start
node.
Figure 2. Start Node 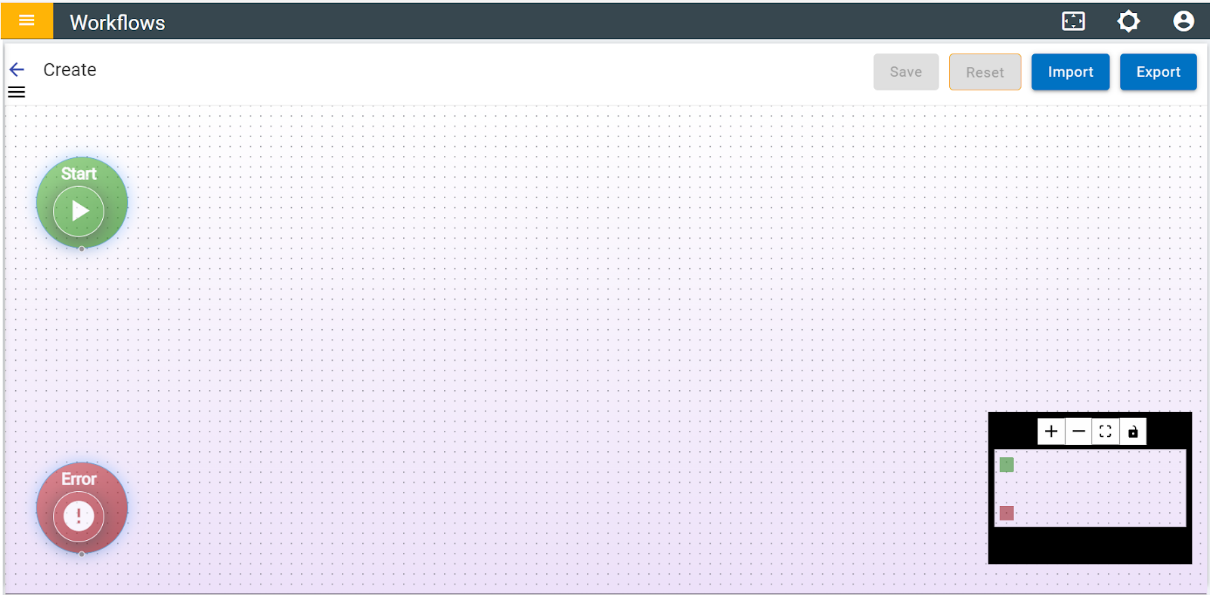
- On clicking the edit icon, the following image appears. There are three events in
Start node, Scheduled Event and External Event. Select Scheduled Events
and click on Continue. Scheduled events get triggered at the time set by the user in
its expression.
Figure 3. Events in Start Node 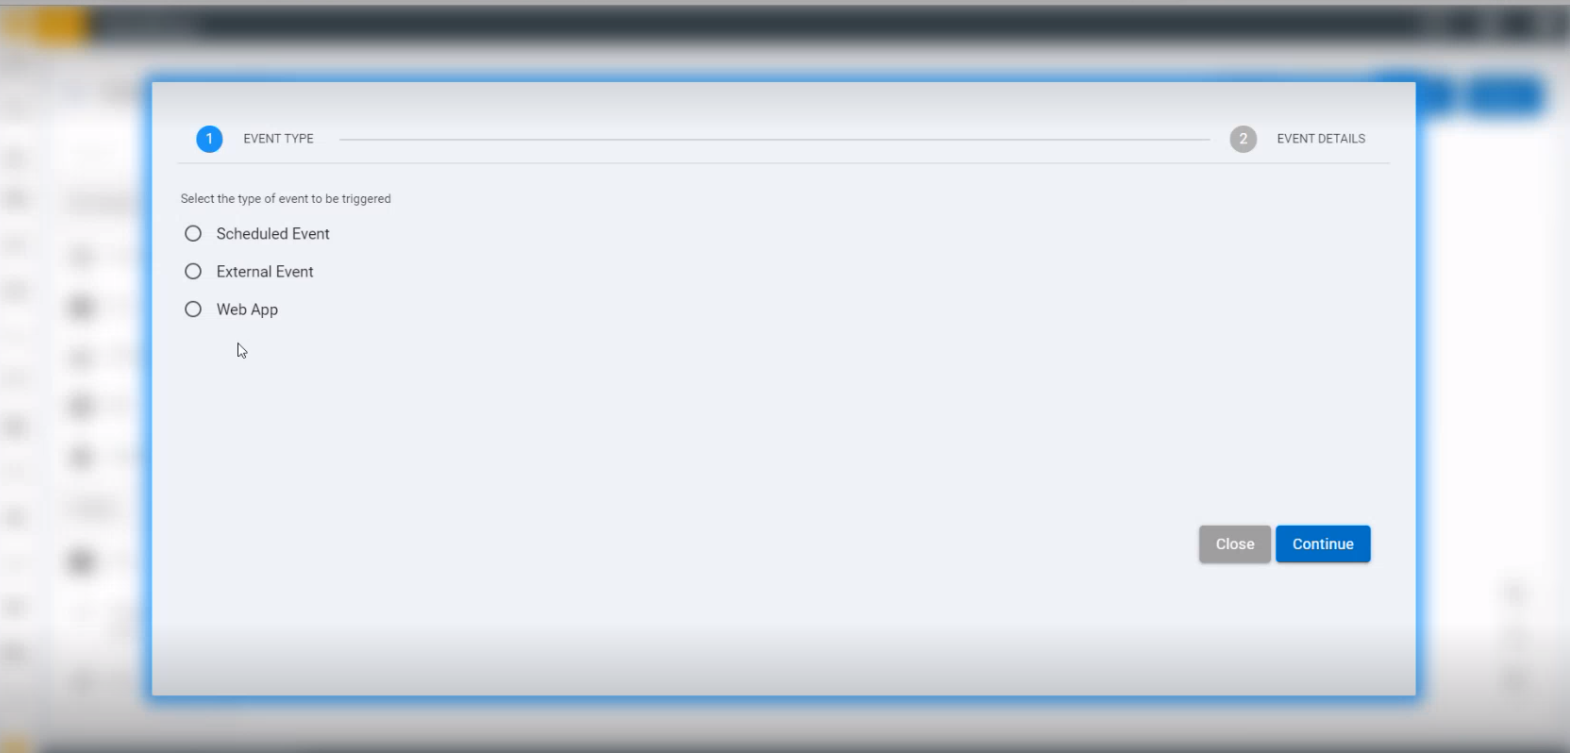
- After selecting Scheduled Event, fill Workflow Name, Cron
expression and JSON Payload (optional), then click on the Save button
and the information gets saved.
Figure 4. Workflow Settings 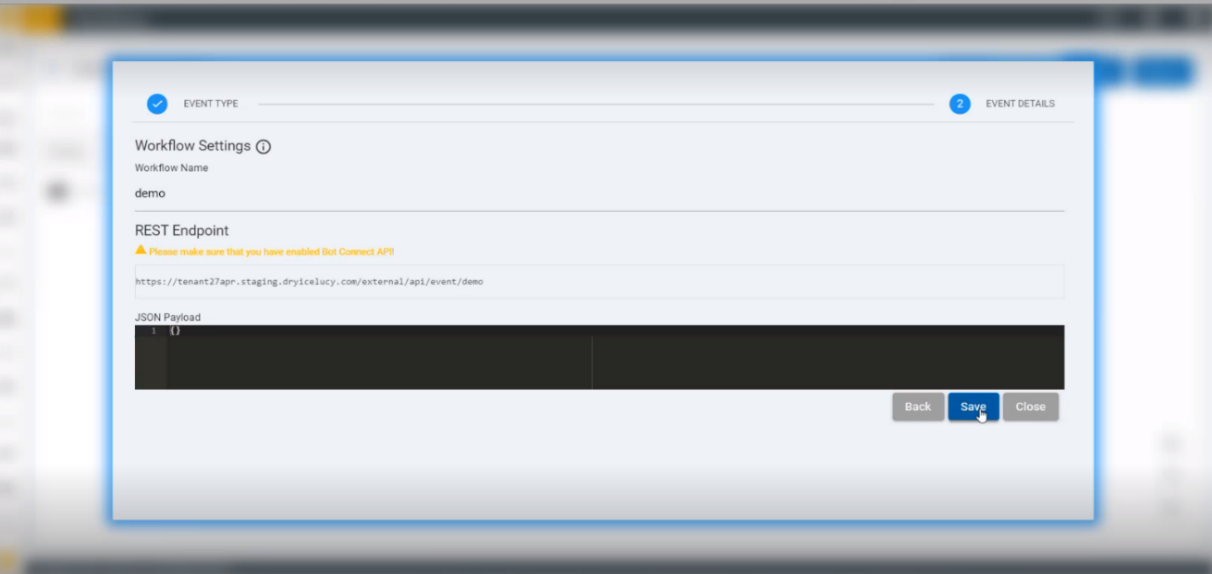
Figure 5. Success Message 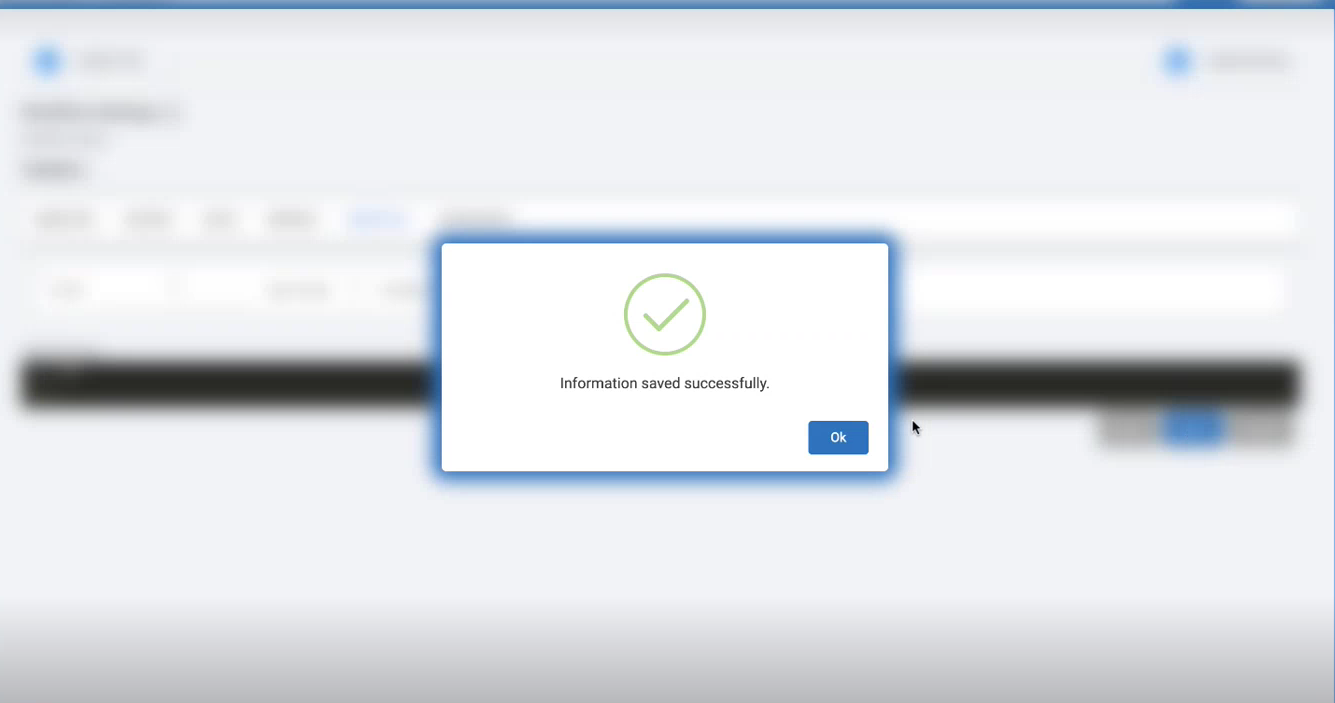 Note:
Note:The Workflow Name and Cron expression are mandatory fields while JSON Payload is optional. The Workflow name’s length should be less than 18 characters.
-
Action: Click on the edit icon of Action node and fill the mandatory fields.
Select an OpenWhisk function name from Action drop-down box and fill JSON payload. After
that click on the Save button.
Figure 6. Edit Workflow: Scheduled Flow 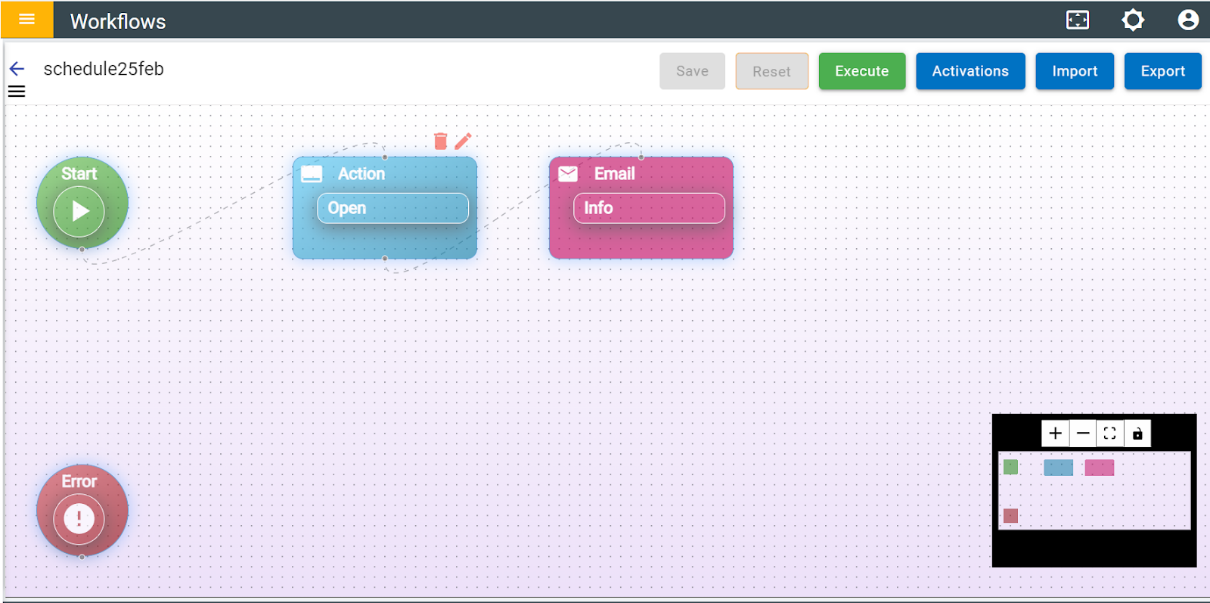
Figure 7. Filling JSON Payload 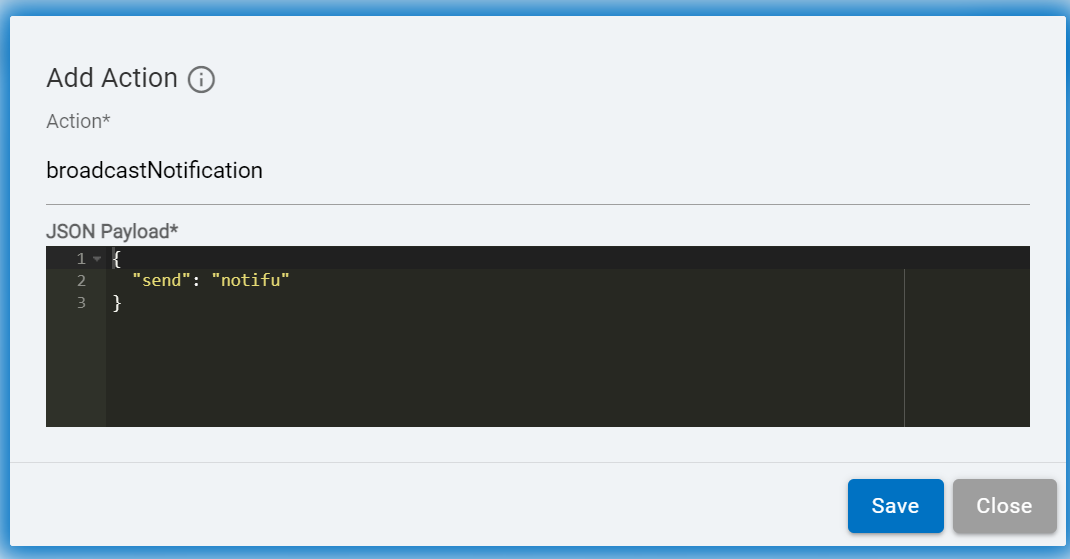
- After filling the details, click on the Save button and a success message appears.
-
Split Node: Split node allows to connect with more than two or maximum 5 outputs.
Figure 8. Edit Workflow: Split Node 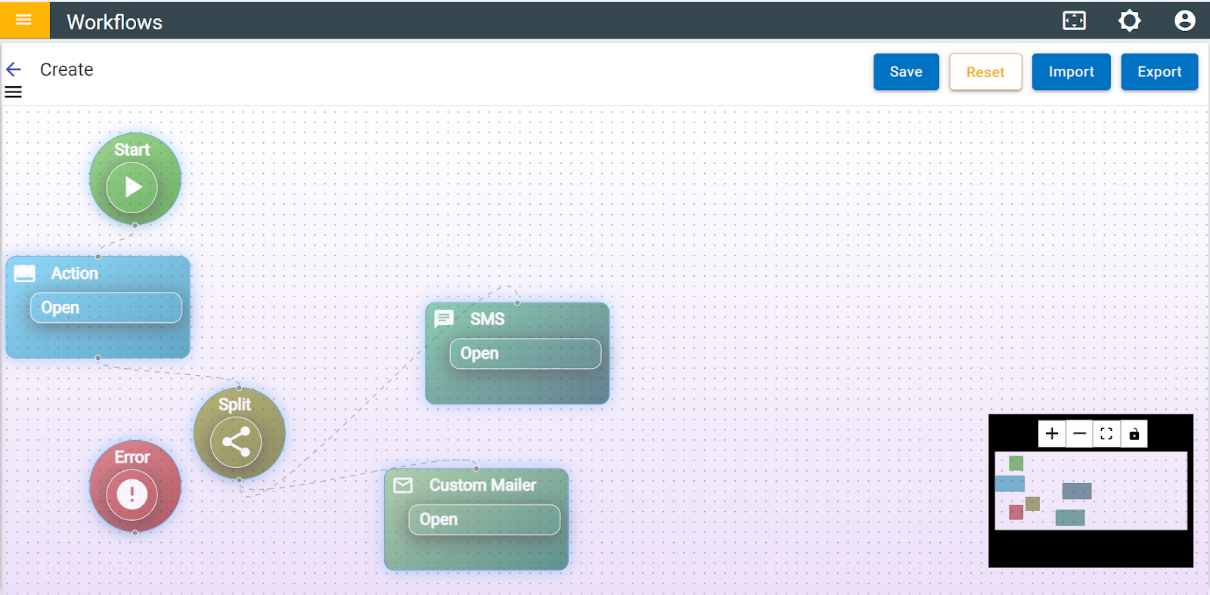
-
SMS and Custom Mailer: Once the event gets scheduled, it sends a message through SMS
and Custom Mailer.
SMS Node:
- Click on the edit button of SMS node and fill the required details.
- The recipient’s details and the body of the message will come from the previous node’s
output (e.g., Action). Note:
To send an SMS, you must have an account in Twilio. Twilio Account SID, Auth Token and Twilio phone number is required.
- Twilio phone numbers need to be written in the Sender phone number field.Note:
All the fields are mandatory.
- After filling all the fields, click on the Save button.Note:
If any of the fields are empty, then an error message appears stating that “Please fill the required fields”.
Note:The Sender Phone Number field of SMS node maintains a format. If entered in wrong format, an error message appears.
Custom Mailer:
- Click on the edit button of the Custom Mailer node and fill all the fields.
- Username should be a valid email ID; Password should be the same email id’s password and service should be the same email id’s domain.
- The mail recipients and body of the mail should come from the previous node’s output (e.g., Action) and you can see all the information regarding this by clicking the Info icon.
- After filling in all the details, click on the Save button.
Figure 9. Custom Mailer 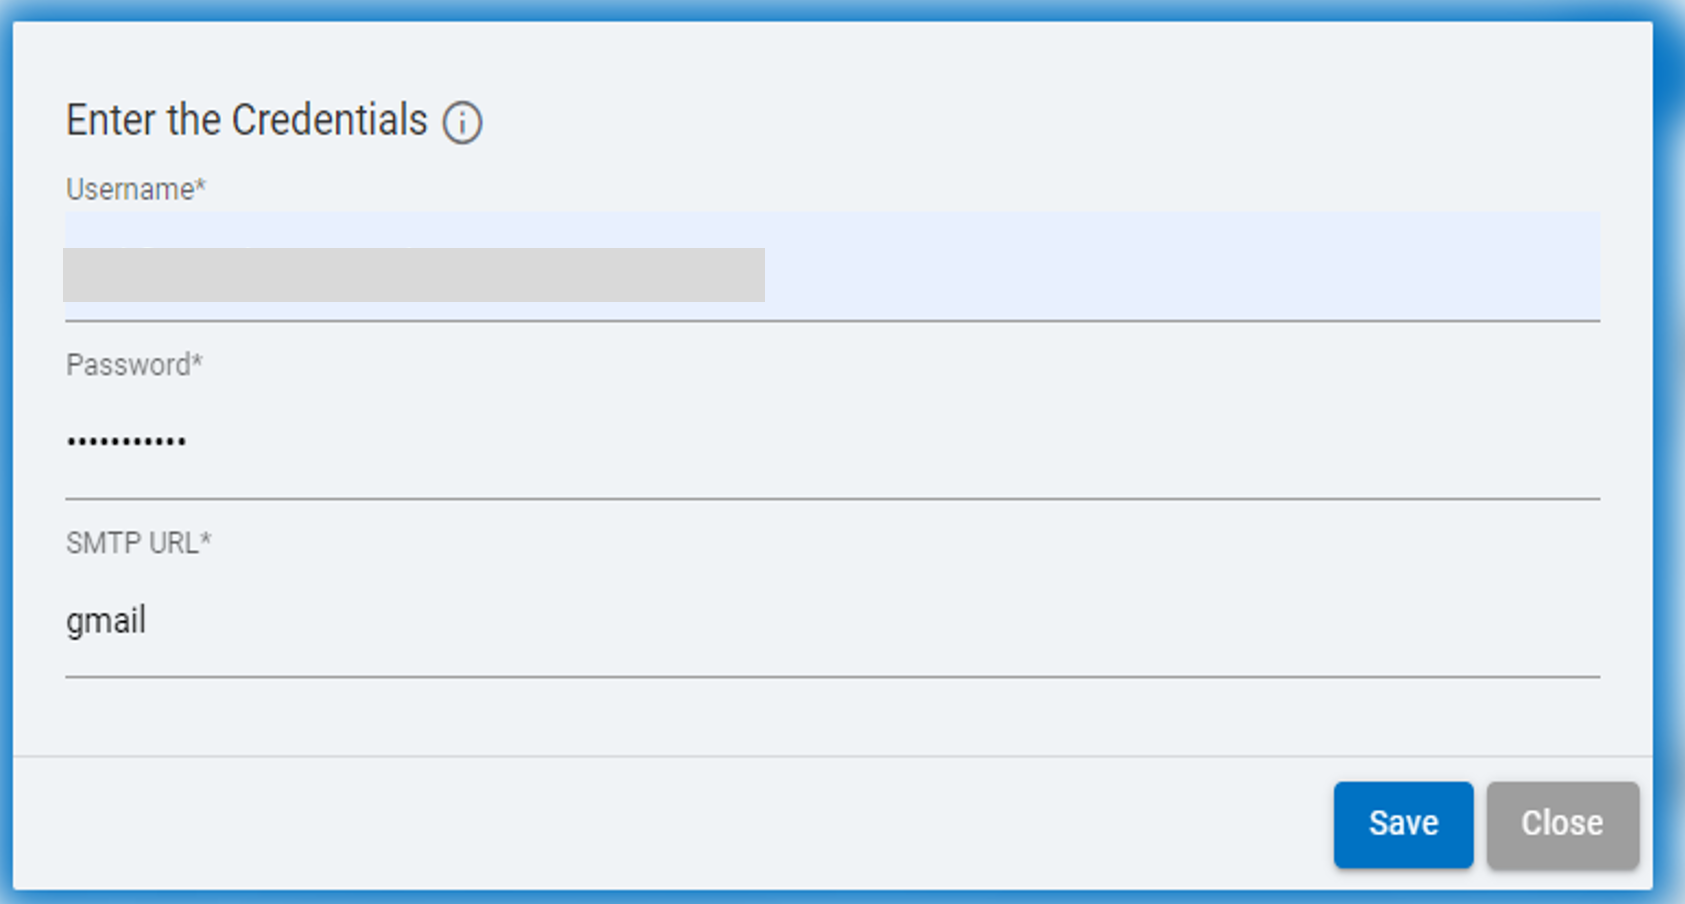
- Web Notification Node: Using this node, user can follow the status of the execution of the flow. Users can see the status in the chat page.