
Create a New Job
- In the Scheduler page, click the Create button on the top right of the
screen.
Figure 1. Create new Scheduled Job 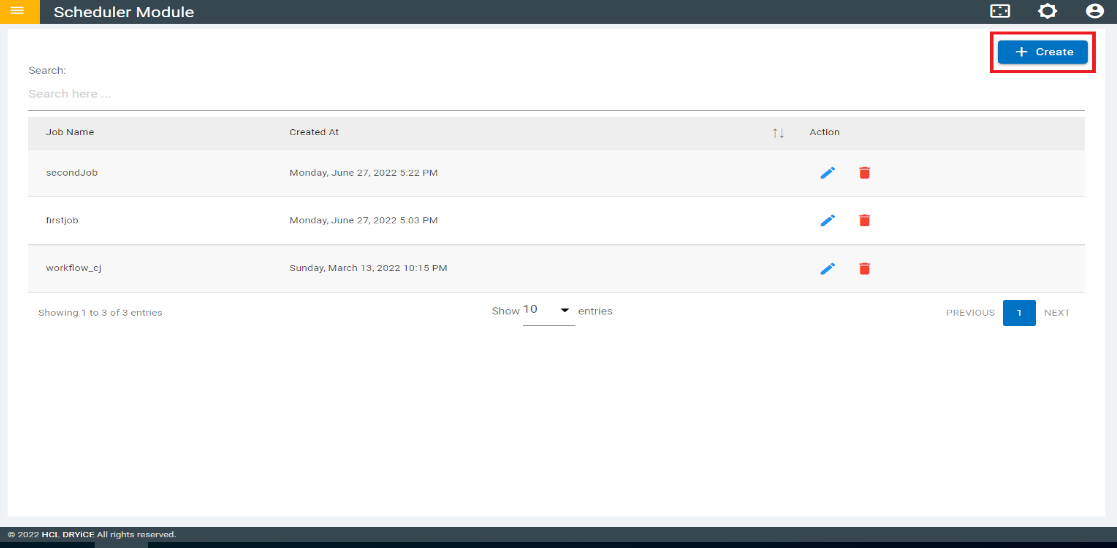
- The Create Job page appears.
Figure 2. Create Job Page 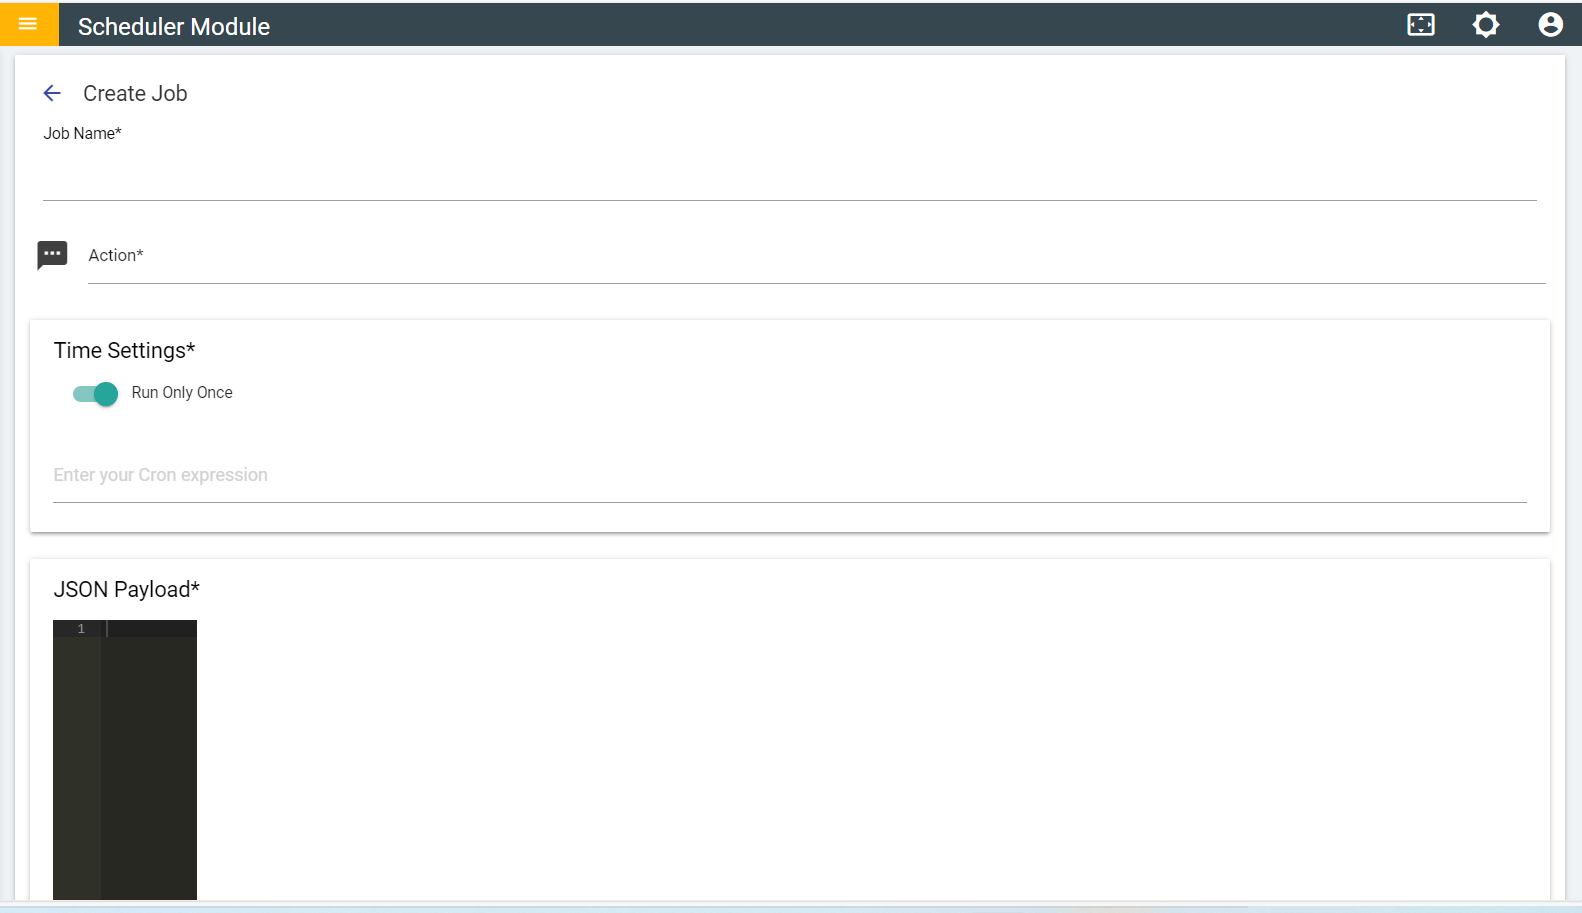
- Populate the following information for a new job:
- Job Name: Provide the Job Name in this field.
- Action: Select the Openwhisk function name in the Action dropdown box.
- JSON Payload: Enter the JSON payload in this field.
Note:All the fields above are mandatory. Failing to populate them results in an error message.
- Click the Create button at the bottom of that page.
- Once the job is created, a success message appears.
- Click OK. This redirects you to the list page containing the newly created Job.