Deploy Script
Run your own scripts to quickly remediate devices. Currently supports bash script, PowerShell, and BigFix Action Scripts. Target specific devices or OS families for fast and flexible deployments.
About this task
Procedure
-
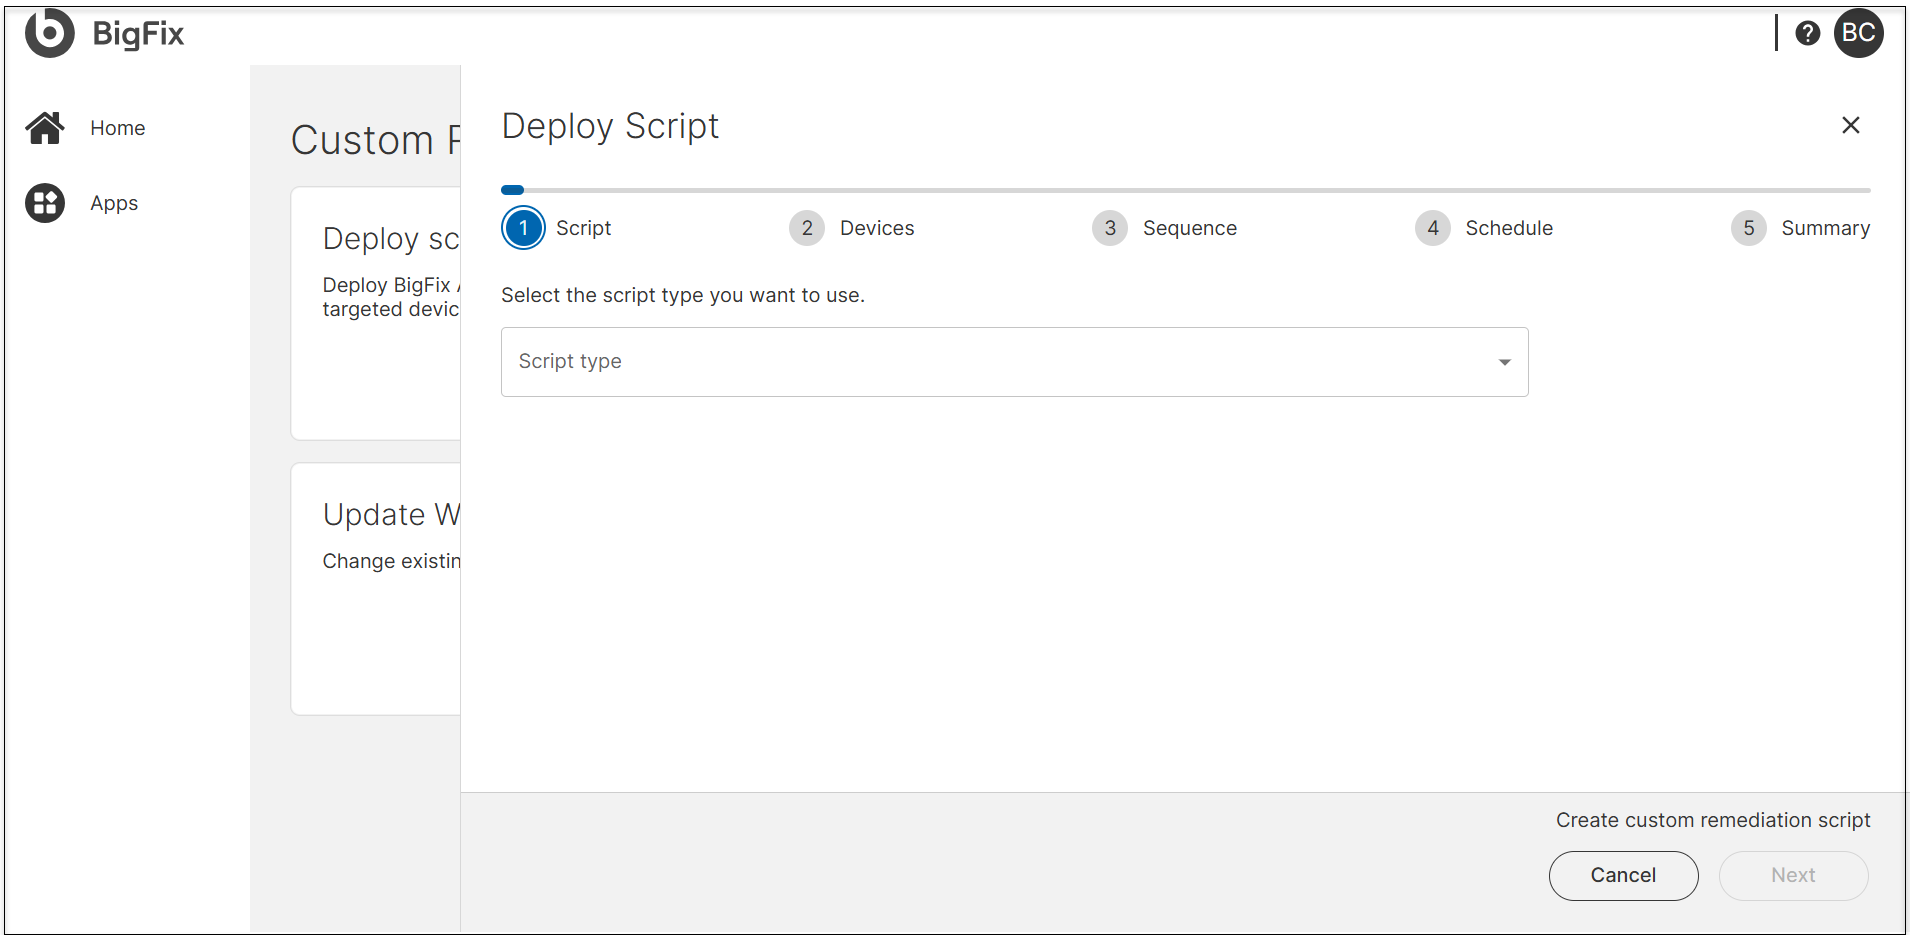
Script:
- Select a script type from the available options (such as Powershell, bash, BigFix Action Script).
- Upload File or Input Script: Upload a script file or enter the script content directly in the provided field.
- Click Next.
- Devices: Filter target devices and click Next.
-
Sequence: The configured options are processed
sequentially from top to bottom, giving you precise control over how
deployments are delivered, how users are informed, and how failures are
handled.
-
Start downloading immediately
When enabled, targeted endpoints begin downloading the required payloads as soon as the remediation action is deployed.
-
Before running message
When enabled, the configured message is displayed to the end user before the action starts. This can be used to provide context, warnings, or request user confirmation.
-
While running message
When enabled and a message is configured, during execution of the action, the notification message is shown to indicate that the remediation is currently in progress. This helps maintain user awareness and reduce support inquiries.
-
Reboot/restart devices on completion of deployment
After the remediation completes, targeted devices are automatically rebooted if required by the fixlet. This step ensures that changes are properly applied and system integrity is maintained.
On failure: retry x time and wait x hour between attempts
If the action fails, you can configure:
-
Number of retries: how many times the system should reattempt the action.
-
Wait time between retries: the number of hours to wait between each retry.
-
- Reapply whenever it becomes relevant again
Click Next to proceed.
-
-
Schedule: Select a time range for the scheduled
activity. This setting defines the window during which the schedule remains in
effect. After configuring the schedule, click Next to
proceed.
Field Label Description Start Date Select the calendar date when the remediation deployment should begin. Start Time Select the time (hh:mm) at which the remediation should start. Time Zone (Start) Choose the time zone to apply for the start time: - Client: Uses each endpoint's local time. - UTC: Uses Coordinated Universal Time. End Date Select the calendar date by which the remediation deployment should be completed. End Time Select the time (hh:mm) at which the deployment window ends. Run During Agent’s Configured Maintenance Window Enable this option to restrict the deployment to devices that have a maintenance window configured. The remediation will only run within those windows. ❗ Note: Devices without a maintenance window will be excluded from the deployment. Run on All Devices, Regardless of Their Configured Maintenance Window Enable this option to override maintenance window restrictions. The remediation will run on all targeted devices, whether or not they have a maintenance window configured. Custom constraints Enable this option to apply custom constraints, allowing the selection of a specific date, time, and day of the week.
Reset Click to clear all current scheduling fields and revert the section to its default state. Use this to start over if needed. -
Summary: The Summary section provides a consolidated
view of all the configuration options selected in the remediation flow. It acts
as the final checkpoint before deployment, allowing you to review and confirm
your settings.
Action name:
-
Enter a unique and meaningful name that clearly describes the purpose of the action.
-
This name will appear in action history, logs, and dashboards, helping you and your team quickly identify and differentiate actions.
-
Use descriptive terms (e.g., "Critical Patch – May 2025 – Windows Devices") to ensure clarity and traceability.
-
- Deploy the Script: After verifying the configured information, click Deploy to deploy the action.