
Configuration Instructions
For the initial release, the application is distributed as an XML package. The deployer must upload the application XML file to the target ServiceNow instance and retrieve the associated update set.
Installation steps
- Import the Application.
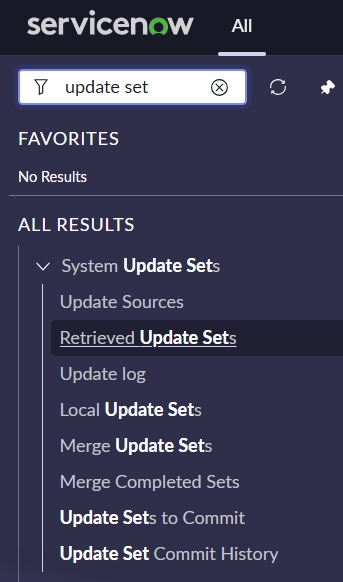
- Navigate to .
- Click Import Update Set from XML.
- Browse to the application XML file and upload it to the target ServiceNow instance.
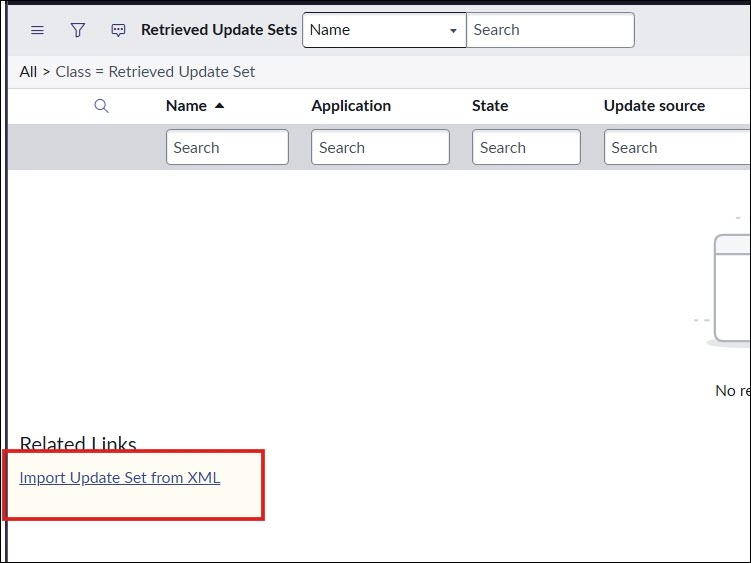
- Preview the Update Set.
- Once the XML file is uploaded, the update set will appear in the Retrieved Update Sets list.
- Search for the application update set.
- Open the update set and click Preview Update Set.

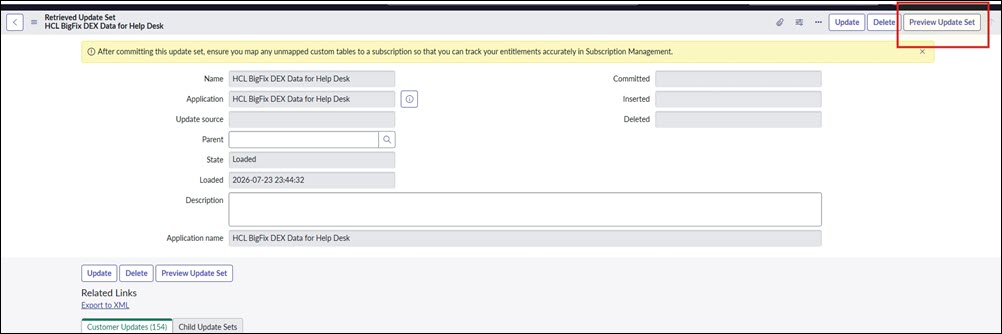
- Handle the Preview Error.
- Since this is the first installation of the application, a preview
error may be displayed. This is an expected behaviour.
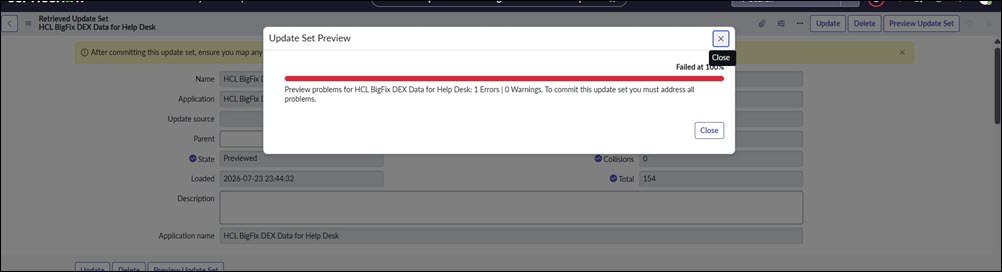
- Close the preview error window.
- In the Preview Problems related list, open the reported error.
- Verify that the error matches the expected error shown in the
screenshot below.
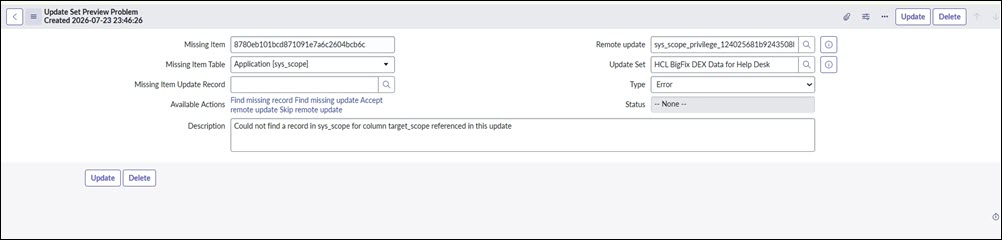
- Since this is the first installation of the application, a preview
error may be displayed. This is an expected behaviour.
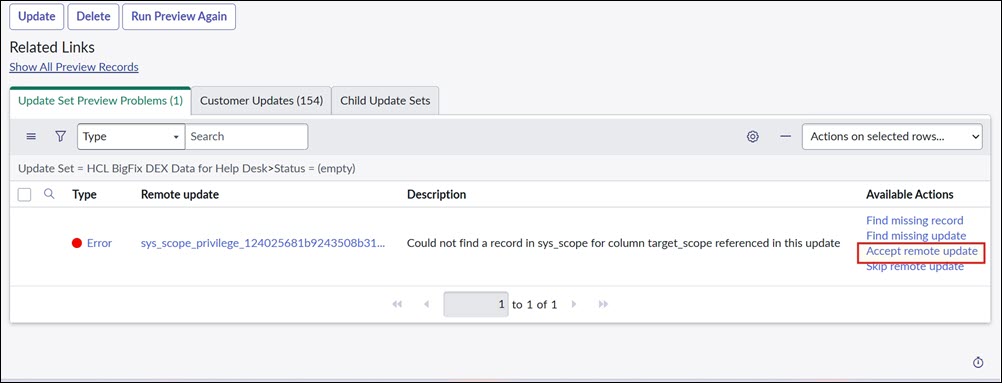
- Accept the Remote Update.
- After verifying the preview error.
- Click Accept Remote Update as shown in the screenshot below.
- Repeat the process for any additional expected remote update
conflicts, if applicable.
- Commit the Update Set
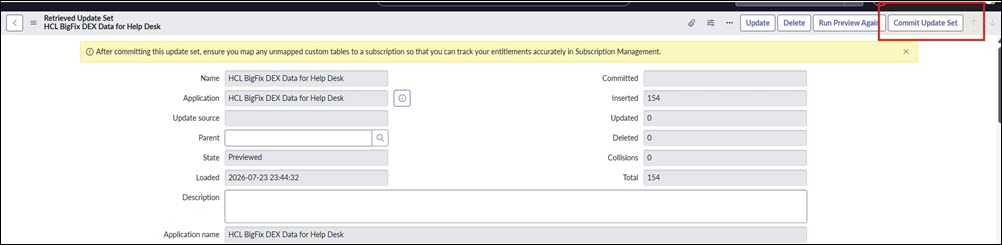
- Once all preview issues have been resolved.
- Ensure that no unresolved errors remain.
- Click Commit Update Set to complete the installation.
- If prompted with incoming changes during installation, select Accept
for all expected changes.
Verify the Installation
- After the update set has been committed successfully.
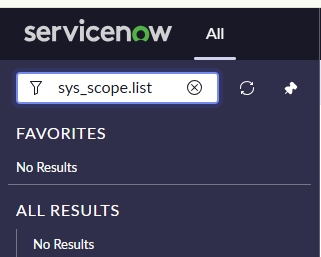
- Navigate to sys_scope.list.
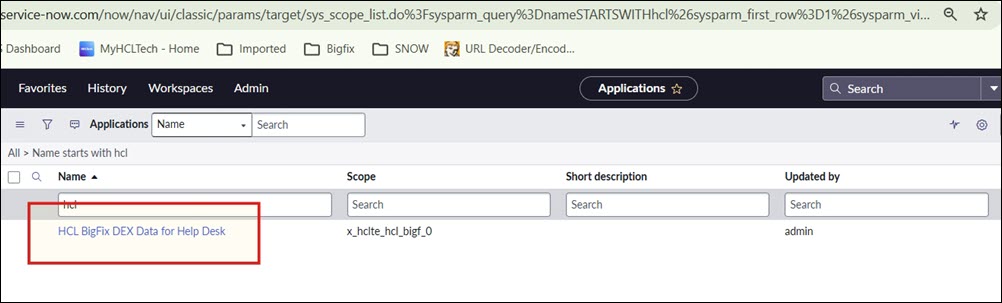
- Search for the application HCL BigFix DEX Data for Help Desk.
- Verify that the application is available in the target instance.
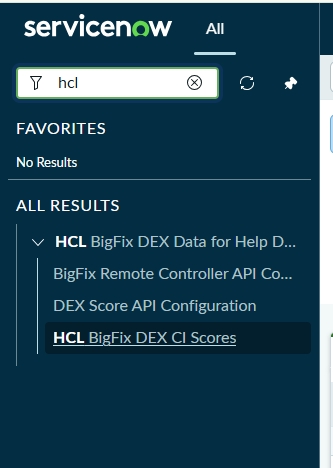
- After successful installation, verify that the application modules are available
in the Application Navigator as shown in the screenshot below.
Post-Installation Configuration
Complete the following configuration steps before using the application:
- Configure the MID Server for communication with the BigFix DEX Server and the Remote Controller Server.
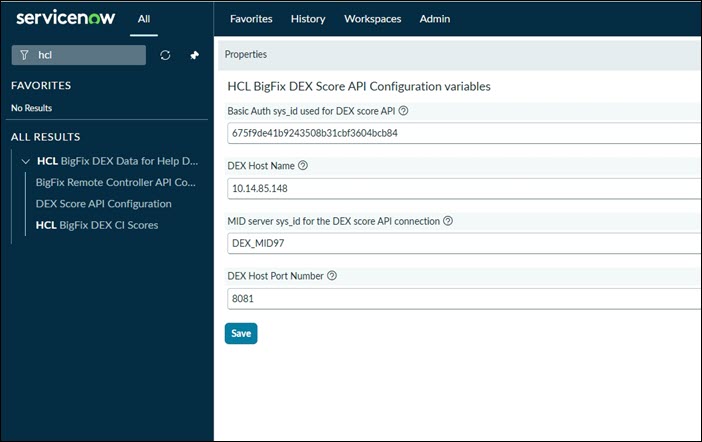
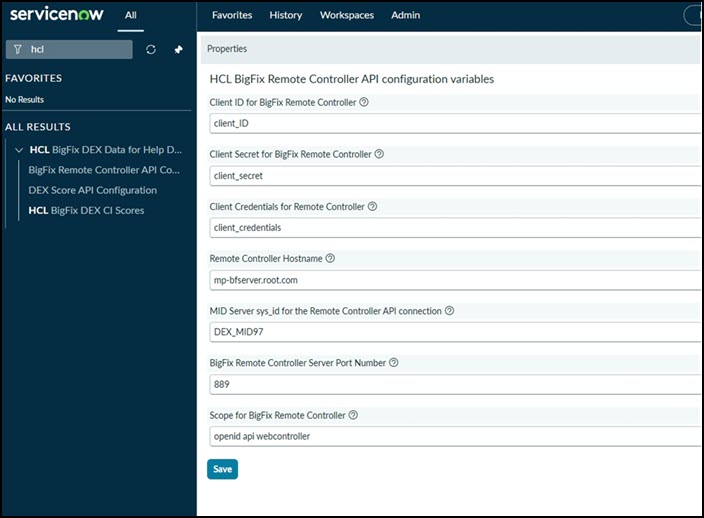
- Create a Basic Auth profile for the DEX Score API and mention the sys_id of this profile in the 'DEX Score API Configuration' property page as mentioned in the image below.
- Configure the application property variables with the required API parameter values.
- To Configure the DEX API property variables open the module 'DEX Score API
Configuration'.
- To Configure the Remote Controller API parameters open the module “BigFix Remote
Controller API Configuration”.
One-Time Configuration
- Incident Form Configuration.
After completing the post-installation configuration, the deployer or application administrator must perform a one-time configuration to add the DEX related list to the Incident form.
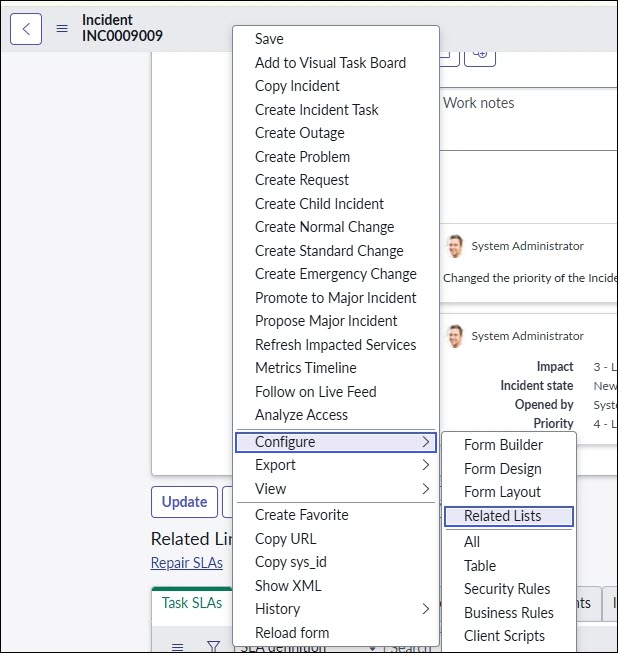
- Open an Incident form.
- Configure the related lists and add HCL BigFix DEX Scores to the
Incident layout.
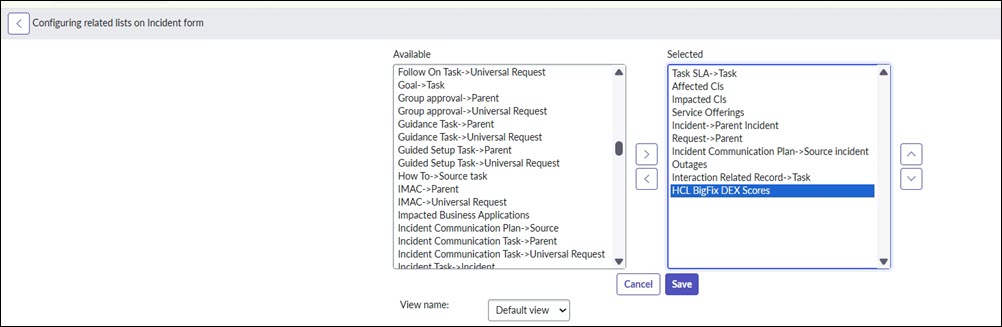
- Save the form layout.
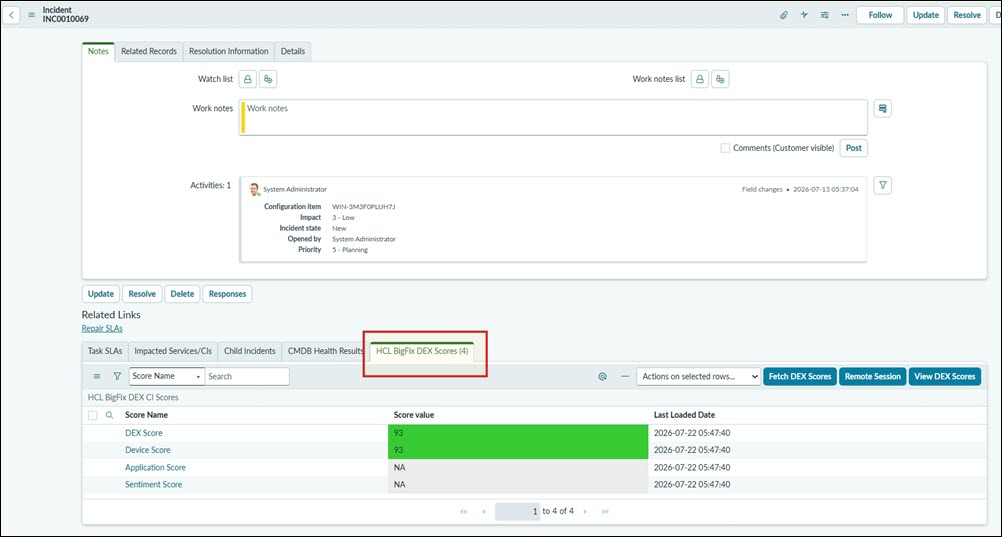
Once the related list has been added successfully, the HCL BigFix DEX Scores tab will be available on the Incident form as shown below.
- Personalize the Related List.
As a one-time setup, personalize the related list by configuring the displayed columns.
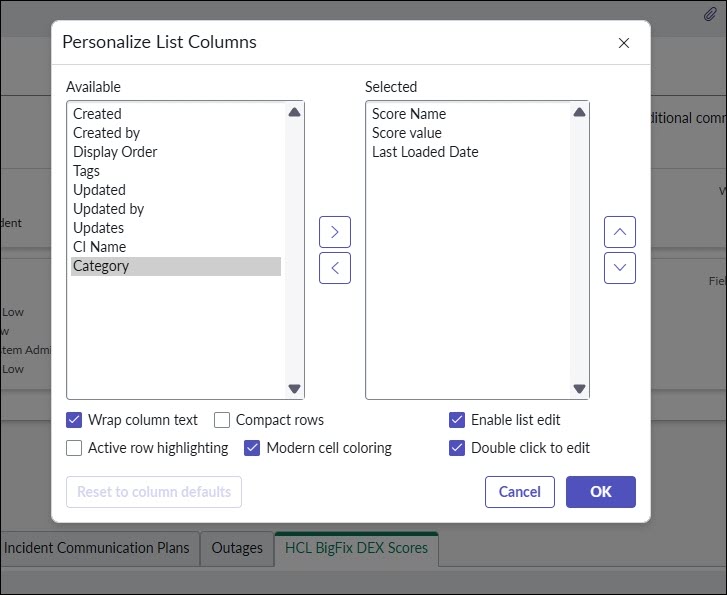
- Click the Personalize List (gear) icon on the HCL BigFix DEX Scores related list.
- Select only the following columns:
- Score Name
- Score Value
- Last Loaded Date
- Save the personalization settings.
The related list will now display only the required columns, as shown in the screenshot below.