
Creating an analysis
Use the Add analysis wizard to name an analysis, define the devices it applies to, and add the properties that it reports. You can later edit the analysis, refine its device scope, or assign tags from the analysis detail page.
Before you begin
You need custom content rights and write access to the site that stores the analysis. The sites and properties that you can select depend on your permissions.
About this task
The Add analysis wizard guides you through three steps: Details, Scope, and Properties.
Procedure
-
Expand Explore in the side navigation, and then select
Analyses.
The Analyses list view opens.
-
Select Add analysis.
The Add analysis wizard opens on the Details step.
-
Provide the analysis details.
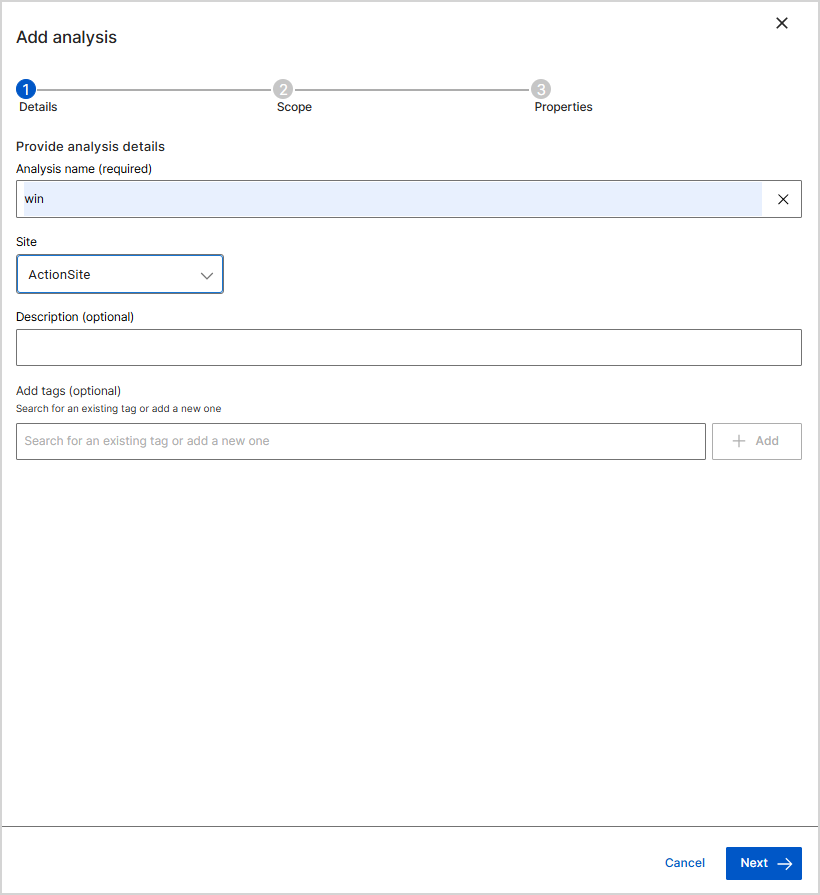
- In Analysis name (required), enter a name that identifies the data you want to collect.
- From Site (required), select the site that stores the analysis, such as ActionSite.
- Optional: In Description, explain what the analysis collects.
- Optional: In Add tags, search for an existing tag or type a new one, and then select Add.
- Select Next to continue to the Scope step.
-
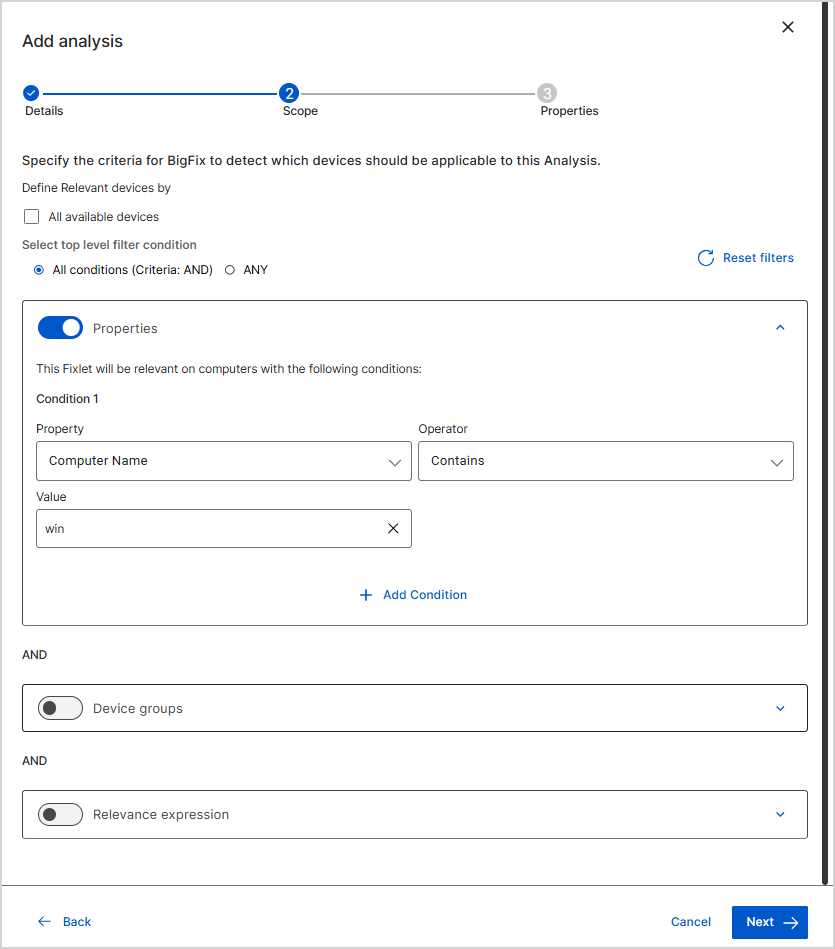
Specify the criteria that BigFix uses to detect which devices are applicable to
the analysis.
-
Select Next to continue to the
Properties step.
Select Back to return to a previous step.
-
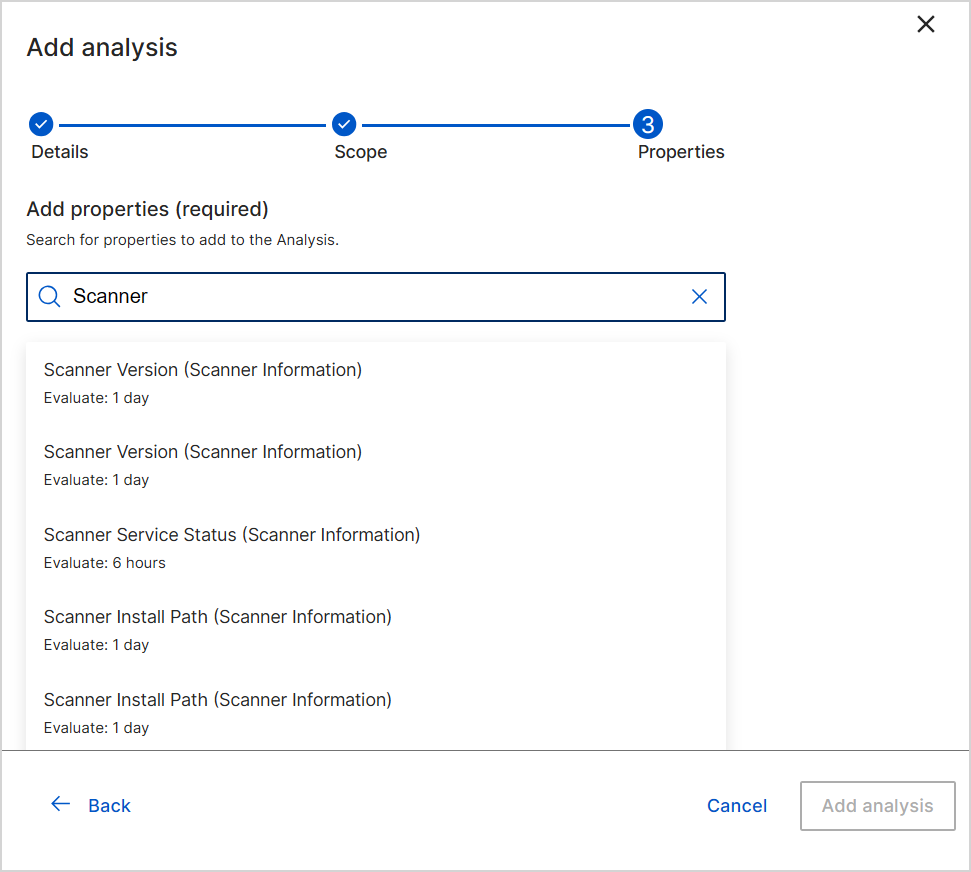
In Add properties (required), enter a property name in
the search field, and then select a property from the results.
The results show each matching property with its evaluation period, for example.
If a property belongs to an analysis, the name of that analysis appears in parentheses after the property name. For example, Scanner Version (Scanner Information) is the Scanner Version property in the Scanner Information analysis. Use the analysis name to tell apart properties that have the same name.
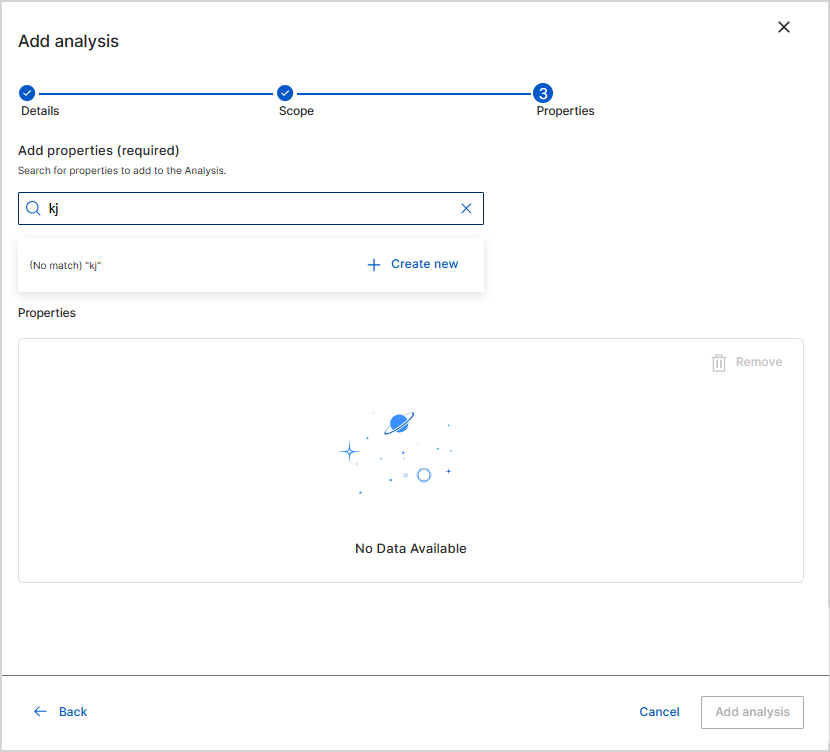
 Note: If the search returns (No match), you can create the property without leaving the wizard. Select Create new, define the property, and then add it to the analysis.
-
Verify the selections in the Properties table.
The table lists each property with its Evaluate period and Relevance. Expand a row to review the relevance clause. To remove a property, select its check box and then select Remove.
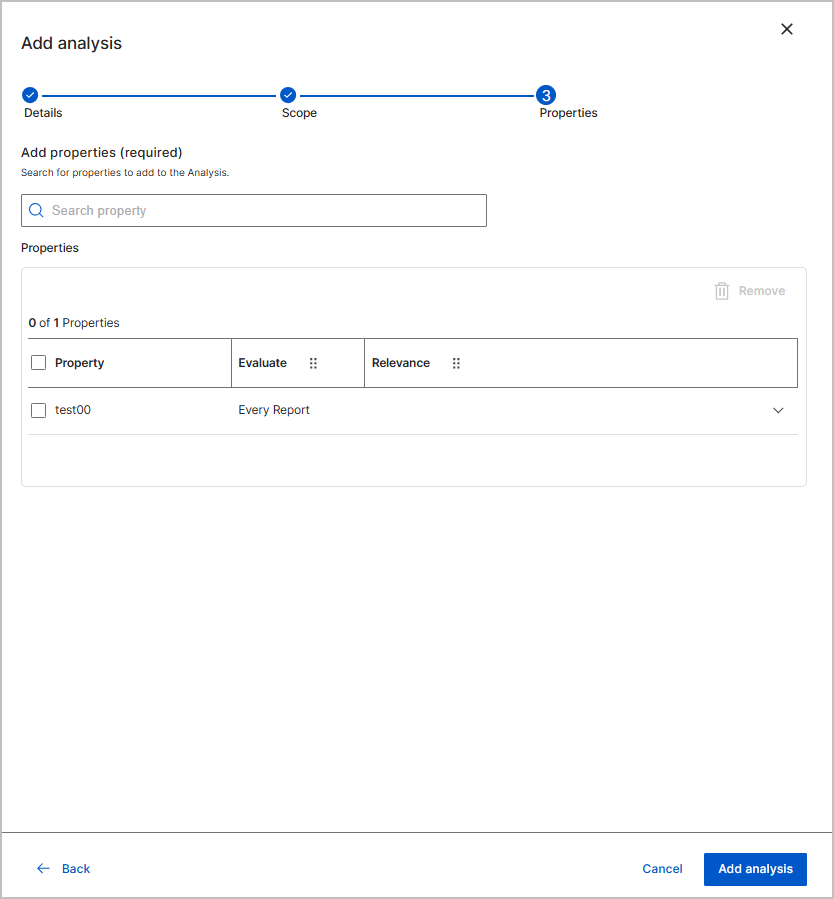 Note: The Add analysis button stays dimmed until you add at least one property.
-
Select Add analysis.
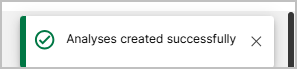
The message Analyses created successfully appears in the upper-right corner, and the analysis appears in the Analyses list.
Results
The analysis is saved to the selected site with the state Not Activated. Devices report property values after the analysis is activated and the agent completes its next evaluation.
What to do next
To change the analysis later, open its detail page and select Edit analysis. See Editing and deleting an analysis.
After you create an analysis, you can manage it from its detail page:
- To edit the analysis, select Edit analysis. The Edit analysis wizard opens with the same three steps. You can modify most configuration parameters, but not the hosting site. To delete the analysis, select the delete icon, and then confirm the deletion. See Editing and deleting an analysis.
- To view the results of an activated analysis, select the View results icon in the upper-right corner of the detail page.
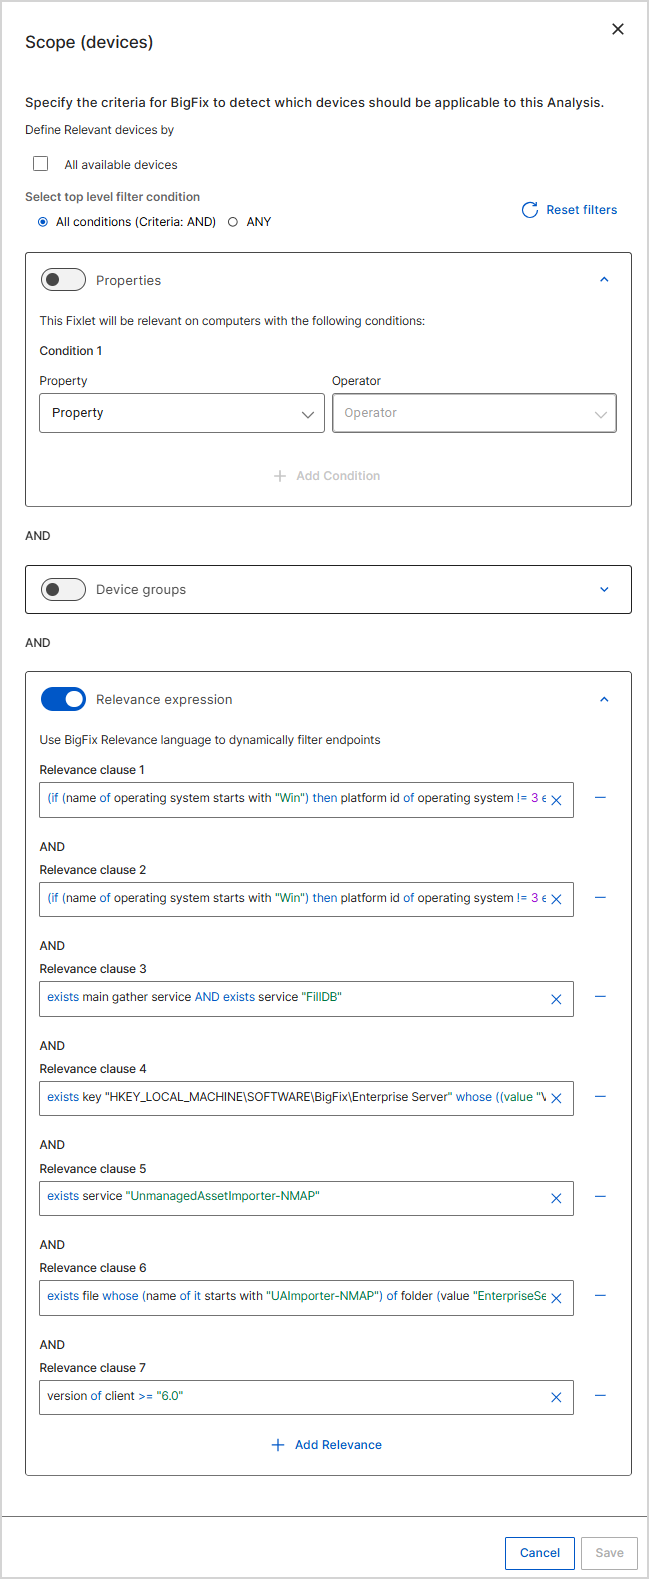
- To view or change the full device scope, in the Device
scope panel, select View all. In the
Scope (devices) panel, update the criteria, and then
select Save.
- To assign tags, next to Tags, select Manage tags. In the Manage tags drawer, search for an existing tag or enter a new one, select Add, and then select Save changes. The drawer closes, a success message appears, and the Tags field updates. For more information, see Managing Tags.