Installation
- Before proceeding with installation, review the information provided so far. To make any changes, Click Back to go back to previous views.
- Click Run to begin the installation process.
Figure 1. Installation 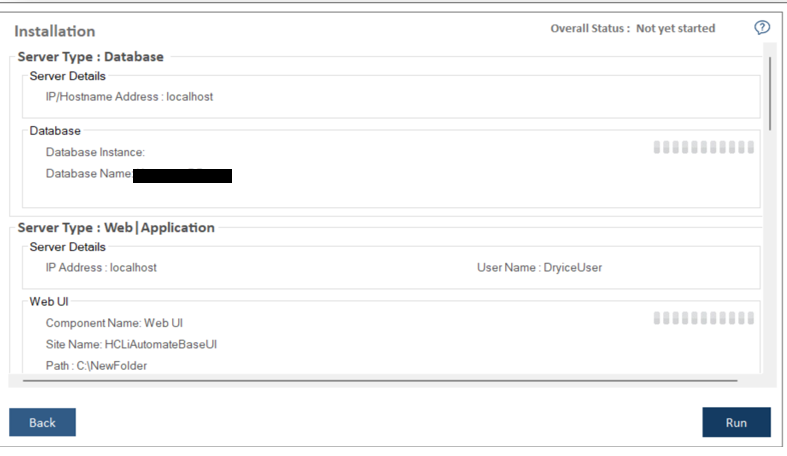
- The progress bar displays the installation progress.
Figure 2. Installation (Cont.) .png)
- In case of any installation failure, error messages for the corresponding component appear
on the screen. Click the Rollback button to uninstall the components and re-run the
Installer after resolving the issues. To perform the cleanup, delete all the folders
manually on the servers’ installation path provided earlier. Contact the product team
administrator for further assistance.
Figure 3. Installation (Cont.) 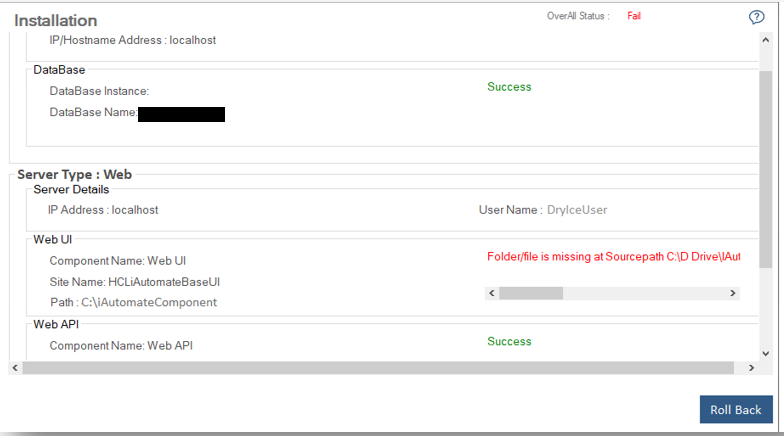
- Once the installation is successful, Launch Application button appears.
Figure 4. Installation (Cont.) 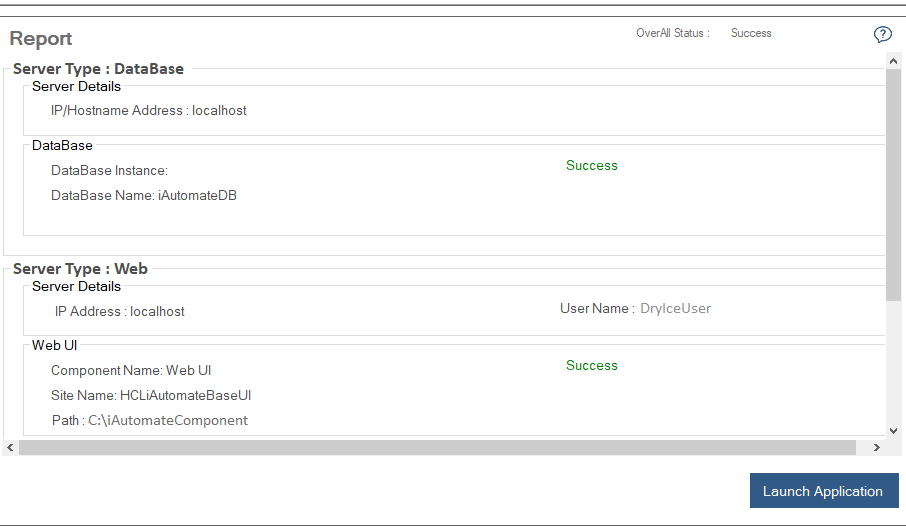
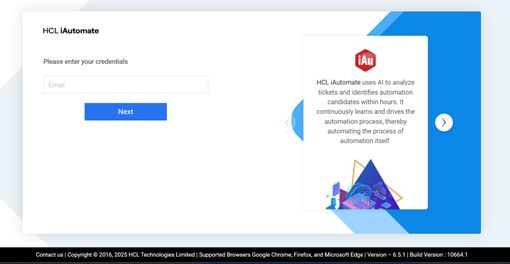
- Click Launch Application to launch iAutomate website.
Figure 5. Launch Application  Note:
Note:System will take some time to configure everything. Please wait for some time after clicking on OK button.
Figure 6. iAutomate Login Page