Vayusphere Seamless Integration with GChat
The section provides detailed information for the integration of Vayusphere and BigFix AEX with G chat.
The following steps for integration are mentioned below as:
- Log in to the following URL:
https://console.cloud.google.com/welcome/new?inv=1&invt=AbybaA
Figure 1. Google Cloud Dashboard 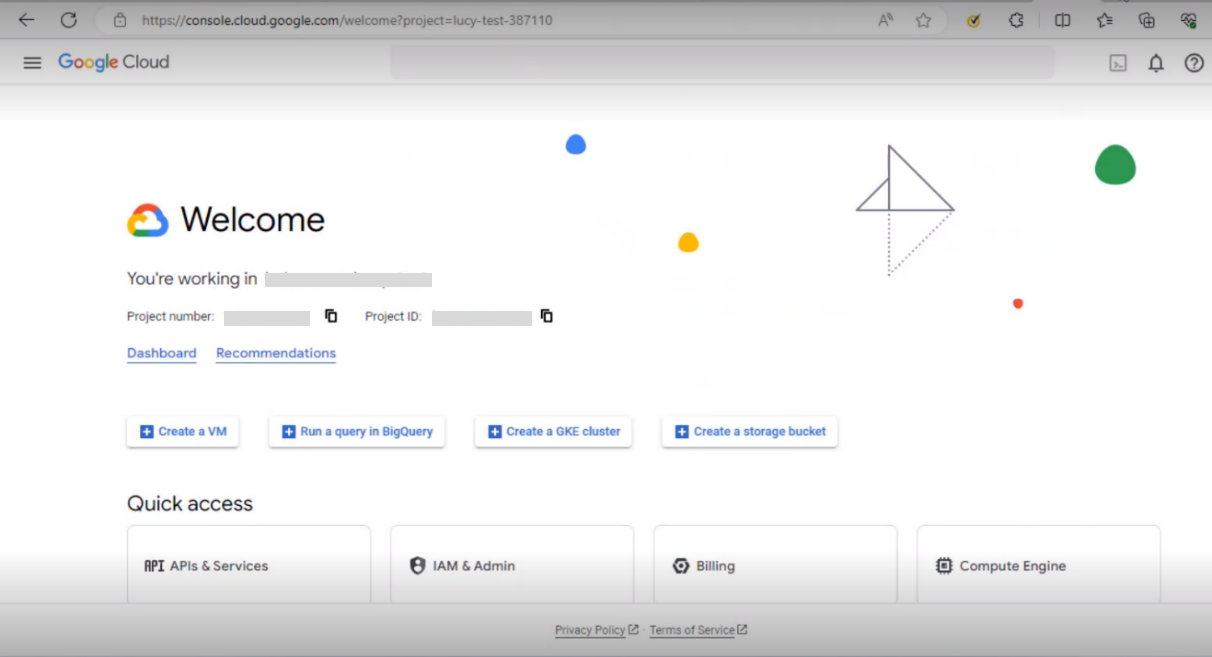
- In the Google Cloud console, go to Menu 🡪 IAM & Admin 🡪 Create a Project.
Figure 2. Selecting the IAM & Admin from Google Chat Dashboard 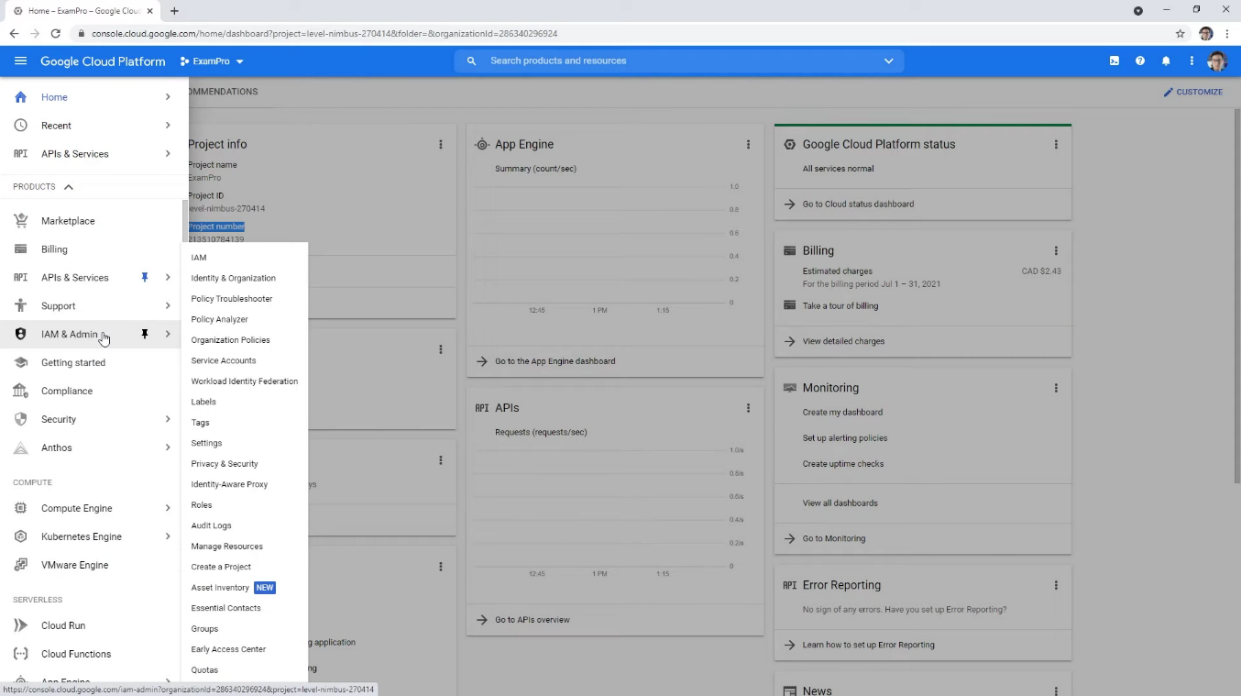
- In the Project Name field, enter a descriptive name for your project. In the Location
field, click Browse to display potential locations for your project. Then, click Create:
Figure 3. The Credentials for New Project 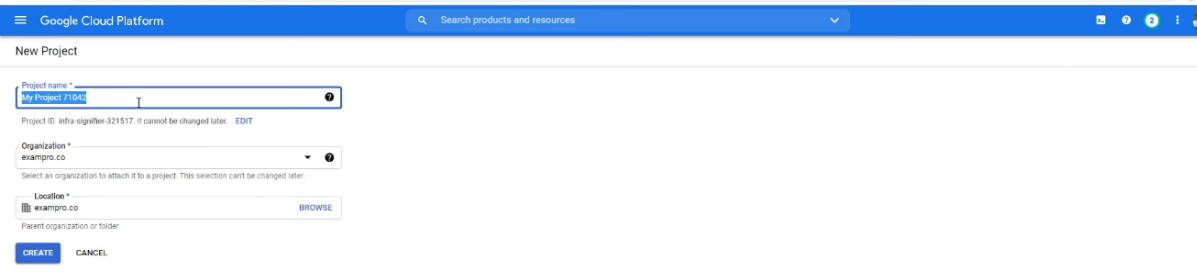
- Once admin clicks on the Create button, the console navigates to the Dashboard page
and your project is created.
Figure 4. The Dashboards Page with Created Project 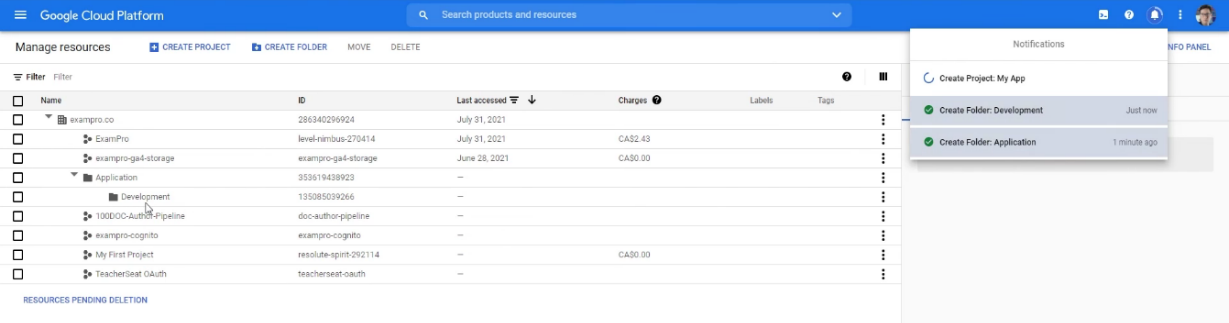
- Go to Google Cloud Console 🡪 Chat API and click Enable to enable the Google Chat API
on the Google chat API page to connect google cloud project.
Figure 5. Enabling the Google Chat API 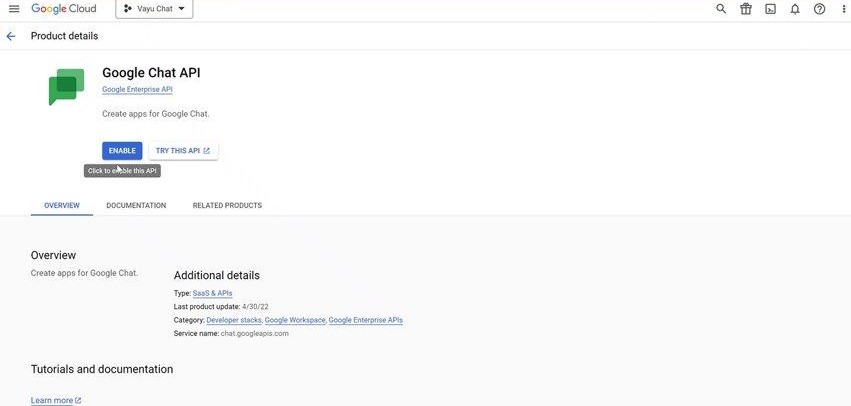
- After login to the project, navigate to API and services 🡪 select Enabled API’s and
Services.
Figure 6. Tab for Selecting Enabled API’s And Services 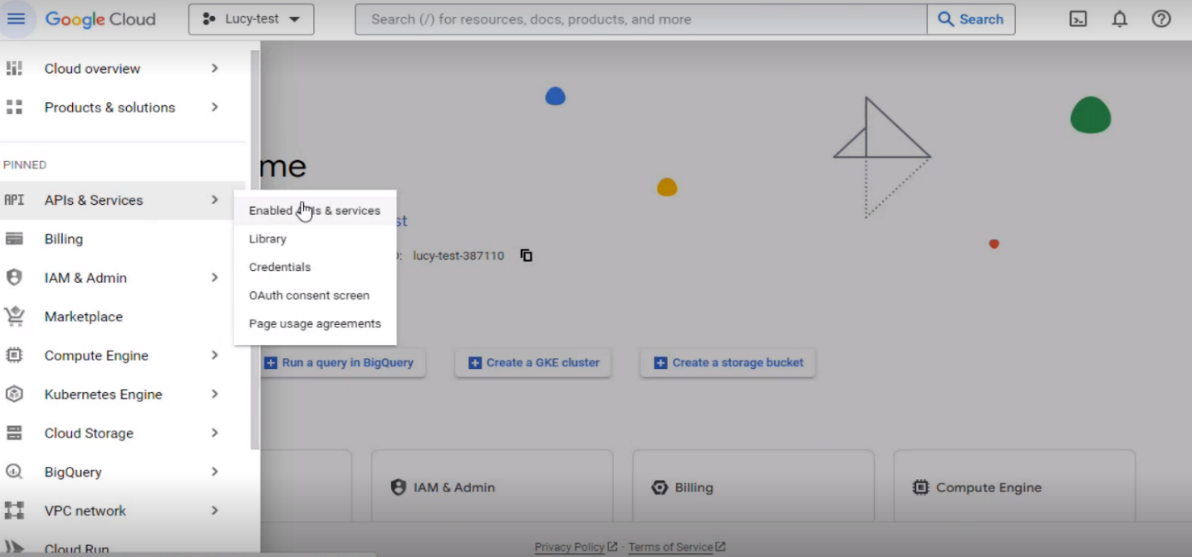
- After selecting Enabled API’s and services, enable and click Google Logging API on the
APIs and services dashboard.
Figure 7. APIs and Services Dashboard 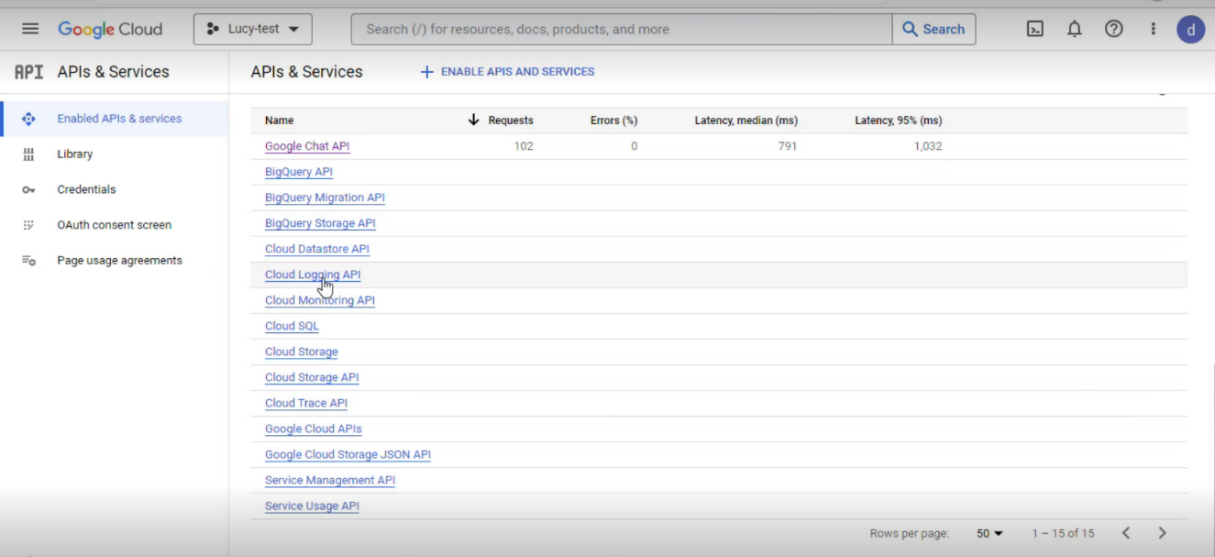
- Click on Configuration tab.
Figure 8. Google Chat API Dashboard 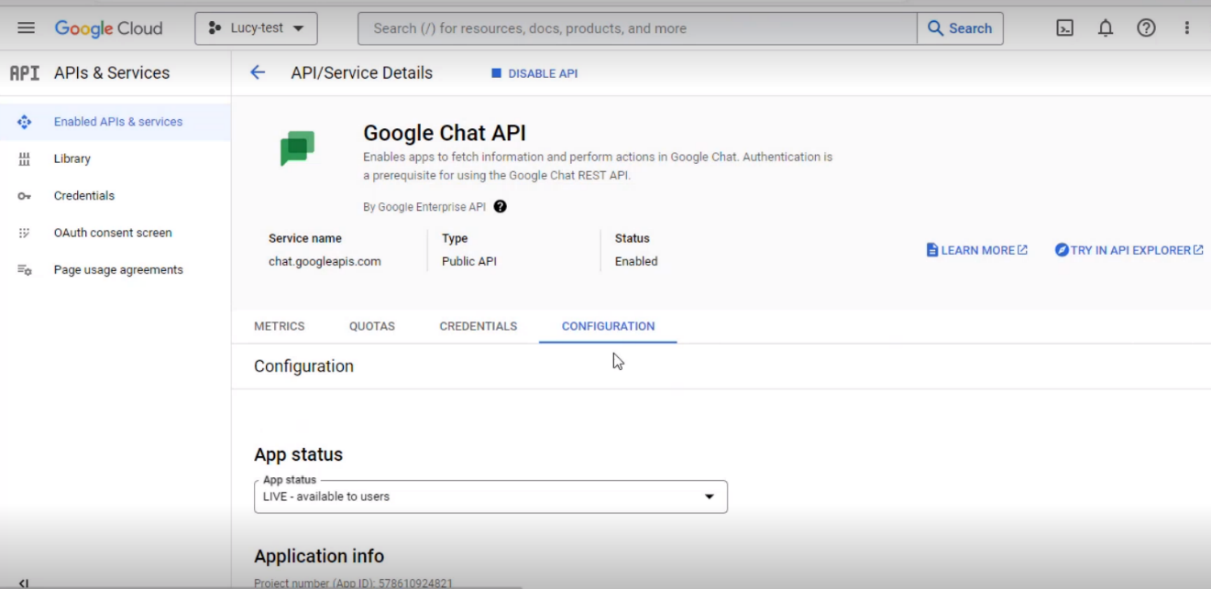
- In the Configuration page, fill in the required fields like App Name, Avatar URL, and
Description.
Figure 9. Configuration Page in Api/Service Details 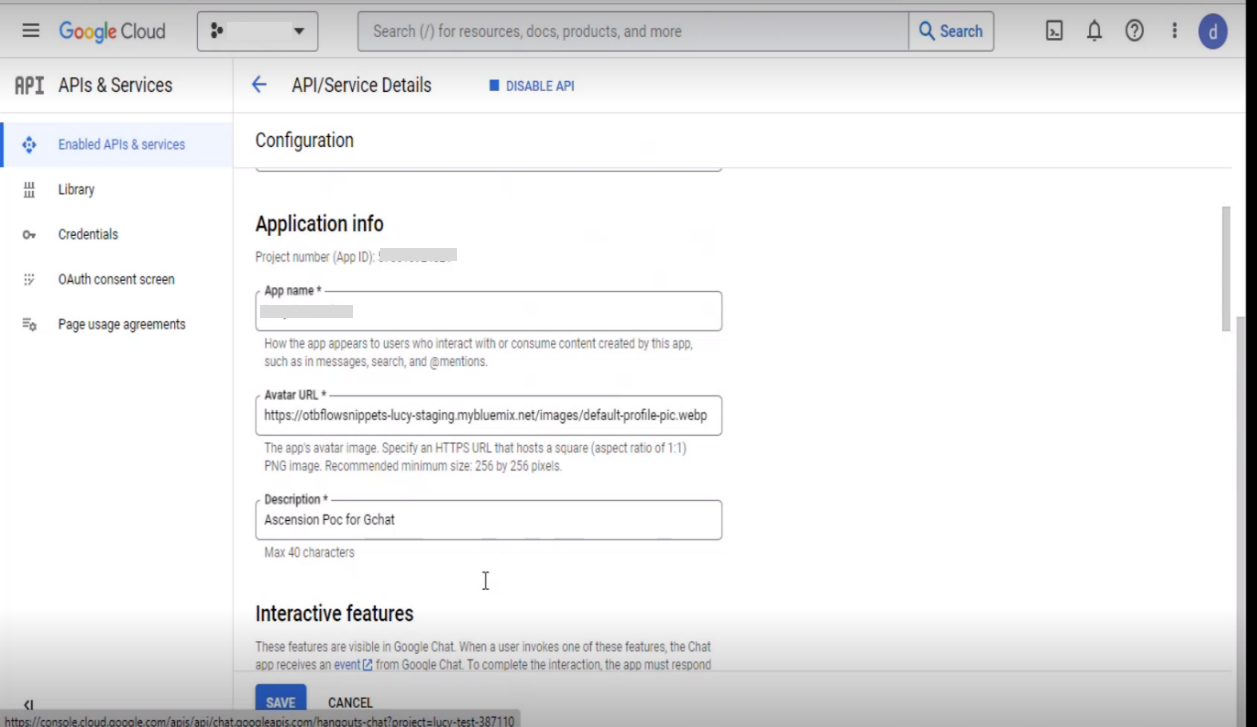
- In the Connection Settings field, select App URL. The App URL is provided by
Vayusphere.
Figure 10. Configuration Page in API/Service Details (Cont.) 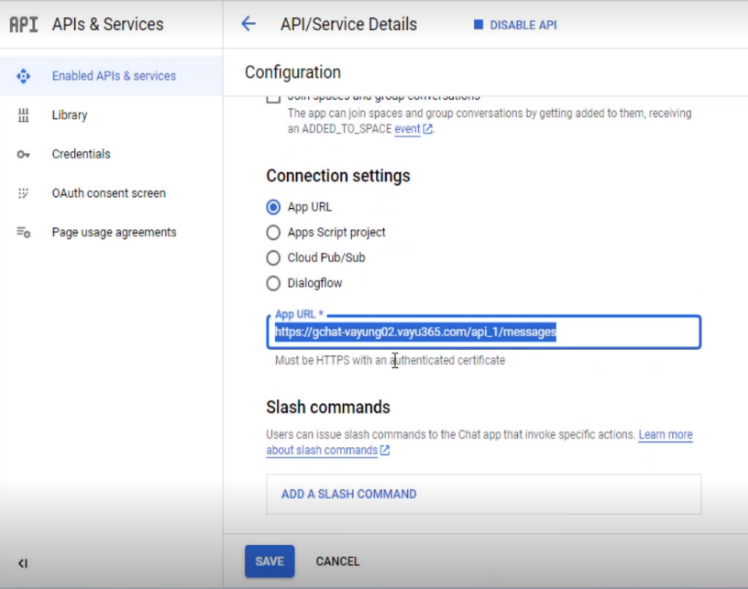
- Click Save.
Figure 11. Configuration Page in API/Service Details (Cont.) 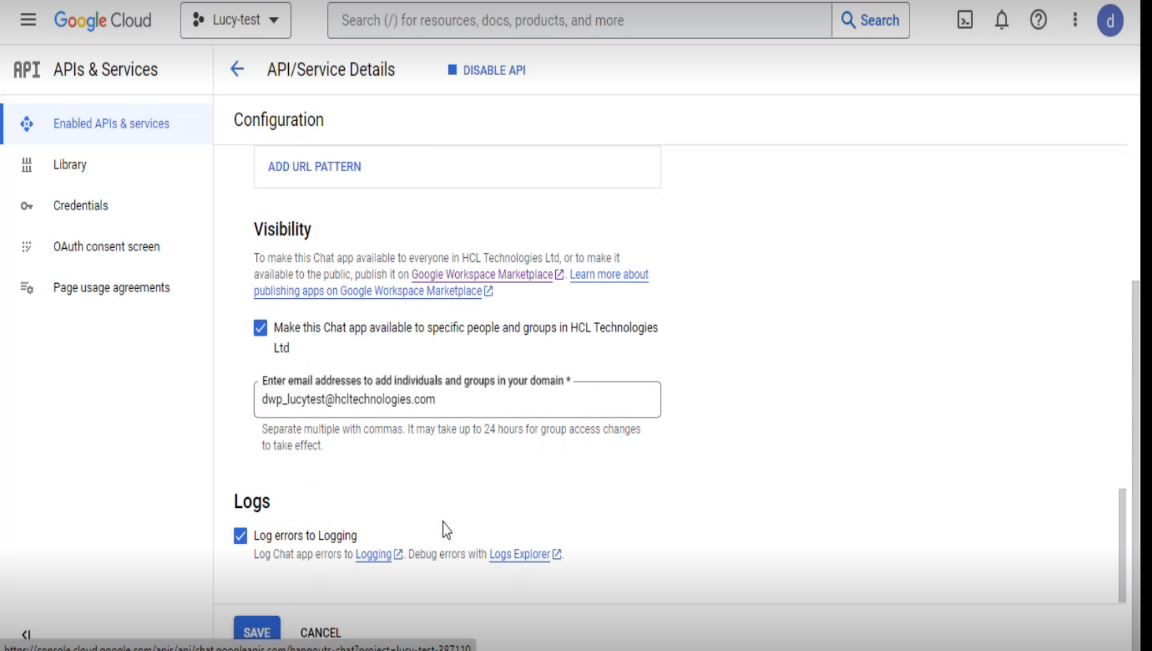
- The user needs to access Global Admin Console for BigFix AEX over GChat and MS teams
URL – https://www.google.com/search?q=https%3A%2F%2FdryiceBigFix+AEX.ai&rlz=1C1GCEA_enIN1144IN1144&oq=https%3A%2F%2FdryiceBigFix+AEX.ai&gs_lcrp=EgZjaHJvbWUyBggAEEUYOTIGCAEQRRg60gEIMTIzOGowajeoAgCwAgA&sourceid=chrome&ie=UTF-8 and navigate to the Tenants tab.
Figure 12. Tenant Page 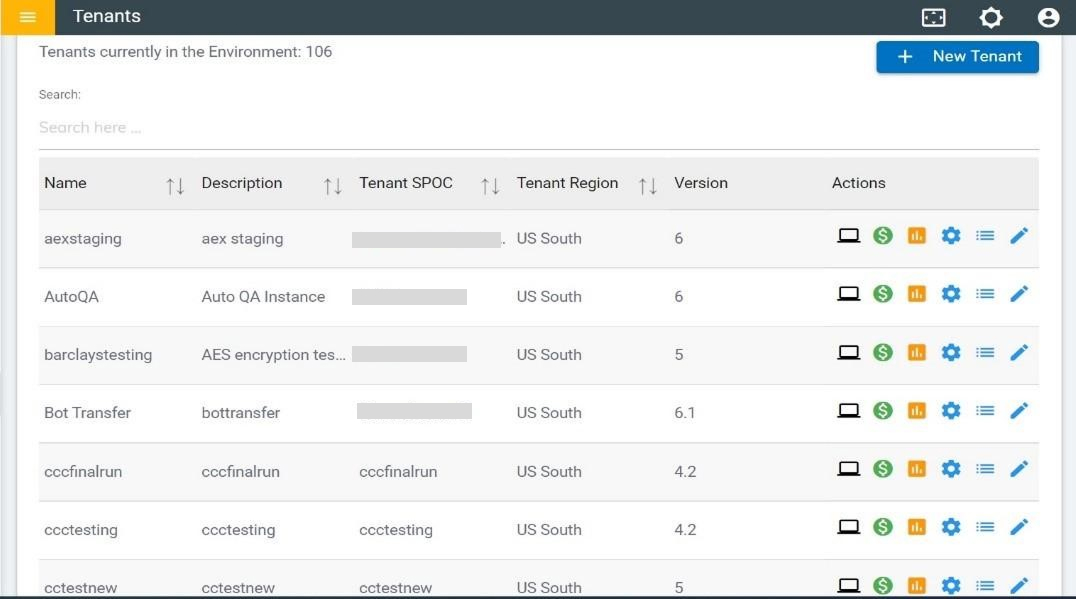
- Under Tenant, search for Ascension UAT tenant and click on the configure icon as shown
in the following figure:
Figure 13. Options to Configure the Ascension UAT 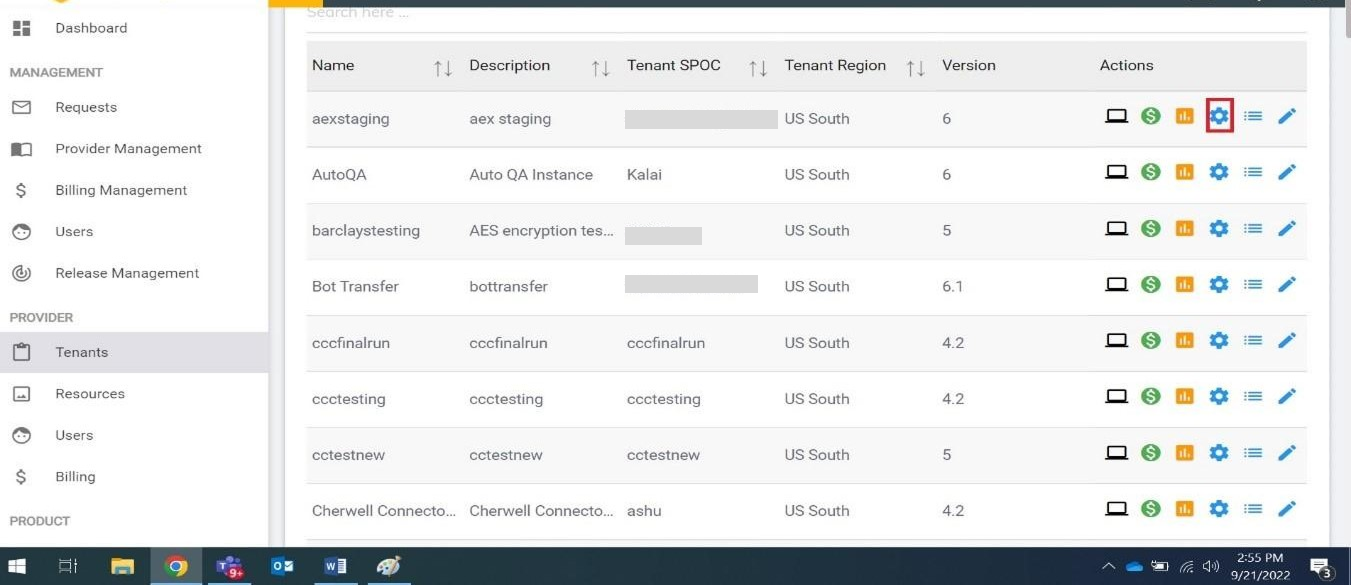
- On the Tenant Configuration page, click on the Open link on the Choose Channels card.
Figure 14. Ascension UAT Page for Configuring It 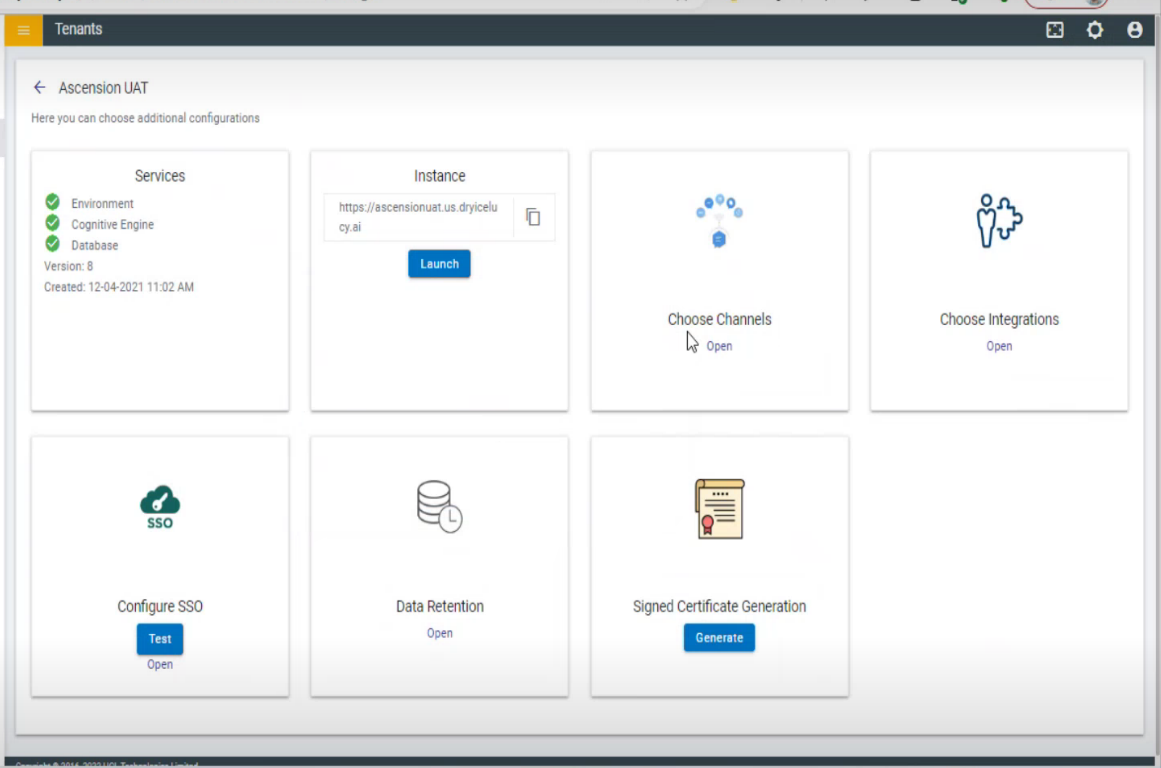
- Toggle to enable or disable the channels. Once they are enabled or disabled, click on
the Save button.
Figure 15. Channel Page to Enable/Disable Channels 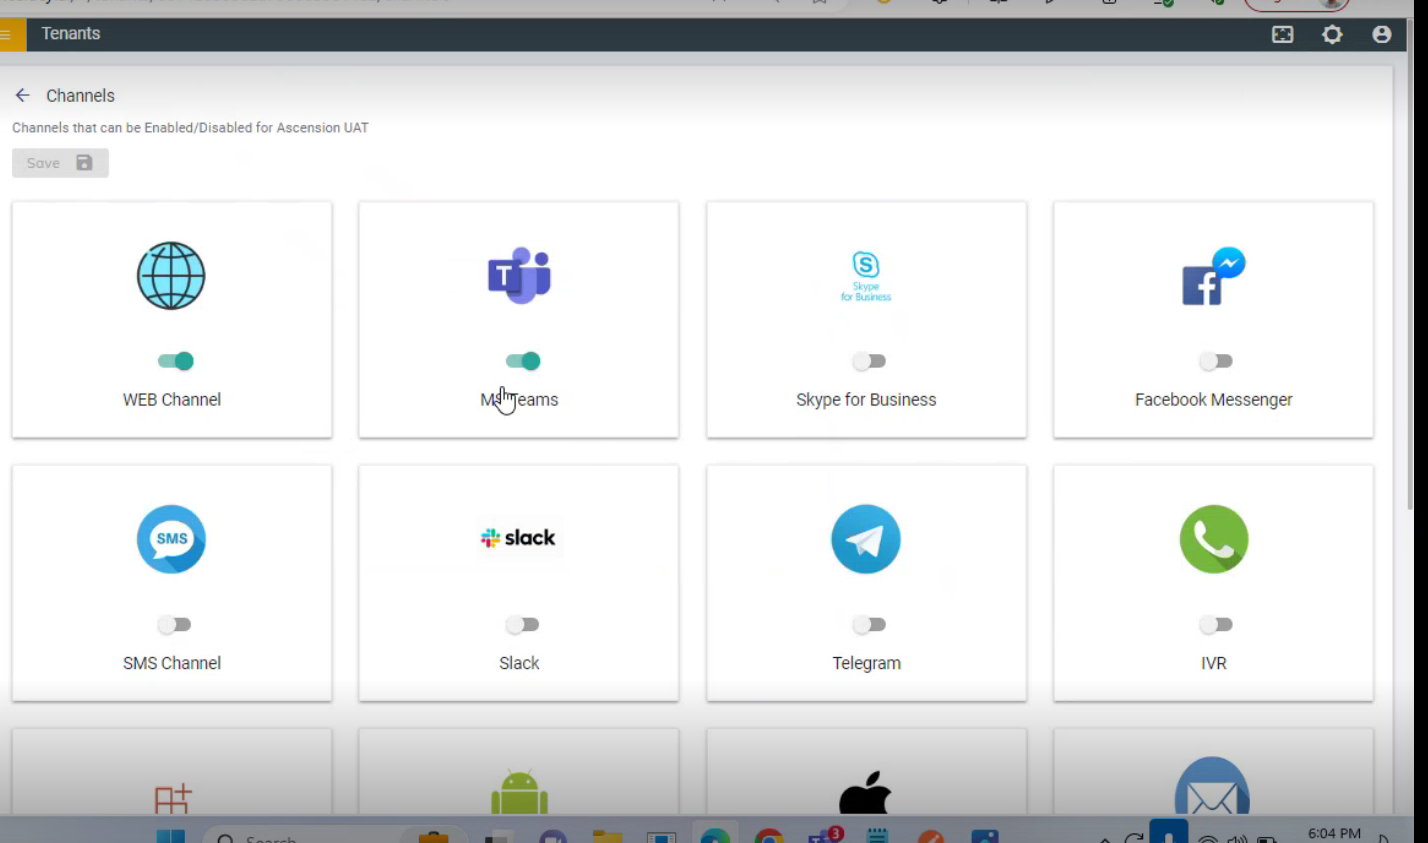
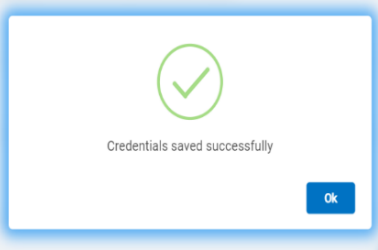
- The following success message appears:
Figure 16. Pop-up After Clicking Save 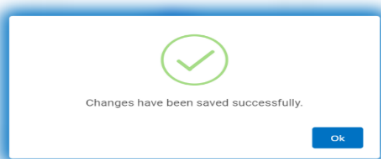
- Once the changes are saved, it will be available for the selected tenant under the
channel configuration console.
Figure 17. Cognitive Console 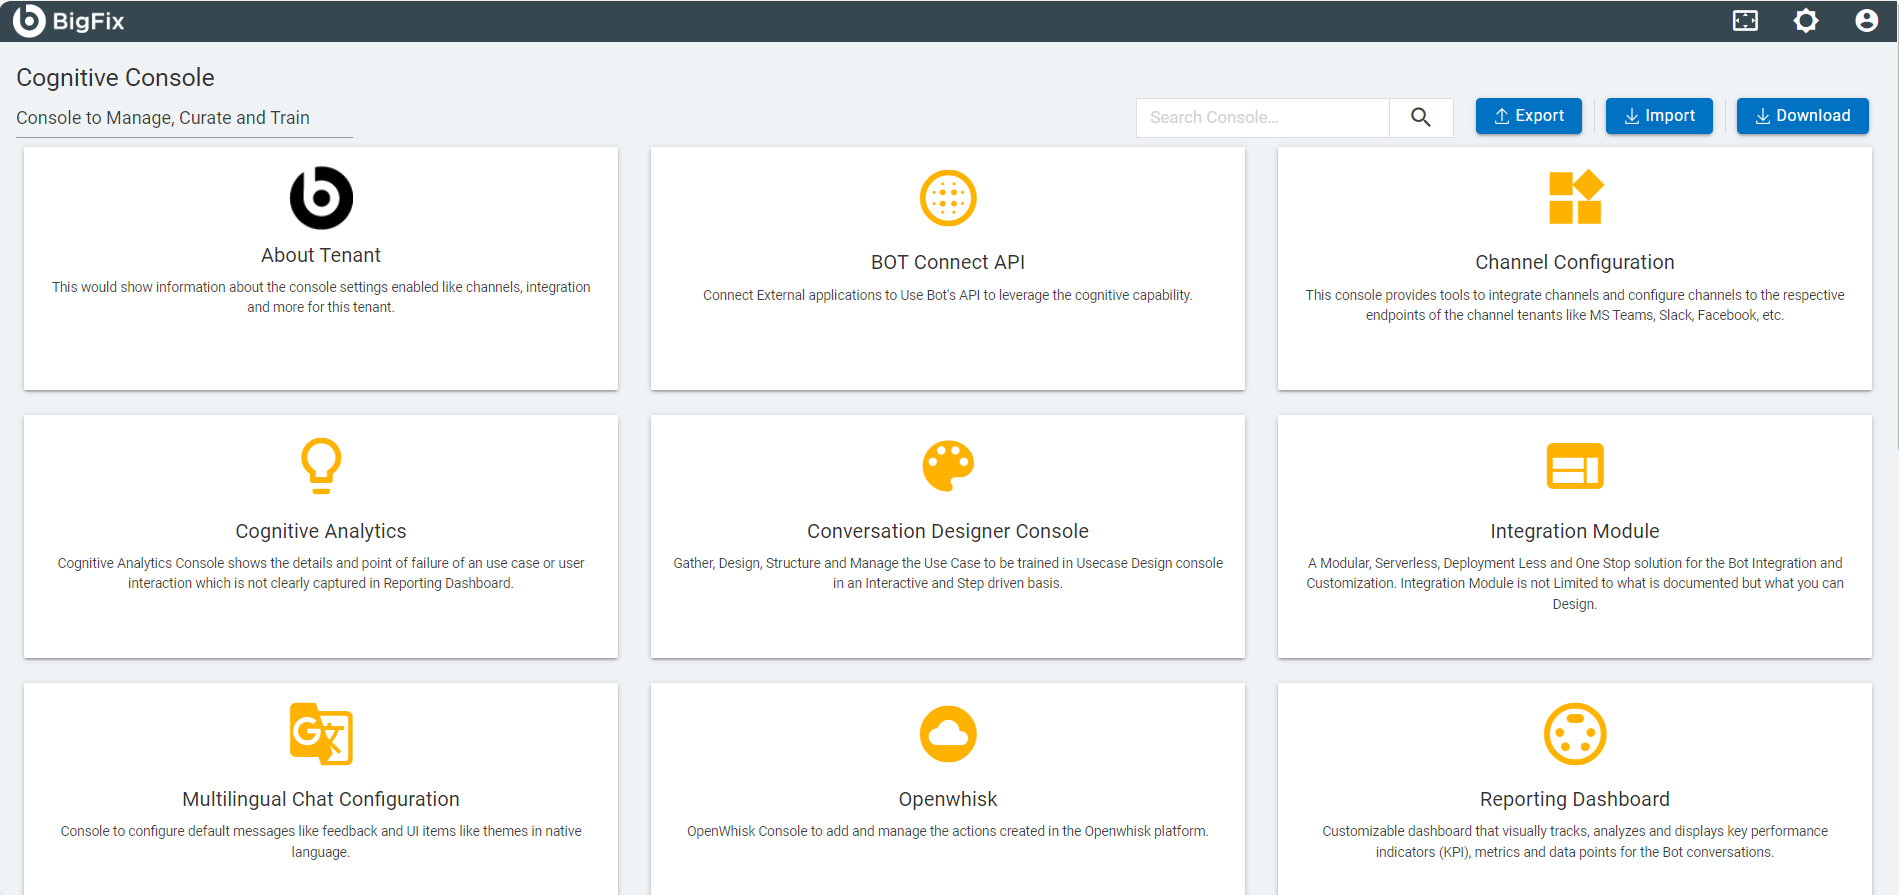
- On Clicking on the Channel configuration card in cognitive console for selected
tenant, the page appears as shown in the figure below:
Figure 18. Channel Configuration 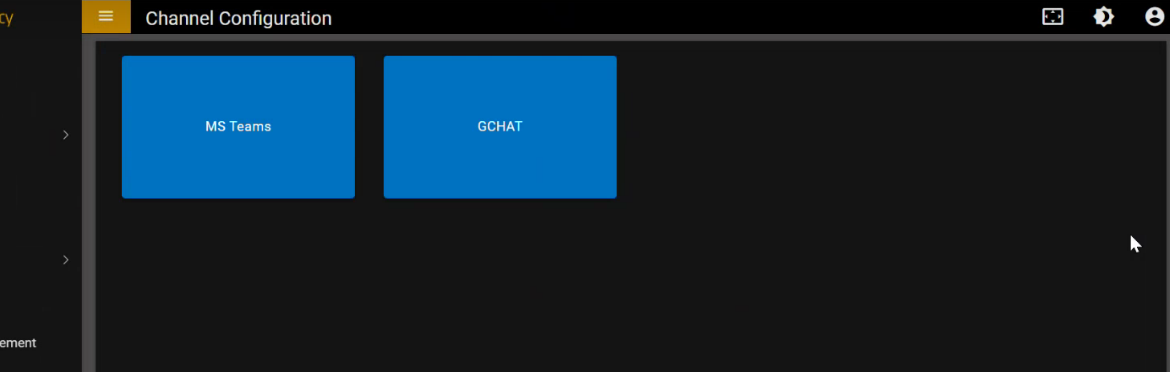
- Click on the GChat card to configure the GChat channel then click Save. Once it is
done, your bot is configured for your selected tenant, and you will be able to use BigFix
AEX over same.
Figure 19. Google Chat Page 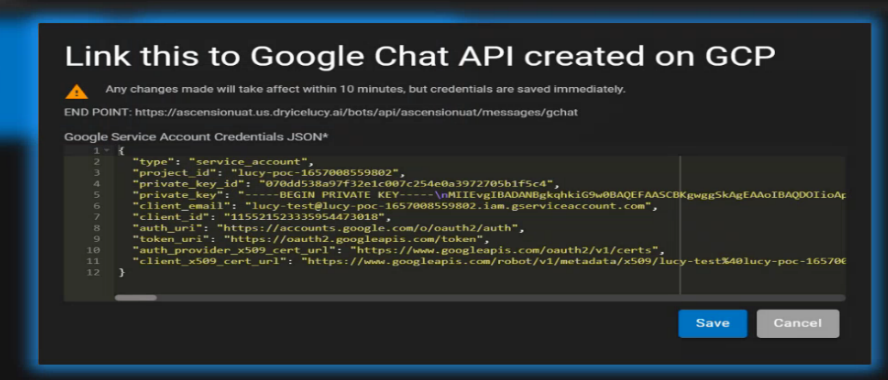
The following success message appears:
Figure 20. Success Message 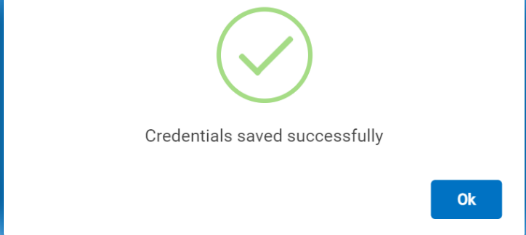
- Click on the MS Teams card to configure the MS Teams channel by filling in the
required fields then click Save. Once it is done your bot is configured for your selected
tenant and you will be able to use BigFix AEX over same.
Figure 21. Console for MS-Teams 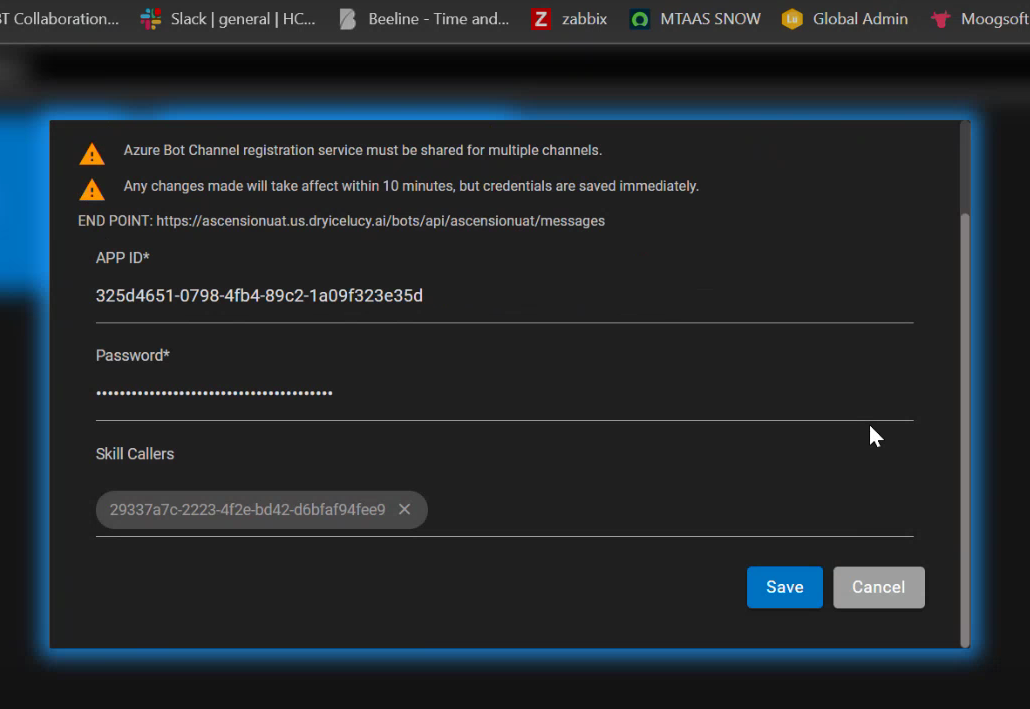
- The following success message appears:
Figure 22. Success Message